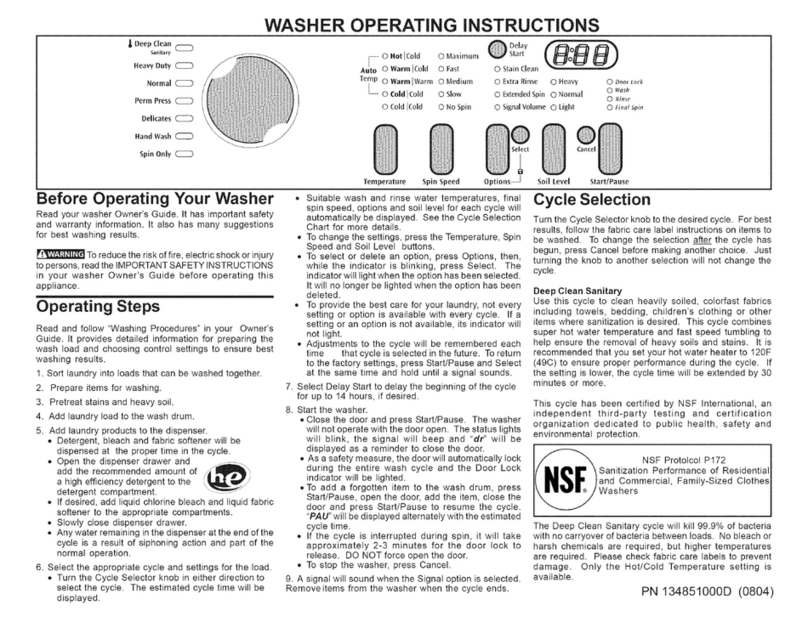
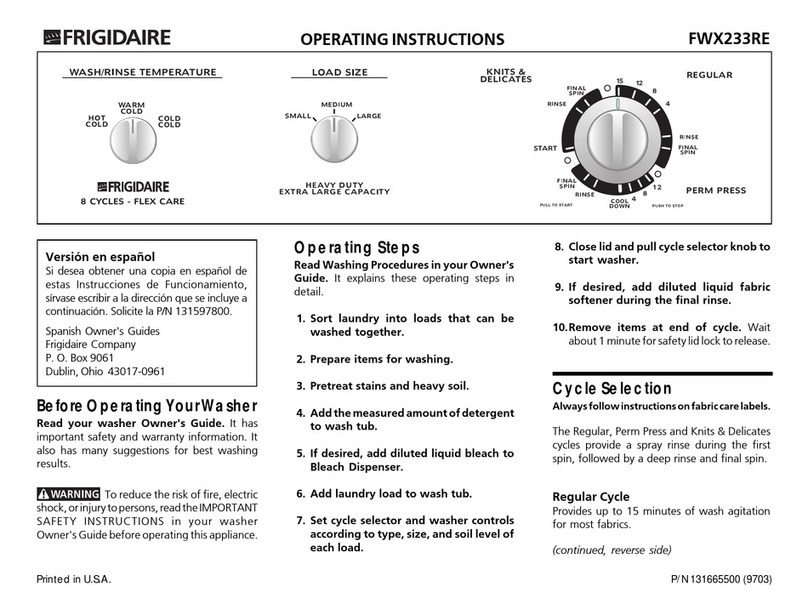
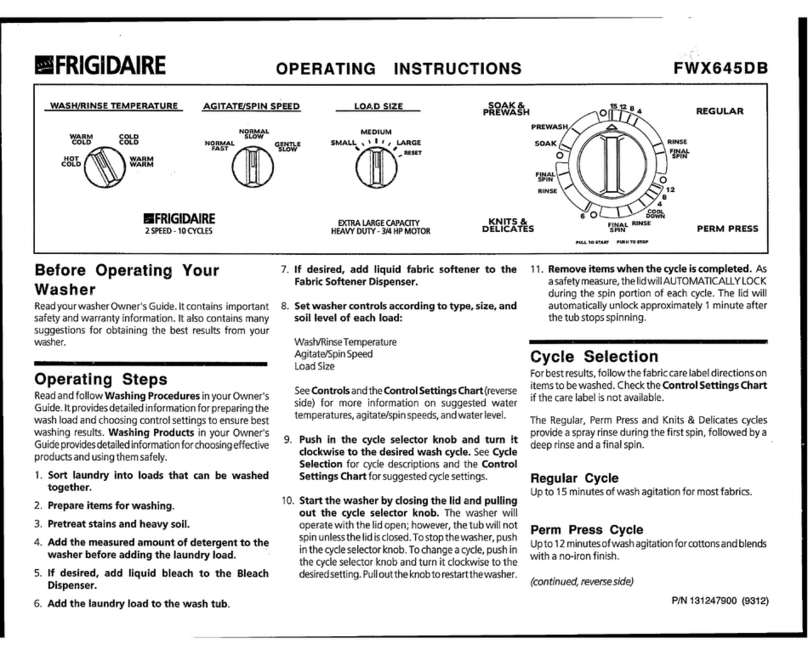
10. Start the washer by closing the door andStart the washer by closing the door and
Start the washer by closing the door andStart the washer by closing the door and
Start the washer by closing the door and
pulling out the cycle selector knob.pulling out the cycle selector knob.
pulling out the cycle selector knob.pulling out the cycle selector knob.
pulling out the cycle selector knob. The washer
will notnot
notnot
not operate with the doordoor
doordoor
door open. As a safety
measure,the doordoor
doordoor
doorwillautomaticallylockduring
the entire wash cycle.
• Tostopthewasher,pushinthecycleselector
knob.
• To change a cycle, push in the cycle selector
knob and turn it clockwise to the desired
setting.
• Pull out the knob to restart the washer.
11. Remove items when cycle ends.Remove items when cycle ends.
Remove items when cycle ends.Remove items when cycle ends.
Remove items when cycle ends. When the
Cycle Signal control is on, a signal will sound at
the end of the cycle.
(continued, reverse side)
4. Add laundry load to the wash drum.Add laundry load to the wash drum.
Add laundry load to the wash drum.Add laundry load to the wash drum.
Add laundry load to the wash drum.
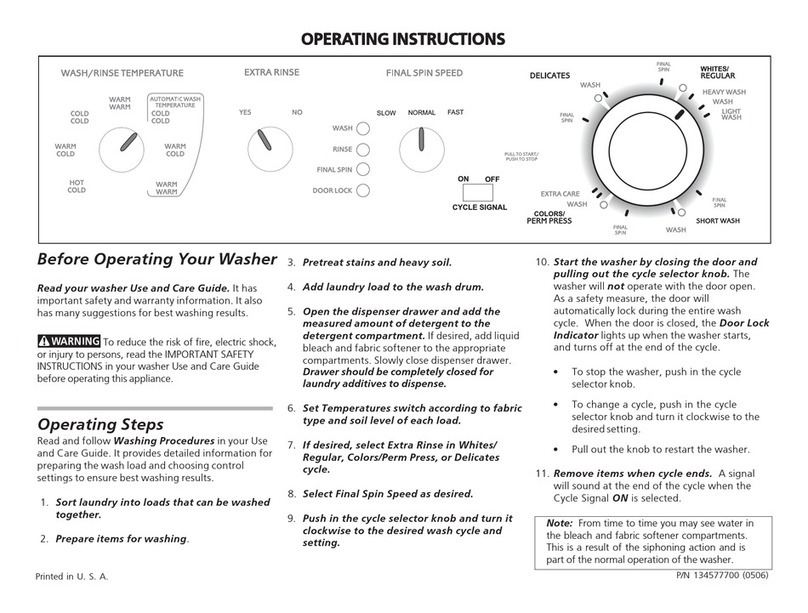
5. Open the dispenser drawer and add theOpen the dispenser drawer and add the
Open the dispenser drawer and add theOpen the dispenser drawer and add the
Open the dispenser drawer and add the
measured amount of detergent to themeasured amount of detergent to the
measured amount of detergent to themeasured amount of detergent to the
measured amount of detergent to the
detergent compartment.detergent compartment.
detergent compartment.detergent compartment.
detergent compartment. If desired, add liquid
bleach and fabric softener to the appropriate
compartments. Slowly close dispenser drawer.
The washer will not operate with the drawer
open.
6. Set Wash/Rinse Temperature according toSet Wash/Rinse Temperature according to
Set Wash/Rinse Temperature according toSet Wash/Rinse Temperature according to
Set Wash/Rinse Temperature according to
fabric type and soil level of each load.fabric type and soil level of each load.
fabric type and soil level of each load.fabric type and soil level of each load.
fabric type and soil level of each load.
See Control Settings ChartControl Settings Chart
Control Settings ChartControl Settings Chart
Control Settings Chart (reverse side) for
more information on suggested water
temperatures.
7. Select desired Cycle Signal volume.Select desired Cycle Signal volume.
Select desired Cycle Signal volume.Select desired Cycle Signal volume.
Select desired Cycle Signal volume.
8. If desired, select Extra Rinse in the Regular orIf desired, select Extra Rinse in the Regular or
If desired, select Extra Rinse in the Regular orIf desired, select Extra Rinse in the Regular or
If desired, select Extra Rinse in the Regular or
Perm Press cycle.Perm Press cycle.
Perm Press cycle.Perm Press cycle.
Perm Press cycle.
9. Push in the cycle selector knob and turn itPush in the cycle selector knob and turn it
Push in the cycle selector knob and turn itPush in the cycle selector knob and turn it
Push in the cycle selector knob and turn it
clockwise to the desired wash cycle.clockwise to the desired wash cycle.
clockwise to the desired wash cycle.clockwise to the desired wash cycle.
clockwise to the desired wash cycle. See
CycleSelectionCycleSelection
CycleSelectionCycleSelection
CycleSelection(reverseside)forcycledescriptions
and the Control Settings ChartControl Settings Chart
Control Settings ChartControl Settings Chart
Control Settings Chart for suggested
cycle settings.
FWT449GFFWT449GF
FWT449GFFWT449GF
FWT449GF
OPERAOPERA
OPERAOPERA
OPERATING INSTRUCTIONSTING INSTRUCTIONS
TING INSTRUCTIONSTING INSTRUCTIONS
TING INSTRUCTIONS
BeforBefor
BeforBefor
Before Operating Ye Operating Y
e Operating Ye Operating Y
e Operating Yourour
ourour
our
WW
WW
Washerasher
asherasher
asher
Read your washer Owner's Guide.Read your washer Owner's Guide.
Read your washer Owner's Guide.Read your washer Owner's Guide.
Read your washer Owner's Guide. It has important
safety and warranty information. It also has many
suggestionsforbestwashingresults.
To reduce the risk of fire, electric
shock, or injury to persons, read the IMPORTANT
SAFETYINSTRUCTIONSinyourwasherOwner'sGuide
beforeoperating thisappliance.
Operating StepsOperating Steps
Operating StepsOperating Steps
Operating Steps
Read and follow Washing ProceduresWashing Procedures
Washing ProceduresWashing Procedures
Washing Procedures in your
Owner'sGuide.Itprovidesdetailedinformationfor
preparing the wash load and choosing control
settings to ensure best washing results.
1. Sort laundry into loads that can be washedSort laundry into loads that can be washed
Sort laundry into loads that can be washedSort laundry into loads that can be washed
Sort laundry into loads that can be washed
together.together.
together.together.
together.
2. Prepare items for washingPrepare items for washing
Prepare items for washingPrepare items for washing
Prepare items for washing.
3. Pretreat stains and heavy soil.Pretreat stains and heavy soil.
Pretreat stains and heavy soil.Pretreat stains and heavy soil.
Pretreat stains and heavy soil.
Cut along this edge to separate English from other languages.Cut along this edge to separate English from other languages.
Cut along this edge to separate English from other languages.Cut along this edge to separate English from other languages.
Cut along this edge to separate English from other languages.
Printed in U. S. A.
Note:Note:
Note:Note:
Note: From time to time you may see water in the
bleach and fabric softener compartments. This is a
result of the siphoning action and is part of the
normaloperation of the washer.
P/N 131771500 (9805)
REGULARREGULAR
REGULARREGULAR
REGULAR
PULLTOSTART/
PUSH TO STOP
PREWASH
HEAVYWASH
WASH
RINSES
& SPINS
FINAL
SPIN
WASH
RINSES
& SPINS
FINAL
SPIN
WASH
FINAL
SPIN
KNITS &KNITS &
KNITS &KNITS &
KNITS &
DELICADELICA
DELICADELICA
DELICATESTES
TESTES
TES
PERM PRESSPERM PRESS
PERM PRESSPERM PRESS
PERM PRESS
