manuals.online logo
Brands
  1. Home
  2. •
  3. Brands
  4. •
  5. Fujitsu
  6. •
  7. Laptop
  8. •
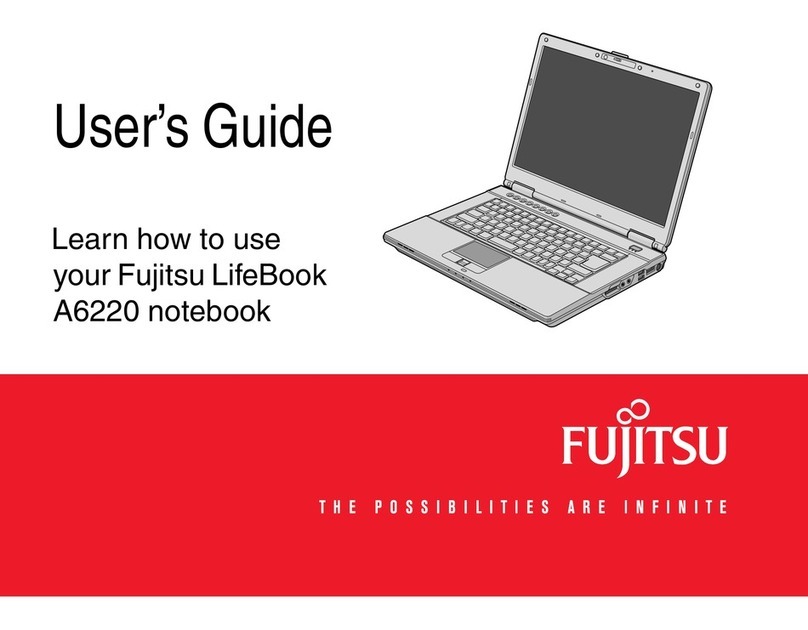
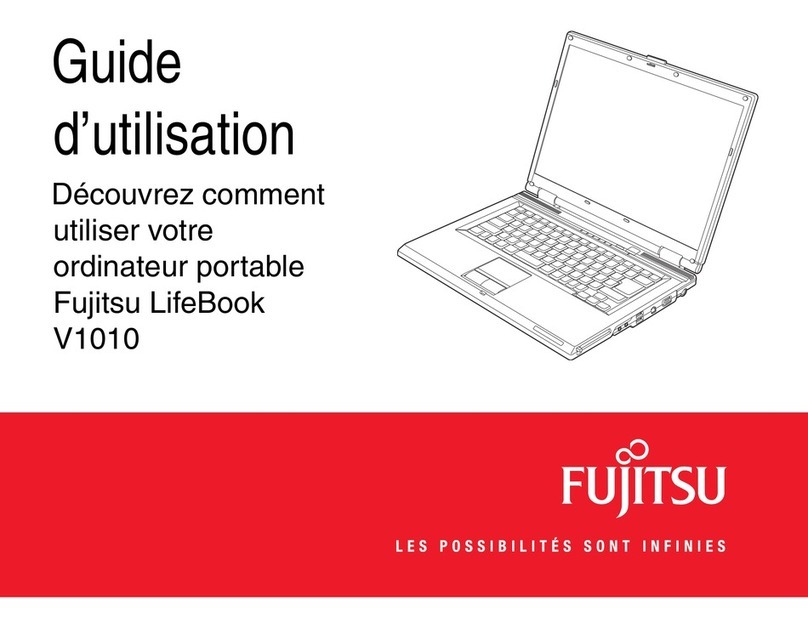
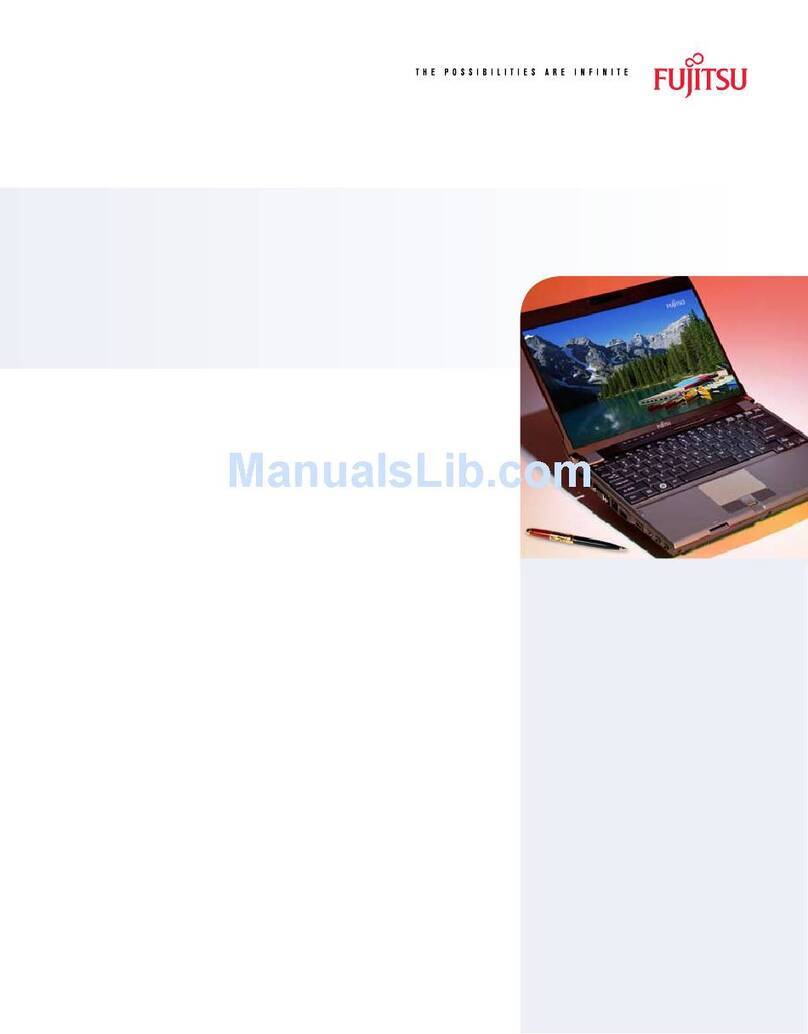
  9. Fujitsu P1610 - LifeBook - Core Solo 1.2 GHz Reference guide

Fujitsu P1610 - LifeBook - Core Solo 1.2 GHz Reference guide

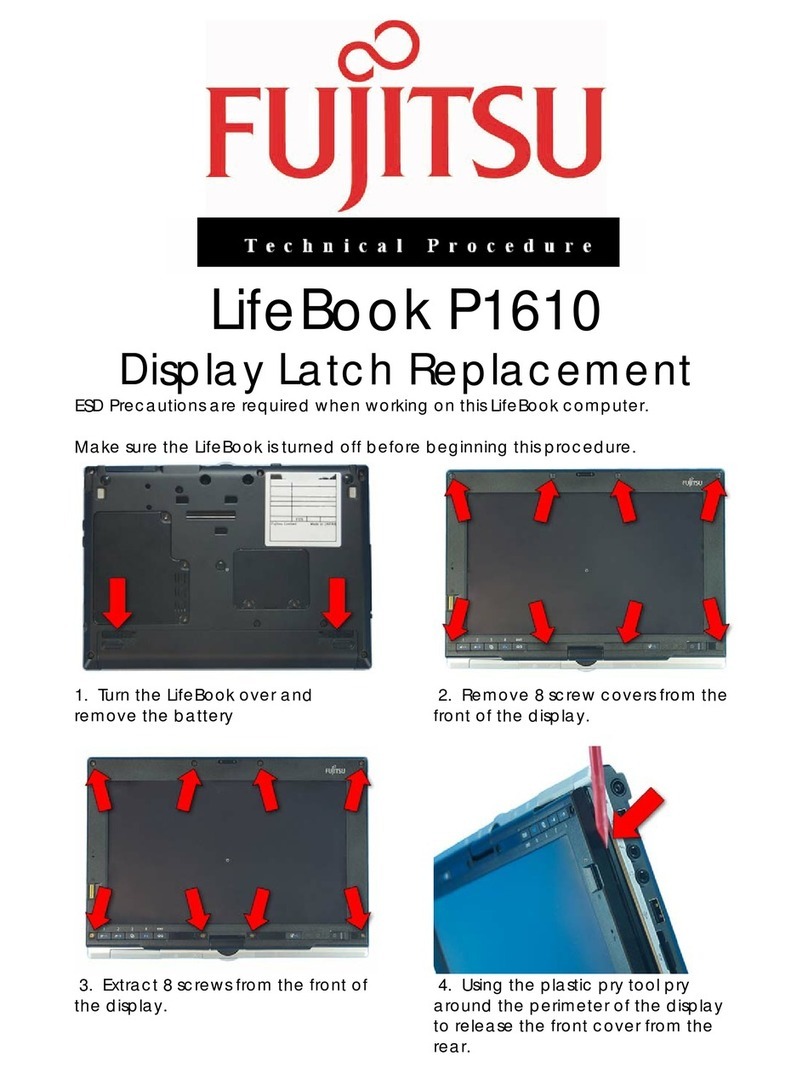
LifeBook P1610
Lower Case Replacement
ESD Precautions are required when working on this LifeBook computer.
Make sure the LifeBook is turned off before beginning this procedure.
1. Turn the LifeBook over and
remove the battery
3. Release the cable by flipping the
latch up.
2. Extract these 3 screws from the
Hard Disk Drive cover and lift it off.
4. Lift the Drive out.
5. Extract 11 screws from the lower
case.
7. Open the LifeBook and lay it flat.
9. Lift the top edge of the keyboard
up and turn it over
11. Tilt the Display up and rotate it ¼
turn.
6. Extract 2 screws from the rear of
the LifeBook.
8. Use a plastic pry tool to remove
the keyboard upper trim.
10. Disconnect the keyboard and
ClickPoint cables from the system
board by pulling them gently.
12. Slide out the lower hinge cover.
13. Turn the Display back and lay it
down.
15. Extract 2 screws from the Display
hinge.
17. Extract 4 screws from the upper
case and open the external VGA
connector cover.
19. Lift off the upper case.
14. Disconnect 2 Display cables from
the system board and the 2 antenna
cables from the WLAN Card.
16. Lift the Display off the lower
assembly.
18. Disconnect the ClickPoint button
cable and the speaker cable from
the system board.
20. Extract 1 screw from the WLAN
card and lift it out.
21. Disconnect the IO Board cable,
the Bluetooth cable, and the DC
power cable from the system board.
23. Extract 2 screws from the heat
sink and lift it out.
25. Disconnect the LAN cable from
the system board.
27. Extract 2 hex screws from the
external VGA connector.
22. Disconnect the CPU fan cable
from the system board.
24. Extract 3 screws from the system
board, lift it up and turn it over.
26. Extract 4 screws from the IO
Board.
28. Lift the IO Board and the RJ11
connector out of the lower case.
29. Extract 1 screw from the
Bluetooth board and lift it out.
31. Lift the external VGA connector
cover out of the lower case.
33. Extract 1 screw from the Pen
Catch and lift it out.
35. Insert the stylus into its slot.
30. Lift the RJ45 connector and
cable out of the lower case.
32. Press the stylus to release it and
slide it out.
34. Insert the Pen Catch into the
new lower case and secure it with 1
screw.
36. Insert the external VGA
connector cover into the lower case.
37. Insert the RJ45 connector and
cable into the lower case.
39. Insert the RJ11 Connector and IO
Board and secure the board with 4
screws.
41. Set the system board onto the
lower case and connect the LAN
cable.
43. Place the heat sink onto the
system board and secure it with 2
screws.
38. Insert the Bluetooth board and
secure it with 1 screw.
40. Insert 2 hex screws into the
external VGA connector.
42. Turn the system board over,
insert it into the lower case and
secure it with 3 screws.
44. Connect the fan’s cable to the
system board.
45. Connect the IO Board cable, the
Bluetooth cable, and the DC power
cable to the system board.
47. Place the upper case and
connect the ClickPoint button cable
and the speaker cable.
49. Extract 3 screws from the PCB.
51. Attach the 2 display cables to
the system board and the 2 antenna
Cables to the WLAN card.
46. Insert the WLAN card and secure
it with 1 screw.
48. Close the external VGA
connector cover and secure the
upper case with 4 screws.
50. Secure the display with 2 screws
in the hinge.
52. Tilt the display up and rotate it ¼
turn.
53. Slide the lower hinge cover into
place.
55. Plug in the cables for the
keyboard and ClickPoint.
57. Press the keyboard upper trim
into place.
59. Insert 2 screws into the rear of
the LifeBook.
54. Turn the Display back and lay it
down.
56. Turn the keyboard over and slide
it into place
58. Close the LifeBook and turn it
over.
60. Insert 11 screws into the lower
case.
61. Insert the Hard Drive.
63. Replace the Drive cover and
secure it with 3 screws.
62. Press the latch down to lock the
cable into place.
64. Replace the battery.

Other manuals for P1610 - LifeBook - Core Solo 1.2 GHz

11

Other Fujitsu Laptop manuals

Fujitsu LIFEBOOK E5512 User manual

Fujitsu

Fujitsu LIFEBOOK E5512 User manual

Fujitsu Lifebook S760 User manual

Fujitsu

Fujitsu Lifebook S760 User manual

Fujitsu LifeBook S6110 Manual

Fujitsu

Fujitsu LifeBook S6110 Manual

Fujitsu LIFEBOOK LH532 User manual

Fujitsu

Fujitsu LIFEBOOK LH532 User manual

Fujitsu Lifebook T730 User manual

Fujitsu

Fujitsu Lifebook T730 User manual

Fujitsu LIFEBOOK UH552 User manual

Fujitsu

Fujitsu LIFEBOOK UH552 User manual

Fujitsu ESPRIMO Mobile U9210 User manual

Fujitsu

Fujitsu ESPRIMO Mobile U9210 User manual

Fujitsu LifeBook A6010 User manual

Fujitsu

Fujitsu LifeBook A6010 User manual

Fujitsu A6220 - LifeBook - Core 2 Duo 2.13 GHz User manual

Fujitsu

Fujitsu A6220 - LifeBook - Core 2 Duo 2.13 GHz User manual

Fujitsu A6210 - LifeBook - Core 2 Duo 2.26 GHz User manual
Fujitsu

Fujitsu A6210 - LifeBook - Core 2 Duo 2.26 GHz User manual

Fujitsu ST5031 - Stylistic Tablet PC User manual

Fujitsu

Fujitsu ST5031 - Stylistic Tablet PC User manual

Fujitsu Lifebook P1510D Manual

Fujitsu

Fujitsu Lifebook P1510D Manual

Fujitsu Lifebook AH531 User manual

Fujitsu

Fujitsu Lifebook AH531 User manual

Fujitsu LifeBook C-6581 Manual

Fujitsu

Fujitsu LifeBook C-6581 Manual

Fujitsu S7211 - LifeBook - Core 2 Duo GHz User manual

Fujitsu

Fujitsu S7211 - LifeBook - Core 2 Duo GHz User manual

Fujitsu S6510 - LifeBook - Core 2 Duo GHz User manual

Fujitsu

Fujitsu S6510 - LifeBook - Core 2 Duo GHz User manual

Fujitsu LIFEBOOK A1130 User manual

Fujitsu

Fujitsu LIFEBOOK A1130 User manual

Fujitsu LIFEBOOK T935 User manual

Fujitsu

Fujitsu LIFEBOOK T935 User manual

Fujitsu LIFEBOOK P Series Product information sheet

Fujitsu

Fujitsu LIFEBOOK P Series Product information sheet

Fujitsu LIFEBOOK U7410 User manual

Fujitsu

Fujitsu LIFEBOOK U7410 User manual

Fujitsu LIFEBOOK U904 User manual

Fujitsu

Fujitsu LIFEBOOK U904 User manual

Fujitsu CELSIUS H7613 User manual

Fujitsu

Fujitsu CELSIUS H7613 User manual

Fujitsu FPCR34711 User manual

Fujitsu

Fujitsu FPCR34711 User manual

Fujitsu ESPRIMO Mobile V6555 User manual

Fujitsu

Fujitsu ESPRIMO Mobile V6555 User manual

Popular Laptop manuals by other brands

Winbook N3 Frequently asked questions

Winbook

Winbook N3 Frequently asked questions

Toshiba Satellite M45 Resource Guide

Toshiba

Toshiba Satellite M45 Resource Guide

Orion X5 user manual

Orion

Orion X5 user manual

Dell Inspiron N5110 Setup guide

Dell

Dell Inspiron N5110 Setup guide

Lenovo ThinkPad Z60m Series Instrucciones de instalación

Lenovo

Lenovo ThinkPad Z60m Series Instrucciones de instalación

Dell Precision 3530 Service manual

Dell

Dell Precision 3530 Service manual

Lenovo ThinkPad Edge E420 1141 user guide

Lenovo

Lenovo ThinkPad Edge E420 1141 user guide

Toshiba Satellite A20 Series Maintenance manual

Toshiba

Toshiba Satellite A20 Series Maintenance manual

Toshiba L645D-S4100 Specifications

Toshiba

Toshiba L645D-S4100 Specifications

Dell Inspiron 1120 Hardware guide

Dell

Dell Inspiron 1120 Hardware guide

Fujitsu Siemens Computers AMILO Xa 3530 datasheet

Fujitsu Siemens Computers

Fujitsu Siemens Computers AMILO Xa 3530 datasheet

Lenovo 21DA0008IX user guide

Lenovo

Lenovo 21DA0008IX user guide

Sony SVS13A1CGXB Specifications

Sony

Sony SVS13A1CGXB Specifications

Sony VAIO SVP11213CXS quick guide

Sony

Sony VAIO SVP11213CXS quick guide

HP Compaq NX7300 Quickspecs

HP

HP Compaq NX7300 Quickspecs

Sony VAIO VPCCW1JGX Specifications

Sony

Sony VAIO VPCCW1JGX Specifications

Lenovo ThinkCentre M90s Setup guide

Lenovo

Lenovo ThinkCentre M90s Setup guide

Dell Latitude 15 3580 quick start guide

Dell

Dell Latitude 15 3580 quick start guide

manuals.online logo
manuals.online logoBrands
  • About & Mission
  • Contact us
  • Privacy Policy
  • Terms and Conditions

Copyright 2025 Manuals.Online. All Rights Reserved.