2
Product information
Thank you for purchasing our products, we wants your child to enjoy this product for
years to come.
Before using this product, it is important to read and understand the user manual,
because the user manual contains assembly step and can tell you how to operate
this product, also can tell you the ways to avoid the damage for the product and hurt
the rider due to improper use. Most important thing is that the manual can let you
know safety precautions. Please read and understand this manual, let your kids know
how to operate the product.
Table of content
1. About your new “spin krazy”
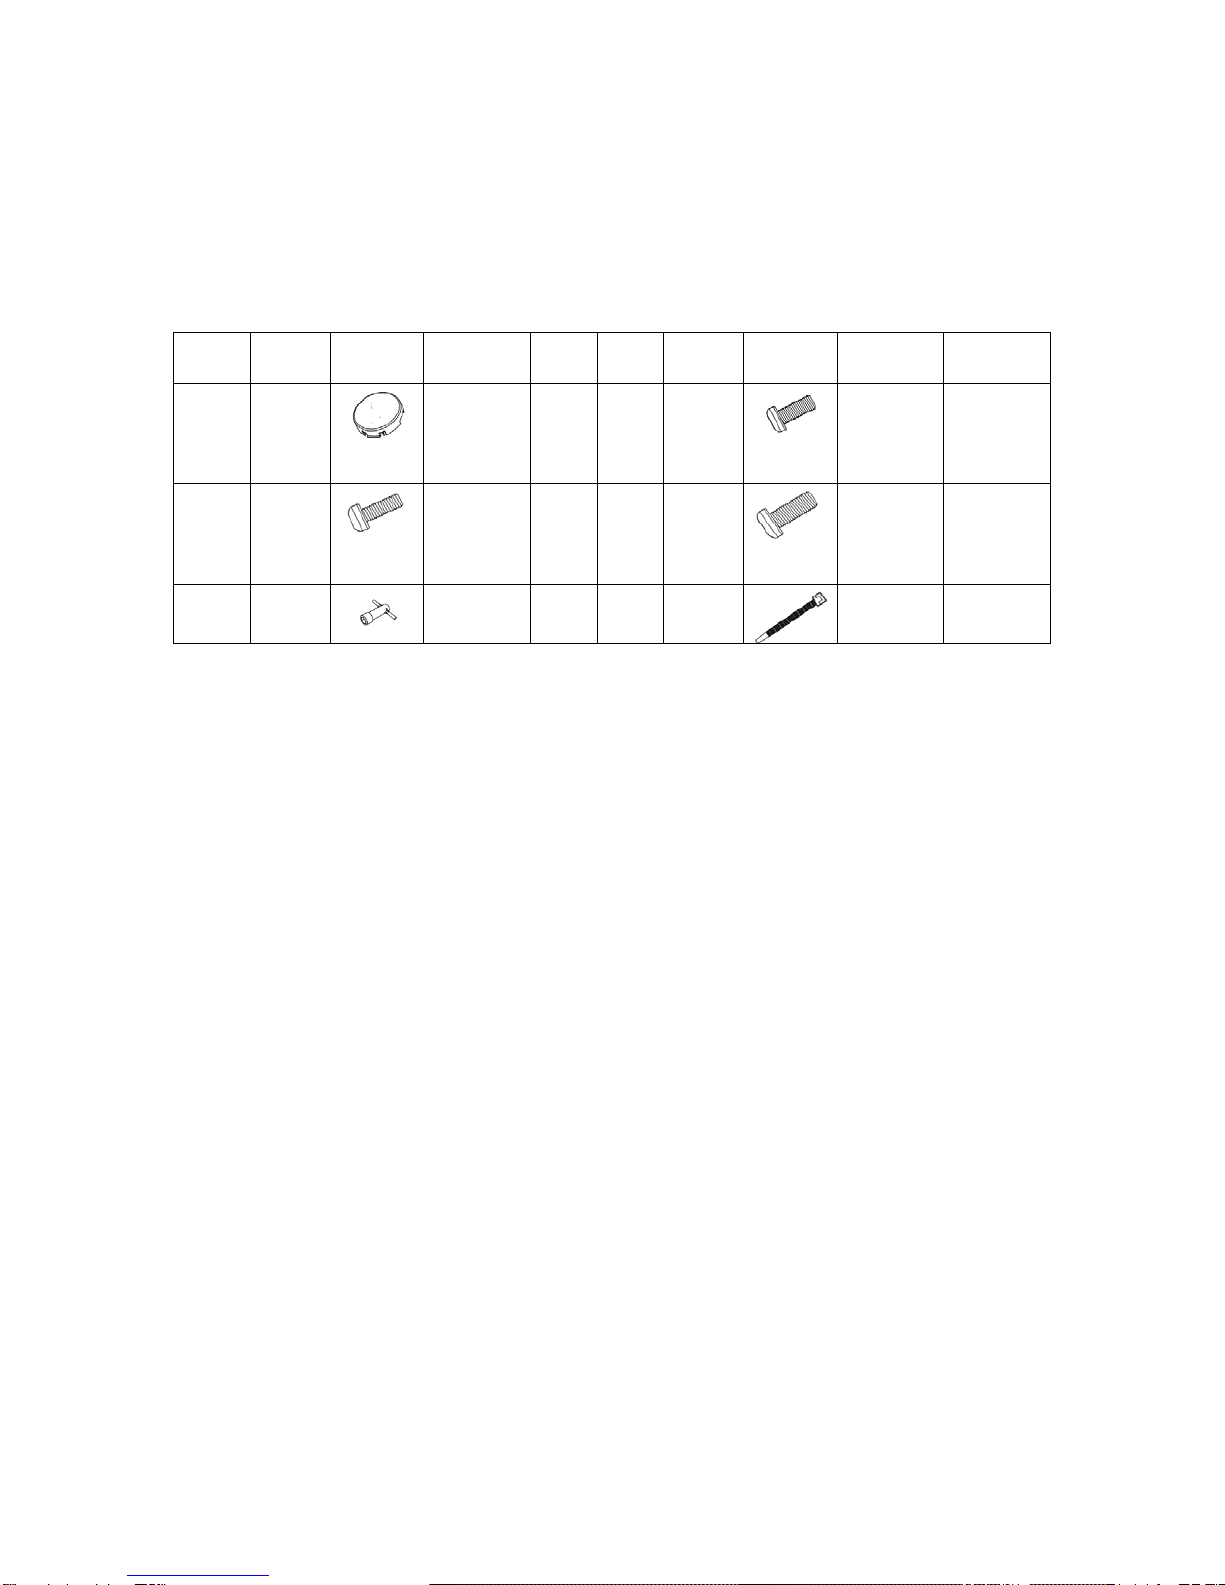
2. Parts list
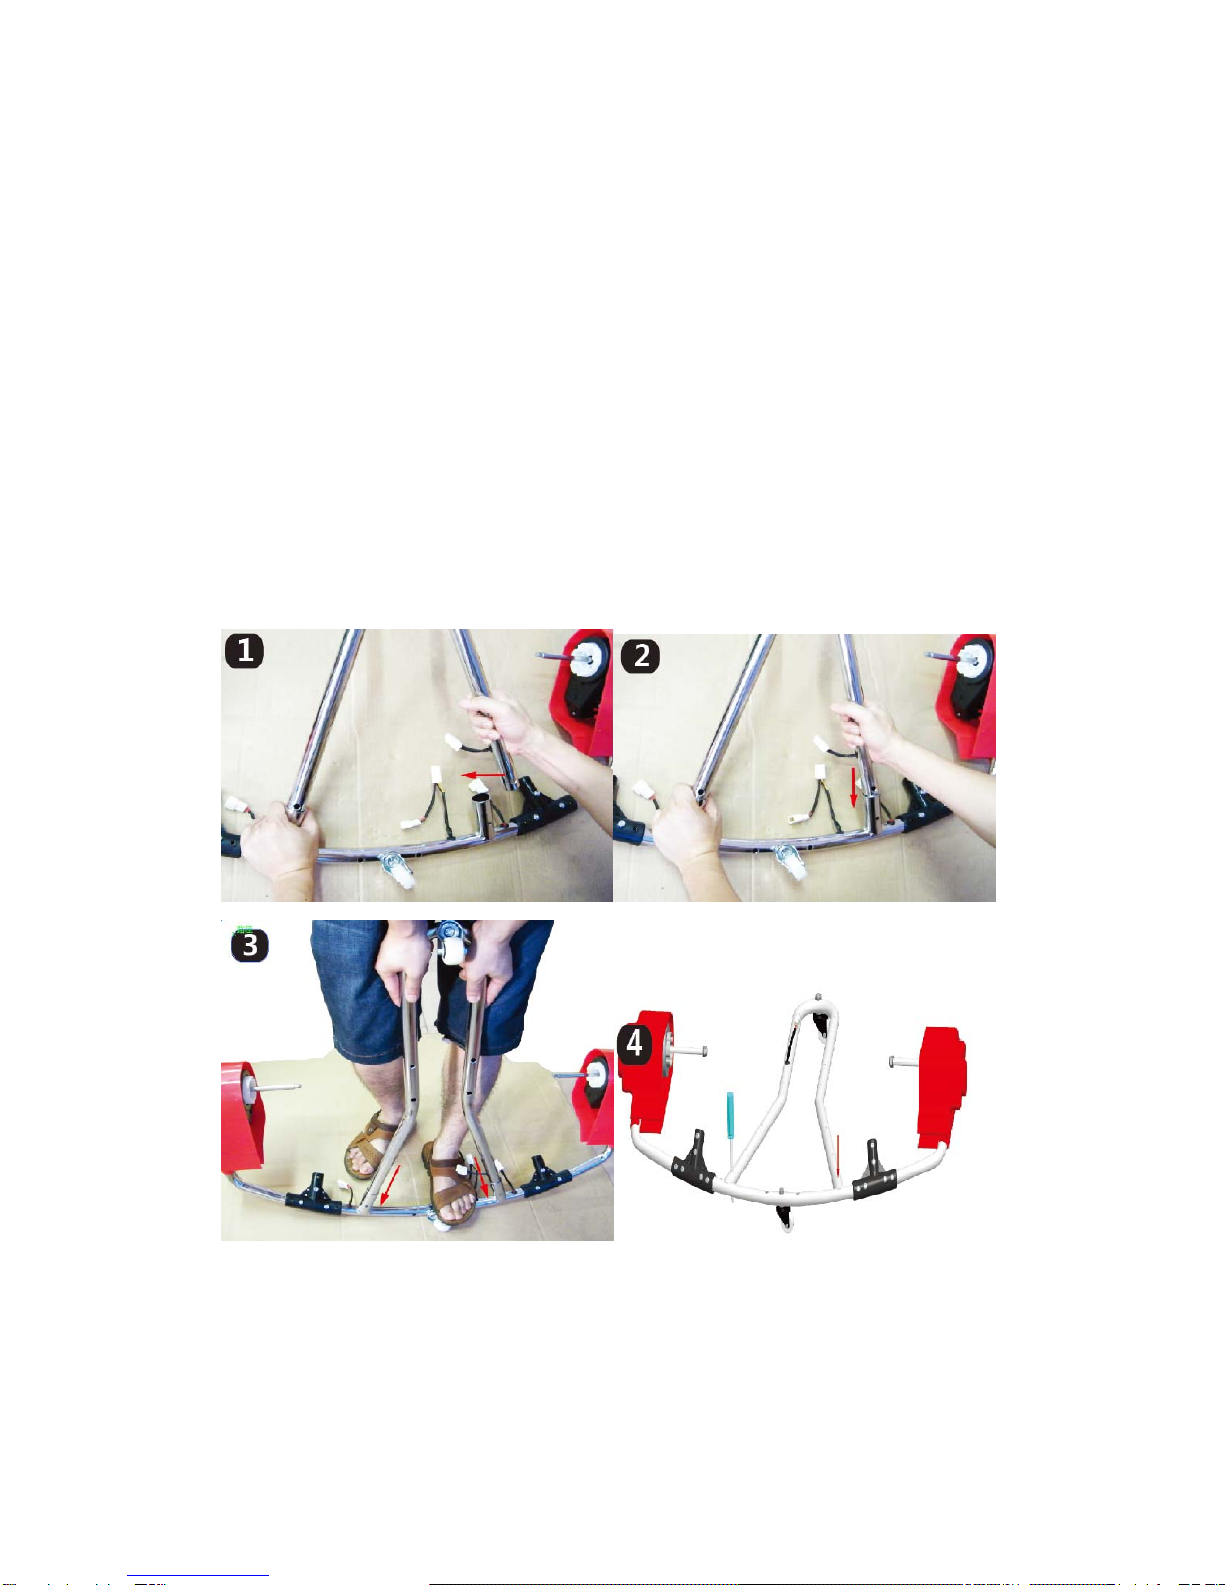
3. Assembly steps
4. How to operate your “spin krazy”
5. How to charge the “spin krazy”
6. Troubleshooting guide
7. Maintaining your “spin krazy”
8. Disposal of battery
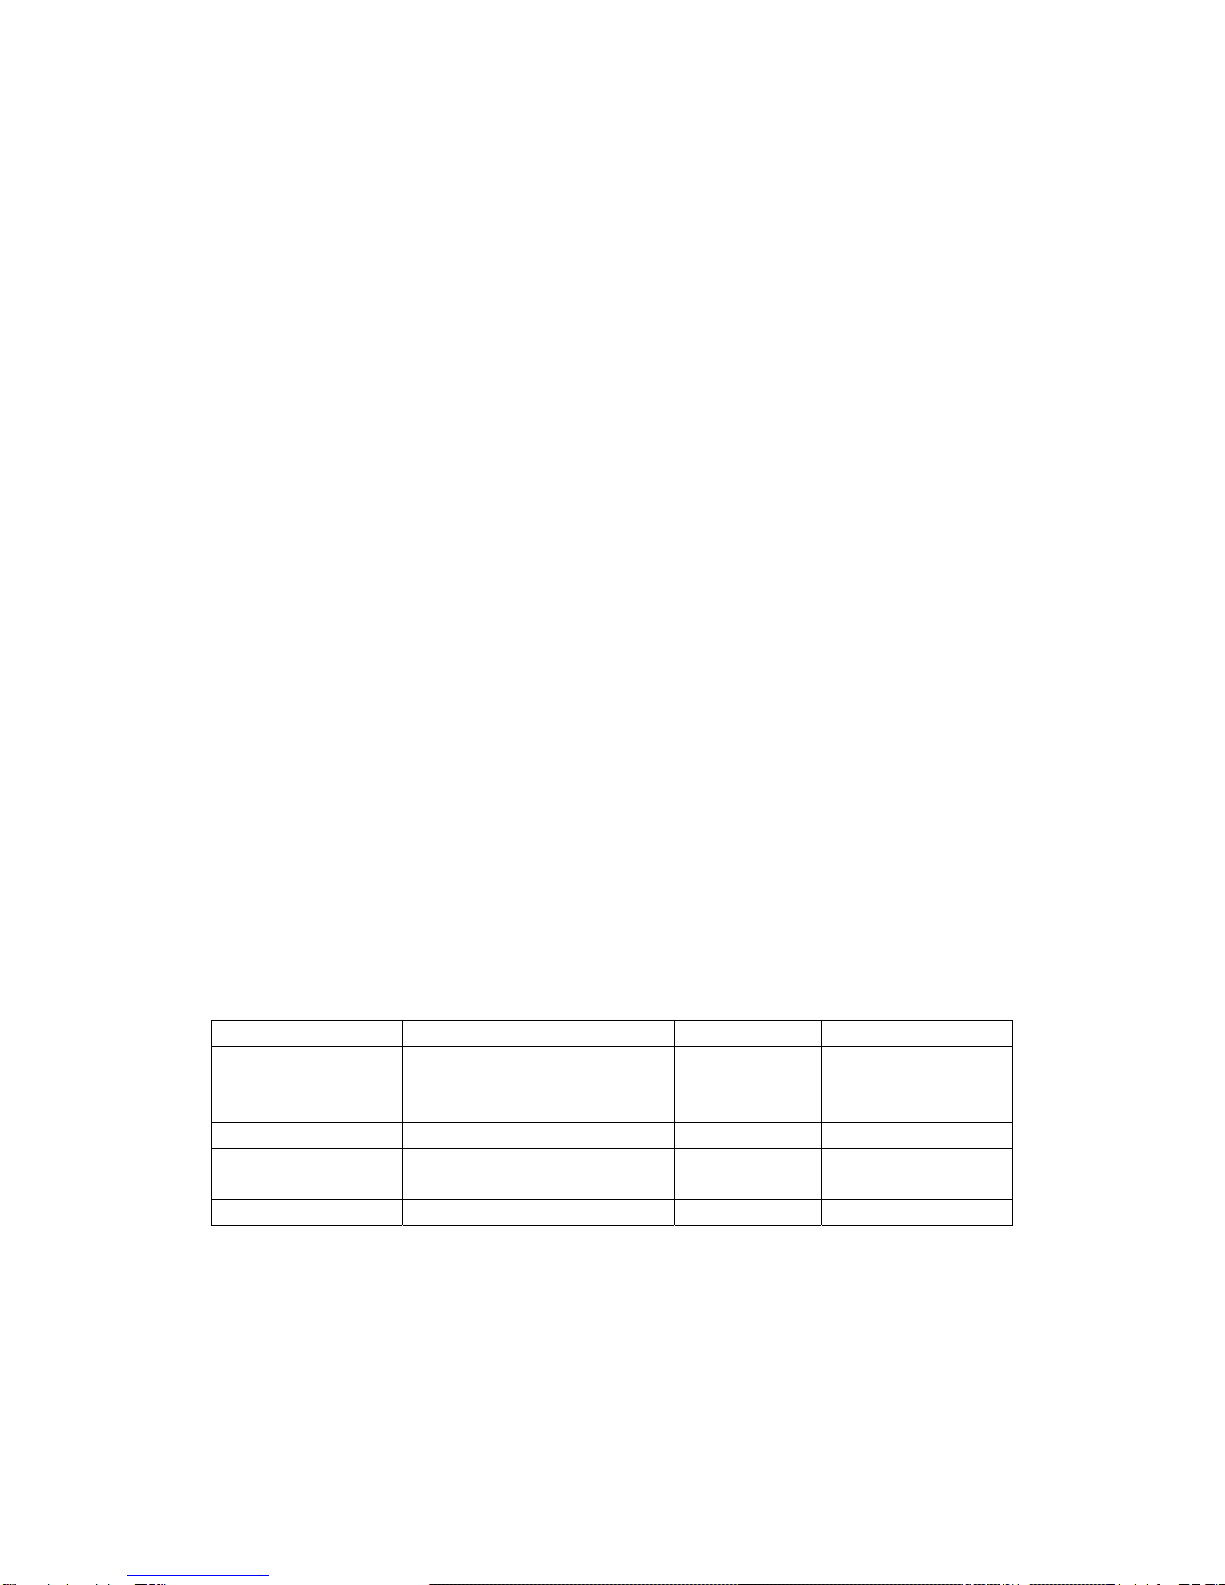
About your new “spin krazy”
Suitable age: 6+ years Battery: 12v7ah
Maximum user
weight: 32kgs/70.55lbs Size of the
product: 74.7*99.8*48.6cm
29.4*39.29*19.13i
nch
Speed: 7.5km/h 4.66m/h Power way: Charging type
Charger: Input: 120v
Output: DC 12V1000MA Average
battery life: Approximately 300
times
Charge time: 10-12 hours Fuse: 15A
FOR THE SAFTY OR YOUR CHILD, PLEASE READ ALL WARNINGS AND
ASSEMBLY/USE INSTRUCTIONS. KEEP THIS GUIDE FOR FUTURE REFERENCE.
● ADULT ASSEMBLY REQUIRED. The product contains small parts, which are for
adult assembly only. Keep small children away when assembling.
● Always remove protective material and poly bags and dispose of properly before
assembly.