Fusion Broadband nanoBonder User manual

Getting Started Guide www.fusionbroadband.com.au
Fusion Bonded Hybrid 1300 523 526
Welcome
Thank you for choosing Fusion Broadband and our broadband bonding solution.
This Getting Started Guide has been provided to assist you in understanding how your new Fusion Bonded Hybrid service works, as well as
providing installation assistance and other important information.
This guide will cover:
Contacting Fusion Broadband
Getting Help
Installation of your Fusion Bonded Hybrid service (using the Fusion nanoBonder)
Troubleshooting your installation
Lodging a Support Ticket
The Fusion Bonding Admin Portal
Please read this Getting Started Guide in its entirety as it contains valuable information about your Fusion Bonding Service and will assist
you with any issues you may have regarding your broadband bonding service.
Contacting Fusion Broadband - not always the first step!
We welcome any feedback you may have about your Fusion Bonding Service and can be contacted at any time should there be a need for
our assistance.
However, we encourage you to utilise this Getting Started Guide as well as the other available online help resources prior to contacting
Fusion Broadband. Whilst we will be happy to assist in the event of a bonding issue, the vast majority of any issues you come across in your
office are generally remedied by simply reviewing your connections (broadband services), your staff’s current Internet usage or something
very simple that is not bonding related.
This guide will point you in the right direction for the first port of call when assessing any connectivity issue.
If you are unable to diagnose or remedy a fault, please Lodge a Support Ticket through the Bonding Administration Portal (see page 4)for a
fast response or call out Support Staff on 1300 553 526.
Getting Help - Take These Steps
The Fusion Bonding service is very robust and generally needs no intervention. Once it is installed and ‘fine tuned’ by Fusion Support Staff it
will happily bond your broadband services as required. In saying that however, problems do arise - the Internet sometimes breaks!
Take these steps to ascertain the best course of action in the event of a fault/connection/speed issue.
1. Access the Bonding Admin Portal (see page 4)
Check your connections through the Bonding Administration Portal first. Do things like:
Ensure that you have all Green Lights for each of your broadband connections. If not, maybe a modem is unplugged or your
ISP has an issue.
Check your Bandwidth Charts. Perhaps there is a massive download occurring in the office that is filling your bandwidth.
Perhaps a staff member is backing up their Smartphone to the Cloud and using all your bandwidth?
2. Check your Router/Power
If you have lost connectivity, maybe the router has failed. Maybe the Router/nanoBonder has lost Power. Check that you have power
to the modem and the USB 3/4G dongle is connected properly.
3. Contact your IT Service Provider
If you have a company that you pay to monitor your IT equipment, call them. They will have access to your Bonded Hybris through the
Portal also. They can diagnose any connectivity issues for you.
4. Contact Fusion Broadband
If all else fails, Lodge a Support Ticket or call our Support line on 1300 553 526. In the unlikely even that there is an issue with the
nanoBonder, we will do our best to have you back online as soon as possible.
Fusion Broadband Pty Ltd. ABN 18149550541 10,50 Market Street, Melbourne, VIC 3000. info@fusionbroadband.com.au
© 2015 Fusion Broadband Pty Ltd Page 1

Getting Started Guide
Bonded Hybrid Installation
1
2
3
4
Unpack your nanoBonder
Inside the shipping box you should have:
The bonding hardware device (nanoBonder)
A Power Adapter
An Ethernet cable
USB right-angle adapter
A Service ID Form (also available in the Admin Portal)
New TP-Link Modem (if ordered)
If you are missing any contents, please contact us by lodging a Support Ticket (see Page 3) and we will ship them as
soon as possible. If you have all the required pieces, installation should take no more than 30 minutes.
The instructions below describe what you need to do and in the correct order.
Install the nanoBonder
The Fusion Hybrid service uses the nanoBonder hardware. It is a desk-mount unit.
Locate the nanoBonder in a well ventilated area. If mounting inside a LAN rack, be sure there is clear space around the device.
Keep in mind that the system needs to be physically near your router as well as your ADSL connection. The 3/4G service needs a
good signal too.
Set up your Modem
Set up the ADSL modem. The modem has three connections* on the back:
One for your ADSL (telephone) line - shown in grey here (plug this in now )
One for an Ethernet cable
One for the power cable
IMPORTANT: If you have supplied your own modem, please be sure that they have been configured into Full Bridge
Mode. The modem supplied by Fusion Broadband come pre-configured in Full Bridge Mode with Ethernet cables;
there is no need to make any changes with these modems. *Other modem brands may have more ports.
Connect the modem and nanoBonder together
Plug an Ethernet cable into the modem and the other end into the nanoBonder starting with WAN 1 according to the Fusion
Service ID Form we issued with your nanoBonder. A copy of the Service ID Form is available in your Admin Portal.
IMPORTANT: The modem needs to be plugged into the correct port as shown on the Service ID Form.
If you don’t require a modem, plug the Ethernet cable from the hardware supplied by your Internet Service Provider.
A
B C
A
6
Connect your Router to the nanoBonder
Connect the WAN port on your Router to the LAN port on the nanoBonder. E
8
Configure your Router
Use the Service ID Form to enter these details into your router. You will need to configure the WAN port to make a Static Connection
to the nanoBonder by inputting the WAN IP address, Netmask and Gateway as well as DNS details. If you have PCs connected to
your router, you may have to change the DNS settings on each PC if it is not set to automatically get it from your router.
(if ordered)
Router - WAN Port
LAN Wan 1 USB
7
B
C
E
E
Power Up!
Plug the Modem and nanoBonder power adapters in to turn them all
on. Typically the modems will take a few minutes to come up and run
through their diagnostic tests. Once everything is running you should
see several lights on your modems: Power, Ethernet, DSL, Internet
(which will usually flash on and off). It can take up to 5 minutes for the
nanoBonder to initiate the PPP sessions (or authenticate the ISP
details) through your modems.
© 2015 Fusion Broadband Pty Ltd Page 2
5 D
Connect your USB 3/4G dongle
Plug your USB dongle into one of the USB ports (using the connector supplied if required).
D

Getting Started Guide www.fusionbroadband.com.au
Troubleshooting Connectivity 1300 523 526
Router Settings
The Service ID Form included in the shipping box will details all the necessary steps when configuring your router but here are a few other
options you should to configure (if required):
Primary DNS Server: 8.8.8.8
Secondary DNS Server: 8.8.4.4
SMTP Relay: au.smtp.fusionbroadband.com.au or smtp.mx.plat.net.au
3/4G Carrier Settings
Be sure that your carrier sends you data level alert messages. We never throttle the speed of your service so having alerts set will allow
you to take appropriate action should you exceed your mobile data allowance.
If your 3/4G data allowance is exceeded, you can access the Bonding Administration Portal and flick the 3/4G service over to Failover
mode. This will prevent data being pushed up through the 3/4G service and your connection will now solely be using your ADSL service
(you will obviously notice a reduction in uplink speed).
Check Connectivity
The simplest way to test your connection is to ensure your computers connected to your LAN have Internet connectivity. If not, please refer
to Installation Troubleshooting below.
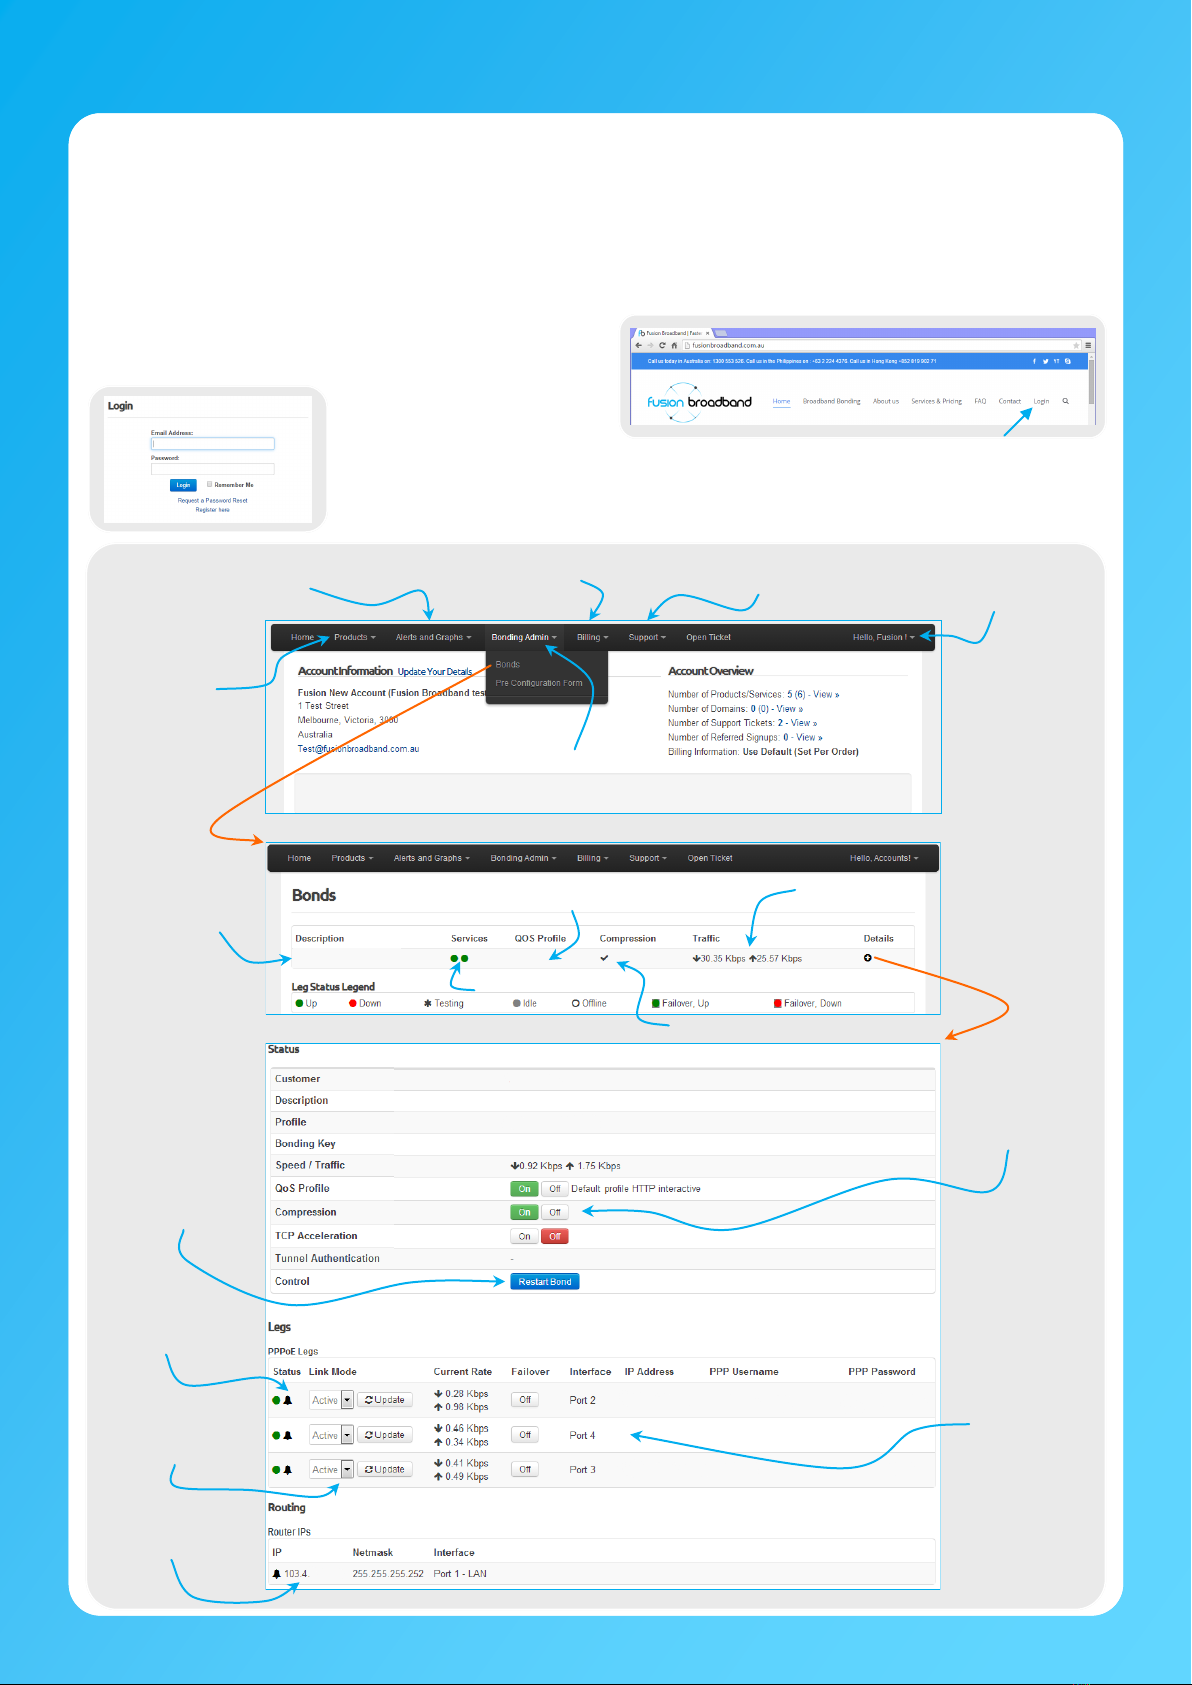
Alternatively, you can login to the Fusion Bonding Administration Portal using the account details provided to you when the nanoBonder was
ordered. There is further information in this Getting Started Guide about the Admin Portal on page 4.
If you have connected the nanoBonder correctly and have connectivity, contact Fusion Broadband to advise that your nanoBonder is up and
running. Fusion will run some tests to ensure your nanoBonder is operating efficiently. This will most likely be done out of hours so as not
to interrupt your Internet connection.
Installation Troubleshooting
The most common problem is that your modem is not in the correct port on the nanoBonder –double check this using the Service
ID Form as your guide. The Service ID Form is also available in the Bonding Administration Portal (see page 4)
Another common problem is that the modem is not in Full Bridge Mode. If you have used your own modem, please read the manual
to ensure the modem is correctly configured in Full Bridge Mode.
Check the lights on your modem.
On a successful connection you will see (Power –power is getting to the modem, Ethernet –your modem is connected to the
nanoBonder, DSL –your modem has detected a DSL signal, Internet –this will be flashing if the nanoBonder has successfully
established a connection to the ADSL line).
Check the operation of your ADSL line. This can be done easily by configuring your modem to connect independently to the ADSL
line (the same way you would if you did not have a nanoBonder). Plug a PC directly into the modem and verify that you have
internet connectivity. Once you have this change the settings to take the modem back to ‘Full Bridge Mode’.
If you see that the modems has flashing Internet lights and that the Ethernet WAN port lights on the nanoBonder are flashing, this
means that the nanoBonder is connected. The next step would be to verify the settings on your router. Check your WAN IP
address is correct as well as the DNS server IP addresses as advised on the Service ID Form.
To verify that you have full connectivity, directly connect a laptop to the Bonding system using your specific WAN details (be sure to
set a static IP address and the correct DNS IP addresses). Once you have verified this check the configuration details on your
router.
Lodging a Support Ticket
Before lodging a support ticket, please review the Troubleshooting steps above. Nine times out of ten a connectivity problem is due to an
ISP’s broadband service being unavailable or a modem/USB failing - something that is out of our control!
If you are still having connectivity problems, please lodge a Support Ticket by logging on to the Bonding Administration Portal and choosing
Tickets from the Support menu.
Click the button and after choosing the department to submit your support request to, complete the details of your problem
and click Submit.
If you cannot connect at all in order to submit a ticket, please call us on 1300 553 526 and choose the Support option.
© 2015 Fusion Broadband Pty Ltd Page 3

Getting Started Guide www.fusionbroadband.com.au
The Bonding Administration Portal 1300 523 526
The Fusion Bonding Administration Portal
The Portal should be the first port of call for any issues regarding your Fusion Broadband account or bonding service. You have access to
Fusion’s online portal that will allow you to monitor the status of your Bonded Hybrid service as well as many other options including:
Upgrading your service
Checking the status of your broadband services
Creating alerts to advise of connection losses
Reviewing and paying invoices
Lodging Support Tickets
Ordering new services
Creating sub-accounts
Much more
The Bonding Administration Portal is accessed by clicking on
the Login menu item on the Fusion Broadband website.
You will then be asked for your Email Address and Password. The email address would be the same
as the one your Fusion account was created with. You can request a Password reset if required.
Once logged in, you will see the following screen and the available menu options.
Set Alerts/View Graphs Manage your
Account here
View Invoices
and Quotes
Knowledge Base
and Support Tickets
Order new
Products/Services
View Bonds
and Leg Status
Current Leg Status
Quality of Service Profile
(ticked if enabled)
Compression status (On/Off)
Current speed
of traffic
Bond Name
Business Name
Access Bonds
Access Bond
Details
Switches for QoS,
Compression and
TCP Acceleration
123.123.123.123 PPPUsername PPPPassword
X.X
Business Name
Profile details
Unique Bonding Key
Individual Leg
Information
(IP and PPP details
hidden here)
Your IP Address
Click to change status of
leg to Idle or to set as
Failover
Click to set alarms and
view statistics on the Leg
Restart Bond Button
Brief description
© 2015 Fusion Broadband Pty Ltd Page 4
Popular Network Router manuals by other brands

ZyXEL Communications
ZyXEL Communications VMG8324-B10A series quick start guide

Araknis Networks
Araknis Networks 310 Series USER INTERFACE MANUAL

BinTec
BinTec elmeg T484 operating instructions

Cudy
Cudy MF4 Quick installation guide

S2Konnect
S2Konnect S-8180T user manual

ZyXEL Communications
ZyXEL Communications P8701T user guide