WIFI OPERATION
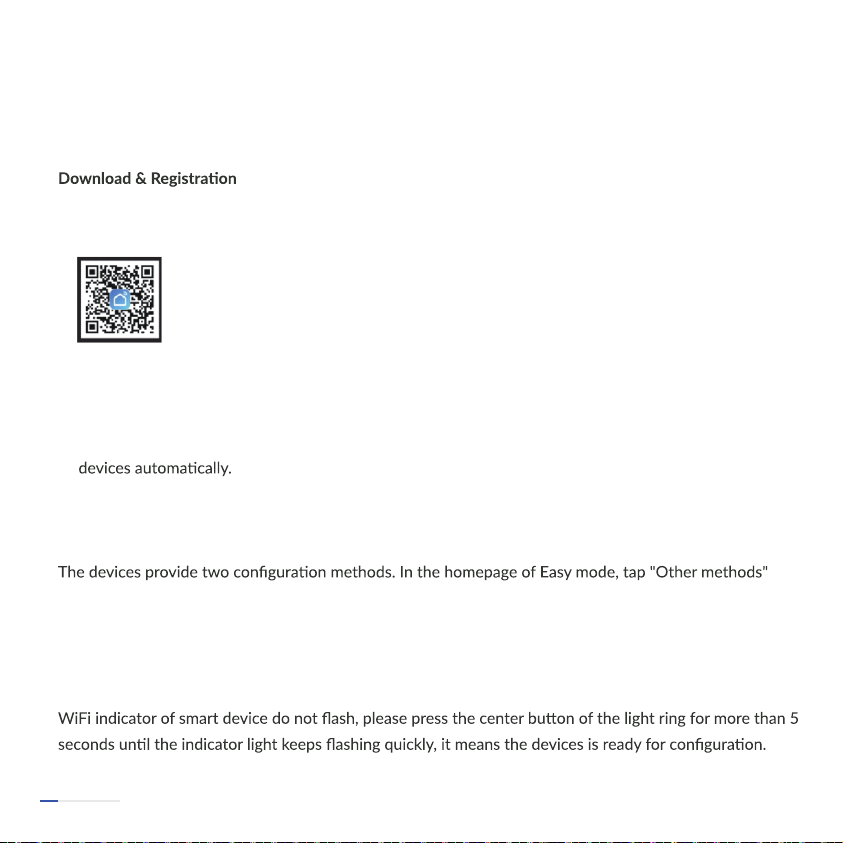
1. Scan the QR code to download "Smart Life" APP. You can also search "Smart Life" in either APP store
or Google Play to install the APP.
2. Open the "Smart Life APP", tap "Register" to register a "Smart Life" account with your phone number
or E-mail. Then sign in the APP.
3. Open the "Smart Life APP", click "add device" or tap "+" on the top right corner of the APP homepage.
There are two methods to enter the page of "add device" -Add WiFi manually or search for the
In the homepage of add device manually, choosing any one of product rang to enter a new homepage
and ensure the indicator light flash quickly.
on the top right corner to enter Easy mode and AP mode, then could choose one of mode to connect
with WiFi.
ADD DEVICE IN DEFAULT MODE (RECOMMENDED):
Make sure your smart device is energised and your mobile phone is connected to your WiFi network. If the
3. When the machine is in standby mode, push the screen to turn on, then it enters manual mode.
The greater the angle of adjustment, the higher the wind speed; conversely, the lower the angle of
adjustment, the lower the wind speed.
04
WIFI OPERATION
1. Scan the QR code to download "Smart Life" APP. You can also search "Smart Life" in either APP store
or Google Play to install the APP.
2. Open the "Smart Life APP", tap "Register" to register a "Smart Life" account with your phone number
or E-mail. Then sign in the APP.
3. Open the "Smart Life APP", click "add device" or tap "+" on the top right corner of the APP homepage.
There are two methods to enter the page of "add device" -Add WiFi manually or search for the
In the homepage of add device manually, choosing any one of product rang to enter a new homepage
and ensure the indicator light flash quickly.
on the top right corner to enter Easy mode and AP mode, then could choose one of mode to connect
with WiFi.
ADD DEVICE IN DEFAULT MODE (RECOMMENDED):
Make sure your smart device is energised and your mobile phone is connected to your WiFi network. If the
3. When the machine is in standby mode, push the screen to turn on, then it enters manual mode.
The greater the angle of adjustment, the higher the wind speed; conversely, the lower the angle of
adjustment, the lower the wind speed.
04