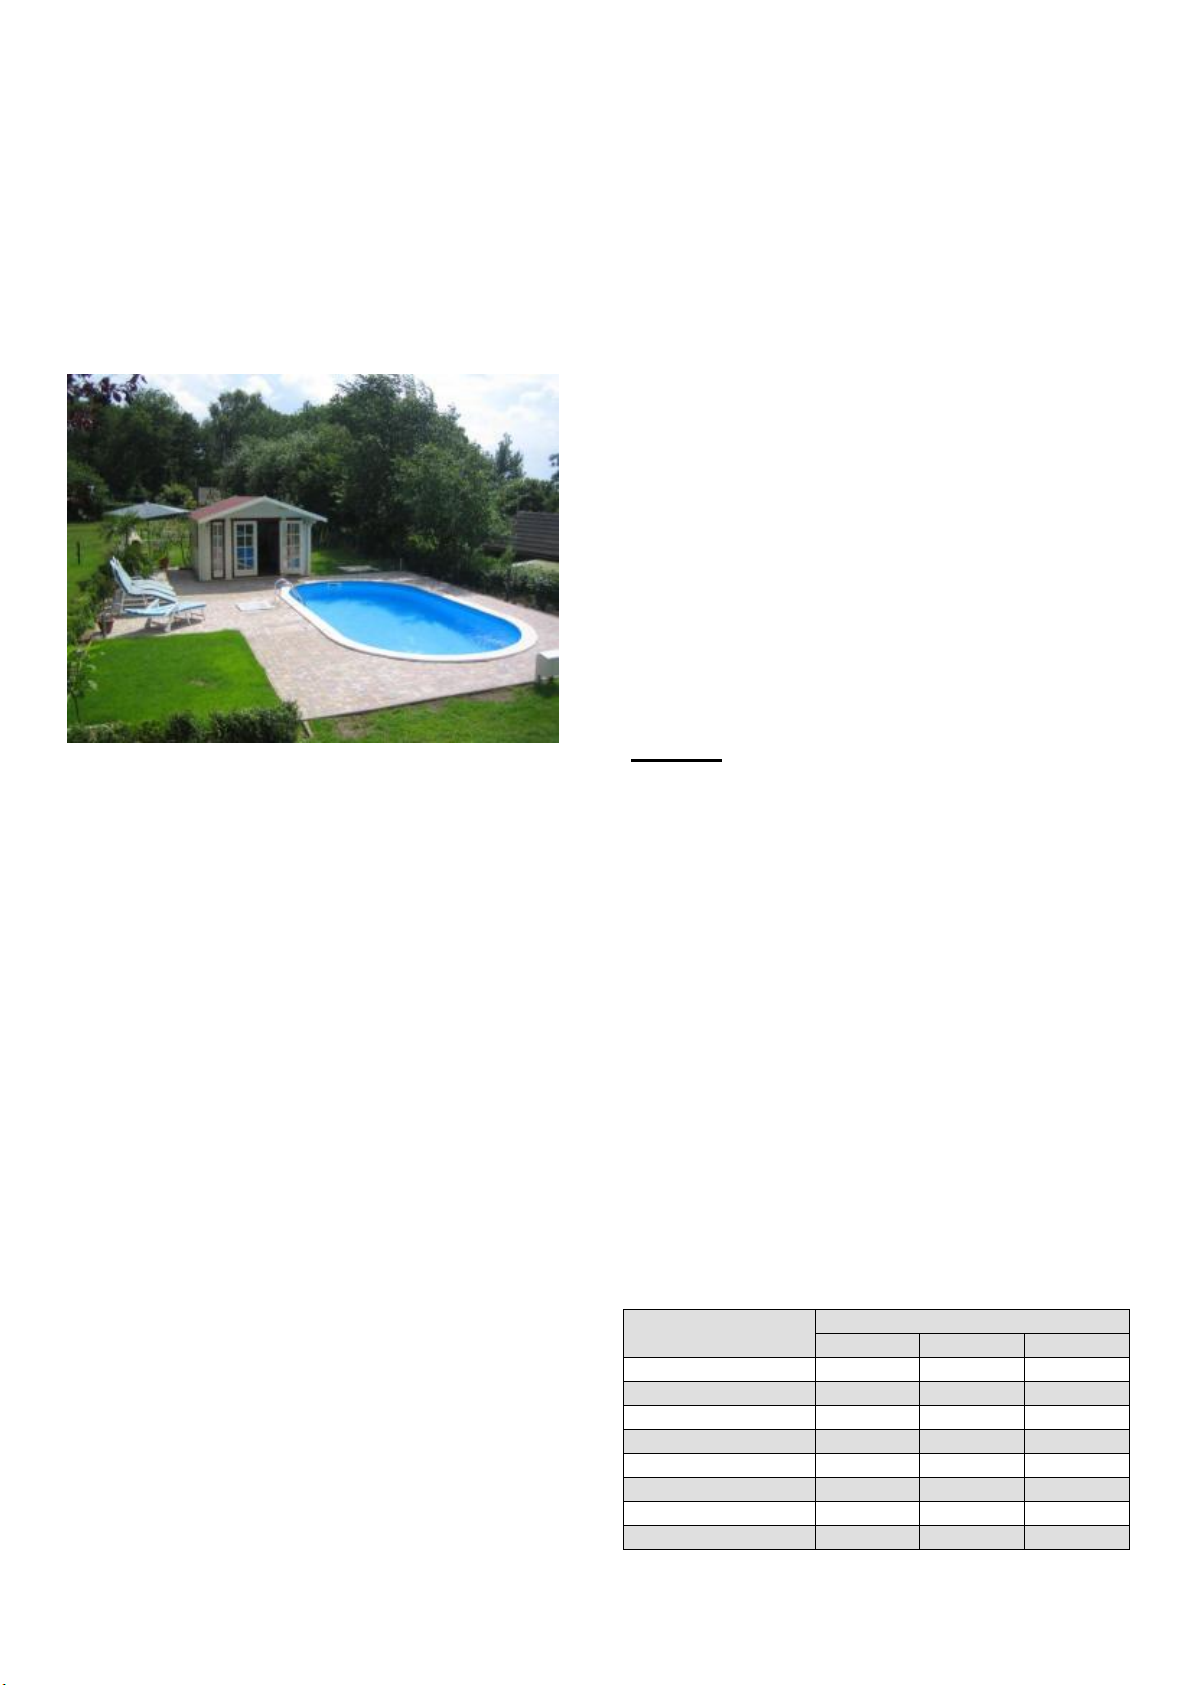
Future Pool SWIM User manual

- 1 -
Assembly and
Operating Instructions
Oval-Shaped Pool
SWIM
Important notes:
Please first read all parts of these instructions very carefully
and follow the advice given.
Before beginning with installation, check the swimming pool
components and make sure that nothing is missing. Also
ensure that all components are in perfect condition. We can-
not accept any liability for transport damage on parts which
have already been assembled or installed.
We reserve the right to make alterations which reflect tech-
nical progress.
If you fit your swimming pool with electrical equipment (e.g.
filter system, underwater spotlights, counter-current unit
etc.), all electrical work involved must be carried out by a
recognised specialist company in accordance with relevant
DIN and VDE regulations (e.g. DIN VDE 0100 Section
702).
Before beginning instal-
lation, you must observe
the following points:
Preparing the foundations:
The ground location for the swimming pool must be firm and
completely level; sloping areas must therefore be dug out.
The ground under the swimming pool must consist of natu-
rally compacted soil and not simply be filled in. Filled-in soil
must be compacted so that the pool does not sink into it. We
always recommend installing a concrete baseplate.
The soil must be freed from any pieces of wood or other
debris which could damage the PVC liner.
In the case of an asphalt or concrete base the PVC liner must
be protected from direct contact with the ground. We rec-
ommend the use of our PE protective ground tarpaulins for
this, or insulating and protective matting.
Please be sure that the PVC liner only comes into contact
with materials which are compatible with PVC. We
therefore always recommend Future Pool PE protective
ground tarpaulins or insulating and protective matting as
underlay.
Temperature
The PVC liner of your swimming pool is made from ther-
moplastic material. You should therefore make sure that you
assemble your pool under external temperature conditions of
approx. + 15° C to +25° C. And you should also not hang the
liner in the pool in strong sunlight; on warm and sunny days
you should wait until evening before hanging the liner.
Above-ground or in-ground?
Caution: The SWIM oval-shaped pool is only suitable
for complete in-ground installation! Retaining walls are
necessary along the parallel sides!
Preparing pool foundations
The ground surface in the area of the foundation pit for the
swimming pool must satisfy statics requirements. The
ground under the swimming pool must consist of naturally
compacted soil and not simply filled in. Filled-in soil must
be compacted so that the pool does not sink into it. However,
it is better if the pool is located on a concrete baseplate.
On no account use fill-in soil on sloping locations! Slopes
must be dug away. Remaining sloping sides must be sup-
ported by retaining walls. On no account must the pool wall
shore up the slope! Drainage must be installed if the ground
slopes down to the swimming pool or where groundwater is
encountered! If in doubt you should consult a building ex-
pert, as we accept no liability for in-ground installation.
Excavating the pool foundations
Keep to the minimum dimensions of the foundation pit set
out in the table below!
Size of
swimming pool
Dimensions of the foundation pit
A
B
C
450 x 300 cm
360 cm
490 cm
190 cm
530 x 320 cm
380 cm
570 cm
250 cm
623 x 360 cm
420 cm
663 cm
310 cm
700 x 350 cm
410 cm
740 cm
390 cm
737 x 360 cm
420 cm
777 cm
420 cm
800 x 400 cm
460 cm
840 cm
440 cm
916 x 460 cm
520 cm
956 cm
496 cm
1100 x 550 cm
610 cm
1140 cm
590 cm

- 2 -
Area of the foundation pit
Depth of foundation pit (excavation depth):
Depth of
swimming pool
Depth of the foundation pit
Without baseplate
With baseplate;
thickness approx. 20cm
120 cm
approx. 120 cm
approx. 140 cm
150 cm
approx. 150 cm
approx. 170 cm
We recommend concreting a baseplate with steel rein-
forcement and a thickness of approx. 15 –20 cm
(depending on soil conditions). Please discuss this with a
building expert. Construct the baseplate across the whole
width of the foundation pit, so that the retaining walls
can be built on top of the baseplate.
Building the retaining walls
Retaining walls must be built to support the straight sides. For
constructing the retaining walls use prefabricated wall blocks or
precast concrete blocks with a width of 24 cm. Push reinforcing-
steel rods (10mm) from above through the openings in the wall
blocks. Fill in all openings with concrete.
If you have not constructed a concrete baseplate you will need
foundations for the retaining walls. To build these, excavate
approx. 70 cm-deep foundation trenches and fill them with
concrete (steel reinforced) to approx. 5 cm below ground level.
Caution (only applies in the case of a concrete baseplate or
continuous foundations): If ground conditions are insecure we
recommend concreting the retaining walls and strengthening
them with reinforcing steel, in each case connecting them with
the baseplate or the foundations (in order, for example, to pre-
vent caving-in of the retaining walls when the pool is empty).
Height of the retaining walls
(measured from the upper edge of compacted or levelled ground
area, or of the concrete baseplate)
Depth of pool 120 cm = 115 cm
Depth of pool 150 cm = 145 cm
Keep strictly to the given dimensions for the retaining walls.
The pool sides of retaining walls must be absolutely straight!
Dimensions of the
swimming pool
Distance between
retaining walls
Length of the
retaining walls
450 x 300 cm
304 cm
180 cm
520 x 320 cm
324 cm
230 cm
623 x 360 cm
364 cm
293 cm
700 x 350 cm
354 cm
380 cm
737 x 360 cm
364 cm
407 cm
800 x 400 cm
404 cm
430 cm
916 x 460 cm
464 cm
486 cm
1100 x 550 cm
554 cm
580 cm
Using a suitable adhesive attach 20 mm-thick Styrodur pan-
els or other insulating panels which are suitable for use in
soil to the internal sides of the retaining walls, leaving
approx. 25 mm free for the wall tracks above the baseplate.
Please note: Take the advice of a building expert. We cannot
accept any liability for installation mistakes and damage
which result from faulty construction of the retaining walls!
Pool assembly
Depending on pool size, assembly should be carried out by
2-4 persons. We recommend that you wear gloves when
erecting the steel wall.
Laying out the wall tracks
Plug together the individual hard-PVC wall tracks (width
approx. 22 mm) using two connector pins for each join and
lay them out in the shape of the swimming pool.
Caution: Wall tracks must not sink into the ground! It may
be necessary to construct a concrete baseplate as support.
Carefully check the dimensions of the pool and the sym-
metry of the wall tracks.
Uncoiling the steel wall
Together with your helpers, place the steel wall on strong
planks in the middle of the circle of wall tracks. Uncoil the
steel wall and locate it in the wall tracks.
Make sure that the white-coated side is on the outside and
that the pre-punched holes for the skimmer and the inlet
nozzle are at the top.
Caution: The pre-punched skimmer hole is located ap-
proximately 200 cm away from the outer wall end. Make
sure when locating the steel wall in the wall tracks that the
skimmer hole is also located in the correct required place. In
the case of swimming pools with 2 steel walls the skimmer
hole is located in Wall 1.
The location of the skimmer should be at the downwind end
of the pool relative to the direction of the prevailing wind, so
that air movement reinforces the effectiveness of the filter
system by driving surface dirt towards the skimmer.
An important tip: In order to provisionally hold up the steel
wall, lay some of the handrail sections on the upper edge of
the steel wall. Also, always make sure that the steel wall is
standing in the wall tracks. We recommend the use of screw
clamps as an assembly aid for the retaining walls.

- 3 -
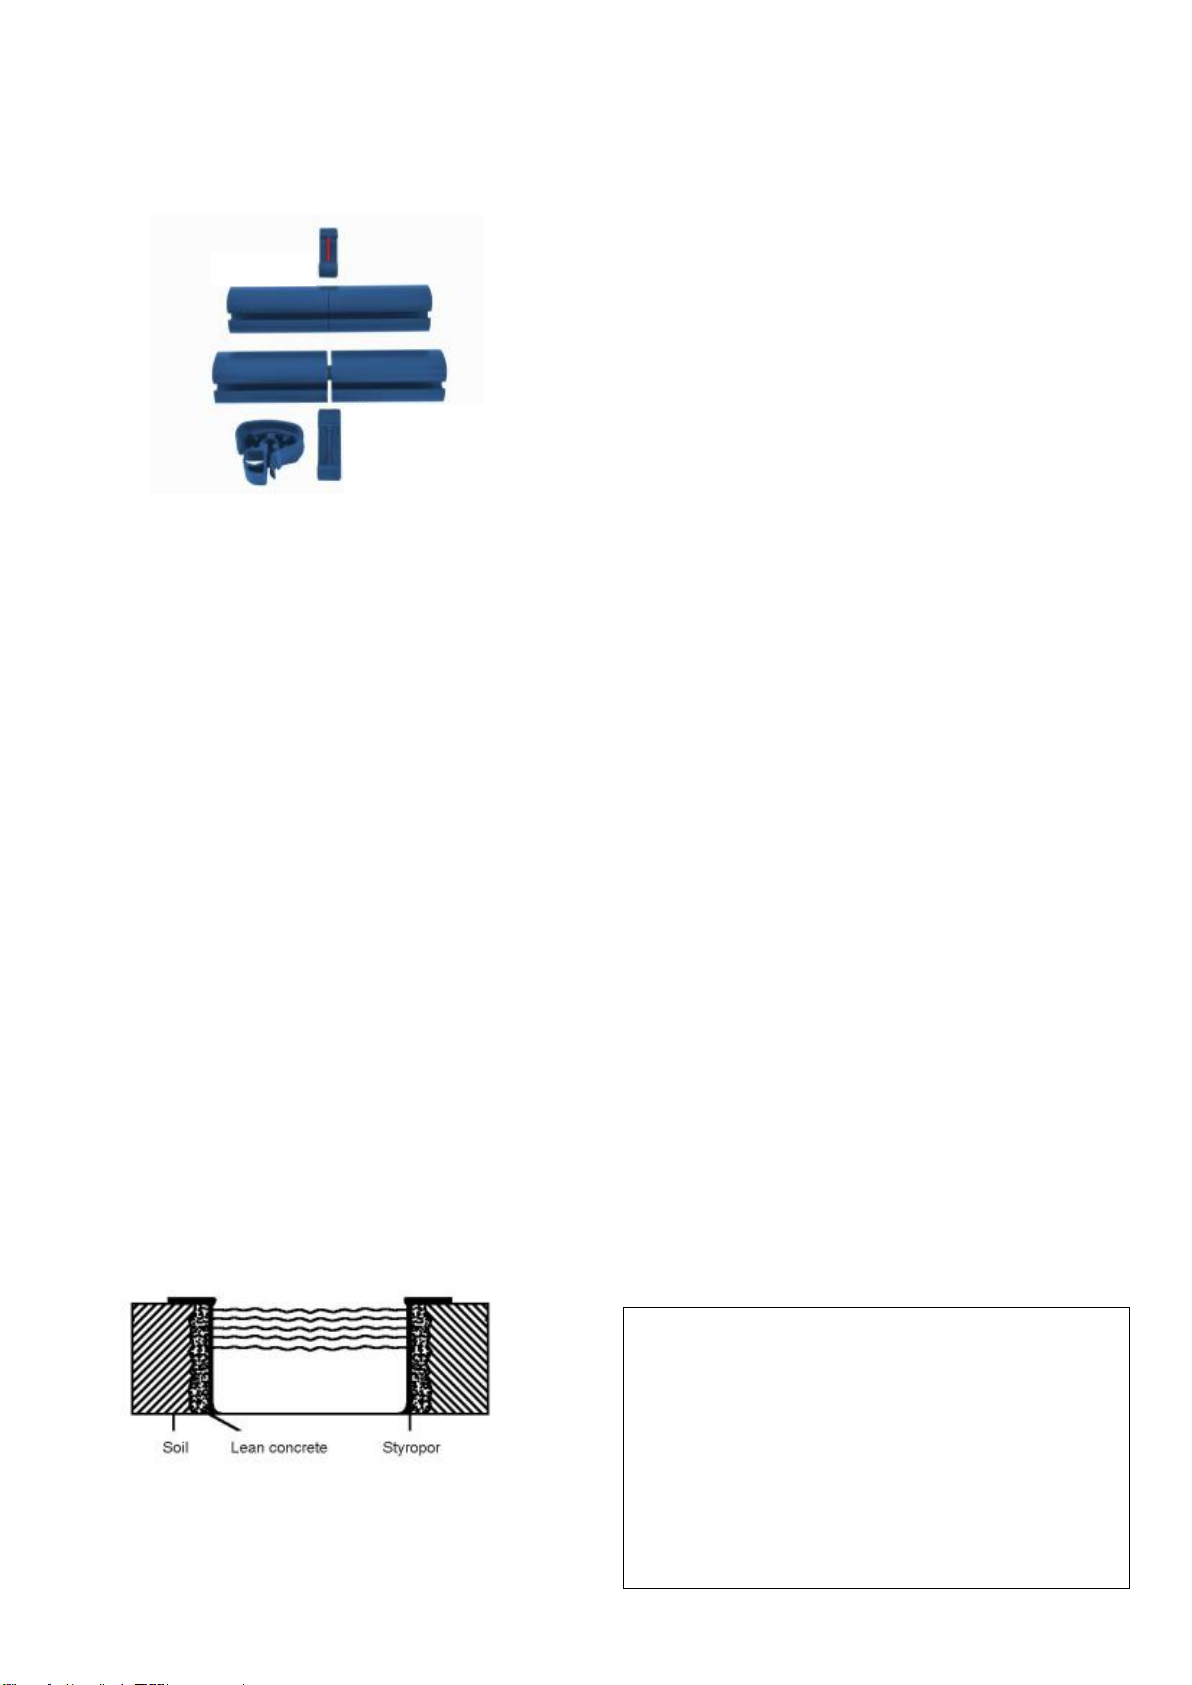
Connecting the ends of the steel wall using the
plug-in section
The clearance between the steel-wall ends should be approx.
5 mm. Depending on the overlap of the wall tracks, they
must be shortened to size in the curves. Make sure that you
shorten the wall tracks by the same amount in both semicir-
cles, as otherwise the symmetry of your pool will be spoiled.
The straight wall tracks are already cut to the correct length.
The plug-in section is sitting correctly when the bevelled
side is on the inside and at the top. By gently rocking the
plug-in rail back and forth you can ease insertion into the
plug-in section. To further facilitate insertion of the plug-in
rail you can lubricate both ends of the steel wall with engi-
neering Vaseline.
Preparing openings for connections
If built-in components are to be installed (skimmer, inlet
nozzle), you must break out the corresponding pre-punched
holes. Carefully remove burrs and treat with an anti-
corrosion agent.
Caution: Follow the instructions for built-in components!!!
Fixing the steel wall
In the area of the retaining walls you must fix the steel wall 5
cm below the retaining-wall edge (110 cm from the floor for
a pool height of 120 cm and 140 cm from the floor for a pool
height of 150 cm) with the screws and dowels provided.
Fixing must be carried out in a horizontal line and must be
absolutely firm. If in doubt, add further screws and dowels.
Cover screw heads with PVC-compatible adhesive tape (e.g.
parcel tape) to protect the liner.
Earthing the swimming pool
According to statutory regulations, swimming pools and all
large-area metallic parts must be connected to a potential
equaliser.
Caution: All electrical work must be carried out by a recog-
nised specialist company in accordance with the relevant
DIN and VDE regulations (e.g. DIN VDE 0100 Part 702).
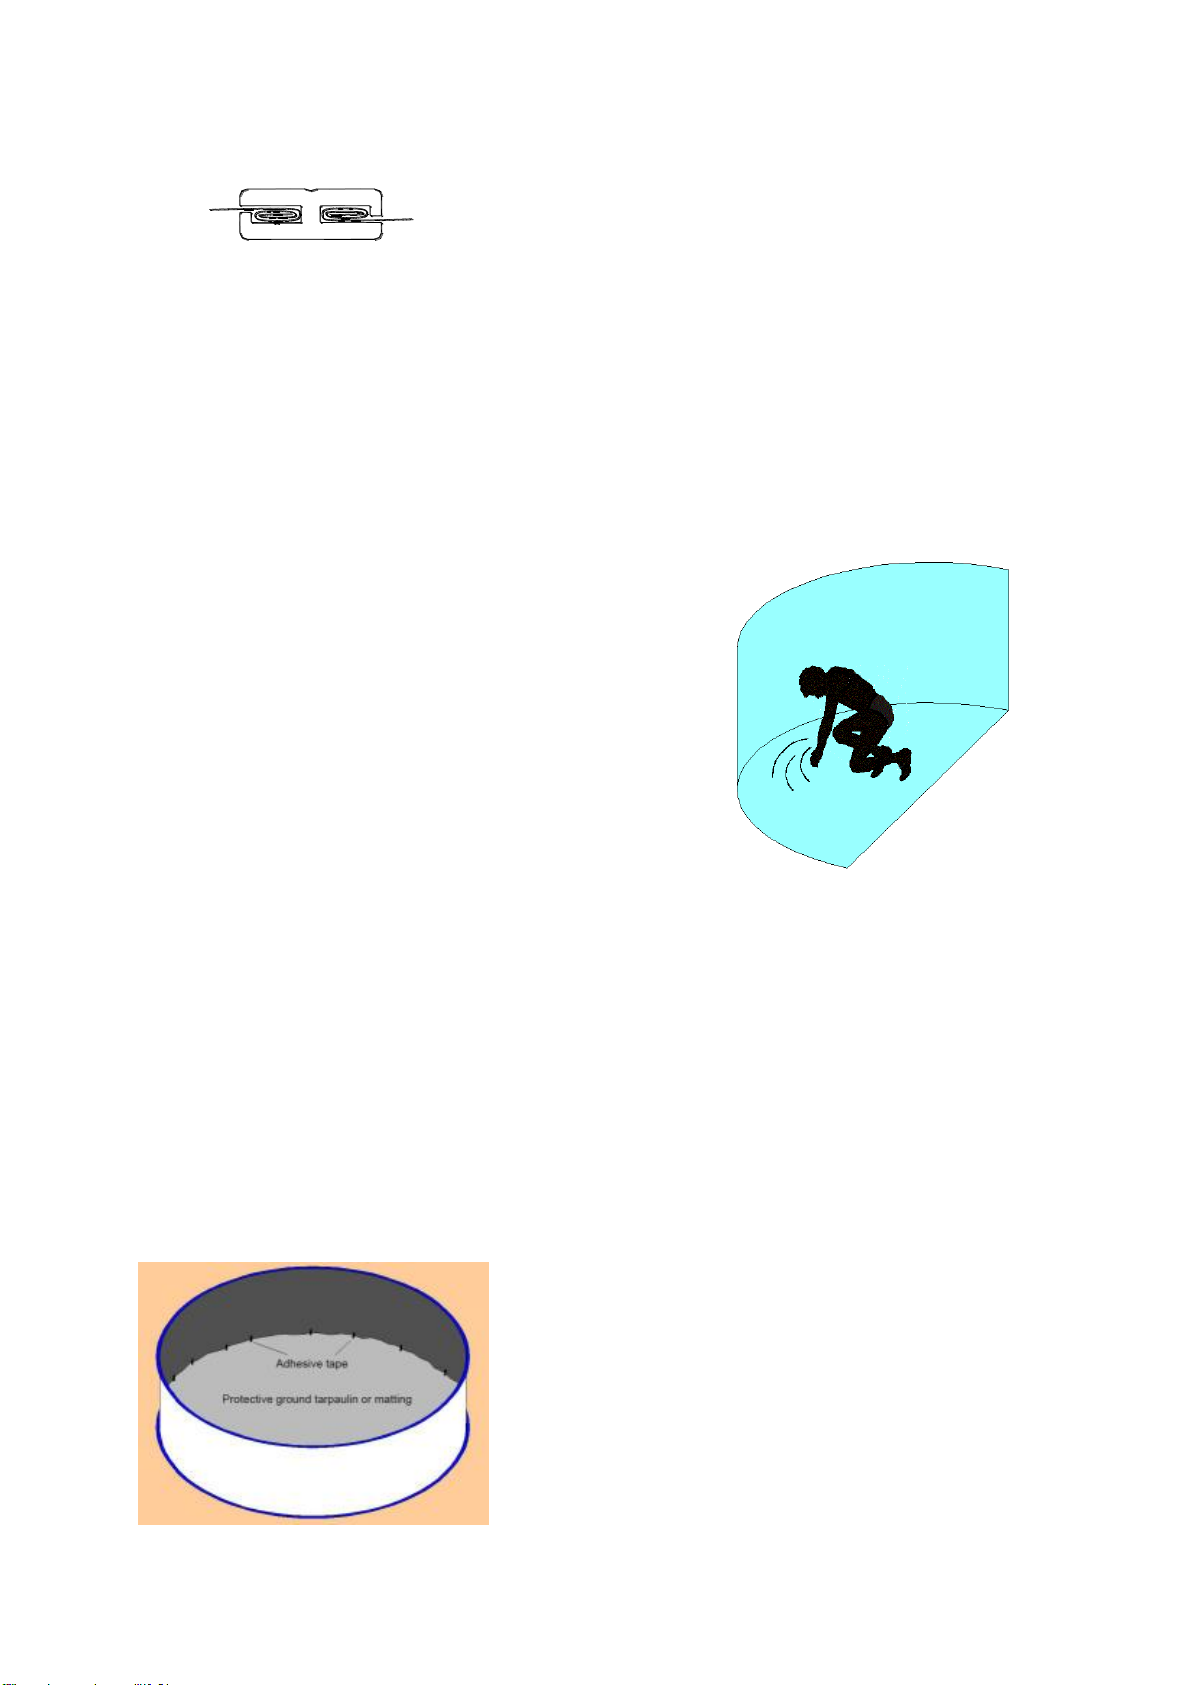
Laying out the protective matting or protective
ground tarpaulin (not supplied)
We recommend the use of a protective ground tarpaulin or
matting to protect the liner from direct contact with the
ground or with any materials which may be harmful to PVC.
Thoroughly clean the ground again and then lay out the pro-
tective matting, with the individual sheets butting up against
each other. Cut the protective ground tarpaulin or matting 5 –
10 cm larger than the pool outline and tape the resulting
overlap firmly to the steel wall. Pull the edges over the wall
tracks. To do this, use PVC-compatible adhesive tape (e.g.
parcel tape). Lay out the protective ground tarpaulin or pro-
tective matting smoothly and free of creases.
Hanging the liner
Caution: Hang the liner at temperatures between +15 and
+25° C, but not in strong sunshine! If the temperature is too
high the foil becomes soft and elastic and too large. If the
temperature is too low the liner becomes hard, inelastic and
too small.
Clean the inside of the pool again. Now place the liner in the
middle of the pool and spread it out, so that the outer bonded
seams lie up against the steel wall. The liner has a shaped
hanging fringe bonded onto the main liner. Push the liner
edges with the shaped fringe over the upper edge of the steel
wall. Provisionally fix the fringe with several individual
handrail sections.
Caution: Only walk on the PVC liner barefoot or wearing
suitable shoes (no rough-studded rubber boots!).
Smoothing out the creases
Smooth the creases on the floor outwards towards the pool
wall. Now let water into the pool until the middle is covered
to a depth of approx. 2 –3 cm. Smooth any remaining
creases outwards from the centre by hand.
If the creases cannot be smoothed out:
Have the wall tracks sunk into the ground? Lift them up!
Have you overstretched the liner when hanging it in the
pool? Rehang the liner, perhaps after waiting for cooler
weather. Do not pull on the liner when hanging it! Is there
too much tension in the liner? If so, you have probably exca-
vated the foundations too deeply. Then it is essential to fill in
as necessary, not forgetting to firmly compact any fill.
Caution: from a water depth of approx. 5 –6 cm the liner
can no longer be smoothed out because of the high water
pressure.
Caution: It is essential to check that the pool is standing
absolutely vertically.
Cover the pool floor with approx. 10 cm of water. Measure
the distance between the waterline and the upper edge of the
pool at several points. If the measured values differ by
more than 2 cm the pool has been incorrectly erected. In
this case the manufacturer’s guarantee is no longer valid!

- 4 -
Attaching the handrail sections
Join the handrail sections (width approx. 40mm) together in
each case with two round connectors; press them onto the
edge of the pool by banging with the flat of the hand or using
a rubber hammer, at the same time firmly fixing the shaped
hanging fringe. If necessary, shorten one handrail section.
Correct any liner creases along the side wall by pushing the
liner sideways. When the liner is sitting correctly, com-
pletely press down the handrail by banging down with the
flat of the hand or with a rubber hammer.
Built-in components are first installed after the pool has been
filled up to just below their installation locations (depending
on the height, the lean-concrete backfill must be in place to
the respective depth). If you want to use silicon when
flanging built-in components, then it must be suitable for
use in swimming-pool areas. Otherwise there is the dan-
ger that the PVC foil will stretch in the long term and
that foil creases will develop.
Lean-concrete backfill along the curves and
behind the retaining walls
Fill the fully assembled and installed pool with water (to a
depth of approx. 60 cm).
Attach Styropor panels (thickness 15 –25 mm) to insulate
and protect the outside of the steel wall along the length of
the curves.
Backfill the pool wall in several layers (each maximum 50
cm.) with damp lean concrete BN 10.
In the case of naturally compacted soil (e.g. cohesive clay),
the concrete backfill must be at least 10 cm thick. For yield-
ing soils we recommend a backfill layer of approx. 30 cm.
The retaining walls must also be backfilled as water-depth
increases.
When backfilling, the water level in the pool must always be
approx. 30 cm above the external concrete fill.
When backfilling the pool with concrete you must take care
that the pool wall does not lose shape on account of the pres-
sure from the concrete.
Repairs/Spare parts
Damage to the swimming-pool liner can easily be repaired
using a Future Pool Repair Set. Please be sure to follow the
instructions in the repair pack.
Care and maintenance
The combination of mechanical water purification and
chemical water treatment ensures clean and clear water at all
times.
Mechanical water purification
Prevent contamination by dirt (e.g. leaves, grass, hair) by
installing a filter system from Future Pool. Remove coarse
dirt (leaves, insects) with a net and/or floor cleaner from the
Future Pool range.
Chemical water treatment
Future Pool supplies the complete Future Pro-Aqua water-
treatment range with outstandingly suitable products which
are also compatible with healthy swimming.
Additional recommendations and advice on water treatment
are available from your specialist swimming-pool dealer or
from your Future Pool customer-service representative.
Please send for our detailed water-care instructions.
Overwintering
All in-ground pools must remain filled with water through-
out the winter in order to compensate for ground pressure.
The water level should be lowered to approx. 5 cm below the
openings for the inlet nozzle and the skimmer.
Safety advice
General precautions
Never allow children to play in or close to the swimming
pool without supervision; explain the possible dangers to
them. If necessary, teach children to swim. Cover the pool if
it is not being used. Go into the water very slowly after a
meal or after sunbathing. Otherwise there is a danger of
circulatory collapse or heart failure!
Immediate action after a swimming accident:
Rescue the casualty without delay. Check the casualty’s
pulse and breathing. If necessary, immediately apply mouth-
to-mouth resuscitation and heart massage. Alert the emer-
gency services.
Ordering spare parts / Advice
Do you need spare parts, accessories or advice?
Please contact the dealer from whom you bought your pool.
There you will be able to obtain all available spare parts as
well as the whole range of Future Pool products.
Copying and reproduction –including extracts –require the
written approval of:
Future Pool GmbH
Innovative Products for Swimming Pools
Daimlerstr. 6
D-63741 Aschaffenburg
Telephone +49 (0) 6021 / 79750-0
Fax +49 (0) 6021 / 79750-10
As of 23.07.2012
Wrong!
Important!
Gap for intermediate piece 2 mm
observed during assembly
handrail.
Other Future Pool Swimming Pool manuals