Galaxy Audio RM-CDMV User manual

Audio Video Photo Player
RM - CDMV
Anti Shock CD / DVD/ CD-G / Photo / USB / SD / SDHC Card Reader / Key
Control / Remote Control Player
DESCRIPTION OF CONTROLS:
POWER: ON: Press Power button to switch on the power. OFF: Press and hold Power
to switch off the power.
EJECT: Press to eject disc.
FB: Fast Backward. Then press “ PLAY / PAUSE “ to return to normal playing.
FF: Fast Forward. Then press “ PLAY / PAUSE “ back to normal playing.
REPEAT: See instructions under “Remote Control.”
REV : Press to select previous track number.
F.WD : Press to select next track number.
PLAY / PAUSE: Press once to play, press again to pause.
STOP: Press to stop play.
KEY: To adjust pitch and speed. Low, High, or Normal play.
VOLUME CONTROL: Controls output volume of CDMV.
Infrared window:Picks up signal from the remote control.
USB Connector: Used to play MP3 media files from an external source.
SD Card Slot: Accepts SD and SDHC Cards containing MP3 files.
VIDEO OUTPUT: Image output. Connect this to a video monitor.
LCD DISPLAY
MP3: When an MP3 file is being played, the LCD will display “ M3 “.
CD: When a WAV CD is being played, it will display “ CD “.
DVCD: When playing a DVD the LCD will show “ DCD “. When playing a VCD, it
will show “ VCD “.
When in play mode, it will show When paused, the display shows
REPEAT: See “Remote Control: Repeat” section for display indications.

When repeatedly playing from A to B, the display shows A→B.
IMAGE DISPLAY: Connect the VIDEO OUT jack of the CDMV to the input of a video
monitor using a standard video RCA type cable.
POWER and AUDIO: The CDMV should always be installed in a host device such as the
RM2, which will supply power and stereo line audio outputs.
PLAYING:
This player accepts 12 cm discs such as CD, CD-R, CD-RW, VCD, DVD, MP3, CD-G
disks as well as MP3 files from USB and SD / SDHC media. This unit does not accept
CD-ROM / CD-I / CDV or computer CDs.
This player will accept these formats: CD, MP3, VCD, DVD, JPG, CD-G, WMA and
MPG.
VCD, DVD, JPG, MPG and CD-G media will display on a video monitor connected to the
VID OUT jack.
Insert a disc into the slot with the playback side down. Playback starts automatically.
Track number and playing time will be displayed.
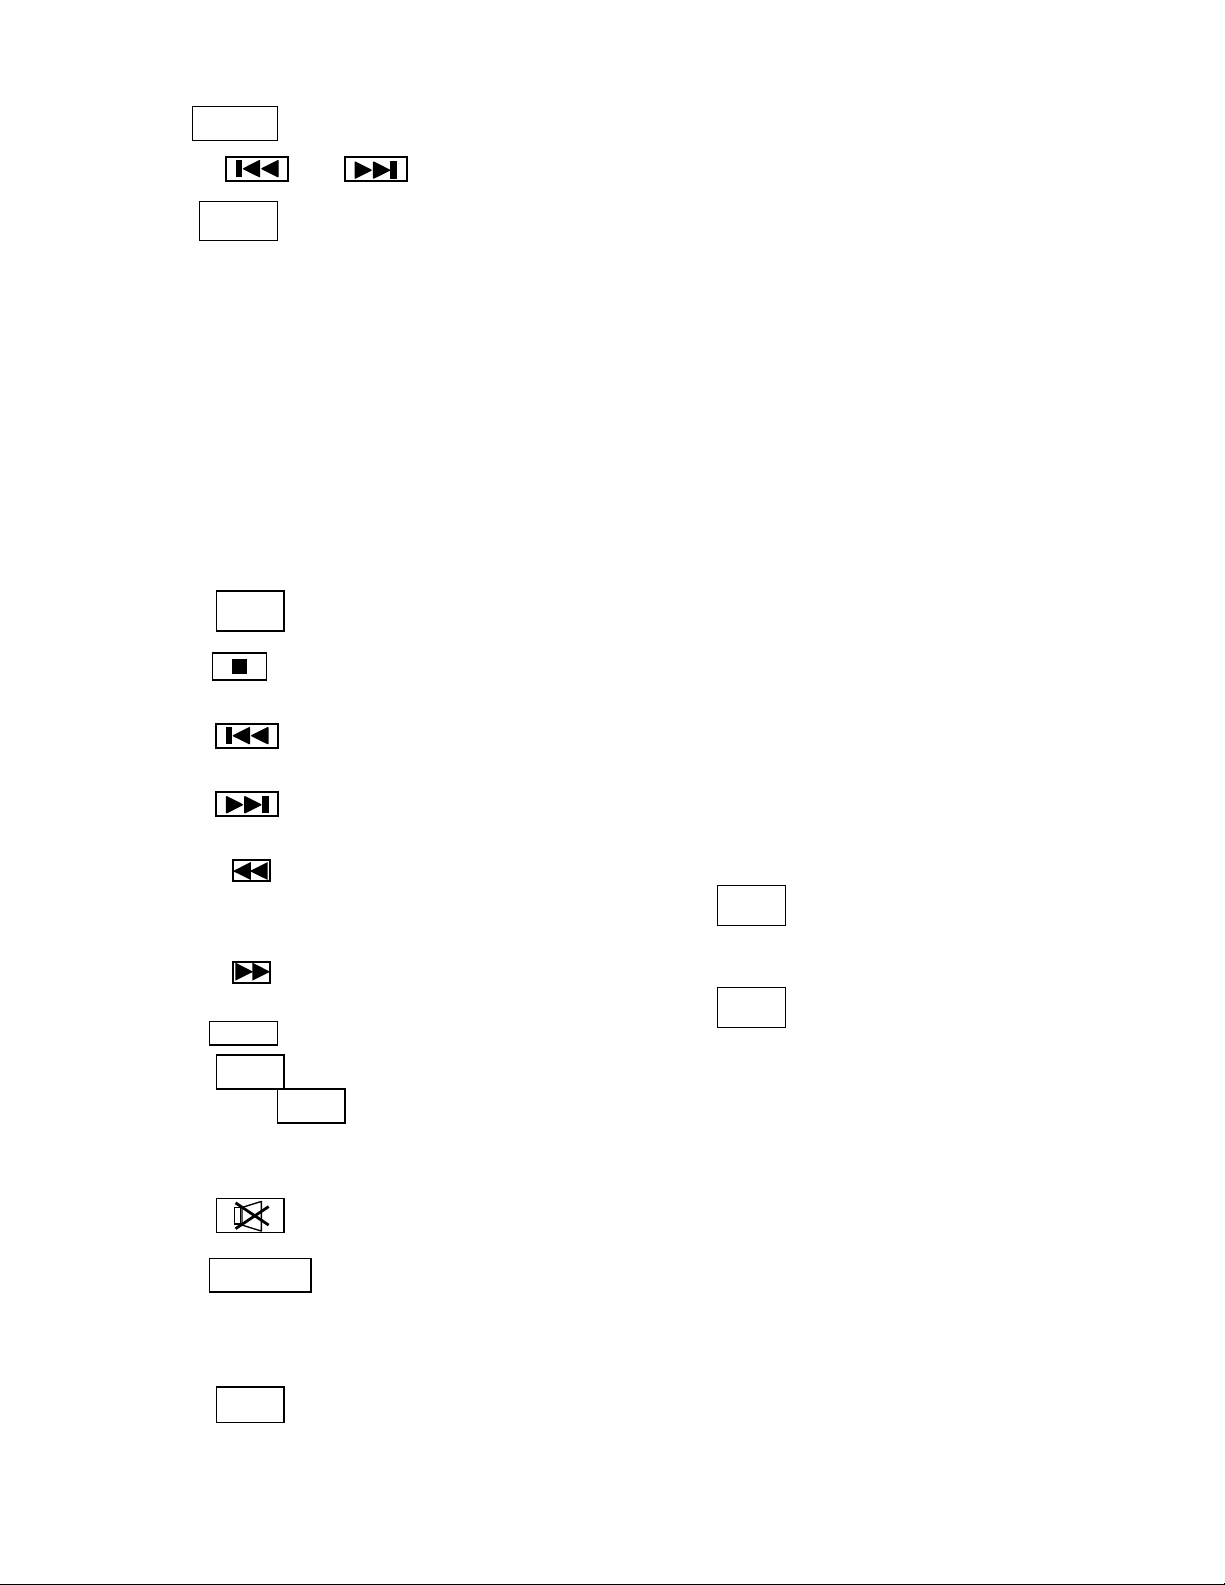
To pause playback, press PLAY/PAUSE or press on the remote control,
Press REV, F.WD, or on the remote control, to select next or previous
track number. CD player will continue playback while displaying selected tracks.
To stop playback, press STOP or press once on the remote control.
Press FB, FF or on the remote control, to activate fast forward or reverse until
desired section is located.
A video monitor must be connected to the VID OUT jack, to access the on-screen menu,
to play VCD, DVD, CD-G, MPG and JGP formats.
For instructions pertaining to the video monitor itself, please refer to the manual
provided with that product.
A video monitor must be connected in order to operate the following functions on the
remote control:
Note:
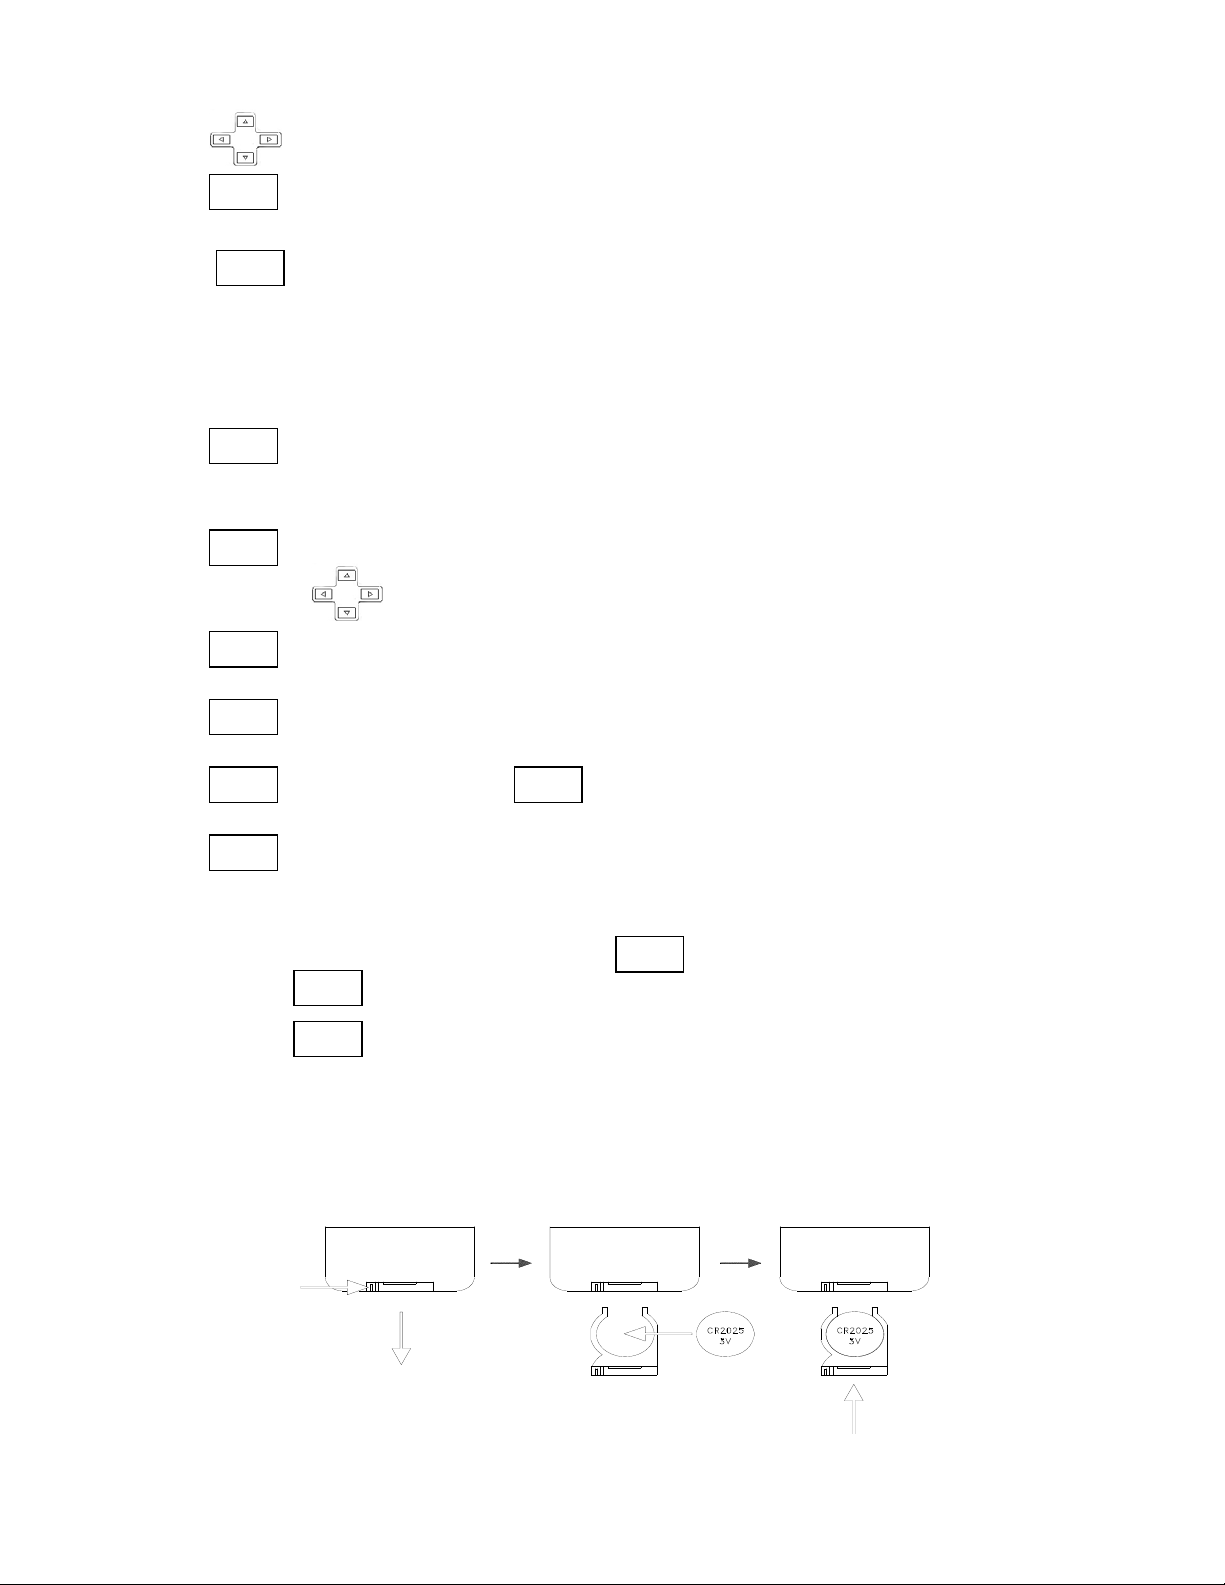
When inserting or removing a disk from the CD slot, please allow the CDMV to insert
and return the disc automatically. Damage may result from pushing in or pulling out the
disk by hand.
SD / SDHC Card Slot
DIS PBC
ZOOM
SET
GOTO
TITLE SETUPSLOWAUDIO
SUBTITLE
PLAY/
PAUSE

Insert an SD or SDHC Card containing MP3 files into the SD slot in the faceplate, and
push the card in fully to lock it in place. To remove the card, push the card in again to
release it, and gently pull out the card. Do not use excessive force to remove the card
or damage may result.
For other operations please see: PLAYING and THE FUNCTIONS RESPECTIVELY ON THE
REMOTE CONTROL.
USB Input
Insert a USB device (containing MP3 files) into the USB connector in the faceplate.
For other operations please see: PLAYING and THE FUNCTIONS RESPECTIVELY ON THE
REMOTE CONTROL.
FUNCTIONS on THE REMOTE CONTROL – (some operations require
video monitor)
EJECT: Press to eject a disc from the CD slot.
Press to program the order of track playback as follows:
1) WAV media files from CD:
PROG

Press and the screen will display the memory setting menu, as
shown in the above illustration.
Enter desired track numbers into the fields next to the order numbers, then
press PLAY to play the tracks in the memorized order. Press CLEAR to
cancel the memory.
2) MP3 media files from CD, USB, or SD / SDHC Card:
1. Press and the screen will display the memory setting menu, as
shown in the above illustration.
2. Enter desired folder and track numbers into the fields next to the order
numbers, then press PLAY to play the tracks in the memorized order. Press
CLEAR to cancel the memory.
1.[ 09 ] 5.[ - - ] 9.[ - - ] 13.[ - - ]
2.[ 16 ] 6.[ - - ] 10.[- - ] 14.[ - - ]
3.[ 02 ] 7.[ - - ] 11.[ - - ] 15.[ - - ]
4.[ 08 ] 8.[ - - ] 12.[ - - ] 16.[ - - ]
PLAY CLEAR
1.[ 01:09 ] 5.[ --:-- ] 9.[ --:-- ] 13.[ --:-- ]
2.[ 02:04 ] 6.[ --:-- ] 10.[ --:-- ] 14.[ --:-- ]
3.[ 02:01 ] 7.[ --:-- ] 11.[ --:-- ] 15.[ --:-- ]
4.[ --:-- ] 8.[ --:-- ] 12.[ --:-- ] 16.[ --:-- ]
PLAY CLEAR
PROG
PROG

:Arandomorderofavailabletracksisplayed.Youmaypress
or toskipanycurrentlyplayingtrack.
: Repeat mode. (Not available in VCD mode).
1) Press once to repeat a single WAV track from CD. The LCD will show REPEAT 1.
Press twice to repeat all tracks. The LCD will show REPEAT ALL. Press 3 times to
cancel the repeat function. “Repeat” will be removed from the LCD.
2) Press once to repeat a single MP3 track from CD, USB or SD Card. The LCD will
show REPEAT 1. Press twice to repeat all tracks in the folder. The LCD will show
REPEAT. Press 3 times to repeat all tracks in all folders. The LCD will show
REPEAT ALL. Press 4 times to cancel the repeat function. “Repeat” will be
removed from the LCD.
:PLAY/PAUSE.Pressonce to play. Press again to pause.
:Press to stop play.
: Skip to the previous track.
: Skip to the next track.
: Press once to activate fast reverse. Press repeatedly to increase speed in a
cycle as follows: 2 →4 →8 →20. Then press to return to normal play.
: Press once to activate fast forward. Press repeatedly to increase speed in a
cycle as follows: 2 →4 →8 →20. Then press to return to normal play.
: Press this key to select folder during MP3 playing.
: Zone memory function. During play, press to set the “A” point of memory.
Press again to set the “B” point. Unit will then repeatedly play from points A to
B. Press again to cancel A→B Function.
: ON/OFFMuteaudio.
:Pressthisbuttontoselect subtitle in DVD or VCD disc.
0~9 NUMBERS KEY: These keys are using to input time, track, and chapter numbers.
: Execute command.
RANDOM
REPEAT
PLAY/
PAUSE
PLAY/
PAUSE
PLAY/
PAUSE
A→B
ENTER
SUBTITLE
FOLDER
A→B

Menu navigation.
:Left / Right Channel and Mono selection.
:
Display “play time” on screen.
Press1time:todisplay"playtime". Press 2 times: to display "play time"
and " total remaining play time on CD ". Press 3 times: to display "play time" and
"remaining time on the track playing". Press 4 times: to cancel DIS function.
:Offers choice of whether to play an optional catalog of the VCD.
When PBC is OFF, the Repeat function remains operational.
:Press once to display the current playing time, song section, etc., using the
menu navigation. Then press ENTER.
: Press this button to display DVD title content, or play from the first title.
: Press this button to display the main menu.
: In stop mode, press The screen will display the setup menu.
: When playing a DVD or VCD, press this key to enlarge the picture in a cycle
as follows: 2×→3
×→4
×→1/2×→1/3×→1/4×→zoom off.
KEY: To adjust Pitch and Speed. Press to raise pitch and speed.
Press to lower pitch and speed. Each has 6 steps of variation.
Press to return to normal pitch and speed.
When using the remote control, point the remote to the faceplate of the CDMV. The
optimal transmitting distance is 3 meters. The remote control battery is model CR2025,
3V.
Battery installation:
AUDIO
DIS
PBC
GOTO
TITLE
SETUP
MENU
ZOOM
SETUP
LOW
NOR
HIGH

1. Press and hold the tenon located on the lower left-hand corner of the rear of remote
control. Pull out the battery holder.
2. Install the battery according to its correct polarity (positive electrode faces upwards).
3. Push the battery holder back into the remote until it locks in position.
Table of contents
Other Galaxy Audio Media Player manuals
Popular Media Player manuals by other brands

Adayo
Adayo DV7B01 Operation instructions

Diamond Multimedia
Diamond Multimedia AMP1000 installation manual

Pixel Magic
Pixel Magic Crystalio II VPS-3800 supplementary guide

IAdea
IAdea XMP-6200 user manual

GSS
GSS STP 500 Assembly instruction

DriSteem
DriSteem Ultra-sorb LV Installation, operation and maintenance manual