
9
Positioning Requirements
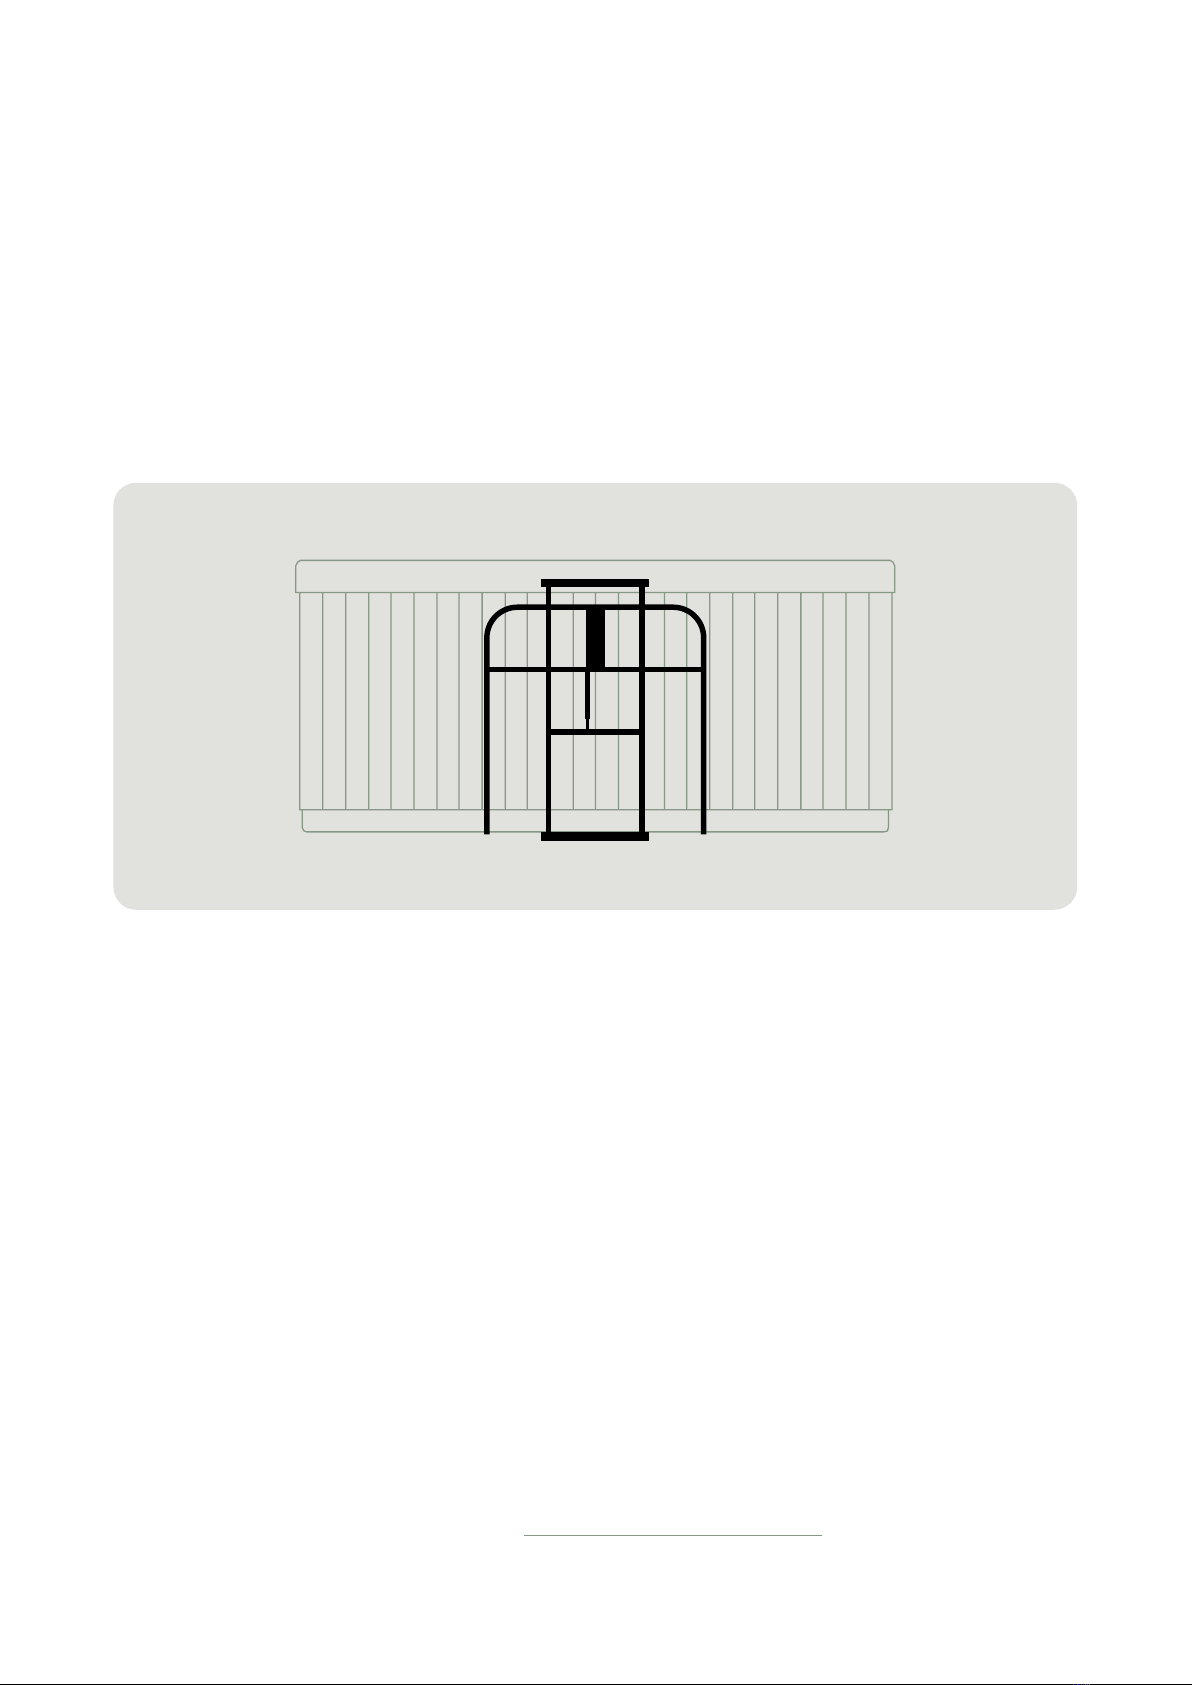
Fencing
To keep you and your loved ones safe, most councils have rules around fencing requirements for
spa pools.
Above ground
+ No fencing is required if your spa pool is
above 0.76m high.
+ Spa pools are required to have a hard,
lockable cover.
+ Any permanent structures near the spa
(such as a heat pump) are classed as
climbable surfaces and must be placed at
least 1.2m away.
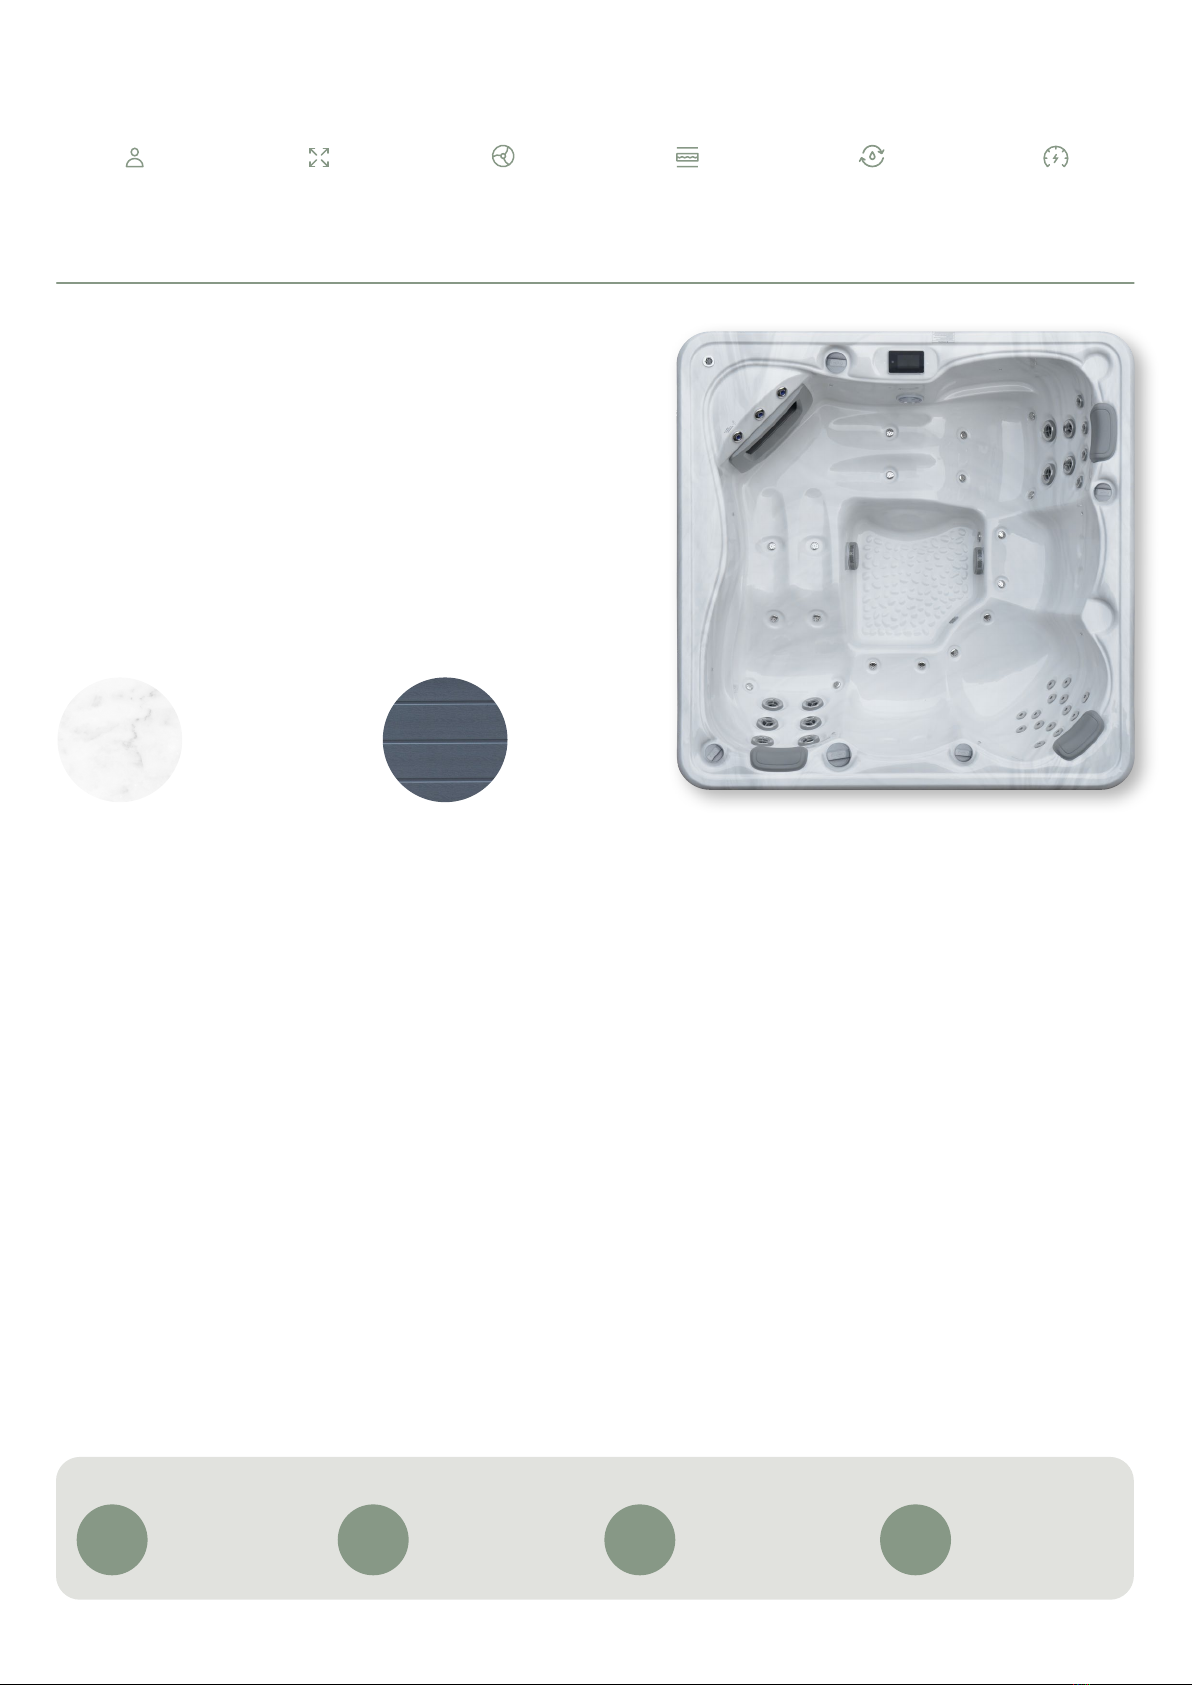
Draco I and Ara I - At 0.82m deep, nofencing
is required.
Below ground
If you are sinking your spa pool into the
ground or decking, a fence is required for
safety compliance.
We recommend contacting your council
to discuss any fencing requirements for
your region. Fencing is the homeowner’s
responsibility and we want you to have the
safest spa environment and adhere to any
local spa fencing bylaws.
See page 12 for further details on building
consent.
Electricity
Important Considerations.
+ Does your home have the electrical capacity to run a 15 amp spa? Most homes are able to.
+ Based on proximity to your power supply, are there particular areas you can or cannot place
your spa? This may be an important consideration if you have a large property.
+ A 15 amp spa requires an outdoor waterproof 15 amp electrical socket.
+ An RCD (Residual Current Device) will need to be installed to protect the circuit and spa
pool. A qualied electrician must install this before your spa is delivered. You may need to
discuss this with your electrician before conrming your spa’s positioning.
See page 23 for full electrical installation guidelines.
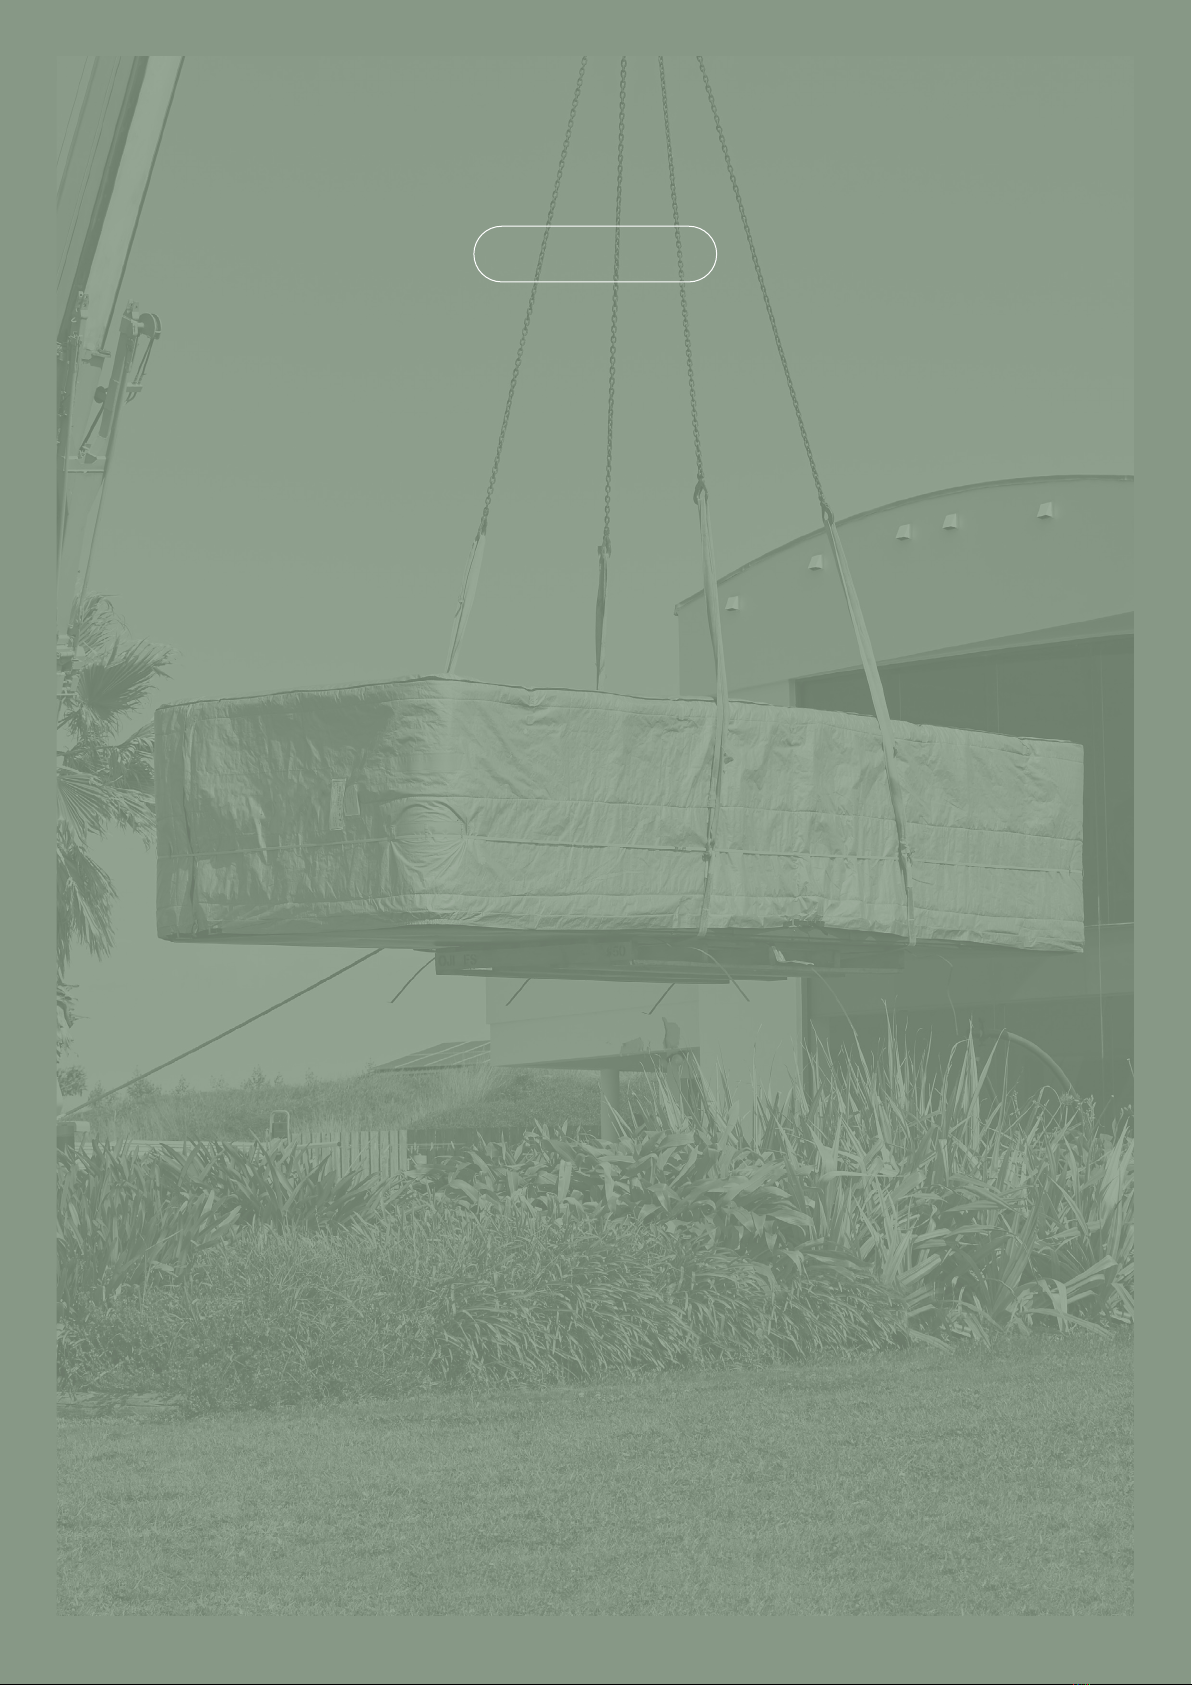
Service Area
Your spa’s panels may need to be removed during servicing, so you must ensure there is enough
room for a technician to access and remove them to complete the work. 50cm is the minimum
requirement.


 owner's manual")


