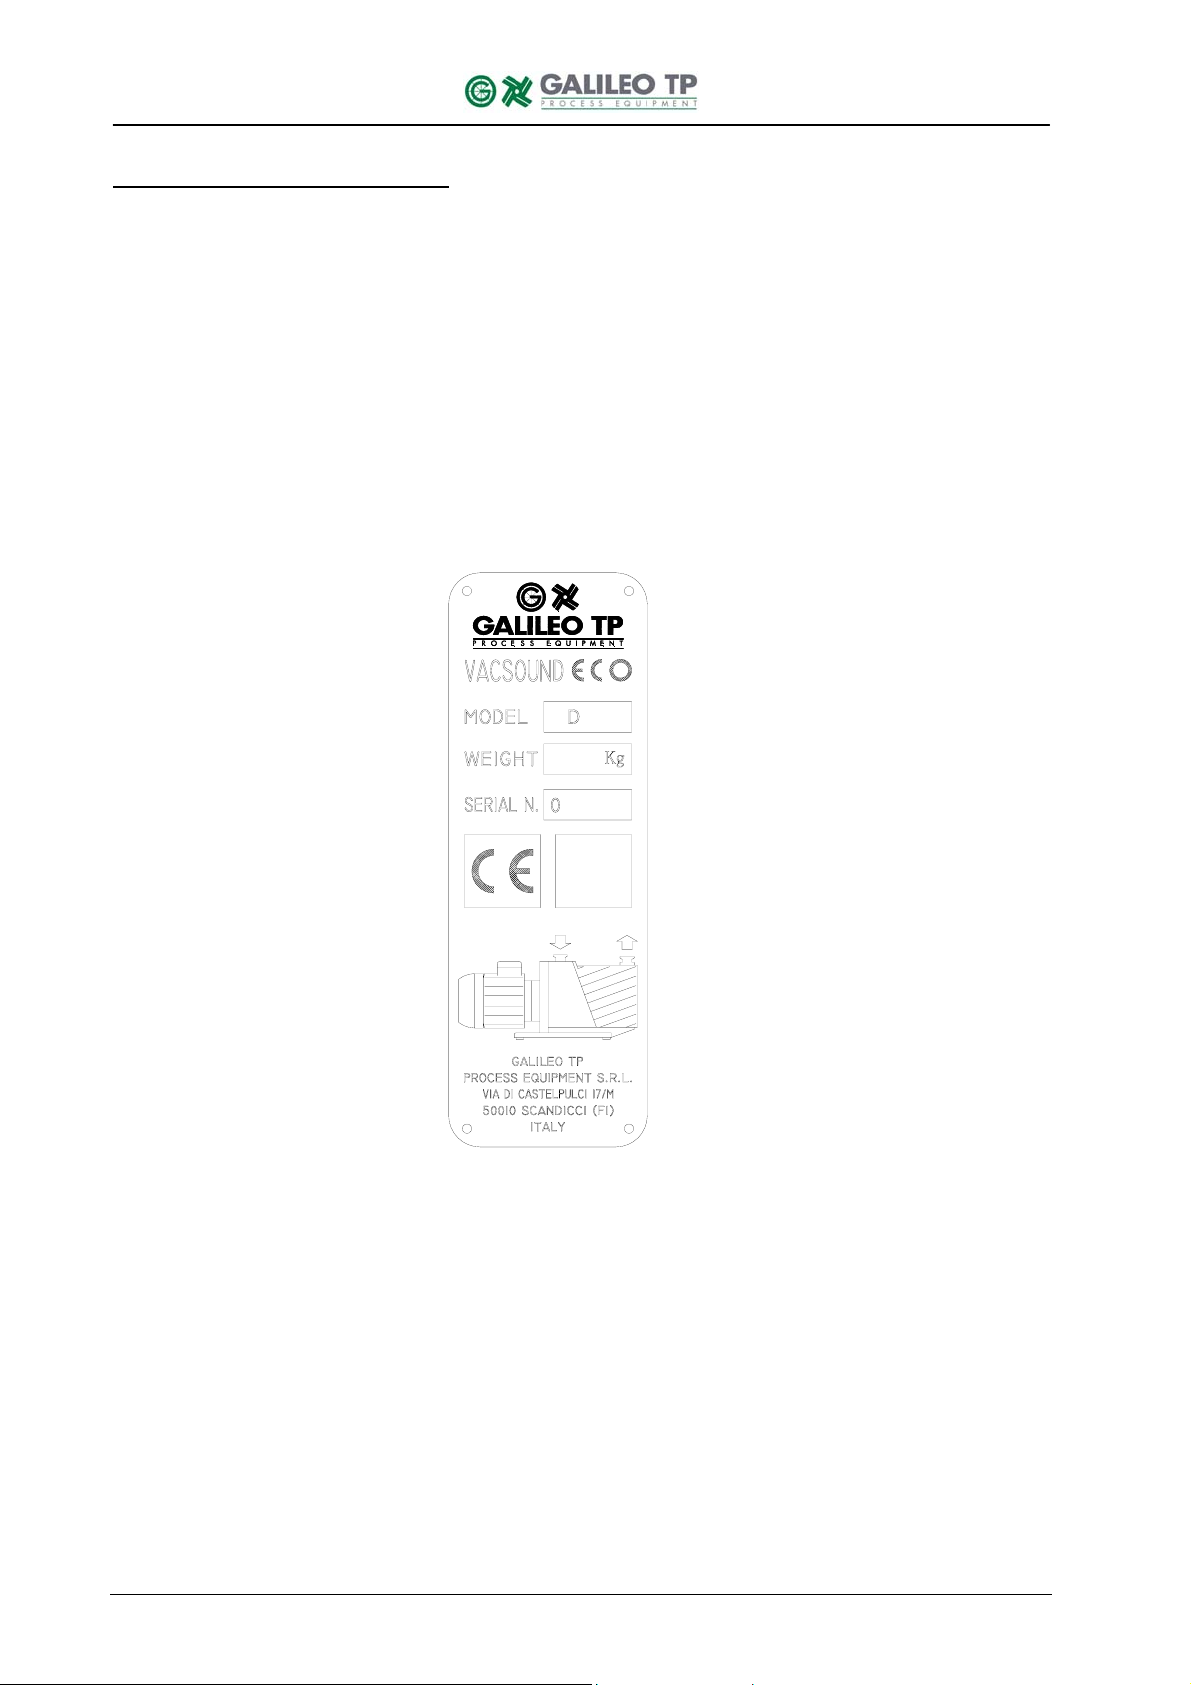
VACSOUND ECO – Operating and maintenance instructions
8
2.3 Lubrication
The pump’s lubricating system is force-feed type. Oil circulation is obtained by means of a
gear pump connected to the rotor shaft. The oil is sucked through a gauze filter to prevent
any foreign bodies from entering the pump.
Shunt-mounted on the delivery line is a hydraulic piston which, besides actuating the anti-
suckback device (see section 2.6), also regulates pressure by discharging excess oil flow
directly into the tank. The required flow of oil under pressure passes through ducts that are
drilled in the walls of the pump and lubricates the bearings and the inside parts.
The bearing on the motor side, is lubricated by oil sucked in through two orifices which
communicate with the casing.
2.4 Vacuum seals
A special feature of this pump is the low number of gaskets that are used.
Careful surface finish of the various parts of the pump means that vacuum sealing of the
functional block is ensured by the film of oil in the metal-metal contact of the surfaces.
Sealing of the rotor shaft is guaranteed by a rotating gasket with dust-guard lip. The suction
flange and duct are sealed by means of OR gaskets.
2.5 Gas ballast valve
When the pump sucks in vapours, these condense during compression and mix with the oil,
forming an emulsion (an aqueous vapour, for example) or a solution (organic solvent
vapours, for example).
A number of problems arise from this, such as the impossibility of obtaining high vacuums,
the alteration of the properties of the oil, the danger of incrustations forming on parts of the
pump.
To avoid this, during compression at the second stage, atmospheric air is let into the pump
through an adjustable valve, or “gas ballast valve”, located at the top of the pump.
In this way, the discharge valve of the second stage opens through the effect of the
atmospheric air before the partial pressure of the vapour reaches saturation point, thus
preventing condensation from occurring. The vapours are expelled mixed with air.
2.6 Anti-suckback device
The pump is equipped with a special anti-suckback device to avoid air pressure rises and/or
oil backflow towards the evacuated vessel when the pump is switched off. This device has a
shutter which automatically closes the suction duct.
In this way the pump and vacuum system are completely isolated from each other and air
can enter the pump without any risk for the vacuum produced in the system.
The device includes some special features, namely:
• drive obtained avoiding any form of contamination of the suction duct by fluids (oil
and/or air) used to command the shutter. Thanks to this, when the pump is started
again, the pumpdown to vacuum conditions is extremely fast as these contaminants are
not present and no degassing is therefore required;
• suction flange maintained closed even when the pump is idle, so that pollutants cannot
enter from the environment and no oil can overflow from the pump.