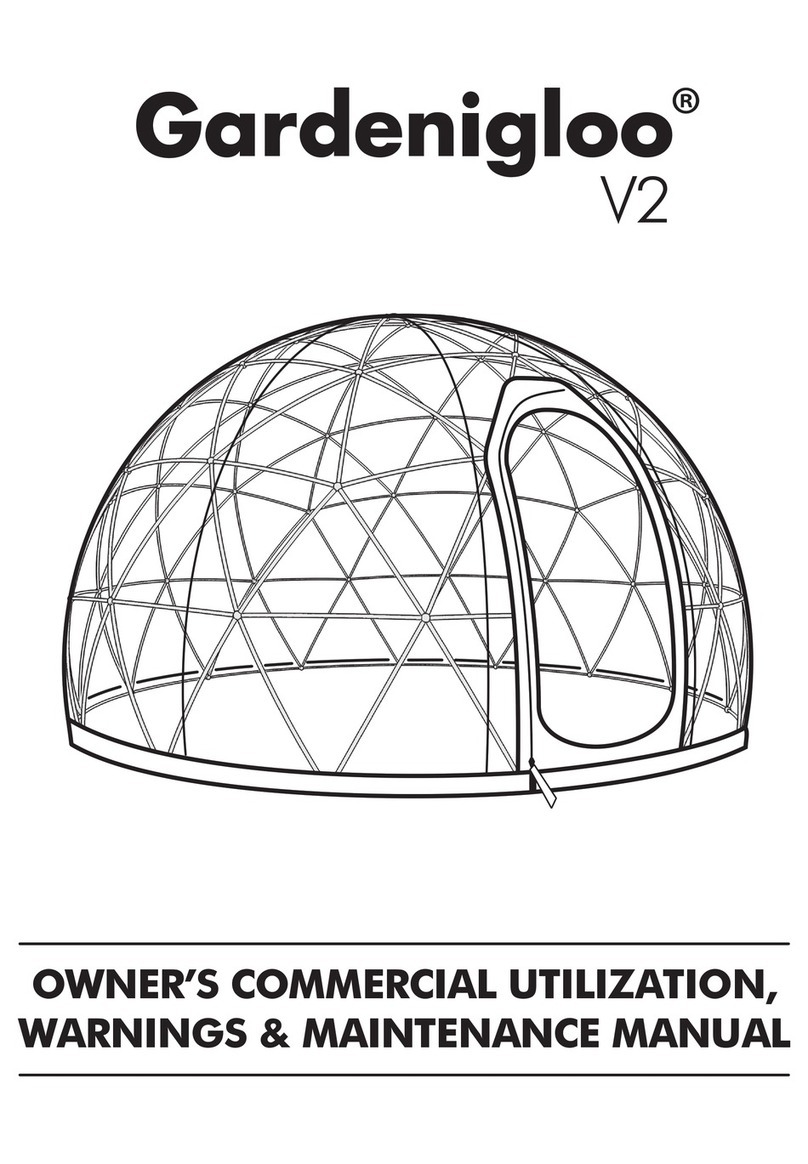
Garden Igloo V1 User manual

INSTALLATION GUIDE
V1
GUÍA DE INSTALACIÓN

STRUTS / MONTANTES
JOINTS / JUNTAS
- 1 -
TRANSPARENT COVER
1x
CUBIERTA TRANSPARENTE
20x
ANCHOR CLAMPS
GRAPA DE AMARRE
14x
BASE WEIGTH BAGS
BOLSAS DE BASE DE PESO
40x
SCREWS & RAWLPLUGS
TORNILLOS &
TACOS DE EXPANSIÓN
2x 13x 6x 37x 2x 2x
30x 42x 66x 4x 8x 8x 2x 2x 2x
PART LIST / LISTA DE PIEZAS

- 5 -
It is recommended to anchor
the base circle to the ground,
before the following steps. (p.21)
Se recomienda anclar el
círculo de base en el suelo, antes
de los pasos siguientes. (p.22)
Connect the parts listed below to build a frame as shown in figure
(top view) and proceed to the next step.
Conecte las piezas listadas abajo para construir un marco como se
muestra en la figura (vista desde lo alto) y proceder con el siguiente paso.
TOP VIEW DIAGRAM
VISTA DESDE LO ALTO DE ESQUEMA

- 6 -
TOP VIEW DIAGRAM
VISTA DESDE LO ALTO DE ESQUEMA
Connect the parts listed below to build a frame as shown in figure
(top view) and proceed to the next step.
Conecte las piezas listadas abajo para construir un marco como se
muestra en la figura (vista desde lo alto) y proceder con el siguiente paso.

- 7 -
Connect the parts listed below to build a frame as shown in figure
(top view) and proceed to the next step.
Conecte las piezas listadas abajo para construir un marco como se
muestra en la figura (vista desde lo alto) y proceder con el siguiente paso.
TOP VIEW DIAGRAM
VISTA DESDE LO ALTO DE ESQUEMA

- 8 -
TOP VIEW DIAGRAM
VISTA DESDE LO ALTO DE ESQUEMA
Connect the parts listed below to build a frame as shown in figure
(top view) and proceed to the next step.
Conecte las piezas listadas abajo para construir un marco como se
muestra en la figura (vista desde lo alto) y proceder con el siguiente paso.

- 9 -
5x
Connect the parts listed below to build a frame as shown in figure
(top view) and proceed to the next step.
Conecte las piezas listadas abajo para construir un marco como se
muestra en la figura (vista desde lo alto) y proceder con el siguiente paso.
TOP VIEW DIAGRAM
VISTA DESDE LO ALTO DE ESQUEMA

- 10 -
TOP VIEW DIAGRAM
VISTA DESDE LO ALTO DE ESQUEMA
Connect the parts listed below to build a frame as shown in figure
(top view) and proceed to the next step.
Conecte las piezas listadas abajo para construir un marco como se
muestra en la figura (vista desde lo alto) y proceder con el siguiente paso.

- 11 -
Connect the parts listed below to build a frame as shown in figure
(top view) and proceed to the next step.
Conecte las piezas listadas abajo para construir un marco como se
muestra en la figura (vista desde lo alto) y proceder con el siguiente paso.
TOP VIEW DIAGRAM
VISTA DESDE LO ALTO DE ESQUEMA

- 12 -
TOP VIEW DIAGRAM
VISTA DESDE LO ALTO DE ESQUEMA
Connect the parts listed below to build a frame as shown in figure
(top view) and proceed to the next step.
Conecte las piezas listadas abajo para construir un marco como se
muestra en la figura (vista desde lo alto) y proceder con el siguiente paso.

- 13 -
Connect the parts listed below to build a frame as shown in figure
(top view) and proceed to the next step.
Conecte las piezas listadas abajo para construir un marco como se
muestra en la figura (vista desde lo alto) y proceder con el siguiente paso.
TOP VIEW DIAGRAM
VISTA DESDE LO ALTO DE ESQUEMA

- 14 -
TOP VIEW DIAGRAM
VISTA DESDE LO ALTO DE ESQUEMA
Connect the parts listed below to build a frame as shown in figure
(top view) and proceed to the next step.
Conecte las piezas listadas abajo para construir un marco como se
muestra en la figura (vista desde lo alto) y proceder con el siguiente paso.

- 15 -
Connect the parts listed below to build a frame as shown in figure
(top view) and proceed to the next step.
Conecte las piezas listadas abajo para construir un marco como se
muestra en la figura (vista desde lo alto) y proceder con el siguiente paso.
TOP VIEW DIAGRAM
VISTA DESDE LO ALTO DE ESQUEMA

- 16 -
TOP VIEW DIAGRAM
VISTA DESDE LO ALTO DE ESQUEMA
Connect the parts listed below to build a frame as shown in figure
(top view) and proceed to the next step.
Conecte las piezas listadas abajo para construir un marco como se
muestra en la figura (vista desde lo alto) y proceder con el siguiente paso.

- 17 -
Connect the parts listed below to build a frame as shown in figure
(top view) and proceed to the next step.
Conecte las piezas listadas abajo para construir un marco como se
muestra en la figura (vista desde lo alto) y proceder con el siguiente paso.
TOP VIEW DIAGRAM
VISTA DESDE LO ALTO DE ESQUEMA

- 18 -
TOP VIEW DIAGRAM
VISTA DESDE LO ALTO DE ESQUEMA
Connect the parts listed below to build a frame as shown in figure
(top view) and proceed to the next step.
Conecte las piezas listadas abajo para construir un marco como se
muestra en la figura (vista desde lo alto) y proceder con el siguiente paso.

- 19 -
Connect the parts listed below to build a frame as shown in figure
(top view) and proceed to the next step.
Conecte las piezas listadas abajo para construir un marco como se
muestra en la figura (vista desde lo alto) y proceder con el siguiente paso.
TOP VIEW DIAGRAM
VISTA DESDE LO ALTO DE ESQUEMA

- 20 -
TOP VIEW DIAGRAM
VISTA DESDE LO ALTO DE ESQUEMA
Connect the parts listed below to build a frame as shown in figure
(top view) and proceed to the next step.
Conecte las piezas listadas abajo para construir un marco como se
muestra en la figura (vista desde lo alto) y proceder con el siguiente paso.

20x
Your Gardenigloo must be fixed to the ground at 20 points near the connection points (as shown in figure below).
• Before fixing, be sure that the ground is leveled and the base circle is not skewed to an elliptic form.
• On hard surfaces such as concrete, wood deck, etc., use the metal clamps with suitable screws.
ANCHORAGE
• Before fixing, be sure that the ground is leveled and the base circle is not skewed to an elliptic form.
• On softer grounds like soil, lawn, etc.,use base weight bags to fix your Gardenigloo to the ground.
• Gardenigloo may be dragged by the force of wind, turned upside down or worse, broken into pieces. To avoid wind damage to
your Gardenigloo, it is mandatory to use the 14 base weight bags.
Always fill up your weight
bags with dry, fine sand.
Weight (each):
approx. 30 lbs when filled
Weight (total kit):
approx. 420 lbs when filled
Position the weight bags as shown in
the figure. Cover the base struts for even
weight distribution.
Tie each bag to the base struts at
three points with tight knot. Weight bags
connect to the frame with knots when in
use to prevent movement/lifting.
14 X
- 21 -
BASE WEIGHT BAGS
Hard surfaces
Soft grounds
1 2 3

- 22 -
ANCLAJE
20x
Su Gardenigloo debe fijarse al suelo en 20 puntos cerca de los puntos de conexión (como se muestra en la
figura de abajo).
• Antes de la fijación, asegúrese de que el suelo está nivelado y el círculo de base no está sesgada a una forma elíptica.
• En superficies duras como cemento, madera, etc., utilice las abrazaderas de metal con tornillos adecuados.
• Antes de la fijación, asegúrese de que el suelo está nivelado y el círculo de base no esté sesgada a una forma elíptica.
• En superficies más suaves como tierra, césped, etc., utilice bolsas de peso para base para fijar su Gardenigloo al suelo.
• Gardenigloo puede ser arrastrado, volver al revés o lo peor puede ser roto en pedazos por la fuerza del viento. Para evitar daños
por el viento a tu Gardenigloo, es obligatorio el uso de las 14 bolsas de peso para base.
Siempre llene las bolsas de
peso con arena fina y seca.
Peso (cada una):
aprox. 30 lbs cuando está llena
Peso (kit total):
aprox. 420 lbs cuando está llena
Coloque las bolsas de peso como se
muestra en la figura. Cubra los montantes
de la base para una distribución igual del
peso.
Ate usted cada bolsa para los montan-
tes de la base en tres puntos con un nudo
apretado. Bolsas de peso se conectan a la
estructura con nudos cuando está en uso
para impedir el movimiento/elevación.
14 X
BOLSAS DE BASE DE PESO
Las superficies duras
Terrenos blandos
1 2 3
Table of contents
Other Garden Igloo Lawn And Garden Equipment manuals
Popular Lawn And Garden Equipment manuals by other brands

Soilmoisture
Soilmoisture 0192K1 operating instructions

RAYN
RAYN Lyda Installation and user manual

The Handy
The Handy THMT26EXT instruction manual

Mosquito Magnet
Mosquito Magnet Liberty Operation manual

Kerbl
Kerbl EcoKill Inox 299930, EcoKill Inox 299931 Instructions for use

GreenWorks
GreenWorks G48GTE30 Operator's manual