manuals.online logo
Brands
  1. Home
  2. •
  3. Brands
  4. •
  5. Garden Oasis
  6. •
  7. Patio Furniture
  8. •
  9. Garden Oasis SC-176NSF/4 User manual

Garden Oasis SC-176NSF/4 User manual

Other Garden Oasis Patio Furniture manuals
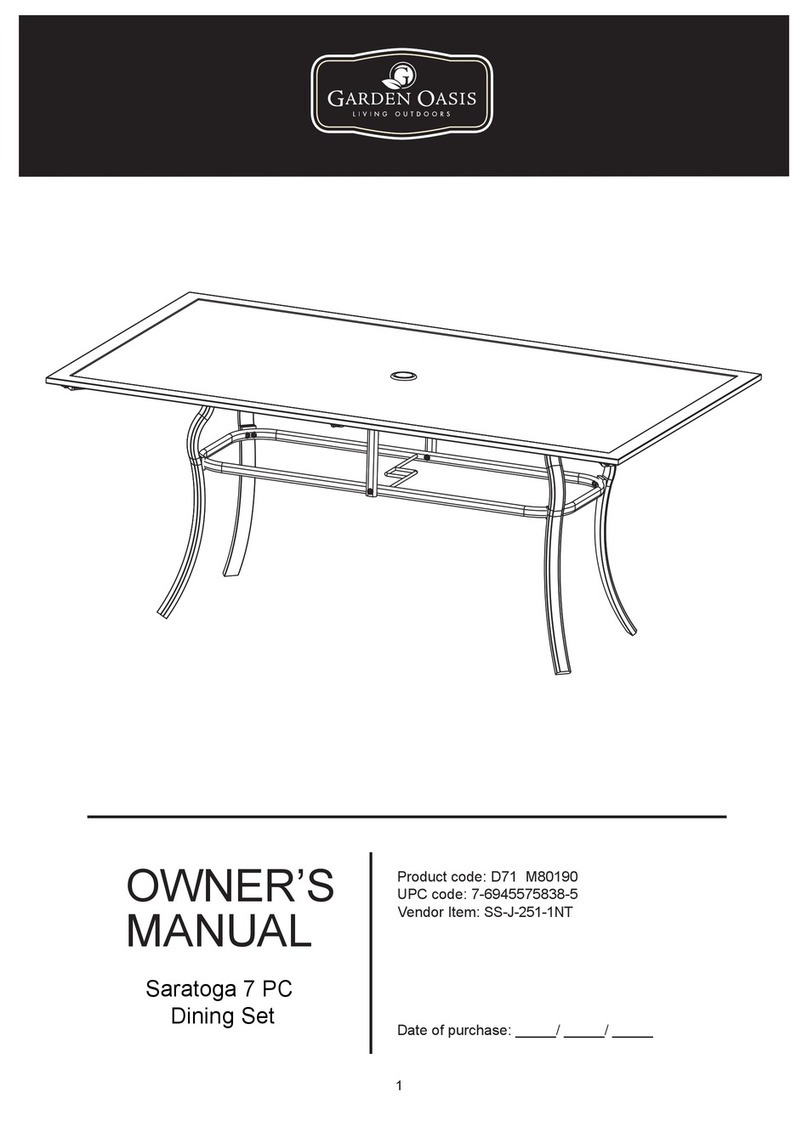
Garden Oasis UM96G31SG04 User manual

Garden Oasis

Garden Oasis UM96G31SG04 User manual

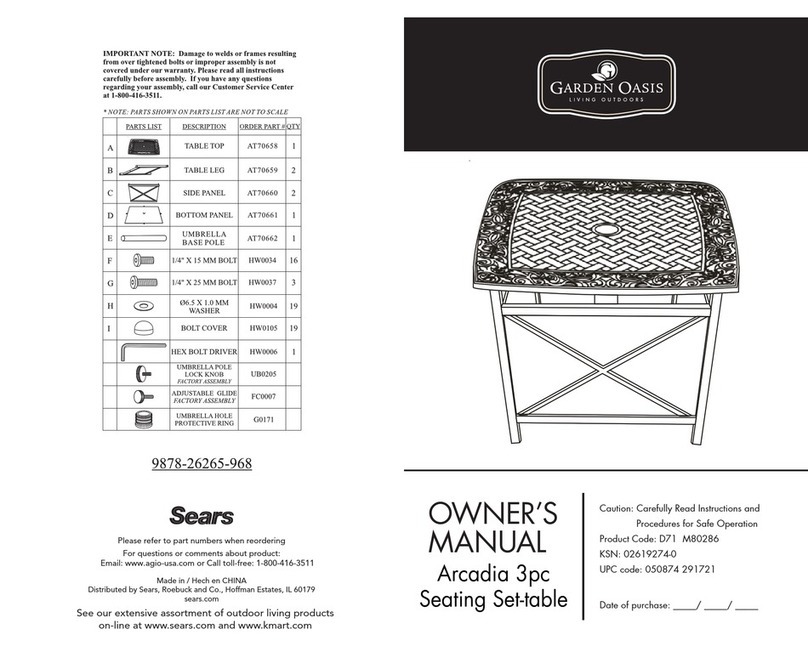
Garden Oasis 9878-26265-968 User manual

Garden Oasis

Garden Oasis 9878-26265-968 User manual

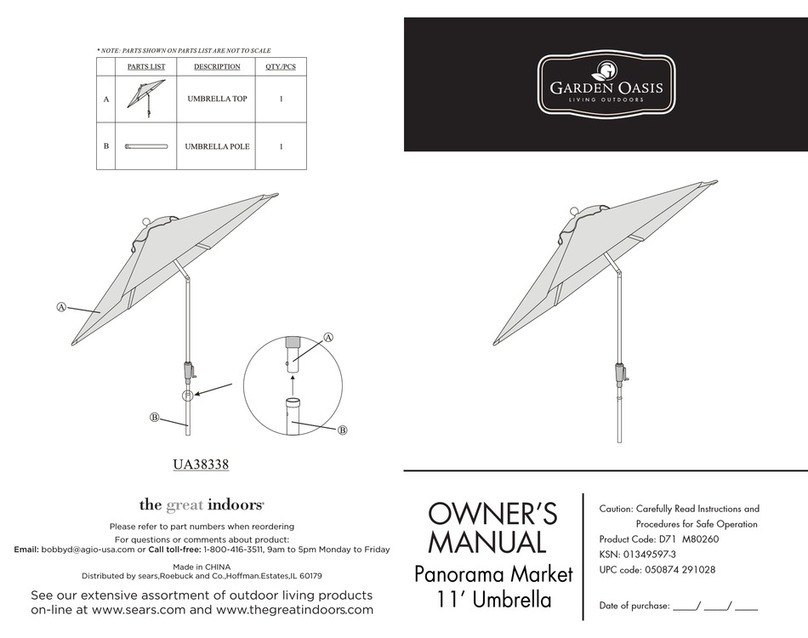
Garden Oasis the great indoors US38338 User manual

Garden Oasis

Garden Oasis the great indoors US38338 User manual

Garden Oasis SKFS735A-5 User manual

Garden Oasis

Garden Oasis SKFS735A-5 User manual

Garden Oasis SC-J-114-1/4 User manual

Garden Oasis

Garden Oasis SC-J-114-1/4 User manual

Garden Oasis Clayton 12' X 10' User manual

Garden Oasis

Garden Oasis Clayton 12' X 10' User manual

Garden Oasis XR6306S45G31SG04 User manual

Garden Oasis

Garden Oasis XR6306S45G31SG04 User manual

Garden Oasis D71 M80279 User manual

Garden Oasis

Garden Oasis D71 M80279 User manual

Garden Oasis CORNELL 48? ROUND DINING TABLE User manual

Garden Oasis

Garden Oasis CORNELL 48? ROUND DINING TABLE User manual

Garden Oasis Garden Oasis D71 M80191 User manual

Garden Oasis

Garden Oasis Garden Oasis D71 M80191 User manual

Garden Oasis 50-34335A-3673 User manual

Garden Oasis

Garden Oasis 50-34335A-3673 User manual

Garden Oasis D71 M20354 User manual

Garden Oasis

Garden Oasis D71 M20354 User manual

Garden Oasis 813-26265-097 User manual

Garden Oasis

Garden Oasis 813-26265-097 User manual

Garden Oasis JDC-6525A-8 User manual

Garden Oasis

Garden Oasis JDC-6525A-8 User manual

Garden Oasis 50-43200-3 User manual

Garden Oasis

Garden Oasis 50-43200-3 User manual

Garden Oasis 50-43201-3 User manual

Garden Oasis

Garden Oasis 50-43201-3 User manual

Garden Oasis 803-38686-087 User manual

Garden Oasis

Garden Oasis 803-38686-087 User manual

Garden Oasis WICKER 08808305-0 User manual

Garden Oasis

Garden Oasis WICKER 08808305-0 User manual

Garden Oasis ZS110887 User manual

Garden Oasis

Garden Oasis ZS110887 User manual

Garden Oasis HIGHLAND 10X12 GAZEBO User manual

Garden Oasis

Garden Oasis HIGHLAND 10X12 GAZEBO User manual

Garden Oasis JDC-6525A User manual

Garden Oasis

Garden Oasis JDC-6525A User manual

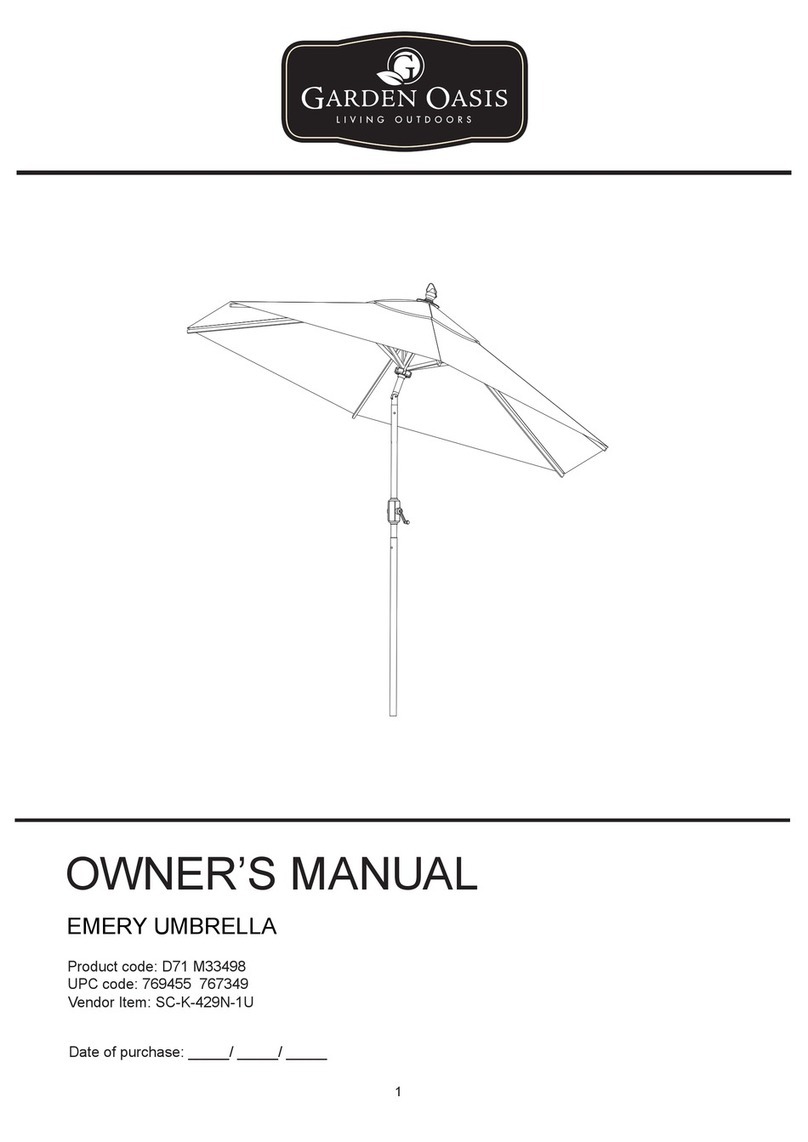
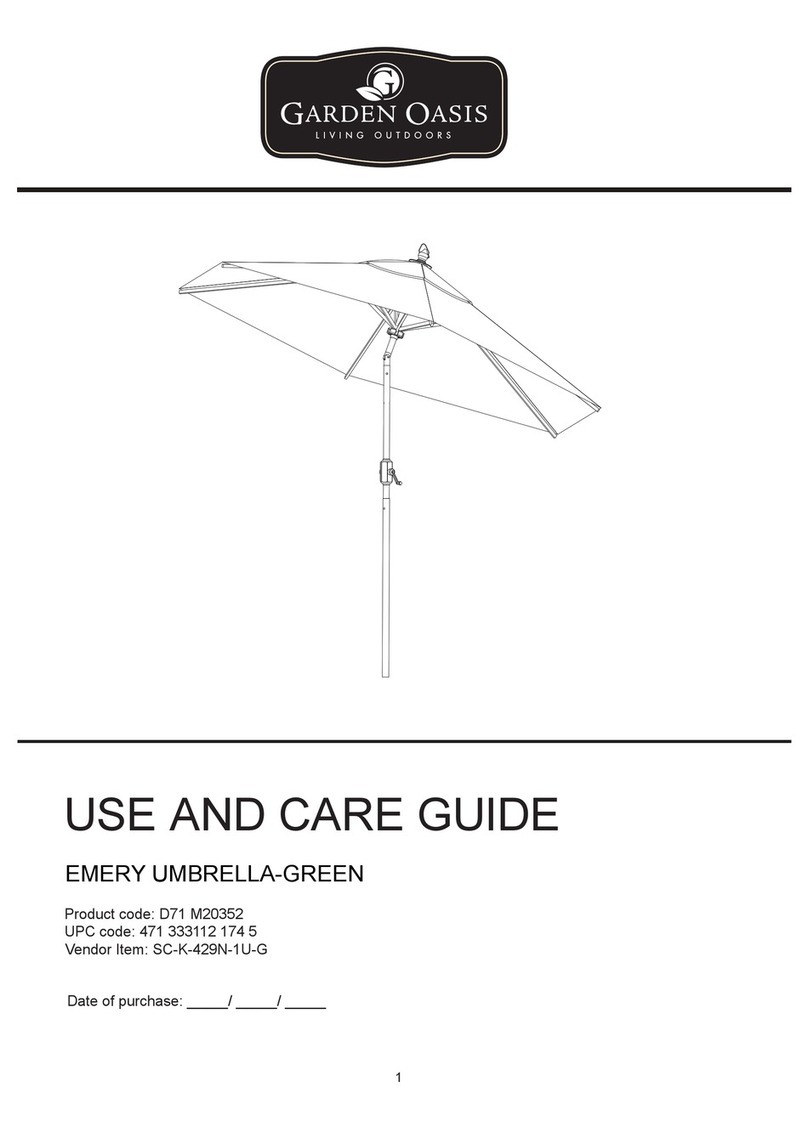
Garden Oasis EMERY D71 M20352 User manual

Garden Oasis

Garden Oasis EMERY D71 M20352 User manual

Garden Oasis 3923 User manual

Garden Oasis

Garden Oasis 3923 User manual

Garden Oasis EMERY User manual

Garden Oasis

Garden Oasis EMERY User manual
Popular Patio Furniture manuals by other brands

furniture123 FTR063 Assembly instructions

furniture123

furniture123 FTR063 Assembly instructions

PATIOJOY HW70624 Instruction booklet

PATIOJOY

PATIOJOY HW70624 Instruction booklet

LAZBOY 780-01291206-9 owner's manual

LAZBOY

LAZBOY 780-01291206-9 owner's manual

RUSTA RHODOS manual

RUSTA

RUSTA RHODOS manual

Patioflare Melody PF-10129 Series Assembly instruction

Patioflare

Patioflare Melody PF-10129 Series Assembly instruction

Agio 2127092 Assembly instructions

Agio

Agio 2127092 Assembly instructions

vita Fairfeld Arbor Assembly instructions

vita

vita Fairfeld Arbor Assembly instructions

Seasons Sentry UMB-822120 Assembly, care & use manual

Seasons Sentry

Seasons Sentry UMB-822120 Assembly, care & use manual

JARDINICO JCP.501 owner's manual

JARDINICO

JARDINICO JCP.501 owner's manual

Outdoor Home UMB-879530 Assembly & care instructions

Outdoor Home

Outdoor Home UMB-879530 Assembly & care instructions

weinor Großschirm Lugano Series Maintenance instructions and directions for use
weinor

weinor Großschirm Lugano Series Maintenance instructions and directions for use

Atleisure seasons SENTRY UMB-546980M Assembly, care & use manual
Atleisure

Atleisure seasons SENTRY UMB-546980M Assembly, care & use manual
CARAVITA SAMARA 2012 Handling instructions

CARAVITA

CARAVITA SAMARA 2012 Handling instructions

Treasure Garden UM8811RT Assembly and operation guide

Treasure Garden

Treasure Garden UM8811RT Assembly and operation guide

Costway NP10245 user manual

Costway

Costway NP10245 user manual

Extremis INUMBRINA 380 Assembly instructions

Extremis

Extremis INUMBRINA 380 Assembly instructions

Clas Ohlson Cafe Set BIS001 instruction manual

Clas Ohlson

Clas Ohlson Cafe Set BIS001 instruction manual

Treasure Garden UM810 Series Replacement instructions

Treasure Garden

Treasure Garden UM810 Series Replacement instructions

manuals.online logo
manuals.online logoBrands
  • About & Mission
  • Contact us
  • Privacy Policy
  • Terms and Conditions

Copyright 2025 Manuals.Online. All Rights Reserved.

OWNER’S
MANUAL
Date of purchase: _____/ _____/ _____
Malden 4 Piece
Seating Set
Product code: D71 M80446
UPC code: 7-6945575825-5
1
Vendor Item: SC-176NSF/4
PARTS
Read through all the instructions before beginning assembly. Unpack and identify all the parts.
Place them on a flat, non-abrasive surface. Assembly by two people is recommended.
ACCESSORIES
2
A1 (3)
Right Arm
A2 (3)
Left Arm
B (2)
Seat for Cushion Chair
C (2)
Back for Cushion Chair
D (1)
Seat for Loveseat
E (1)
Back for Loveseat
F (4)
Back Cushion
G (4)
Seat Cushion
H (1)
Table Top
I (4)
Metal Leg
J (1)
Metal Center Ring
Ka (6 + 1 spare)
M6 x 25L Bolt
Kc (4)
M6 x 36L Bolt
Kd (12 + 1 spare)
M6 x 50L Bolt
Ke (6+1 spare)
M6 x 60L Bolt
Kf (4)
Screw
Kb (2 )
M6 x 30L Bolt
Kg (36 + 2 spares)
Kh (12 + 1 spare)
Nut
Ki (1)
Hex Wrench
Kj (1)
Allen Wrench
Kk (1)
Assembly Instructions
Sheet
Metal Washer
Kl (1 spare)
Glass Bumper
ASSEMBLY INSTRUCTIONS
Attach the back for cushion chair (C) to the seat
for cushion chair (B). Align the holes, insert an
M6 x 25L bolt (Ka) through a metal washer (Kg), the
back for cushion chair (C) and secure into the seat for
cushion chair (B). See Fig. 1. Repeat procedure for
the other side. Do not tighten completely.
Attach the left arm (A2) to the seat (B). Align the
holes, for upper hole insert an M6 x 50L bolt (Kd)
through a metal washer (Kg), the arm (A2) and
secure into the front crossbar of the seat (B). For
lower hole insert an M6 x 50L bolt (Kd) through a
metal washer (Kg), the arm (A2), the bracket of the
seat (B) and secure with a nut (Kh). See Fig. 2. Do
not tighten completely. Then insert an M6 x 60L
bolt (Ke) through a metal washer (Kg), the arm (A2),
the back (C), another metal washer (Kg) and secure
with a nut (Kh). See Fig. 3. Do not tighten completely.
Repeat procedure for the right arm (A1). Securely
tighten all bolts. (Note: the arm label with “left” or “right”).
1
2
3
4
All parts are shrink wrapped together. Remove all
components from the box and place on top of the
box. Carefully cut the wrapping open. Count and
identify all parts.
Attach the seat for loveseat (D) to the back for
loveseat (E). Align the holes, for each hole on the side
insert an M6 x 25L bolt (Ka) through a metal washer (Kg),
the back for loveseat (E) and secure into the rear crossbar
of the seat (D). See Fig. 5. Do not tighten completely.
For each hole in the medium insert an M6 x 30L bolt (Kb)
through a metal washer (Kg), the rear crossbar of the
seat (D) and secure into the back (E). See Fig. 6. Do
not tighten completely.
5
3
Kg A2
Kg
Ke
Kh
G
F
Ka
Kg
C
B
Kd
Kd
Kg
Kh
Kg
C
A1
B
A2
Ka
Kb Kb
Kg Kg
Kg
D
E
Place the back cushion (F) and seat cushion (G)
onto the assembled chair frame and fasten to the
frame. See Fig. 4. Repeat procedure for the other
cushion chair.
Fig. 1
Fig. 3
Fig. 2
Fig. 4
Fig. 5 Fig. 6
4
Made in CHINA
Distributed by Sears, Roebuck and Co., Hoffman Estates, IL 60179
See our extensive assortment of outdoor living products
on-line at www.sears.com and www.kmart.com
For questions or comments about product:
Call toll-free:
800-457-4652
Please refer to part numbers when reordering
CARE INSTRUCTIONS
Wash with a mild solution of soap and water; rinse thoroughly. Dry completely. Do not use bleach or solvents.
Cover furniture with outdoor furniture covers when not in use.
6Attach the left arm (A2) to the seat for the loveseat (D).
Align the holes, for upper hole insert an M6 x 50L bolt (Kd)
through a metal washer (Kg), the arm (A2) and secure
into the front crossbar of the seat (D). For lower hole
insert an M6 x 50L bolt (Kd) through a metal washer (Kg),
the arm (A2), the bracket of the seat (D) and secure with
a nut (Kh). See Fig. 7. Do not tighten completely. Then
insert an M6 x60L bolt (Ke) through a metal washer (Kg),
the arm (A2), the back for the loveseat (E), another metal
washer (Kg) and secure with a nut (Kh). See Fig. 8. Do
not tighten completely. Repeat procedure for the right
arm (A1). Securely tighten all bolts.
Place the back cushions (F) and seat cushions (G) onto the
assembled loveseat frame and fasten to the frame. See Fig. 9.
7
Kg
Kh
Kg
Kg
F
Kd
Ke
Kd
Kh
Kg
G
A1
A2
E
D
I
Kc
Kg
J
Kf
J
I
H
Place the tabletop (H) on a flat surface. Insert four metal
legs (I) into the plastic receivers on the table rim (H).
Adjust the plastic receiver positions on the rim by
sliding back and forth as necessary. Place a metal center
ring (J) between legs, Align the holes and insert an
M6 x 36L bolt (Kc) through a metal washer (Kg), through
a metal center ring (J) and secure into the leg (I) for each
hole. Do not tighten completely. See Fig. 10.
Insert a screw (Kf) through each plastic receiver on the rim
and into the tip of each leg. See Fig. 11. Turn the table over.
Securely tighten all bolts and screws by using the
-wrenches (Ki, Kj).
8
9
Your 4 pc seating set is ready for use now!
Fig. 7
Fig. 8
Fig. 9
Fig. 10
Fig. 11