manuals.online logo
Brands
  1. Home
  2. •
  3. Brands
  4. •
  5. GardenWize
  6. •
  7. Outdoor Fountain
  8. •
  9. GardenWize SWGSL233 User manual

GardenWize SWGSL233 User manual

Manufacturer’s Warranty: This product comes with a 12 month manufacturer warranty
which starts on the date of purchase. The warranty covers technical faults during the 12 month
period. Any issues caused by accidental damage or wear and tear is not covered by this
12 month manufacturer warranty.
For any warranty queries, please contact the retailer where you purchased the product.
Streetwize: Streetwize Accessories, Unit 1, Royce Trading Estate,
Ashburton Rd West, Trafford Park, Manchester, M17 1RY
www.streetwizeaccessories.com
For Product Support:
E: [email protected]
T: +44 (0)161 447 8597
For Trade Enquiries:
E: [email protected]
T: +44 (0)161 447 8580
EU Registered Address: Ace Supply Co
(Europe) Ltd, 25 Herbert Place, Dublin 2,
D02 A098, Republic of Ireland.
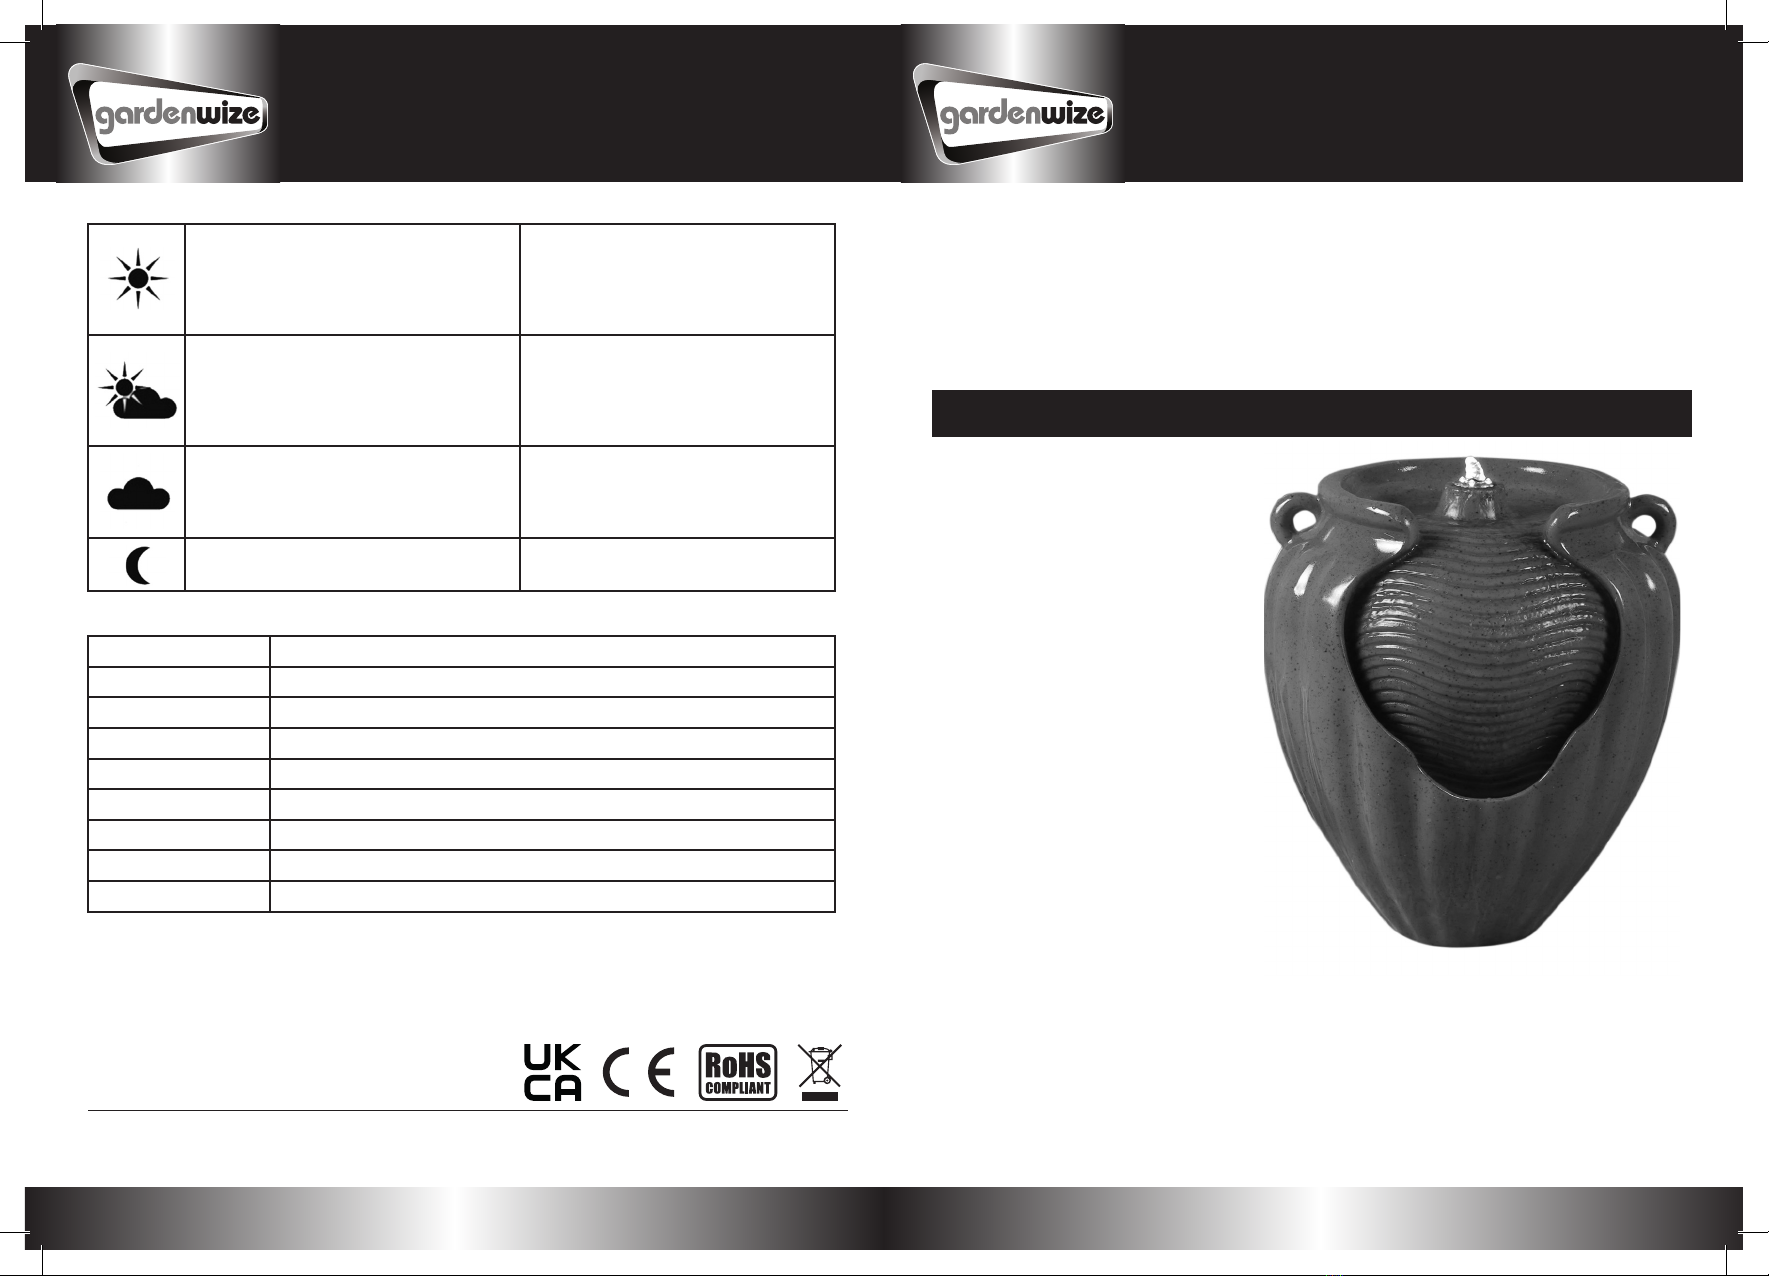
Solar-Powered Vase
Water Fountain
with Back-Up Lithium Battery
SWGSL233 - Red
SWGSL234 - Blue
To get the best use of this water feature, we highly advise that you read all the information
and safety guidelines in this document, and retain for future reference.
Assembly Instructions
Please follow the instructions below:
1. Remove the product from its packaging
2. Place the water feature in a location where the solar panel can receive plenty of direct
sunlight.
3. At the back of the water feature, there is a hole, Here, you will see the connecting
wiring for the LED light as well as the integrated water tube. Connect the pump to the
integrated tube and thread the wiring for both the LED light and pump to outside (see
figure 1).
Pump Performance in Different Weather Condition:
Solar energy runs the pump and
charges the battery. Pump performance
is maintained when brief cloudy
conditions occur. Pump runs up to 5
hours in the evening.
Battery should be fully charged in 1
day.
Solar energy runs the pump and
supplies some energy to the battery.
Performance is maintained when the
clouds pass. Pump will only run a
shorter period of time in the evening.
Battery will take 2 to 3 days to fully
charge.
Pump will only run when there is
sufficient power from the battery. Little
or no battery charging occurs, so pump
performance is not maintained.
Battery will take several days to fully
charge.
No solar power is available, pump will
not run and battery will not charge.
Battery will not charge.
Technical Specification
Product: Gardenwize Solar-Powered Vase Water Fountain
Supplier code: SWGSL233 - Red / SWGSL234 - Blue
Solar Panel: 2W
Operation Voltage: 6V DC
Water Flow Max: 200LPH
Water lift Max.: 0.8M
LED Light 4 LED light - white
Cable Length: 5M
Lithium Battery: 3.7V 2000mAh
Contents
1. Gardenwize Solar-Powered
Black Pebble Water Fountain
2. LED light
3. Solar panel with built-in
back-up lithium battery
4. Water pump
5. Stake for solar panel
Positioning This Solar-Powered
Water Feature
When placing this water feature,
ensure the solar panel is placed
where it can get the most direct
sunlight.
Avoid positioning the solar panel
in an area where there is a lot
of shade as this will affect the
performance.
Cleaning & Maintenance
Pump|If the pump stops working or is running slow, you will need to disassemble and clean
the pump to remove any debris/limescale from the filter and motor chamber, as shown below:
To disassemble the pump, ensure the unit is switched off. Remove the pump from the water
tube and take the pump out of the water. Then, remove the pump cover, filter and impeller
cover (Fig 4). Clean them with fresh water and place them back inside the pump.
Solar Panel
The solar panel should be cleaned with a soft cloth on a regular basis to maintain an optimum
efficiency.
Safety Warnings
1. Do not strike the solar panel
2. Do not let the pump run dry for long time
3. Do not lift the pump by the power cord
4. Only use freshwater when using this water feature
Storage
Ensure the battery is fully charged before storing and disconnecting all cables. We recommend
the use of a cover to protect the water feature from dust/damage.
Troubleshooting
4. Connect the wiring for both LED light and water pump to the solar panel (see figure 2).
Please note, the charge port for this product is not used. This water feature is not supplied
with a charger cable and it is also not available to purchase. Ensure sockets are sheltered
from rain to avoid any water damage.
5. Attach the stake to the back of the solar panel (see figure 3) and then secure it into soft
ground. Ensure the panel is well-positioned where it can get direct sunlight during the day.
6. Fill the bottom basin with water. The water level should be below the opening of the door at
the back of the unit. Ensure both the water pump and LED light are immersed in the water.
On First Use
The built-in back-up lithium battery in this product will have been partially charged upon manufacture. However,
on the date of purchase, the battery will lose its charge during shipping and storage. For best results, allow the
solar panel to charge the battery for a full day in direct sunlight before using the pump.
Direction for Use
This water feature is designed to run during the day in direct sunlight. Any excess power produced via the solar
panel will be used to charge the back-up battery. This will allow for running of the pump and LED light in the
evening. Please note, the evening runtime will vary depending on charge level of battery and weather conditions.
The LED light automatically illuminates in the evening, if there is sufficient charge in the battery.
How to Turn On The Unit
To turn on the unit to start running the pump and the LED light, place your finger on the ‘on/off’ button on the
rear of the solar panel for 1 second
How to Charge The Lithium Battery
To switch off the pump, place your finger on the ‘on/off’ button on the rear of the panel for 3 seconds to turn off
the pump. When the pump/LED light is switched off, all of the charge generated by the solar panel will be stored
in the back-up battery.
Please note, this may have to be done periodically during inclement weather.
Battery status
On the reverse side of the solar panel, there is LED indicator light that will show you the battery charge status.
Fig 1 Fig 2 Fig 3
Troubleshooting Potential Cause Solution
Pump not
operating under
full sunlight
Pump is not connected to the solar
panel Impeller is blocked – To clean
the pump, remove the front plate
and the impeller. Use a small brush
or fresh water to remove any debris.
Check connection to the solar
panel. Remove blockage (see
Cleaning and Maintenance
Pump is operating
but water is not
running through
the fountainhead
Build-up of sediment or limescale
inside the pump.
Clean tubes and filter (see
Cleaning and Maintenance
Fig 4
LED color Status Pump run time
Green Battery is fully charged 6 to 8 hours
Orange Battery is at 50% charged 2 to 6 hours
Red Battery is less than 20 percent Up to 1 hour

This manual suits for next models

1

Other GardenWize Outdoor Fountain manuals

GardenWize SWGSL229 User manual

GardenWize

GardenWize SWGSL229 User manual

GardenWize SWGSL234 User manual

GardenWize

GardenWize SWGSL234 User manual

GardenWize SWGSL230 User manual

GardenWize

GardenWize SWGSL230 User manual

GardenWize SWGSL276 Specification sheet

GardenWize

GardenWize SWGSL276 Specification sheet

GardenWize SWGSL231 User manual

GardenWize

GardenWize SWGSL231 User manual

GardenWize SWGSL220 User manual

GardenWize

GardenWize SWGSL220 User manual

Popular Outdoor Fountain manuals by other brands

BENITO Acces UM542 Assembly instructions

BENITO

BENITO Acces UM542 Assembly instructions

Sunnydaze Decor GSI-707 quick start guide

Sunnydaze Decor

Sunnydaze Decor GSI-707 quick start guide

Campania International Longvue FT-225 Assembly instructions

Campania International

Campania International Longvue FT-225 Assembly instructions

Kenroy Home 51057CON Care and instructions manual

Kenroy Home

Kenroy Home 51057CON Care and instructions manual

YRD Rechargeable Garden Fountain Assembly manual

YRD

YRD Rechargeable Garden Fountain Assembly manual

Teka Intra Endura ED2DF Installation

Teka

Teka Intra Endura ED2DF Installation

ASC Rattan Pillar & Ball SF006 instructions

ASC

ASC Rattan Pillar & Ball SF006 instructions

Kelkay Easy Fountain Drakes Nest 45044L instructions

Kelkay

Kelkay Easy Fountain Drakes Nest 45044L instructions

Sunnydaze Decor GSI-298 instructions

Sunnydaze Decor

Sunnydaze Decor GSI-298 instructions

Henri Studio 5595F14 Setting up

Henri Studio

Henri Studio 5595F14 Setting up

Campania International FT-34 Assembly instructions

Campania International

Campania International FT-34 Assembly instructions

Bluworld WATER WONDERS Moonshadow Instructions for use

Bluworld

Bluworld WATER WONDERS Moonshadow Instructions for use

Jeco FCL158 quick start guide

Jeco

Jeco FCL158 quick start guide

Campania GFRCFT-1106 quick start guide

Campania

Campania GFRCFT-1106 quick start guide

Profi-pumpe SP02128-3 operating instructions

Profi-pumpe

Profi-pumpe SP02128-3 operating instructions

Elkay SOFT SIDES EDFPBM117WS Installation, care & use manual

Elkay

Elkay SOFT SIDES EDFPBM117WS Installation, care & use manual

Oase USP Classic 200 operating instructions

Oase

Oase USP Classic 200 operating instructions

HoMedics enviraScape ASPEN FALLS  WFL-ASP Instruction manual and  warranty information

HoMedics

HoMedics enviraScape ASPEN FALLS WFL-ASP Instruction manual and warranty information

manuals.online logo
manuals.online logoBrands
  • About & Mission
  • Contact us
  • Privacy Policy
  • Terms and Conditions

Copyright 2025 Manuals.Online. All Rights Reserved.