7. Installing the fixture
Warning! Avoid coiled cords. Coiled cords may lead to electromagnetic
interference.
Warning! Always install the lamp before connecting the fixture to the mains.
Warning! When connecting the fixture to the controller it may ignite. Make sure
either power is disconnected or the controller is switched off.
Warning! Ensure the local cabling can support the voltage and current
requirements of the fixture.
7.1. Preparing the fixture for use
• Switch off mains power.
• Install the lamp in the fixture (see paragraph 10.1).
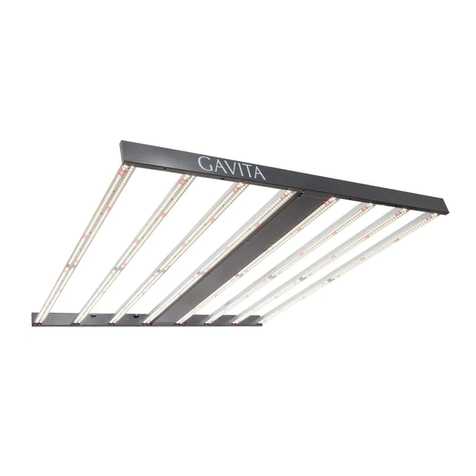
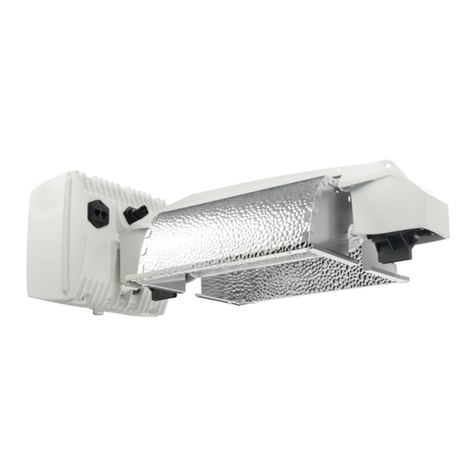
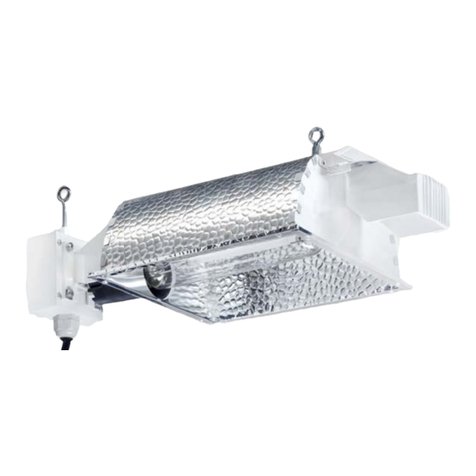
• Hang the lamp by its two mounting points (3). The mountings point are spaced
407 mm / 16 inches apart.
7.2. Connecting the fixture to a controller (controller required)
Note: A RJ splitter is provided with the fixture to allow for a group of up to 40
fixtures to be daisy chained to one controller port (4). For more information on
connecting fixtures to a controller, consult the controller manual.
• Switch the power selector knob on the Gavita ballast to the “EXT” (5) position.
• Connect the controller to the included RJ splitter (4D) using the controller’s
connection cable (4C).
• Connect one output of the splitter to the RJ plug of the fixture using the
interconnect cable (4E). The indicator light on the ballast will blink when the
connection is successful.
• Connect the other output of the splitter to the input of the following RJ splitter
using an interconnect cable (4F).
• Repeat this process to connect up to 40 ballasts per controller port (4A/B).
Warning! Ensure the power cord and the controller cable do not touch the
reflector.
7.3. Connecting the fixture to the mains
Warning! Ensure the cord is not coiled and does not touch any hot surfaces.
Warning! If external switching gear is used to switch the fixture, ensure it
can cope with the inrush current of the fixture (see paragraph 3.2). Always
use a double pole contactor suitable of switching a capacitive load. Never use
household timers to switch the fixture!
• If a controller is used, ensure the controller is connected to the fixture.
• Plug the power cord into the mains.
• Switch on mains power.
8. Product use
Warning! Never use the fixture without a lamp or reflector!
Caution! Before you dim or boost your HPS lamp, make sure that you run it at
nominal value (100%) for at least 100 hours to stabilize the lamp. Failing to do
so may lead to sub-optimal light levels and premature end of life failure of your
lamp.
8.1. Adjusting the output of the lamp manually
Note: Adjustment occurs gradually (60 seconds per step) to increase the lifespan
of the lamp.
• Turn the output control knob to adjust the output of the lamp:
-Pro 6-750eDE FLEX: 400/500/600/750/825 Watt /EXT (6);
-Pro 1000eDE: 600/750/825/1000/1150 Watt /EXT.
8.2. Using the controller to adjust the output of the lamp
The lamp is steplessly variable when connected to a controller.
-Pro 6-750eDE FLEX: 50-110%;
-Pro 1000eDE: 50-115%.
Consult the manual for more information on controlling the output of the lamp.
407 mm / 16 inch
3.
1000W
1 m -
40 in
750W
0.75 m -
30 in
Max 40 Ballast
Main Channel
Aux Channel
E
Max 40 Ballast
D C


