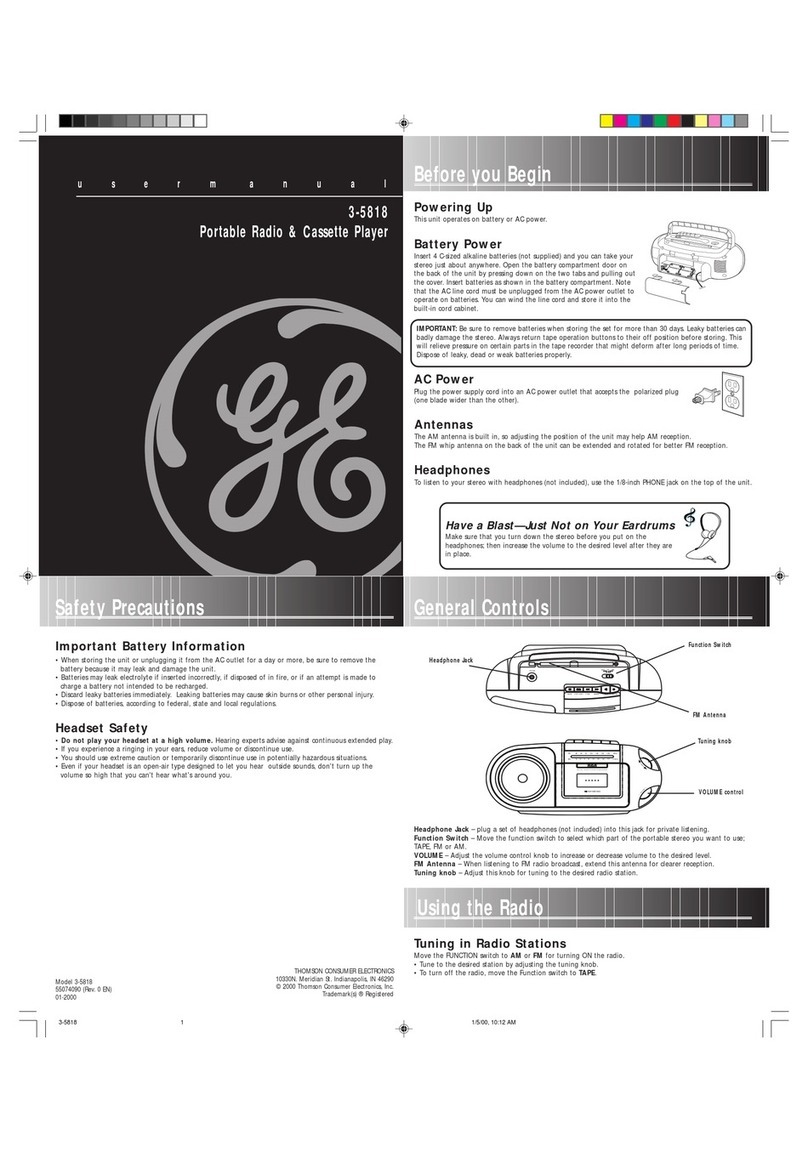
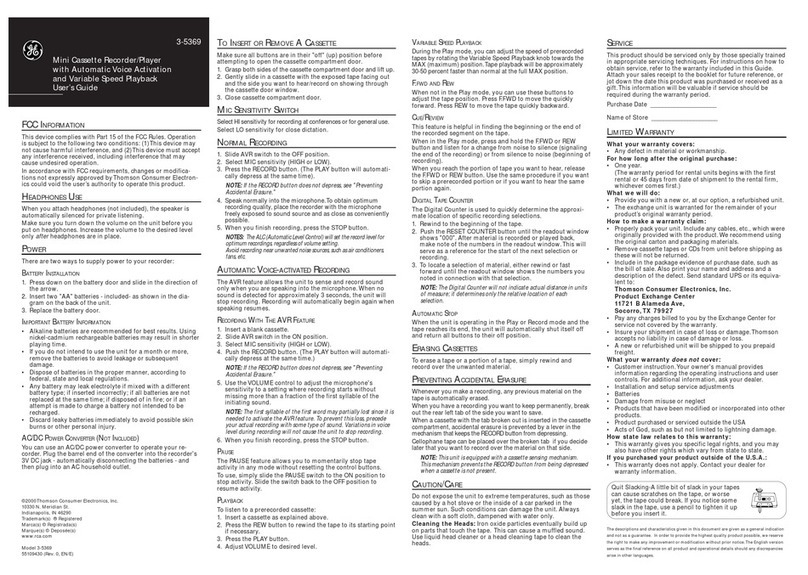
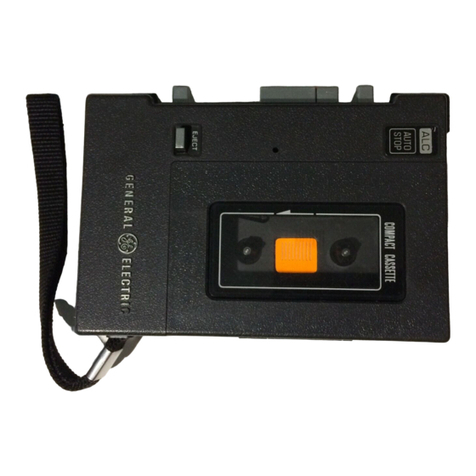
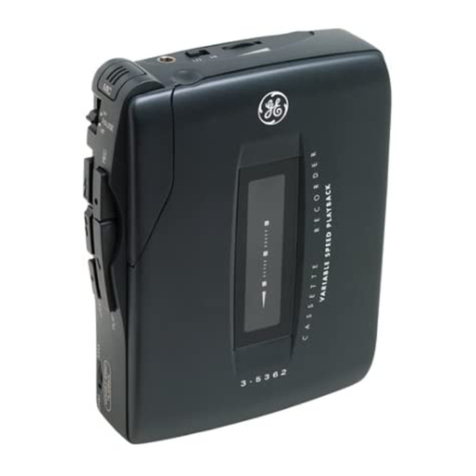
GE M8530 User manual

N
ERAL
16
LECTRI
=
USE
AND
CARE
GUIDE
FM/AM
Radio
Cassette
Tape
aot
Model
M8530
—
READ
INSTRUCTIONS
THOROUGHLY
BEFORE
OPERATING

GENERAL
(GB
ELECTRIC
FROM
GENERAL
ELECTRIC
—
An
AM/FM
portable
radio,
cassette
tape
recorder
with
a
built-in
condenser
microphone,
automatic
level
control
plus
automatic
shut
off.
Before
operating
your
tape
recorder,
please
read
the
following
in-
structions.
WARNING:
TO
PREVENT
FIRE
OR
ELECTRIC
SHOCK,
DO
NOT
EXPOSE
THIS
PRODUCT
TO
RAIN
OR
MOISTURE,
OR
DISASSEMBLE
CABINET.
NO
USER-SERVICEABLE
PARTS
INSIDE.
REFER
SERVICING
TO
QUALIFIED
SERVICE
PERSONNEL.
PRELIMINARY
SET-UP
THREE-WAY
POWER:
This
three-way
power
recorder
operates
on
120
volt
AC
household
power,
6
“c”
size
batteries
or
(with
the
optional
Auto
Adapter)
from
the
cigarette
lighter
socket
of
an
automobile.
BATTERY
OPERATION
@
Remove
battery
compartment
door
by
pushing
it
inward
and
slide
off
toward
bottom
of
unit.
®
Insert
6
“C”
size
flashlight
batteries
into
battery
compartment.
Be
sure
the
(+)
or
cap
ends
of
each
battery
are
installed
as
shown
on
the
plastic
flap
in
the
battery
com-
partment.
®
Slide
the
AC/DC
switch
in
the
cord
storage
compartment
to
the
"BATT"
position.
THREE
WAY
POWER
AC/DC
Switch
Battery
Compartment
IMPORTANT
When
any
battery
operated
transistor
product
begins
to
play
badly,
sound
becomes
weak,
distorted,
or
exhibit
almost
any
other
trouble,
check
for
rundown
batteries.
If
product
operates
OK
on
AC
line
cord
operation,
but
not
on
batteries,
then
the
batteries
need
to
be
replaced.
Since
few
batteries
are
actually
“leak-proof”,
always
remove
batteries,
even
if
new,
when
storing
product
for
a
month
or
longer,
or
using
on
AC
only.
Remember
that
even
with
the
power
cord
plugged
in,
your
set
will
operate
from
the
batteries
unless
the
AC/DC
switch
is
set
to
AC.
For
shorter
periods
of
AC
operation
(up
to
30
days),
batteries
may
remain
in
product.
Always
remove
worn-out
batteries
as
they
may
leak
chemicals
which
will
damage
the
electronic
components
and
cabinet.
AC
POWER
OPERATION
®
Remove
the
line
cord
from
the
storage
compartment.
è
Slide
the
AC/DC
switch
in
the
storage
compartment
to
AC.
®
Plug
power
cord
into
a
120
volt
AC
wall
receptacle.
AUTO
ADAPTER
—
RT9528
This
recorder
may
also
be
operated
from
a
cigarette
lighter
socket
in
your auto
or
boat.
The
optional
accessory
auto
adaptor
plugs
into
the
“PWR”
jack
on
the
set,
(which
automatically
disconnects
the
batteries)
and
into
the
cigarette
lighter
of
your
auto
or
boat.
For
Operation
of
Tape
Recorder
from
Auto/Boat
cigarette
lighter
socket

HOW
TO
USE
RADIO
OPERATION
©
Set
AM/FM
switch
to
desired
programming.
0
Flip
radio
ON/OFF
switch
to
ON.
©
For
FM,
extend
the
whip
antenna
fully
and
move
around
for
best
reception.
O
The
built-in
AM
antenna
is
directional,
so
for
AM
you
may
have
to
rotate
the
set
for
best
reception.
O
The
TUNING
knob
on
the
front
of
the
set
is
used
for
tuning
both
AM
and
FM
Stations.
o
Adjust
the
VOLUME
and
TONE
slides
for
pleasant
listening.
HOW
TO
INSERT
CASSETTE
O
Push
the
EJECT
button
to
pop
open
the
cassette
door.
Insert
a
cassette
as
shown
(without
touching
the
tape
itself)
and
push
it
down
and
back
until
it
snaps
in
place.
Now
close
the
cassette
door.
RADIO
DIRECT
RECORDINGS
o
With
the
radio
playing.
press
the
RECORD
button
and the
PLAY
button
simultaneously.
There
is
no
need
to
adjust
the
volume,
since
your
set has
built
in
ALC
(Automatic
Level
MICROPHONE
RECORDING
®
insert
cassette
as
outlined
under
Radio
Direct
Recordings.
@
Press
the
RECORD
button
and
the
PLAY
button
simultaneously.
*
Talk
normally
into
the
BUILT-IN
CON-
DENSER
MICROPHONE.
To
obtain
optimum
recording
quality,
place
the
recorder
with
the
microphone
freely
exposed
to
sound
source
and
as
close
as
convenient.
(If
the
accessory
remote
microphone
is
used,
refer
to
REMOTE
MICROPHONES
instructions.)
NOTE:
The
Automatic
Level
Control
will
set
the
record
level
for
optimum
recordings
without
further
adjustments.
e
When
you
finish
recording,
simply
push
the
STOP
button.
PLAYBACK
To
listen
to
your
recorded
tape
cassettes,
just
rewind
to
the
starting
point,
then
push
the
PLAY
button
and
adjust
VOLUME
and
TONE.
REWIND
To
run
the
tape
back
to
the
beginning
of
your
recording,
simply
push
the
REWIND
button.
Watch
the
tape
through
the
window
in
the
cassette
door.
Push
the
STOP
button
when
the
tape
is
back
to
the
place
you
started
recording
from.
7.
Tone
Slide
Control
8.
Volume
Slide
Control
9.
FM-AM
Switch
10.
Radio
ON-OFF
Switch
11.
FM
Whip
Antenna
12.
Tuning
Knob
AUTOMATIC
STOP
When
your
recorder
is
operating
in
the
PLAY
or
RECORD
functions
and
the
end
of
the
tape
is
reached,
the
tape
section
of
your
unit
will
automatically
shut
itself
off.
FAST
FORWARD
To
skip
over
portions
of
the
tape
quickly,
press
and
hold
the
FORWARD
botton.
To
stop
the
tape
again,
release
the
button.
TAPE
ERASE
There
are
two
ways
to
erase
unwanted
recording
material
on
your
General
Electric
Tape
Recorder.
A.
The
first
method
is
to
record
over
the
un-
wanted
recording.
This
replaces
the
unwanted
recording
with
a
new
recording.
B.
To
erase
the
tape
completely,
and
return
the
tape
to
a
blank
condition,
use
the
TAPE
ERASE
plug
supplied
with
the
unit
as
follows:
1.
Insert
the
erase
plug
into
the
large
"MIC"
jack
located
on
the
unit.
2.
Insert
the
cassette
you
wish
to
erase.
3.
Press
the
RECORD
and
PLAY
buttons
simultaneously,
as
you
would
if
you
were
making
a
recording.
You
are
now
erasing
the
tape.
When
you
have
erased
the
entire
tape,
your
recorder
will
shut
off
automatically.
2
13.
Mike
Remote
Jack
14.
Mike
Signal
Jack
15.
Earphone
Jack
16.
Ext.
Power
Jack
17.
Cassette
Door
18.
Built
In
Microphone
PREVENT
ACCIDENTAL
ERASURE
Every
time
you
make
a
recording,
any
previous
recording
on
the
tape
is
automatically
erased.
When
you
have
a
recording
you
want
to
keep
permanently,
break
out
the
rear
left
tab
of
the
side
you
want
to
save
as
shown
in
the
following
illustration:
CELLOPHANE
TAPE
PLACED
OVER
OPENING
TO
PERMIT
RECORDING
AGAIN
When
a
cassette,
with
the
tab
broken
out,
is
inserted
in
the
tape
unit,
accidental
erasure
is
prevented
by
a
lever
in
the
mechanism
that
keeps
the
RECORD
button
from
latching.
Cellophane
tape
can
be
placed
over
the
opening
later
on,
if
you
decide
to
record
over
the
original
recording.
Similarly
you
can
record
over
pur-
chased
prerecorded
cassettes.

TAPE
CASSETTES
When
the
full
length
of
the
tape
has
run
through
the
machine
in
one
direction,
only
half
of
the
tape
width
has
been
used.
By
turning
the
cassette
over
and
reinserting
it
you
can
use
the
other
haif.
Optionally
available
General
Electric
tape
cassettes
are
shown
below.
RT-7201
—
Total
playing
time
1
hour
(1/2
hour
per
side)
RT-7220
—
Total
playing
time
2
hours
(1
hour
per
side)
MICROPHONES
—
RV1283
or
RV1767
The
optional
deluxe
RV1283
or
standard
RV1767
microphone
plugs
into
the
MIC
jacks.
To
stop
the
recording
temporarily,
slide
the
ON-
OFF
switch
located
on
the
microphone
to
OFF.
When
the
optional
microphone
is
used,
the
built-in
microphone
is
automatically
discon-
nected.
EARPHONE
—
RT5781
The
optional
earphone
plugs
into
the
EAR
jack
on
your
set.
With
the
earphone
plugged
in,
the
speaker
is
automatically
silenced
for
private
listening.
PATCHCORD
—
RT9507
The
optional
patchcord
kit
makes
it
possible
to
record
direct
from
most
radios,
other
tape
machines
or
phonographs.
Plug
one
adapter
into
PATCHCORD
IN
(See
Accessory
Con-
nections)
and.
the
opposite
side
into
EAR
LINEOUT,
or
TAPE
OUTPUT
jacks
on
the
other
ACCESSORY
CONNECTIONS
unit.
Direct
recordings
eliminate
background
noise
problems
normally
encountered
with
microphones.
The
patchcord
may
also
be
used
to
record
your
favorite
selections
on
another
tape
recorder.
Plug
one
adapter
into
PATCHCORD
OUT
and
the
opposite
side
into
TAPE
INPUT
jacks
on
the
other
tape
recorder.
Be
sure
to
connect
the
proper
impedance
adapter
plugs
as
described
in
the
patchcord
instructions.
REMOTE
SWITCH
—
RT9546
The
optional
Remote
Switch
can
be
used
to
temporarily
stop
Recording
and
Playback,
without
resetting
the
controls
on
the
recorder.
A
switch
on
the
Remote
allows
you
to
con-
veniently
turn
the
recorder
ON
or
OFF
by
remote
control.
From
Line
Out
or
Tape
Out
rates
0
==
Jack
of
Radio
of
Phono.
To
TAPE
INPUT
Jack
on
another
Tape
Recorder
Earphone
FOOT
SWITCH
—
RT9057
When
you
need
to
have
your
hands
free
for
writing
or
any
other
purpose,
the
recorder
can
be
operated
with
an
optional
accessory
foot
switch.
Just
plug
the
cord
into
the
small
MIC
jack
on the
cabinet
and
use
the
foot
switch
to
start
and
stop
the
recorder.
CLEANING
THE
HEADS
lron
oxide
particles
from
the
magnetic
tape
will,
in
time,
build
up
on
the
parts
that
come
into
direct
contact
with
the
tape.
These
deposits
can
cause
incomplete
erasure
and
a
sort
of
“muffled”
sound
during
playback.
With
the
cassette
door
open
and
in
PLAY
position;
the
parts
indicated
above
can
be
cleaned
(gently)
with
a
cotton
swab
moistened
with
denatured
(not
rubbing)
alcohol.
Always
unplug
the
power
cord
while
cleaning
and
allow
(30)
minutes
drying
time.
An
easier
method
is
to
use
the
optional
RT7230
cleaning
cassette.
Be
sure
you
use
it
sparingly
and
only
as
directed.
IN
CASE
OF
DIFFICULTY
1.
Go
back
through
the
instructions
to
make
sure
you
haven't
omitted
something.
2.
Check
the
batteries
—
they
could
be
in
back-
wards,
weak,
dead,
or
not
making
contact
is
the
unit
OK
on
AC
operation?
3.
When
using
the
remote
microphone,
is
the
switch
in
the
“ON”
position?
4.
Muffled
sound?
Do
the
heads
need
cleaning?
5.
Bad
cassette?
Try
a
known
good
one.
6.
Won't
go
into
Record?
Tabs
on
cassette
may
be
punched
out.
7.
Is
AC/DC
switch
in
correct
position?
CAUTION
Do
not
attempt
to
disassemble
this
cabinet
as
high
voltages
are
inside.
This
unit
does
not
contain
customer
serviceable
components.
For
service,
always
refer
to
a
qualified
serviceman:
As
with
any
AC
operated
product,
precautions
should
be
observed
during
handling
and
use
to
prevent
electrical
shock.
Electronic
products
of
this
type
should
not
be
immersed
in
water
or
used
in
bathing
areas.
Extreme
tempera*ures
such
as
found
near
a
hot
radiator,
in
a
car
trunk,
or
ona
car
seat
when
it’s
parked
in
the
summer
sun,
may
damage
the
cabinet
or
components
in
your
unit.
Always
leave
sufficient
space
around
the
unit
for
ventilation.
3
CARE
The
cabinet
should
be
cleaned
with
a
soft
cloth
dampened
with
water
only.
(Be
sure
power
cord
is
unplugged).
Never
use
a
polish
or
strong
cleaning
agent
on
the
cabinet,
since
these
can
damage
its
finish.
SERVICE
This
product
should
be
serviced
only
by
those
especially
trained
in
appropriate
servicing
techniques.
Competent
service
can
be
obtained
from
any
of
the
Service
Facilities
shown
on
the
accompanying
listing.
These
firms
are
prepared
to
provide
service
both
under
the
terms
of
the
warranty
and
after
the
warranty
period
has
expired.
Do
not
return
the
product
to
the
factory.
Inquiries
about
General
Electric
service
may
be
directed
to:
Manager,
Consumer
Services,
General
Electric
Co.,
Building
5,
Electronics
Park,
Syracuse,
N.Y.
13201.
Please
indicate
complete
Model
Number
located
on
your
cabinet
label.
Attach
your
sales
receipt
to
this
booklet
for
future
reference
or
jot
down
the
date
this
product
was
purchased
or
received
as
a
gift.
This
information
will
be
valuable
if
service
should
be
required
during
the
warranty
period.
Purchase:
Date.
ital
AR
NamaegofsStore:...
i
A

GENERAL
ØB)
ELECTRIC
ACCESSORY
ORDER
FORM
RT9541
$
7.95
ers
798
=
—
Remote
Switch
All
Portable
Cassette
Tape
RT9546
Recorders
with
built-in
microphones
Patch
Cord
Kit
—
Patch
This
kit
is
for
use
with
monaural
cord
and
4
adapters
allows
direct
G.E.
audio
products
and
many
other
patching
from
most
radios,
phonos,
brands
that
utilize
3.5
mm
or
phono
or
tape
recorders
type
input
and
output
connections.
FOLD
7.95
Dynamic
Pencil
Microphone
without
|
M8640,
SC2300,
TA600,
EA3691
Få
Remote
on/off
Switch
TA700
Cassette
Head
Cleaning
Tape
All
Cassette
Recorders
RT7230
EE.
att
rack
unrecorded
tape
cartridges
-
All
8
track
Recorder
models
RT7240
KZ
GE
min.
Auto/Boat
Adapter
Cord
-
Plugs
into
|
Cassette
Recorders
with
:
|
on
cigarette
lighter
socket
RT9508
7.95
es
|
1
|
sd
Power
Jack
and
Operate
FOR
DESCRIPTION
ORDERS
ONLY
(see
reverse
side)
on
Battery
Voltage
FOR
STEREO
SYSTEMS
ONLY
stereophone
for
private
>
All
models
with
stereo
headphone
EA3762
—
e
E
Orange
in
color
_
jack
I
—
Soe
n
-—————
=
=
A
Personalized
Stereophone
for
All
modeis
h
stereo
headphone
|
EA395
9
Dac
—
*
i
private
listening
jack
H24
Deluxe
Stereopilone
for
private
All
models
with
stereo
headphone
listening
(coiled
cord)
jack.
Volume
control
on
each
earcup
H28
Quadraphones
for
private
4
Ch.
|
All
models
with
either
a
stereo-
EA68X3
and
stereo
listening
(coiled
cord)
phone
jack
or
quadraphone
jacks
BEFORE
ORDERING,
REFER
TO
USER
BOOK
FOR
APPROPRIATE
ACCESSORY
SPEAKERS.
SA20
Open
back
speaker
system
|
For
models
with
remote
speaker
w/vertical
bar
louvered
grille
jacks
or
screw
terminals
P
Ea.
Enci.
Size
14x10x5
8
ohm
impedance
SA32
Air
Suspension
Speaker
System
|
For
models
with
remote
speaker
jacks
8
ohm
impedance
64.95
pr.
For
models
with
remote
speaker
jacks
8
ohm
impedance
99X253
89.95
pr.
GE
tt
w/Decorator
Foam
Grille.
BM
TE
ud
eee
TT
CSR
|
=
HE
9
pue
g
paysew
sdejj
Ut
PIO)
—
IST
1%
do
INISOTI
380438
3d0T3IANI
40
Sara
OL
SNIOD
TIV
3dVL
3SVITd
yed
1109
puz
HL
3dVl
YO
3N19
‘0104
dn
PIO}
7
CUT
ALONG
DOTTED
LINE
Ea.
Encl.
Size
17x11x7
SA72
Air
Suspension
Speaker
System
w/Decorator
Foam
Grille
Ea.
Enc!.
Size
21x12x8
ONITIVN
380438
dV14
*
UMOP
Please
add
Sales
Tax
where
applicable
..
.,.......-;.,:
1156,
=
«State
om
asa
Amount
enclosed
in
cash,
check,
money
order,
no
postage
stamps.
No
C€:0.D.'s
please
....
00.25
JO
SN
SEE
ee
LJ
ade}
10
anj3
pue
1940
3
PIO4
—
PIE
siy}
ay
©
All
orders
postpaid.
Please
allow
about
2
weeks
for
delivery.
FOLD
Prices
subject
to
change
without
notice.
FOLD
PLEASE
>
`
GENERAL
@3
ELECTRIC
I
Audio
Electronics
Products
Dept.
Print
or
type
your
name
and
address
I
P.O.
Box
1020,
Utica,
N.Y.
13501
clearly
as
this
will
be
your
mailing
I
i
MERCHANDISE
THIRD-CLASS
MAIL
label.
I
A
complete
and
correct
order
will
save
you
days
of
waiting.
I
|
1
(MO
RR
RA
en
peer
ene
so
a
I
|
Sinn
Te
|.
Se
co
eae
211A5132-5
(REV.
12)
;
POSTMASTER:
This
parcel
may
be
opened
for
postal
inspection
if
necessary.
<
3-16
I
If
undelivered
in
18
days
return
to
sender.
Return
postage
guaranteed.

PL
EA
S
E
b
Is
your
name
and
address
printed
or
typed
clearly?
Have
you
filled
in
order
form
completely,
enclosed
your
remit-
tance?
>
=
5
0
os
m
go
m
2
>
Ve
Weep
°
go»
Dai
N
v
K.
s
8
=
z
q
M
<
na
E°
a
—
——
i
i
o
mm
—
—
N
p
>
i
noi
==
of
=
—
S
ee
al
LNVLUOdWI
—
SS34ddV
NUNLIU
GENERAL
ØB)
ELECTRIC
ACCESSORY
ORDER
FORM
DESCRIPTION
ORDERS
.
.
.
You
may
conveniently
order
most
any
customer
replace-
able
item
(plug-in
type
power
cord,
battery
cover,
carry
case
and
storage
compartment
doors)
that
may
become
broken
or
lost.
Simply
indicate
below
your
complete
MODEL
number
and
a
brief
DESCRIPTION
of
the
part
required.
Price
information
may
be
sent
to
you
separately
from
this
form.
MODEL
NO.
DESCRIPTION

MODEL
M8530c
247A3225
(Rev
2)
313
j
so
à
i
SAVE
THIS
GUIDE
FOR
FUTL
TODIDIVITDDIVIVIVIVIVIVIVITIVIVIVIVIVIIDI
GENERAL
ELECTRIC
COMPANY
90
DAY
CONSUMER
WARRANTY
Your
new
product
is
warranted
against
factory
defects
in
material
and
workmanship
for
a
period
of
90
days
from
the
date
of
purchase
or
receipt
as
a
gift.
We
will
elect
to
either
repair
the
product
or
replace
it
with
a
new
or
factory
serviced
unit,
at
no
cost
to
you
for
labor,
materials
or
return
transportation,
if it
is
delivered
prepaid
to
any
General
Electric
Servicenter
or
Authorized
Service
Station
in
the
United
States.
=
This
warranty
does
not
cover
failures
beyond
the
control
of
General
Electric
Company
and
is
the
only
one
applicable
to
this
product.
0000000000000000000000000000000000000
GENERAL
CB
ELECTRIC
Printed
in
Japan
Table of contents
Other GE Cassette Player manuals
Popular Cassette Player manuals by other brands

Sony
Sony WM-EX190 - Walkman Cassette Player Specifications

Panasonic
Panasonic RQ-V80 operating instructions

Sony
Sony Sports Walkman WM-FS400 operating instructions

Sony
Sony TC-KA1ESA - Cassette Deck operating instructions

Pyle Pro
Pyle Pro PT-689D user guide

Onkyo
Onkyo TA-RW255 - Dual Cassette Deck Service manual