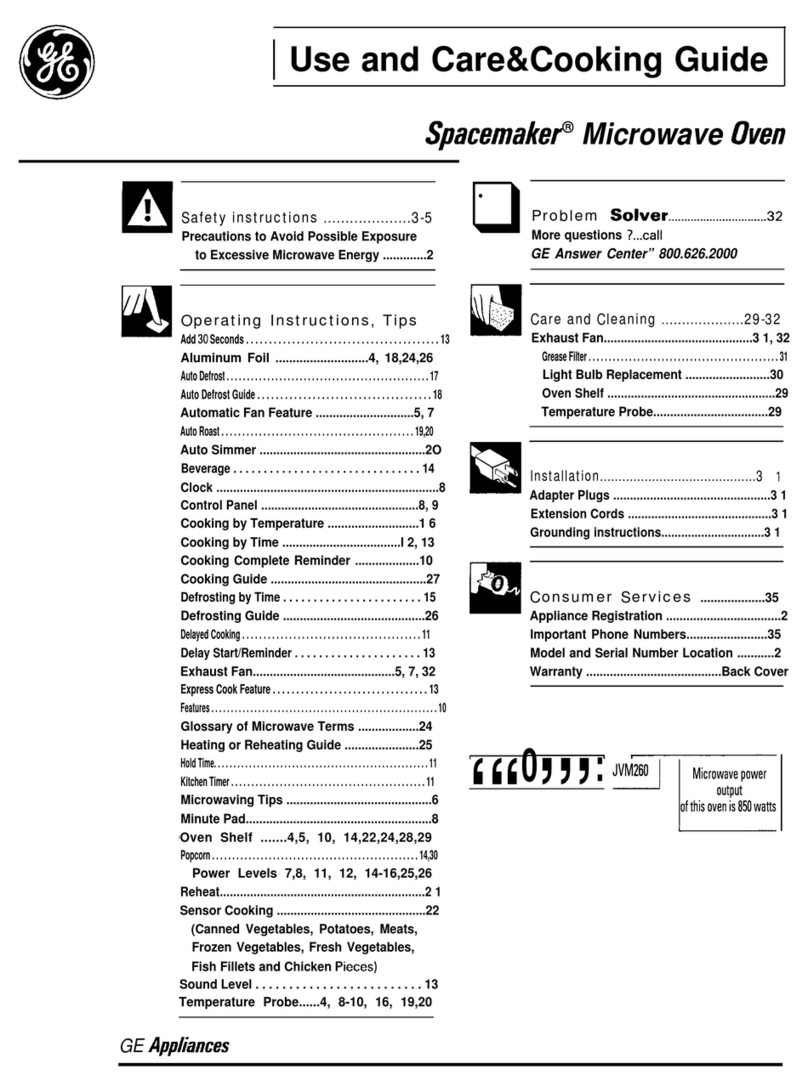
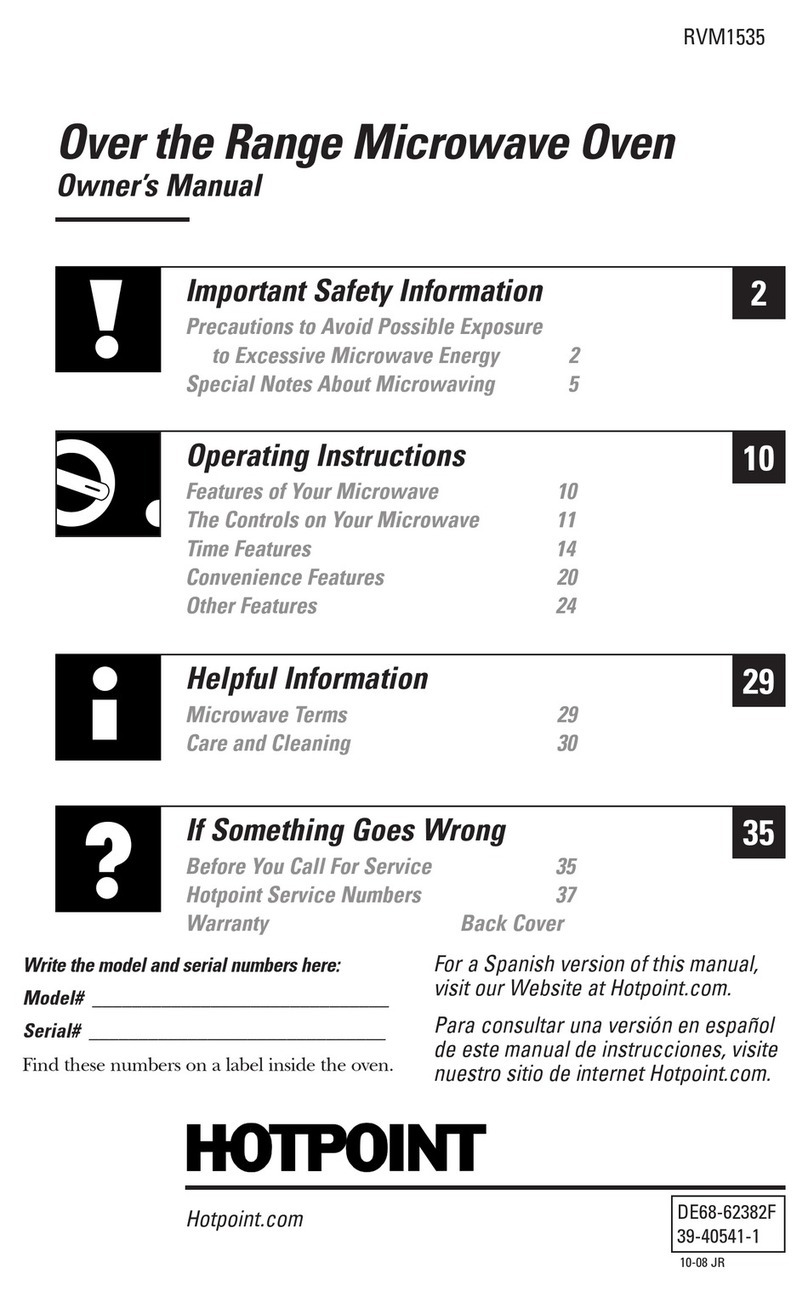
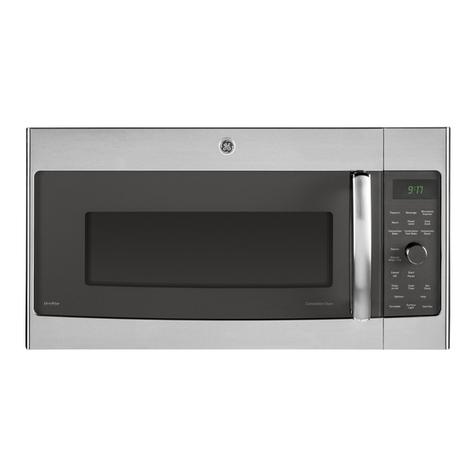
GE Spacemaker JVM1530 User manual

Model: JVM1530
Spacemaker Microwave Oven
Owner's Manual
Important Safety Information
Py_ma_#o_sto AvoM Posodbl_fxpoo_r_
to E_cesdve Microwave E_e_#y
RBeofMNotes Abo_t Mfot'owavi#g 2
5'
Operating Instructions
Feat_t'asof Yo_rMicyowav__
TheCo_t_o_soo Yu_rMfcmw_v_
A_tomado Cooki#g
O_herYear, tea
Ov_ Shd/
1#
11
14
2#
22
23
Helpful Information
Mi_ow_vc
Cay_,_
ff Something Goes Wrong
BeSot'_ .............. _
Write the mode/and serial numbers here:
Model#
Serial#
Find these nulnbe_ on a label inside the oven.
ge.com
DE68-62382E
49-40542
01-07 JR

READ ALL SAbETY
INkDRMA TYON BEFORE USING
WARNING!
For your safety, the information in this manual must be followed to minimize the risk of fire or
explosion, electric shock, or to prevent property damage, personal injury, or loss of life.
A For your safety, the infbrmation in this manual
must be fbllowed to minimize the risk of fire
.... 7r ....... or explosion or to prevent property damage,
FI_'CA U'I IONS' personal injm_ orlossoflite,
TO AVOID
POSSIBLE
EXPOSURE
TO EXCESSIVE
Do Not Attempt Do Not Operate the oven
to operate this oven if it is damaged. It is
with the door ()pen particularly important
since open-door that the oven door
operation can result close properly and
in harmhd exposure that there is no
to xmcrowave energy, damage to the:
MICROWA_ It is important not to /door (bent).
defeat or tamper with 2hinges and latches
ENERGY the safe ty interlocks. broken or loosened),
Do Not Place any object 3door seals and sealing
between the oven h'ont surf'aces.
face and the door or The Oven ShouldNot
allow soil or cleaner be adjusted or repaired
residue to accumulate by anyone except
on sealing surfaces. properly qualified
se_icc personnel.

•Read and tk)llow the
specific "Precautions to
Avoid Possible Exposure
to Excessive Microwave
Energy" on page 2.
• This appliance must be
grounded. Connect only
to properly grounded
outlet. See Grounding
Instructions section on
page 9.
• Do not mount this
appliance over a sink.
• Install or locate this
appliance only in
accordance with the
provided Installation
Instructions.
• This ove(=the-range oven
was designed tk)r use over
_)() .
ranges no wider than _ ""
It may be installed ()vet
both gas and electric
cooking equipment.
• Do not operate this
appliance if it has a
damaged power cord or
plug, if it is not working
properly, or if it has been
damaged or dropped.
If the power cord is
damaged, it must be
replaced b)' General
Electric Service or an
authorized service agent
using a power cord fl'om
General Electric.
• Do not cover or block
any openings on the
appliance.
• Use this appliance only
tk)r its intended use as
described in this manual.
Do llOt use corrosix_
chemicals or w_pors in
this appliance. This
microw_itve ovell is
specifically designed to
heat, dry or cook tk)od,
and is not intended
tk)r laboratory or
industrial use.

tK2AD ALL SAH 2TY
INkDRMA TYON BEFOtK2 USING
* Do not sic)re this appliance
omdoors. Do not use this
product near water--
tot example, in a wet
basen] el]t, near a
swimming pool, near a
sink or in similar locations.
* Keep power cord away
fl'om heated surfilces.
* Do not immerse power
cord or plug ill water.
* To reduce the risk of fire
ill the oven cavil):
-- Do not overcook
%od. Careflllly attend
appliance when paper,
plastic or other
combustible materials
arc placed inside the
oven while cooking.
-- Remove wire twis/-ties
and me/al handles
fl'om paper or plastic
containers be%re placing
then/ ill the oven.
-- Do not use the oven
tor storage purposes.
Do not leave paper
products, cooking
umnsils or food ill the
oven when not ill use.
-- If materials inside oven
igni/e, kee I) the oven
door closed, nlrn the
oven off and disconnect
tile power cord, or shut
off power at tile fl_se or
circuit breaker panel.
If tile door is opened,
tile fire may spread.
-- Do not use tile
Sensor Features twice ill
Succession on the san/e
tood portion. If tood is
under cooked after tile
first COIln|down_ use
77m0 Cook tot additional
cooking time.
* See door surtime cleaning
instructions ill the Care
and Cleaning section (s)
of this manual.
* This appliance must only
be serviced by qualified
service personnel. Contact
nearest authorized service
tilcilit) %r examination,
repair or a(.tiustlnent.
* As with any appliance,
close supervision is
necessa W when used
by children.
®Do not sic)re an vthing
directly on lop of the
n/icI'ow;tve oven snrt{lce
when the n/icr(iw;tve oven
is ill operation.
,SAVE THESE INSTRUCTYONS

I,.I
SPECIAL N07??,S ABO UF MICRO WAVING
Arcing is the microwave
term tbr sparks in tlte
oven. Arcing is caused by:
•Tlte metal sltelf (if
included) not installed
correctly so it toucltes tlte
microwave wall.
Tlte temperature probe
(if included) in tlte
microwave llut not
inserted in tlte tood.
• Metal or fi)il touclting
tlte side of tlte oven.
• Foil not molded to fitod
(upturned edges act like
antenmts).
• Metal, such as twist-ties,
poultry pins or gold-
rimmed disltes, in tlte
II/ic rowave.
• Recycled paper towels
containing small metal
pieces being used in tlte
II/ic rowave,
Do not pop popcorn in
your microwave oven
unless in a special
microwave popcorn
accessory or unless you
use popcorn lal/eled Jot
use ill microwave {)``'ellS.
• Some products suclt as
wltole eggs and sealed
containers t_)r example,
closed jars--are able to
explode and should not
be lteated in tltis
microwave oven. Such use
of tlte microwave o``_n
could result in il/.iury.
• Do not boil eggs in a
microwave {),,'ell. Pressure
will build up inside egg
yolk and will cause it to
burst, possibly resulting
in il/.iury.
• Operating tlte microwave
with no tood inside tbr
II/Ore than a minute or
two may cause damage
to tlte o``'en and could
start a fire. It increases
the heat around tlte
magnetron and can
shorten the litc of
tlte oven.
• Foods witlt unl/roken
outer "skin" suclt as
potatoes, ltot dogs,
sa/lsages_ toIllatoes_
apples, clticken li``'ers
and otlter giblets, and
egg yolks sltould be
pierced to allow steam
to escape during
cooking.

SPECIAL N07 2S ABO UF MICRO WAVING
SAFETYFACT
SUPERHEATED WATER
Liquids, such as water,
coffee or tea, are able to
be overheated beyond
the boiling point without
appearing to be boiling.
Visible bubbling or boiling
when the container is
removed from the microwave
oven is not always present.
TH/S COULD RESULT
/N VERYHOT L/OU/DS
SUDDENLY BO/L/NG OVER
WHEN THE CONTA/NER /S
D/STUBBED OR ASPOON
OR OTHER UTENSIL/S
INSERTED INTO THE L/OU/D.
To reduce tile risk of iI_jury
to persons:
-- Do not overheat the
liquid.
-- Stir tile liquid botl_
be%re and halt_,ay
t}lio/lgh heating it.
-- Do not use straight-
sided containers with
narrow necks.
-- After heating, allow the
container to stand in
the microwave oven tot
a short time betore
removing the container.
-- Use extreme care wilen
inserting a spoon or
other utensil into the
container.
* Avoid heating baby %od
in glass jars, even with the
lid otE Make sure all
in£mt food is thoroughly
cooked. Stir %od to
distribute the heat evenl}_
Be careflfl/o prevent
scalding when warming
%rnmla or breast milk.
The container may tcel
cooler titan tile milk really
is. Alway_s test the milk
be%re feeding tile baby.
* Don't defrost frozen
beverages in narrow-
necked bottles (especially
carbonated beverages).
Even it"the container is
opened, pressure can
build up. This can cause
the container to burst,
possibly resulting in
iI_,jury.
* Hot toods and steam
c_ln cause b/Irns, ge
careflfl when opening
any containers of hot
tood, including popcorn
bags, cooking pouches
and boxes. To prevent
possible i@_ry, direct
smam away flom hands
and thee.
o Do not overcook
potatoes. They could
dehydrate and catch
fire, causing damage
to your oven.
o Cook meat and poultry
thoroughly--meat to
at least an INTERNAl,
temperature of ] 60°F
and poultry to at least an
INTERNAl, temperature
of ] 80°K Cooking to
these temperatures
usually protects against
toodborne illness.

Make sure all cookware
used in your microwave
oven is suitable tot
microwaving. Most glass
casseroles, cooking dislles,
measuring cups, custard
cups, pottery or china
dinnerware wllicll does not
llave metallic trim or glaze
witll a metallic slleen can
be used. Some cookware
is labeled "suitable tot
Illicfowaving."
How to test for a microwave-
safe dish.
• If you are not sure if
a dish is microwave-sate,
use tllis test: Place in tlle
oven both tlle disll you
are testing and a glass
measuring cup filled witll
1 cup of water--set tile
measuring cup either
in or next to the disll.
Microwave 30-45 seconds
at lligll. If tlle disll lleats,
it sllould not be used for
microwaving.
If tlle disll remains cool
and only tlle water in the
cup lleats, tllen tlle disll
is microwave-sate.
If you use a meat
tllermometer wllile
cooking, make sure it is
sale Jot use in microwave
()VeilS,
• Do not use recycled
paper products. Recycled
paper towels, napkins
and waxed paper can
contain metal flecks
wllicll may cause arcing
or ignite. Paper products
containing nylon or
nylon filaments should
be avoided, as tlley may
also ignite.
• Some sWroioam tFay:s
(like those tllat meat is
packaged on) have a tllin
strip of metal embedded
in tlle 1)ottom. YVllen
microwavcd, tlle metal can
1)urn the floor of tlle o_n
or ignite a paper towel.
•Do ltOt tlse tile II/icrowave
to dry newspapers.
• Not all plastic wrap
is suitable Jot use in
ii/icrowave ovells.
Clleck tile package
Jot proper use.
• Paper towels, waxed
paper and plastic wrap
can be used to cover
dislles in order to retain
moisture and prevent
spattering. Be sure to
vent plastic wrap so
steam call escape.
• Cookware may 1)ecome
llot 1)ecause of lleat
transicrred ti'om the
lleated tood. Pot llolders
m_V be needed to llandle
tile cookware.
• "Boilable" cooking
pouclles and tiglltly
closed plastic 1)ags sllould
be slit, pierced or vented
as directed 1)y package.
If tlley are not, plastic
could burst during or
immediately after
cooking, possibly resulting
in injury. Also, plastic
storage containers sllould
be at least partially
uncovered because they
form a tigllt seal. YVhen
cooking witll containers
tiglltly covered witll
plastic wrap, remove
covering carefiflly and
direct steam away fl'om
llands and lace.

SPECIAL NOTES ABO UF MICRO WAVING
o Use %il only as directed in
this manual. When using
toil in tile microwave
oven, keep the toil at least
]" away from tile sides of
the oven.
Plastic cookware--Plasfic
cookware designed %r
microwave cooking is very
useflll, but should be used
carefllll)_ Even microwave-
sate plastic may not be as
tolerant of overcooking
conditions as are glass or
ceramic materials and
may soften or char if
subjected to short periods
of overcooking. In longer
exposures to overcooking,
the tood and cookware
could ignite.
Follow these guidelines:
IUse microwave-sate
plastics only and use
them in strict compliance
with the cookware
n] }lnlltilC tu re r _S
recon/n/endatlons.
2Do not microwave empty
containers.
Do not permit children
to use plastic cookware
without comple/e
supervision.
The tim will operate
automatically under
certain conditions (see
Automatic Fan teamre).
Take care to prevent tile
starting and spreading of
accidental cooking fires
while tile vent tim is ill use.
o Clean tile underside of
the microwave often.
Do not allow grease
to build up on the
microwave or the
tim filter.
o In the event of a grease
fire on the surface units
below the microwave
oven, smother a flaming
pan on the surfilce unit
by covering the pan
completely with a lid, a
cookie sheet or a fiat tra>
o Use care when cleaning
the vent tim filter.
Corrosive cleaning
agents, such as lye-1)ased
oven cleaners, may
damage the filter.
o When preparing
flaming %ods under
the microwave, turn the
vent tim on.
o Never leave surtitce units
beneath your microwave
oven unattended at high
heat settings. Boilovers
cause smoking and greasy
spillovers that may ignite
and spread if the
microwave vent t_m is
operating. To minimize
automatic tim operation,
use adequate sized
cookware and use high
heat on surt_tce units
only when necessary.

I,.I
GROUNDING 1NSTRUC770N /OFITONAL KITS
Tltis appliance is equipped
witlt a power coM ltaving
a grounding wire witlt a
grounding plug. Tlte plug
must be plugged into an
Ensure proper ground outlet tltat is properly
existsbeforeuse, installed and gTottnded.
WARNING
Improper use of the
grounding plug can result
in a risk of electric shock.
Tltis appliance must be
grounded. In the event of
an electrical sltort circuit,
grounding reduces the
risk of electric sltock by
providing an escape wire
t[)r tlte electric current.
Consuh a qualified
electrician or service
mcltnician if tlte grounding
instructions are not
complemly understood,
or if doubt exists as to
wltetlter tlte appliance is
properly grounded.
If the outlet is a standard
2-prong wall outlet, it is
your personal responsil)ilitv
and ol)ligafion to have it
replaced with a properly
grounded .%prong wall
outlet.
Do not, tttlder ally
circtttl/stances, cttt or
remove tlte third (ground)
prong fi'om tlte power cord.
Do not use an adaptor plug
witlt tltis appliance.
Do not use an extension
cord witlt tltis appliance.
If tlte power cord is too
sltort, have a qualified
electrician or service
tecltnician install an outlet
near tlte appliance.
For best operation, plug
tltis appliance into its own
electrical outlet to prevent
flickering of lights, blowing
of fltse or tripping of circuit
1)reaket:
Filler Panel Kits
JX46WH/BL--White/Black
JX4OWH--White
JX41--Black
_JVlten repla{ing a 36"
range ltood, filler panel
kits fill in tlte additional
widtlt to provide a custom
buih-in appearance.
For installation 1)etween
cabinets only; not tor
end-ol:cabinet installation.
Each kit contains two
3"-wide fillet panels.
JX81J--Recirculating Charcoal
FilterKit
Fiher kits are used wlten
tile microwave ovell cannot
be vented to tlte outside.
Axailable at extra cost fl'om
your GE supplier.
Charcoal filter (JX81 J)
///////ill i\ \\
Q
2
3
4
5
6
Door Handle. Pull to
()pen the door: The
door must be securely
latched tot the
II/iCFOWaVe to operate.
Door Latches.
Window with Metal
Shield. Screen allows
cooking to be viewed
while keeping
microwaves confined
in the oven.
Touch Control Panel
Cooktop Light.
Grease Filter,
7 Removable Turntable.
Turntable and support
must be in place
when using the oven.
The tucntable may be
ren/oved tor cleaning.
8 Convenience Guide.
9Shelf (on some models).
Lets you microwave
several Joods at once.
Food microwaves best
when placed directly
on the tucntable.
10 Rating Plate. Located
on the inside wall of
the microwave ()veil.
10

The Controls on Your Microwave Oven
(Throughout this manual, ./katu_s a_d appeara_e m_o_va_3L_iomyour modal.)
Youcanmicrowave
by time or with f _ _
theconvenience [Time ] [ Time
features. _ Cook _
Express Cook
45
(_Power (" Add "
Time Features
TimeCooking
Press
TIME COOKI & II (Press onceortwice) Amount of cooking time.
TIME DEFROST(Presstwice)Amount of deti'osting time.
EXPRESSCOOK Starts immediately!
POWERLEVEL Power level 1-10.
ADD 30 SEC Starts immediately!
11

Auto
Defrost J
Convenience Features
POPCORN Starts immediatel) ! more/less time
serxing size
BEVERAGE Starts immediatel} ! serxing size
(See Reheat Guide) serving size
AUTO DEFROST (Press once) Food weight
12

DISPLAY
LPause9
How toChangethe
Power Level
The power leve! nlay b_
entered 0r dmnged /
immediately after
entering the tcature {
time *arT!MECOOI<
TIME DEFROST or
EXPRESS COOK. The
power leve! may a!so be
Changed during time
Countdown.
I PressTIME COOKor i_
select TimeDefrost.
2 Entercookingor i
\;]triable power levels add
flexibility' to microwave
cooking. The power levels
on tile n/icrowllve o',_n
can be compared to the
S/lrJ_lce units on a range.
High (power level 10) or
fldl power is the thstest way
to cook and gives you
100% powen Each power
level gives you microwave
energy a certain percent of
the time. Power level 7 is
microwave energy 70% of
tile time. Power level 3 is
energy" 30% of the time.
A high setting (10) will
cook t{tster but fi)od mW
need more ti'equent
stirring, rotating or turning
oven Most cooking will be
done on High (power level
10). A lower setting will
cook more evenly and need
less stirring or rotating of
the tood.
Some toods may have
better flav(m texture or
appearance if one of tile
lower settings is used. Use
to "'equalize" or thruster
heat to the inside of the
fi)od. An example of this
is shown with power level
3 the deii"ost cxcle. /f
microwave enerax did not
cycle off. the outside of the
fi)od would cook befi)re
the inside \_as deli"osted.
Here are sonic exHn] pies
()t" liNeS J()I" vHriot/s power
levels:
Power Level Best Uses
High 10 Fish. bacon,
vegetables.
boiling liquids.
Med-High 7 Gentle
cooking of
meat and
pouhw;
baking
casseroles
and reheating.
Medium 5 Slow cooking
and tenderizing
such as stews
and less tender
curs of' meat,
Low 2 or 3 Defrosting
witlaom
cooking;
simmering:
a hlwer power level when delicate sauces.
cooking toods tllat have a
tendency to l)oil over, snell
as scalloped potatoes.
Rest periods (wllen tlle
microwave energy cycles
off) give time tor tlle tood
Warm IKeeping fbod
warm withom
overcooking:
softening
butten
13

7 me Features
FExpress Cook
1 2 3
789
0
DISPLAY
1 PressTIME COOK.
2 Entercookingtime.
3 Changepower level
if youdon'twant full
power. (Press POWER
LEVEL.Selecta
desiredpower level
I-Io.)
4PressSTART
iili
TimeCookI
Allows you to microwave
tk)r any time up to 99
minutes and 99 seconds.
Power level ]0 (High)
is automatically set, but
you may change it tot
more flexibili W.
\_m may open the door
during Time Cook to
check the tbod. Close the
door and press START
to resume cooking.
TimeCookII
Lets you change p()wer
levels automatically during
cooking. Here's how to
do it:
IPress TIME COOK.
2Enter the first cook time.
3Change the power level
if you don't want full
power. (Press POWER
LEVEl, Select a desired
power level ] -] 0.)
4Press TIME COOK
again.
5Enter the second cook
tim e.
6Change the power level
if you don't want full
power. (Press POWER
I,EVEL. Select a power
level ]-] 0.)
7Press START.
At the end of Time Cook I,
Time Cook II counts down.
14

Cooking Guide for 7 me Cook I &H
NOTE."Usepower level High(10)unless otherwise noted.
Vegetable Amount Time Comments
Asparagus
(flesh spears) 1 Ih.
(frozen spears) 10-oz. package
Beans
(flesh green, 1 Ih. cut ill half
(flozen green ) l()-oz, package
Ifrozen lima
Beets
iflesh, whole )
Broccoli
(fresh cut_
(flesh spears )
Ifrozen.
chopped]
(flozen spears )
Cabbage
(flesh
(wedges
Carrots
(flesh. sliced
Iflozen)
Cauliflower
(floweretsl
(flesh. whole)
Iflozen_
In 1½-qt. ohlong glass haking dish,
place 1/4 cup water.
In 1-qt. casserole.
10-oz. package
1 bunch /n 2-qt. casserole, place 1/2 cup water.
1 bunch
,17_ to 1½ lhs.)
1 bunch
,17_ to 1½ lhs.)
lO-oz package
10-oz. package
1 medium head
¢ S
.ahout 2 lh:.)
1 Ih.
10-oz. package
6 to 9 rain.,
Med-High (7)
5 to 7 rain.
9 to 11 rain.
6 to 8 rain.
6 to 8 rain.
17 to 21 rain.
7 to 10 rain.
9 to 13 rain.
5 to 7 rain.
5 to 7 rain.
8 to 1 1 min.
7 to 10 min.
7 to 9 min.
5 to 7 min.
9 to 14 min.
10 to 17 min.
5 to 7 min.
1 medium head
l medium head
10-oz. package
In 1½-<lt. casserole, place 1/2 cup water.
In 1-qt. casserole, place 2 tahlespoons
Watel'.
In 1-qt. casserole, place 1/4 cup water.
In 2-qt. casserole, place 1/2 cup water.
In 2-qt. ohlong glass haking dish, place
1/4 cup water.
In 1-qt. casserole.
In 1-qt. casserole, place 3 tahlespoons
water.
In 1½- or 2-qt. casserole, place 1/4 cup
Watel'.
c(
In 2- n" 3-qt. casserole, place 1/4 cup
watel'.
In 1 ½-<lt. casserole, place 1/4 cup water.
In 1-qt. casserole, place 2 tahlespoons
Watel'.
In 2-qt. casserole, place 1/2 cup water.
In 1-qt. casserole, place 2 tahlespoons
Watel'.
15

Cooking Guide for 7 me Cook I &H
Vegetable Amount Time Comments
Corn
Iti'ozen kernell lO-oz, package
Cornonthe cob
(fl'esh J] to 5 ears
(fl'ozen _ 1 ear
2 to 6 ears
Mixed
vegetables
ifrozen l O-oz. package
Peas
Iffesh. shelled_ 2 lbs. unshelled
Ifl'ozen3 l 0-oz. package
Potatoes
(fl'esh. cubed. 4 potatoes
white} , _ to 8 oz. each
(flesh. whole. ] 6 to s_ oz.
sweet or white
Spinach
(fl'esh) l0 to 16 oz.
(frozen. 10-oz. pack:tge
chopped
and leaf_
Squash
(flesh. sulnlner ]lb. sliced
and ) ellow)
(winter acorn 1 to 2 squash
butternut} _about 1 lb. each)
5 to 7 rain.
3 to 4 rain.
per ear
5 to 6 rain.
3 to 4 rain.
per ear
5 to 7 rain.
9 to 12 rain.
5 to 7 rain.
9 to 12 rain.
3 to 4 rain.
5 to 7 rain.
5 to 7 rain.
5 to 7 rain.
8 to 11 rain.
In 1-qt. casserole, place 2 tablespoons
water,
In 2-qt. obhmg glass baking dish, place
corn. If corn is in husk, use no water;
if corn has been lmsked, add 1/4 cup
water. Rearrange after half of time.
Place in 2-qt. obhmg glass baking dish.
Cover with vented plastic wrap.
Rearrange after half of time.
In 1-qt. casserole, place 3 tablespoons
water,
In 1-qt. casserole, place 1/4 cup water.
In 1-qt. casserole, place 2 tablespoons
water,
Peel and cut into 1 inch cubes. Place
in 2-qt. casserole with 1/2 cup water.
Stir after half of tim e.
Pierce with cooking tork. Place in
center of the oven. I,et stand :5 minutes.
In 2-qt. casserole, place washed spinach.
In 1-qt. casserole, place 3 tablespoons
water.
In 1½-qt. casserole, place 1/4 cup waten
Cut in half and remove fibrous
membranes. In 2-qt. obhmg glass
baking dish, place squash cut-side-
down. Turn cut-side-up after 4 minutes.
16

7 me Features
rExpressCook
123I
456
789
0
DISPLAV
I Press TIME DEFROST
2 Enter defrosting time.
3 Press START
(Auto Defrost explained
in the section on
Convenience Features.)
Allo_vs you to deflost t()r the
length of time you select.
See the Deti'osting Guide
tot sugg_smd tim es.
Power level 3 is
automatically set, })ut
)_m may change tlfis tot
more flexibility. 51m may
deti'ost small items more
quickly 1)y raising the power
level after enmring the time.
However; they will need
more ti'equent attention
than usual.
Power level 7 cuts the total
deti'osfing time in about
halt:, power level 10 cuts the
total time to approximately
1/3. Rotam or stir todd
ti'eq uently.
At one half of selecmd
detiosting time, the oven
signals TURN. At this time,
turn tood over and break
apart or reanangv pieces
tor more even deii'osting.
Shield aW warm areas with
small pieces of toil.
A dull thumping noise may
be heard during defiosting.
This sound is normal when
the oven is not operating at
High power:
Defrosting 77ps
• Foods fiozen in paper or
plastic can be defi'osted in
the package. Tightly closed
packages should be slit,
pierced or venmd AI_WER
todd has partially
detiosmd. Plastic storage
containers should be at
least partially uncovered.
• Emfily-size, prepackaged
ti'ozen dinners can be
detiosmd and microwavcd.
If the todd is in a toil
containec tmnstcr it
to a microw, tvc-satc dish.
• Foods that spoil easily, such
as milk, eggs, fish, stuffings,
poultry and pork, should
not be allowed to sit out
t_)r more than one hour
after deli'osting. Roon/
tempecature promotes
the growth of harm fill
bacteria.
• For more even deti'osfing
of larger t[)ods, such as
beeE lamb and veal roasts,
use Auto Deii'ost.
• Be sure large meats are
corn plemly detiosmd
beiore cooking.
• YVhen defi'osted, tood
should be cool but
softened in all areas. If still
slightly icy, return to the
microwave very l)riefly, or
let it stand a Jew minutes.
17

Defrosting Guide
Food Time Comments
Breads, Cakes
Bread, buns or roils (1 piece)
Sweet rolls (approx. 12 oz,
Fishand Seafood
Fillets, frozen(] lb.)
Shellfish,small pieces (1 ]b-1
] rain.
3 to 5 rain.
_ to _ min.
5 to 7 rain. Place block m casserole. Tun_ over and
break up after half the time.
Fruit
Plasticpoucb--I to2 3 to c,rain.
(]O-oz.package)
Meat
Bacon I1 lb.) 2 to 5 rain.
Franks (1 lb.) 2to 5 rain.
Groundmeat _1 lb,)
Roast:beef,lamb,veal,pork
Steaks, chops and cutlets
5t() 7 rain.
12 to 16 rain.
per lb.
5to 7 rain.
per lb.
Poultry
Chicken, broiler-fryer 15 to 19 rain.
cut up (2½ to 3 lbs. )
Chicken, whole 17 to 21 rain.
(2½ to 3 lbs.)
Cornish hen 7 t() 13 rain.
per lb.
Turkey breast (4 to 6 lbs.)
/8
5to U min.
pet" lb.
Place unopened package in oven.
I.et stand 5 minutes after defi'ostina.
Place unopened package in oven.
Microwave lust until tI'anks can be
separated, l.et stand 5 minutes.
if necessary, to complete defi'ostina.
Turn meat over alter half the tune.
Use power level 1.
Place unwrapped meat in cookina dish.
Turn over alter half the time and shield
warm areas with tbil. YVhen finished
separate pieces and let stand to complete
deliostina.
Place wrapped chicken in dish. Umvrap
and turl_ over alter half the time. YVhen
finished. _cparate pieces and microwave
2-4 minutes more. if necessarv, l.et stand
to finish detiostina.
Place wrapped chicken in dish. Alter half
the time. unwrap and turn chicken ore>
Shield warm areas with tbil. Finish
deliostina./f necessarv, run cold water m
the cavity until aiblets can be removed.
Place unwrapped hen il_ the oven breast-
side-up, Turn over alter half the time.
Run cool water in the cavits until aiblets
can be removed.
Place unwrapped breast in dish breast-
side-down. Alter half the time. turn over
and shield warll/ areas with tbil Finish
defi'ostin_. Let stand 1-2 hours in
rei?ia'erator to complete deii'osting.

7 me Features
This is a quick way to set
cooking time for 1-6 minutes.
Press one of the Express
Cook pads (tiom 1 to 6)
tot 1 to 6 minutes of
cooking at power level 10.
For example, press the
2 pad tot 2 minutes of
cooking time.
The power level can
be changed as time is
counting down. Press
POWER LEVEI, and
enter 1-10.
You can use this feature
two ways:
• It will add 30 seconds to
the time counting down
each time the pad is
pressed.
• It can be used as a quick
wa} to set 30 seconds of
cooking time.
I9

Convenience Features
Useonlywith
prepackaged microwave
popcorn weighing
3,0to 3.5 ounces,
NOTE:Do not use the metal
shelf when cooking popcorn.
How to Usethe Popcorn
Feature
Follow package
instructions, using Time
Cook if the package is
less than 3.0 ounces or
larger than 3.5 ounces.
Place the package of
popcorn in the center
of the microwave.
2Press POPCORN. The
oven starts immediately.
Tap POPCORN to select
the 1)ag size you are
cooking.
2O
Other manuals for Spacemaker JVM1530
1
Table of contents
Other GE Microwave Oven manuals

GE
GE SpacemakerXL JVM1640 User manual

GE
GE Monogram ZMC1095 Series User manual

GE
GE JE1860 User manual

GE
GE JKP90 Manual

GE
GE Spacemaker JVM1650BH User instructions

GE
GE SpacemakerXL JVM1640AB User manual

GE
GE Spacemaker II JEM31G Installation instructions

GE
GE Spacemaker JVM1540LMCS Manual

GE
GE JVM1600 Series User manual

GE
GE JVM2160 User manual