IMPORTANT SAFETY INFORMATION.
READ ALL INSTRUCTIONS BEFORE USING.
4
Consumer Support Troubleshooting Tips Care and Cleaning Operating Instructions SafetyInstructions
Do not use water on grease fires. Never pick up a
flaming pan. Turn the controls off Smother a flaming
pan on a surface unit by overing the pan completely
with a well-fitting lid, cookie sheet or flat tray. Use
a multi-purpose dry chemical or foam-type fire
extinguisher.
If there is a fire in the oven during baking, smother the
fire by closing the oven door and turning the oven off or
by using a multi-purpose dry chemical or foam-type fire
extinguisher.
If there is a fire in the oven during self-clean, turn the
oven off and wait for the fire to go out. Do not force
the door open. Introduction of fresh air at self-clean
temperatures may lead to a burst of flame from the
oven. Failure to follow this instruction may result in
severe burns.
IN THE EVENT OF A FIRE, TAKE THE FOLLOWING
STEPS TO PREVENT THE FIRE FROM SPREADING:
Never leave the surface units unattended at medium or
high heat settings. Boilovers cause smoking and greasy
spillovers that may catch on fire.
Never leave oil unattended while frying. If allowed to
heat beyond its smoking point, oil may ignite resulting
in fire that may spread to surrounding cabinets. Use a
deep fat thermometer whenever possible to monitor oil
temperature.
To avoid oil spillover and fire, use a minimum amount of
oil when shallow pan-frying and avoid cooking frozen
foods with excessive amounts of ice.
bottoms large enough to cover the surface heating
element. The use of undersized cookware will expose
a portion of the surface unit to direct contact and may
result in ignition of clothing. Proper relationship of
cookware to surface unit will also improve efficiency.
Only certain types of glass, glass/ceramic, earthenware
or other glazed containers are suitable for cooktop
service; others may break because of the sudden
change in temperature.
To minimize the possibility of burns, ignition of
flammable materials and spillage, the handle of a
container should be turned toward the center of the
range without extending over near by surface units.
If power is lost to an electric cooktop while a surface
unit is ON, the surface unit will turn back ON as soon
as power is restored. In the event of power loss, failure
to turn all surface unit knobs to the OFF position may
result in ignition of items on or near the cooktop, leading
to serious injury or death.
COOKTOP SAFETY INSTRUCTIONS
WARNING
WARNING
When preparing flaming foods under a hood, turn the
fan on.
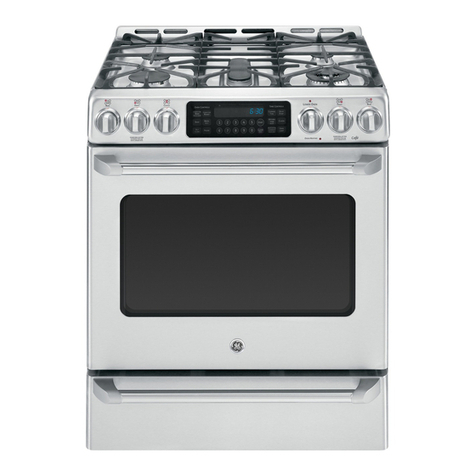
The propuese of the warming drawer is to hold hot
cooked foods at serving temperature. Bacteria will
grown in food while it is below 60`C (140 F). Do not put
cold food in warming drawer. Do not heat food for
more than 2 hours. Failure to follow these instructions
may result in foodborne illness.
Do not leave paper products, plastics, canned food or
combustible materials in the drawer. They may ignite.
Do not touch heating element or the interior surface
of the drawer. These surface may be hot enough to
cause burns.
Use care when opening the drawer. Open the drawer
a crack and let hot air or steam escape before
removing or replacing food. Hot air or steam that
escapes can cause burns to hands, face and/
or eyes.
WARMING DRAWER/LOWER OVEN DRAWER
SAFETY INSTRUCTIONS (some models)
WARNING
Do not use aluminum foil to line the warming drawer.
Foil is an excellent heat insulator and will trap heat
beneath it. This will upset the performace of the drawer
and potentiallu cause a fire hazard.
