IMPORTANT SAFETY INSTRUCTIONS
Read all instructionsbeforeusingthisappliance.
IMPORTANT SAFETY N(YnCE • Be sure all packing materials are removed from
the range before operating it to prevent flre or
• The California Safe Drinking Water and Toxic smoke damage should the packing material ignite.
Enforcement Act requires the Governor of California
to pubhsh a list of substances known to the state •Be sure your range is correctly adjusted by a
to cause cancer, birth defects or other reproductive
harm, and requires businesses to warn customers
of potential exposure to such substances.
Gas appliances can cause minor exposure to
four of these substances, namely benzene, carbon
monoxide, formaldehyde and soot, caused plimafily
by the incomplete combustion of naturat gas or LP
fuels. Properly adjusted burners, indicated by a
bluish rather than a yellow flame, will minimize
incomplete combustion. Exposure to these
substances can be minimized by venting with an
open window or using a ventilation fan or hood.
° Fluorescent light bulbs and safety valves on
standing pilot ranges contain mercury. If your
model has these features, they must be recycled
according to local, state and federal codes.
qualified installer for the type of gas (natural
or LP) that is to be used. Your range can be
converted for use with either type of gas.
WARNING: Conversion of your range to LP gas
musthe made byaqualifiedLP installer in
accordance with the manufacturer's instructions and
all codes and requirements of the authority having
jurisdiction. Failure to followthese instructions
could result in seriousinjury orproperty damage.
The qualified agencyperforming thiswork assumes
responsibility for the conversion.
°After prolonged use of a range, high floor
temperatures may result and many floor
coverings will not withstand this kind of use.
Never install the range over vinyl tile or linoleum
that cannot withstand such type of use. Never
install it directly over interior kitchen carpeting.
When You Get Your Range
° Have the installer show you the location of the
range gas cut-off valve and how to shut it off
if necessary.
o Have your range installed and properly
Using Your Range
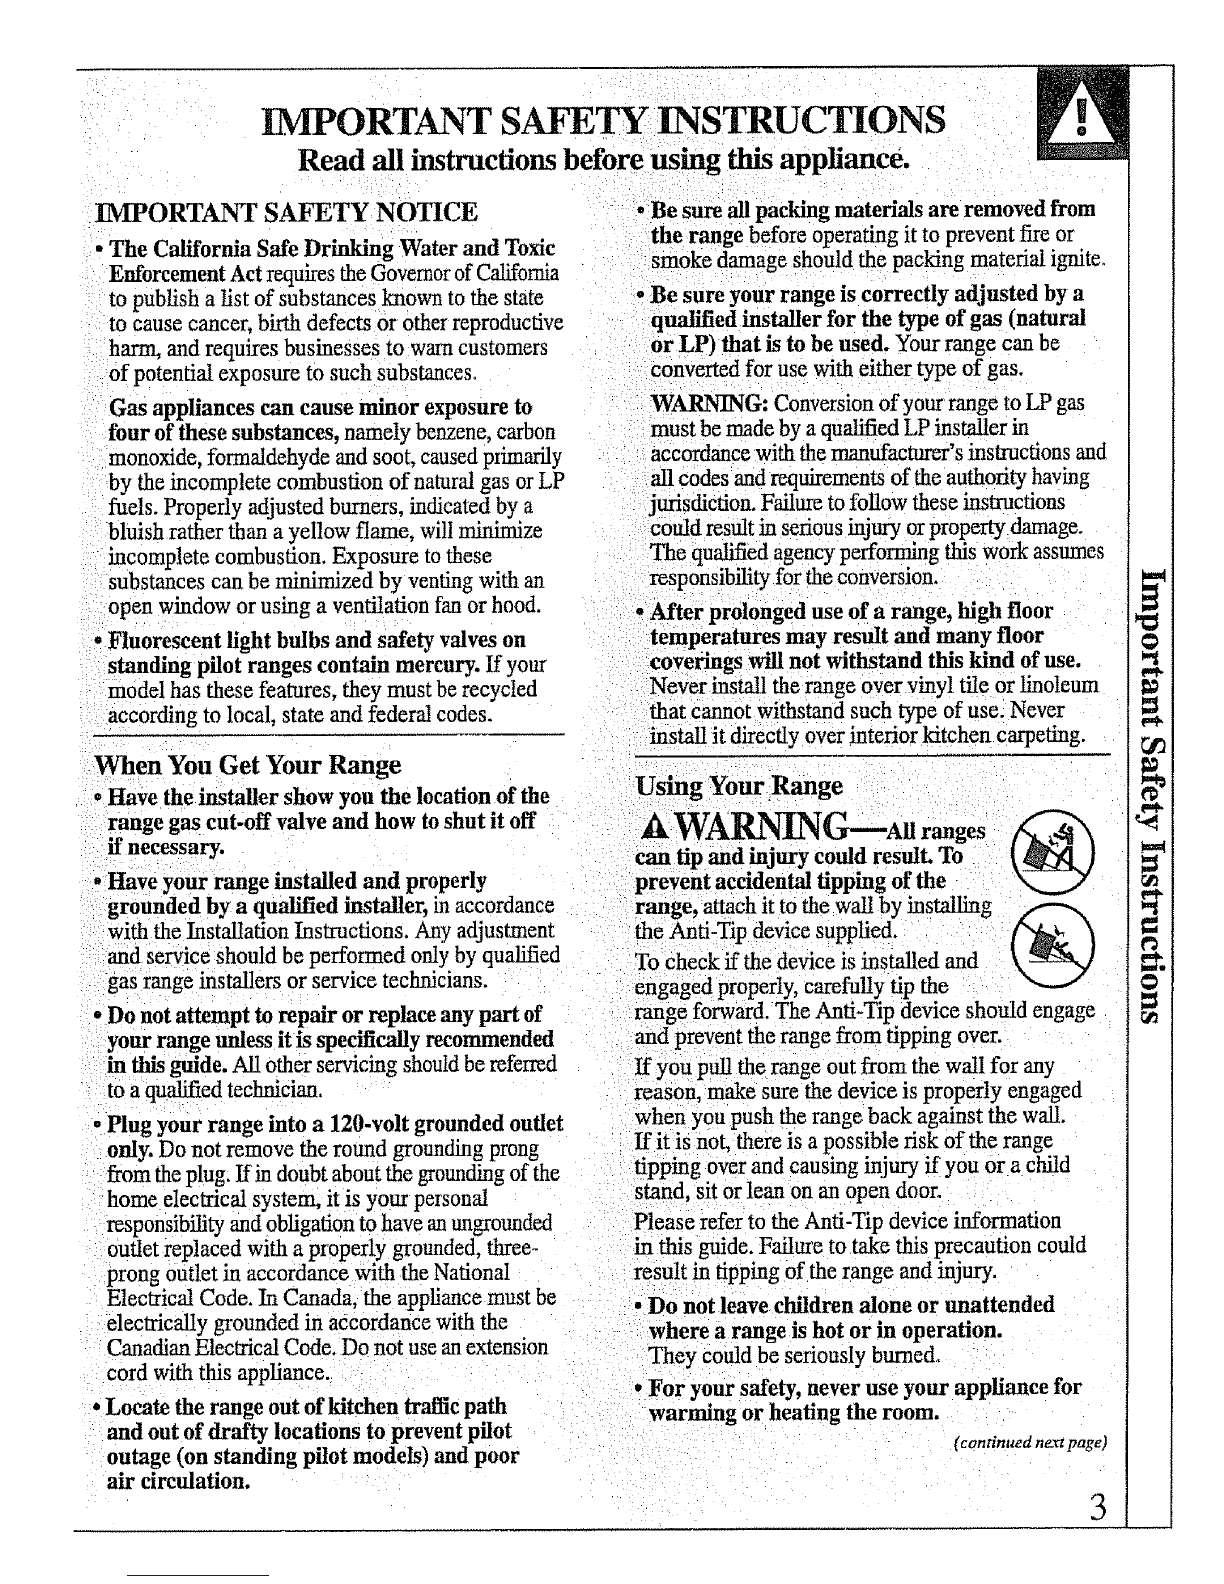
AWA_Cr--AII ranges
can tip and injury could result. To [ _J
prevent accident_ tipping of the
grounded by aqualified installer, in accordance range, attach it to the wall by installing
with the Installation Instructions. Any adjustment the Anti-Tip device supplied.
and service should be perfolmed only by qualified
gas range installers or service technicians.
• Do not attempt to repair or replace any part of
your.range unless it is specifically recommended
this guide. All other servicing should be referred
to a qualified technician.
-Plug your range into a 120-volt grounded outlet
only. Do not remove the round grounding prong
from the plug. If in doubt about the grounding of the
home electrical system, it is your personal
responsibility and obhgation to have anungrounded
outlet replaced with a properly grounded, three-
prong outlet in accordance with the National
Electrical Code. In Canada, the appliance must be
electrically grounded in accordance with the
To check ff the device is installed and \ :_t_,,/
engaged properly, carefully tip the
range forward. The Anti-Tip device should engage
and_prevent the range from tipping over.
If you pull the range out from the wall for any
reason, make sure the device is properly engaged
when you push the range back against the wall.
If it is not, there is a possible risk of the range
..... over and causing injury if you or a child
stand, sit or lean on an open door.
Please refer to the Anti-Tip device information
in this guide. Failure to take this precaution could
result in tipping of the range and injury.
• Do not leave children alone or unattended
where a range is hot or in operation.
Canadian Electrical Code. Do not use an extension They could be seriously bumed.
cord with this appliance. °For your safety, never use your appliance for
•Locate the range out of kitchen traffic path warming or heating the room.
and oat of drafty locations to prevent pilot (cominued n_tpage)
outage (on standing pilot models) and poor
air circulation. 3