49-60765 7
Adjusting Temperature
When the refrigerator is first plugged in, the display will
show the recommended temperatures.
IMPORTANT:
ŶThe recommended setting should be correct for normal
household refrigerator use.
ŶWhen the refrigerator is first turned on, it may take up
to 12 hours to cool to the preset temperatures.
ŶWait 24 hours for your refrigerator to cool completely
EHIRUHDGGLQJIRRG,I\RXDGGIRRGEHIRUHWKH
refrigerator has cooled completely, your food may spoil.
ŶExcept when first turning on the refrigerator, do not
adjust either control more than one setting at a time.
Wait 24 hours between adjustments for the temperature
WRVWDELOL]H
Ŷ,IWKHWHPSHUDWXUHLVWRRZDUPRUWRRFROGLQWKH
UHIULJHUDWRURUIUHH]HUILUVWFKHFNWKHDLUYHQWVWREH
sure they are not blocked before adjusting the controls.
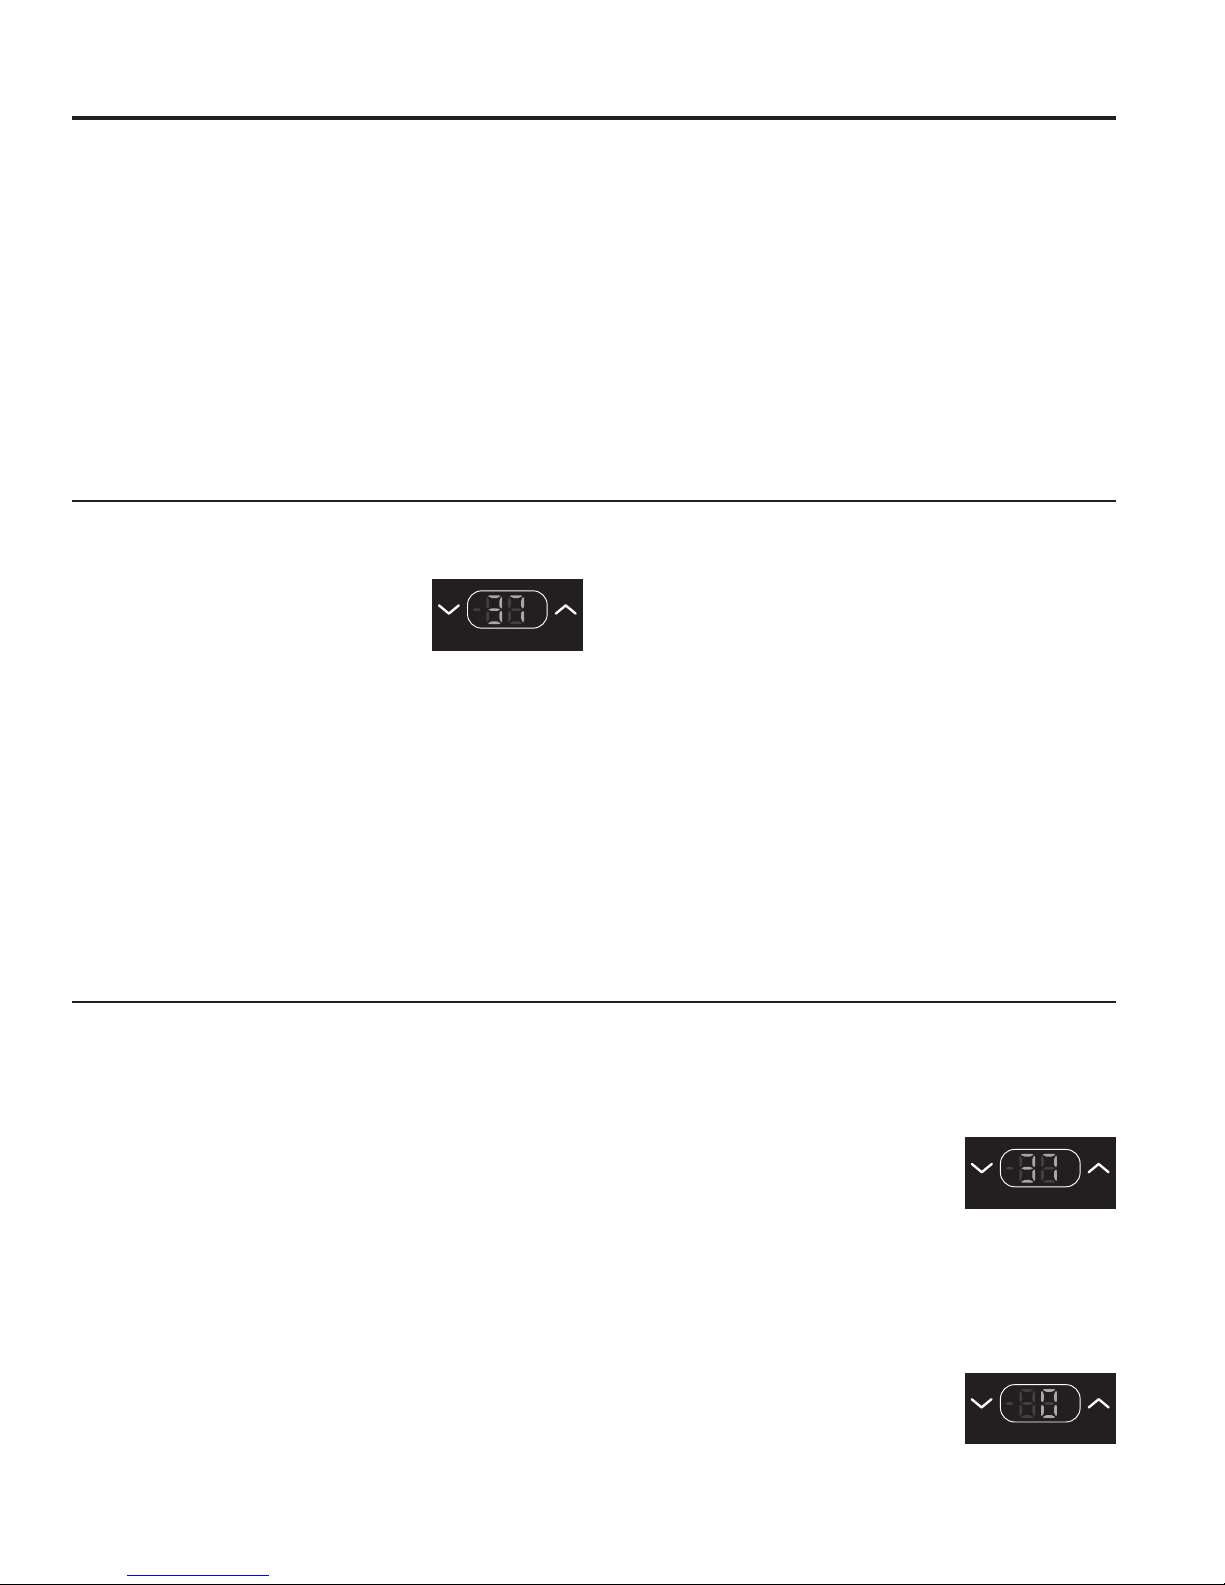
REFRIGERATOR COMPARTMENT
The temperature range for the refrigerator compartment
LV)WR)&WR&
ŶPress the up and down arrow controls
to raise or lower the temperature in
the compartment.
NOTE: Wait 24 hours between adjustments for the
WHPSHUDWXUHWRVWDELOL]H
FREEZER COMPARTMENT
7KHWHPSHUDWXUHUDQJHIRUWKHIUHH]HUFRPSDUWPHQWLV
)WR)&WR&
ŶPress the up and down arrow controls
to raise or lower the temperature in
the compartment.
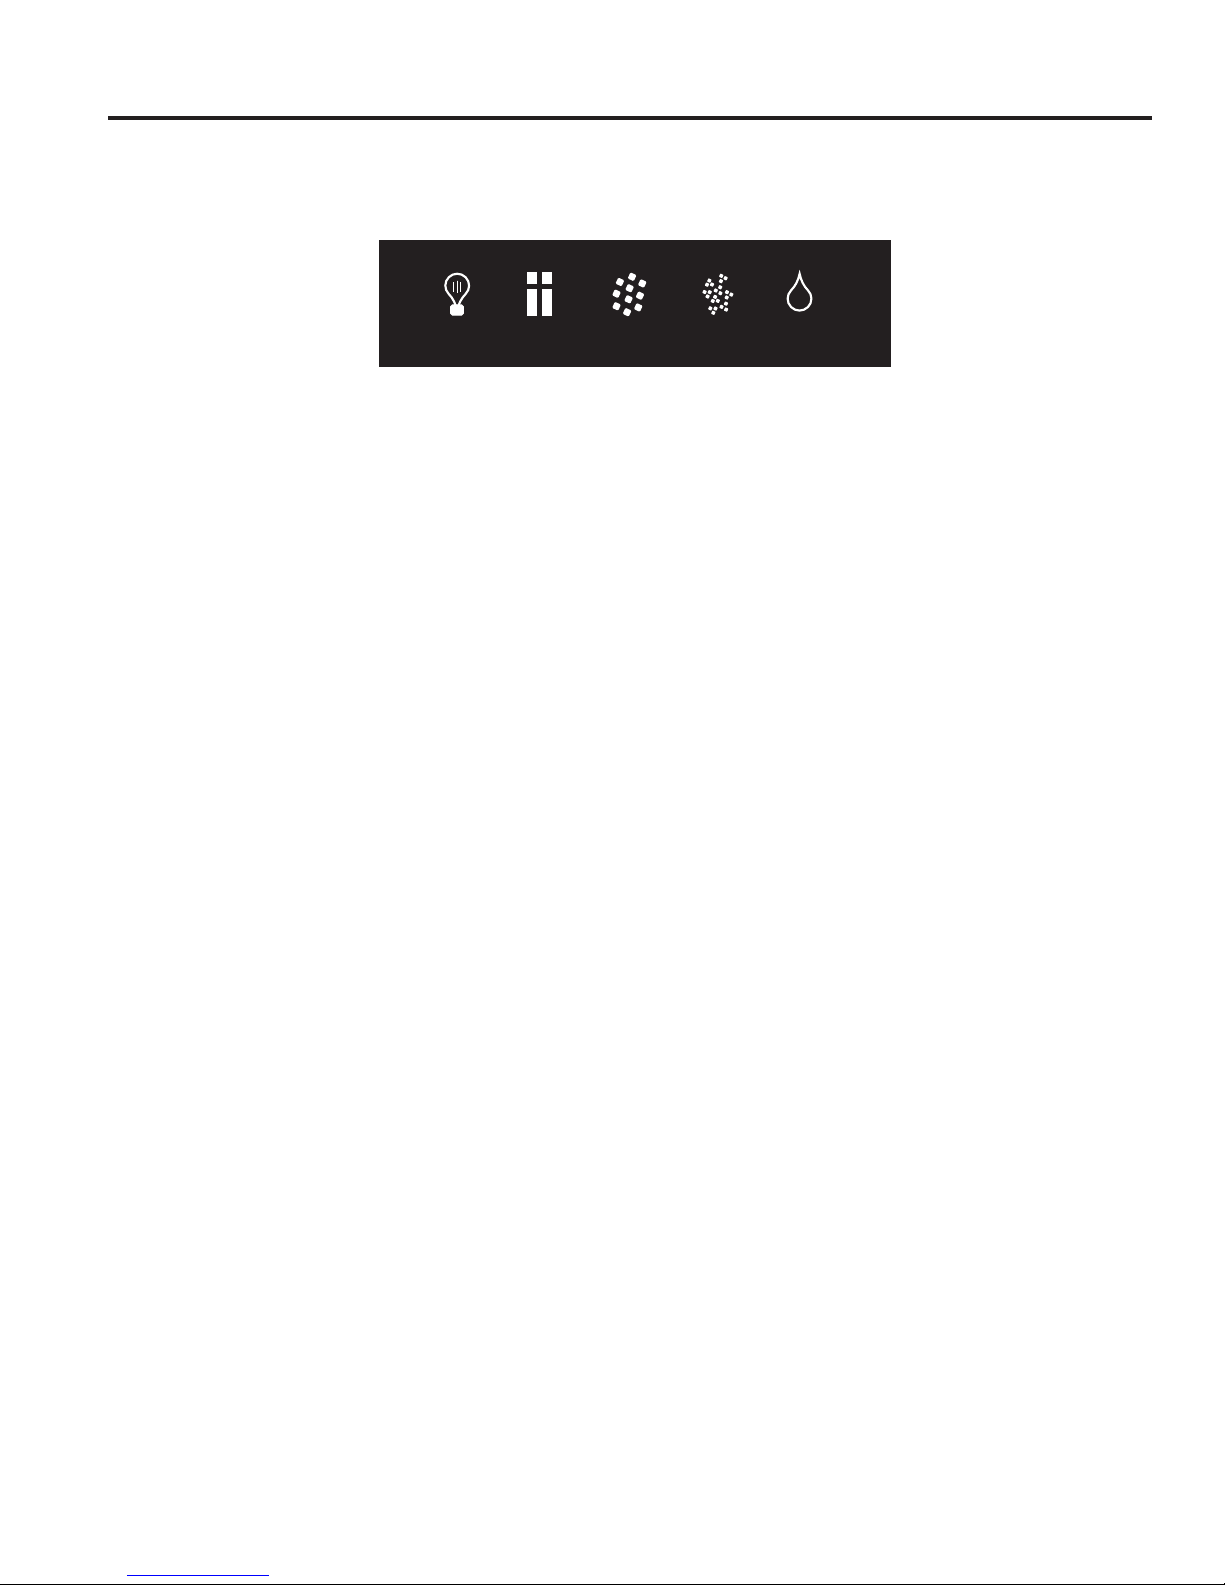
Controls
USING THE REFRIGERATOR: Controls
Refrigerator Controls
TEMPERATURE DISPLAY
When Power is first turned on, the
preset recommended temperature of
)&ZLOOLOOXPLQDWHEOXHLQWKH
display.
QUICK COOL
The Quick Cool function sets the refrigerator
FRPSDUWPHQWWR)&WRDFFHOHUDWHWKHFRROLQJRI
fresh food and protects the foods already stored from
undesirable warming.
Ŷ7RWXUQRQWKH4XLFN&RROIXQFWLRQSUHVV48,&.
COOL. The Quick Cool indicator will illuminate.
Ŷ7RWXUQRIIWKH4XLFN&RROIXQFWLRQSUHVV48,&.
COOL. The Quick Cool indicator will turn off
NOTE: 4XLFN&RROZLOODXWRPDWLFDOO\WXUQRIIDIWHU
hours.
AUTO FILL
Controls the water pitcher automatic fill function.
Ŷ3UHVV$872),//7KH$XWR)LOOLFRQZLOOLOOXPLQDWHWR
indicate that the auto fill function is activated.
Ŷ3UHVV$872),//DJDLQWRWXUQRIIWKHIXQFWLRQ7KH
$XWR)LOOLFRQZLOOWXUQRII
Feature Controls (Continued)
DEHUMIDIFY
7KH'HKXPLGLI\IHDWXUHWXUQVRQKHDWHUVWRUHGXFHWKH
amount of moisture that may appear on the door edges
DQGPXOOLRQVYHUWLFDOEDUVKLQJHGWRWKHOHIWKDQGIUHH]HU
and refrigerator doors) in warm, humid conditions.
When the dehumidify function is turned off, and
sensors detect that the room temperature and humidity
measurements require turning on the heaters to keep
moisture from forming on the door edges and the
mullions, the dehumidify icon will blink once every 3
seconds to alert you to this condition.
7RWXUQRQWKH'HKXPLGLI\IXQFWLRQSUHVVDehumidify.
The indicator will illuminate.
7RWXUQ2))WKHGHKXPLGLI\IXQFWLRQSUHVVDehumidify.
The indicator will turn off. NOTE: The heaters will remain
on until they are manually turned off by pressing the
'HKXPLGLI\,&21
WATER FILTER STATUS INDICATOR
*RRG6WDWXV:DWHU)LOWHULFRQZLOOLOOXPLQDWHJUHHQ
5HSODFH6WDWXV:DWHU)LOWHULFRQZLOOLOOXPLQDWHUHG
7RUHVHWSUHVVDQGKROG:$7(5),/7(5IRUVHFRQGV
The icon will change from red to green.
°F
°C
Fridge
°F
°C
Fridge
°F
°C
Freezer