manuals.online logo
Brands
  1. Home
  2. •
  3. Brands
  4. •
  5. Geemarc
  6. •
  7. Cordless Telephone
  8. •
  9. Geemarc Clear Sound Dect 150 User manual

Geemarc Clear Sound Dect 150 User manual

This manual suits for next models

5

Other Geemarc Cordless Telephone manuals
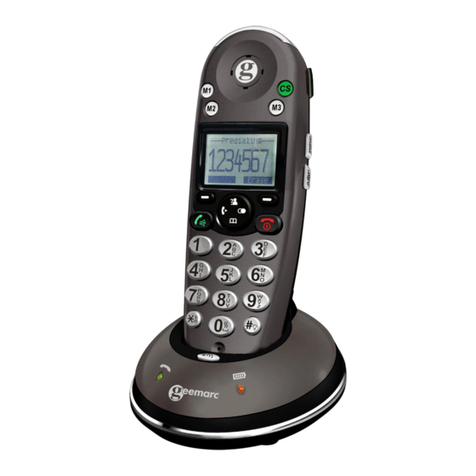
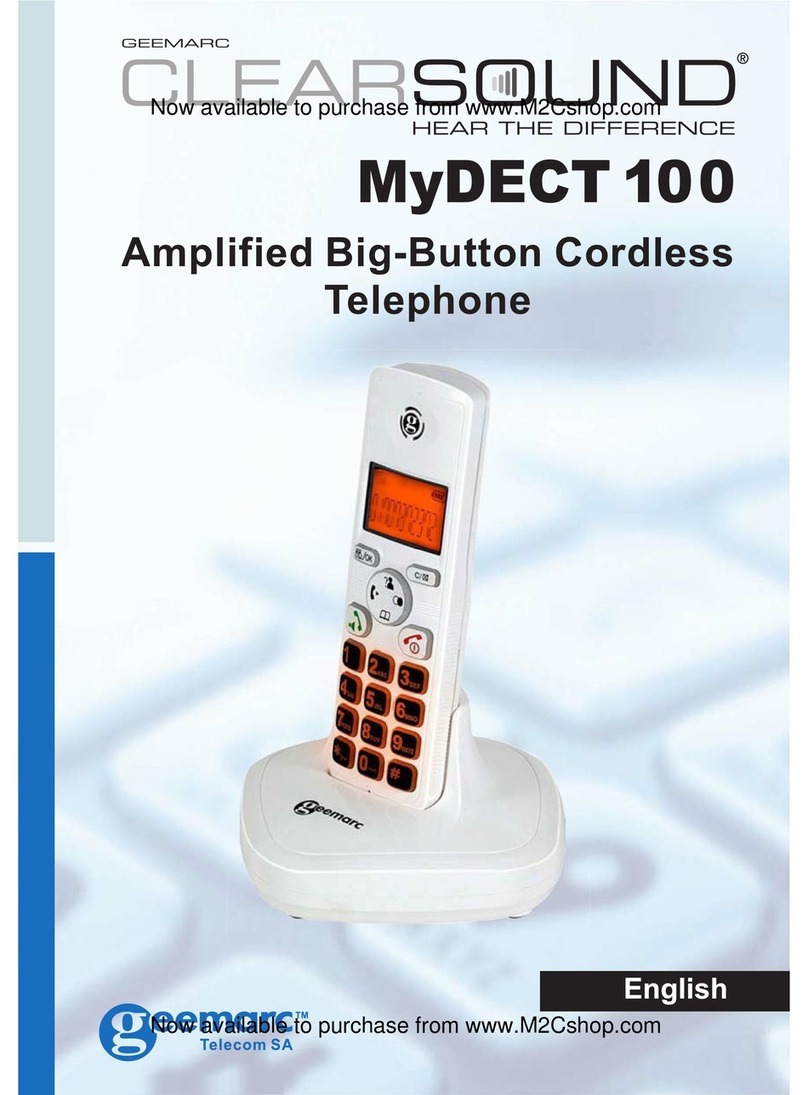
Geemarc MyDECT 100 User manual

Geemarc

Geemarc MyDECT 100 User manual

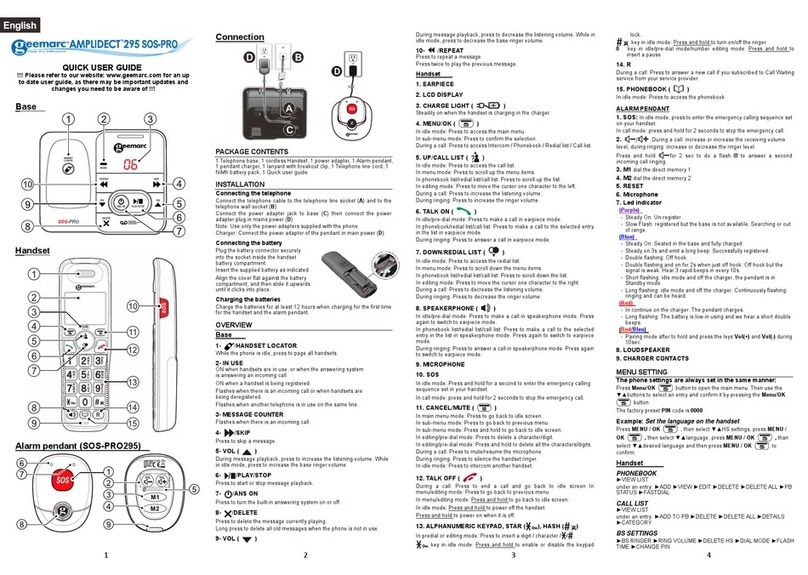
Geemarc AmpliDECT 295 User manual

Geemarc

Geemarc AmpliDECT 295 User manual

Geemarc ClearSound MyDECT 100 User manual

Geemarc

Geemarc ClearSound MyDECT 100 User manual

Geemarc CC10 User manual

Geemarc

Geemarc CC10 User manual

Geemarc Amplidect350 User manual

Geemarc

Geemarc Amplidect350 User manual
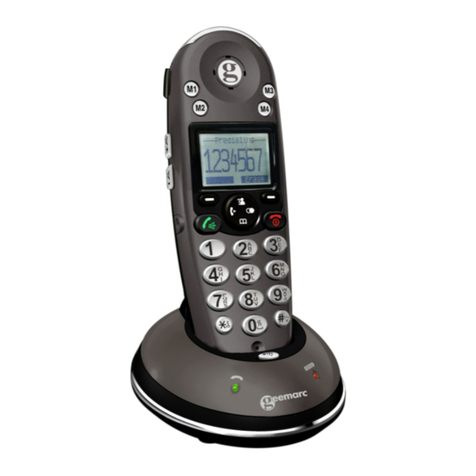
Geemarc Ampli250 User manual

Geemarc

Geemarc Ampli250 User manual

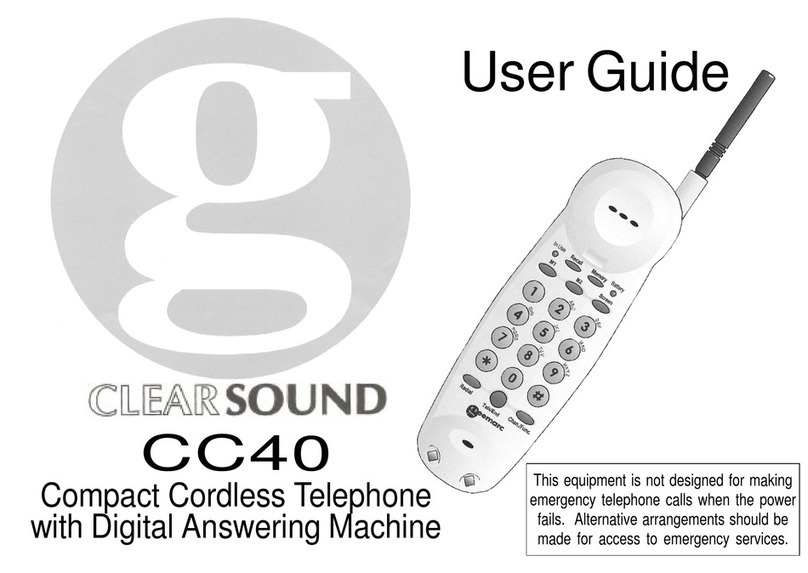
Geemarc ClearSound CC40 User manual

Geemarc

Geemarc ClearSound CC40 User manual

Geemarc AMPLIDECT 350 User manual

Geemarc

Geemarc AMPLIDECT 350 User manual
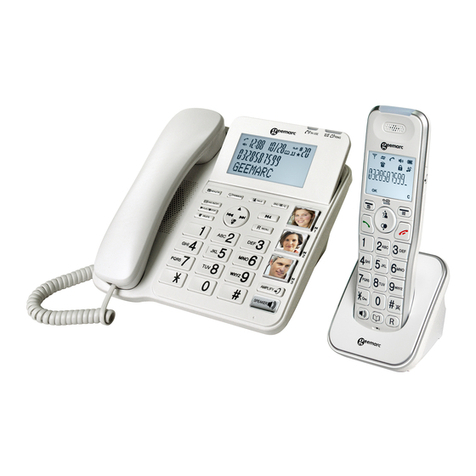
Geemarc Clearsound AmpliDECT230 User manual

Geemarc

Geemarc Clearsound AmpliDECT230 User manual

Geemarc VT05EEU06045 Instruction manual

Geemarc

Geemarc VT05EEU06045 Instruction manual

Geemarc AmpliDECT 595 Photo User manual

Geemarc

Geemarc AmpliDECT 595 Photo User manual

Geemarc PhotoDECT User manual

Geemarc

Geemarc PhotoDECT User manual

Geemarc MyDECT User manual

Geemarc

Geemarc MyDECT User manual

Geemarc AmpliDECT400BT User manual

Geemarc

Geemarc AmpliDECT400BT User manual

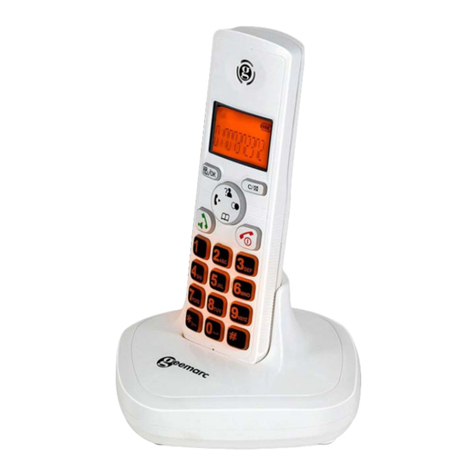
Geemarc Amplidect Combi 295 Instruction manual
Geemarc

Geemarc Amplidect Combi 295 Instruction manual

Geemarc AmpliDECT 295 Instruction manual

Geemarc

Geemarc AmpliDECT 295 Instruction manual

Geemarc AMPLIVOICE50 User manual

Geemarc

Geemarc AMPLIVOICE50 User manual

Geemarc Photophone 110 User manual

Geemarc

Geemarc Photophone 110 User manual

Geemarc Amplidect 295 SOS-Pro Instruction manual

Geemarc

Geemarc Amplidect 295 SOS-Pro Instruction manual

Popular Cordless Telephone manuals by other brands

Sony SPP-SS965 - Cordless Telephone operating instructions

Sony

Sony SPP-SS965 - Cordless Telephone operating instructions

Telstra Orb user guide

Telstra

Telstra Orb user guide

Mitel DT390 Quick reference guide

Mitel

Mitel DT390 Quick reference guide

GE 25830 user guide

GE

GE 25830 user guide

Uniden EXR2460 owner's manual

Uniden

Uniden EXR2460 owner's manual

BT DIVERSE 1010 user guide

BT

BT DIVERSE 1010 user guide

BT Graphite 1500 quick start guide

BT

BT Graphite 1500 quick start guide

3Com NBX Guide

3Com

3Com NBX Guide

Panasonic KX-TGK210HK operating instructions

Panasonic

Panasonic KX-TGK210HK operating instructions

Panasonic KX-TCA181EX installation manual

Panasonic

Panasonic KX-TCA181EX installation manual

BT FREESTYLE 3200 user guide

BT

BT FREESTYLE 3200 user guide

Panasonic KX-TG7301E operating instructions

Panasonic

Panasonic KX-TG7301E operating instructions

AUDIOLINE Splash 10x operating instructions

AUDIOLINE

AUDIOLINE Splash 10x operating instructions

Sanyo CLT-J70 instruction manual

Sanyo

Sanyo CLT-J70 instruction manual

Amplicomms BigTel 201 user manual

Amplicomms

Amplicomms BigTel 201 user manual

GE 26992 user guide

GE

GE 26992 user guide

AT&T E1812B user manual

AT&T

AT&T E1812B user manual

Sanyo CLT-670 instruction manual

Sanyo

Sanyo CLT-670 instruction manual

manuals.online logo
manuals.online logoBrands
  • About & Mission
  • Contact us
  • Privacy Policy
  • Terms and Conditions

Copyright 2025 Manuals.Online. All Rights Reserved.

Ampli DECT 150
Ampli DECT 300
CAUTION: THIS TELEPHONE PRODUCT IS SPECIFICALLY DESIGNED FOR PEOPLE
WITH HEARING DIFFICULTIES AND IS PROVIDED W ITH A HANDSET EARPIECE WITH
VOLUME CONTROLFOR INDIVIDUAL REQUIREMENTS. DUE CARE MUST BE TAKEN
BY ALL USERS THAT THE HANDSET EARPIECE VOLUME CONTROL IS SET TO THE
LOWEST LEVEL ACCEPTABLE BY EACH RESPECTIVE USER. CARE SHOULD
THEREFORE BE EXERCISE TO ENSURE THAT ANY NEW USERS ARE FAMILIAR WITH
THIS REQUIREMENT.
CONTENTS 1
INTRODUCTION 3
Unpacking the Telephone 4
DESCRIPTION 5
General Description 5
INSTALLATION 12
Location 12
SettingUp 13
BatteryUse 13
BASE SETTINGS 14
Base Ringer Volume 14
HANDSET SETTINGS 15
Ringer Settings 15
Shaker Settings 17
Handset Registration 17
Technical Settings 18
USING THE TELEPHONE 20
Making a Call 20
Receiving a Call 20
Recalling Recent Numbers 21
Deleting Recent Numbers 21
Receiving Volume and Tone Adjustment 22
Paging the Handset 24
CallTimer 24
1
PHONEBOOK 25
Create a Phone Book Entry 26
Dialing using the Phone Book 27
Modify a Phone Book Entry 27
Delete a Phone Book Entry 28
CALLER DISPLAY 29
View Caller Display 29
Dial a Number from the Caller Display List 30
Delete an Entry from the Caller Display List 30
Store Names and Numbers into the Phone Book 31
ANSWERING MACHINE (AMPLI DECT 300) 32
Operating the Answering Machine from the Handset 32
Answering Machine Settings 37
Operating the Answering Machine Remotely 40
Answer Only Mode 42
ADDITIONAL HANDSETS & BASES 43
Using Several Handsets 43
InternalCalls 46
CallTransfer 46
Using Several Bases 47
Other Optional Accessories 48
TROUBLESHOOTING 49
RESTORE FACTORY SETTINGS 51
SAFETY INFORMATION 52
GUARANTEE 53
2
CONTENTS CONTENTS
Congratulations on purchasing your Geemarc Ampli DECT telephone.
This telephone offers all the advantages of cordless technology (compliant
with Digitally Enhanced Cordless Telecommunications-DECT standard)
coupled with features which maximize clarity and minimize feedback
throughout a telephone call and provide an overall increase in the
usefulness of the telephone. These features include extra volume and
tone, visual and vibrator ringer and a super loud ringer for the base
Its is important that you read the instructions below in order to use your
Geemarc telephone to its full potential. Keep this user guide in a safe
place for future reference.
This guide explains how to use the following telephones:
Ampli DECT150
Ampli DECT300
Information about the answering machine is only relevant to the Ampli
DECT300.
This guide applies to single and multiple handset systems.
3
Unpacking the Telephone
When unpacking the telephone, you should find the following in the box:
• 1 Ampli DECT150/300 handset
• 1 Ampli DECT150/300 base
• ✑Mains power adaptor
• ✑Telephone line cord
• ✑Belt clip
• 2 x AAA rechargeable batteries
• 1 Battery compartment cover
For product support and help visit our website at www.geemarc.com
Telephone 01707 384438
Or fax 01707 372529
4
INTRODUCTION INTRODUCTION
General Description
Handset Description
5
6
DESCRIPTION
Belt clip
Volume button
adjustmen
t
Batter
y
compartmen
t
cove
r
Speaker
Receive and end
call key
Cancel ke
y
Call List key
Keypad -
1 and 3 used to scroll
through the menu
options
Amplifier key
Microphone
Menu Ke
y
Phonebook keys
Confirm/Scroll ke
y
LCD display
Incoming Call /Ne
w
Message Indicato
r
DESCRIPTION
7
Base Description
8
Handset cradle Pa
g
e ke
y
Charge contacts
Tone adjustment
Shaker
switch
A
mplifier
key
Answering
Machine key
DESCRIPTION DESCRIPTION
(*)Classified “hazardous voltage” according to EN60950 standard
(**) Classified TNV-3 according to EN60950 standard
9
LCD Screen Description
The LCD screen is split into two distinct areas:
The icon area. This is found around the outside of the screen. This
displays the various system icons which help you to use the telephone.
The main area. This is found across the centre of the screen. It displays
the following:
• number being dialled
• call display information
• phonebook
10
*Power adaptor socket**Line socket
Base
Ringe
r
volume
setting
Icon area Main area
1 2 3 4 5
6 7
8
9
11
12 13 14
10
DESCRIPTION DESCRIPTION
1 Answering Machine Menu
2 Ringer Volume/Melody Menu
3 Handset Registration Menu
4 Technical Settings Menu
5 Earpiece Volume Adjustment
6 Battery Charge Level
7 Caller Display Numbers (and Names)
8 Phone book 1
9 Flashing= Incoming Call, Fixed=During a call
10 Answering Machine activated
11 Call Transfer
12 Phone Book 2
13 (New) Answering Machine Message
14 Flashing= Handset not registered to the base, Fixed= Handset
registered to the base
LCD Screen Navigation
The key is used to activate and deactivate the menu.
The and keys are used to scroll through the menu.
: move backward through the menu
: move forward through the menu
The key is used to confirm an action or choice on a screen. This
key is also used to scroll through some submenus.
The key is used to cancel an action/entry.
11
Location
Ensure you situate the telephone close enough to the power socket so that
the cable will reach safely without stretching. Also, the mains power needs
to be easily accessible in case you need to disconnect the power.
Make sure the telephone is at least 1 metre away from other electrical
products e.g.TV, radio and monitors so as to avoid interference. Also,
avoid direct heat and sunlight.
We advise you to place the telephone on a table cloth or similar, as the
rubber feet on the base can mark some surfaces
Handset Range
The telephone has a range of up to 300 metres. The range will be
reduced when there is no clear line of sight between the base and
handset. Place the base as high yet as practical as possible to ensure the
best signal between the base and the handset. A warning signal (beep)
will be heard when the handset is out of range, the call will be stopped if
the handset is not brought nearer to the base.
12
DESCRIPTION INSTALLATION
Setting Up
Plug the power cable into the power socket on the base. Plug the adaptor
into the mains supply and switch the supply on. (*) The Power/Charging
indicator lights up (green).
Connect the line cord plug to the line socket on the base. Connect the
other end of the line cord to the PTT socket. (**)
Install the rechargeable batteries in the handset. The handset requires
two Nickel Metal Hydride (NiMH) AAA batteries. These are supplied with
your telephone. Check the battery polarity diagrams on the handset when
inserting the batteries. Fit the battery cover (this can be found in the
packaging with the batteries).
Place the handset on the base, a short beep will be heard. The
Power/Charging indicator lights up (red). The battery symbol will be
displayed on the handset. This will flash during the charging process.
Once the handset is fully charged, the display will show a full battery
symbol and will stop flashing.
The phone has an automatic charging control to avoid excessive charging.
Before the handset can be used, the handset battery must be
charged for a minimum of 15 hours on ther Ampli DECT base.
Battery Use
If the handset battery symbol is empty and flashing and you hear a
warning beep you will need to recharge your handset before you can use
it. If the phone does not have enough power or is not completely
recharged, it will switch itself off automatically until it is returned to the
base .
Under ideal conditions, the handset battery should give about 8 hours
talktime or 170 hours standby on a single charge.
(*) Classified “hazardous voltage” according to EN60950 standard
(**) Classified TNV-3 according to EN60950 standard.
13
Base Ringer Volume
A slider switch located on the rear of the telephone base allows the base
ringer volume to be adjusted. The following settings are available:
Off
Min
Mid
Max
14
INSTALLATION BASE SETTINGS
Ringer Settings
Ringer Volume
There is a choice of four handset ringer volume levels.
Ringer Melody
There is a choice of seven handset ringer melodies to notify you of
incoming calls.
Phone Book One Ringer Settings
There is a choice of seven handset ringer melodies for phone book 1. The
selected melody will notify you that the incoming call is from a telephone
number stored in phone book 1. This setting is only relevant if you have
subscribed to a Caller Display service.
Phone Book Two Ringer Settings
There is a choice of seven handset ringer melodies for phone book 2. The
selected melody will notify you that the incoming call is from a telephone
number stored in phone book 2. This setting is only relevant if you have
subscribed to a Caller Display service.
15
Press to activate the menu
Use and to scroll through the menu to find the desired ringer
icon - .The selected icon will flash on the display.
Press to scroll through the ringer volume/melody menu until you
reach the requiredlevel:
1/4 - the volume menu
Use and to scroll through the 4 volume levels available to find the
desired volume
++++ = maximum volume + = minimum volume
2/4 - the melody menu
Use and to scroll through the 7 melodies available to find the desired
melody
3/4 - the melody for phone book 1 menu.
The icon will flash while in this menu
Use and to scroll through the 7 melodies available to find the desired
melody
4/4. - the melody for phone book 2 menu
The icon will flash while in this menu
Use and to scroll through the 7 melodies available to find the desired
melody
Press to confirm the settings and exit ringer volume/melody
submenu
Press to exit the menu and return to the standby position
16
HANDSET SETTINGS HANDSET SETTINGS
Shaker Settings
A switch located on the right side of the telephone handset allows the
shaker to be activated when receiving an incoming call.
Handset Registration
The handset that came with your base is already registered to the base
(factory setting). The icon will be fixed on the display. If this icon is
flashing, the handset is not registered to the base and you will need to
register it. (See Additional Handsets and Bases section).
17
Technical Settings
Caller Display Settings
There is a choice of two Caller Display settings:
1 for UK
2 for France
Dialling Mode (Tone/Pulse) Settings
In the UK, all telephone exchanges now use Tone dialling. The Tone/Pulse
setting is pre-set to Tone on your telephone.
If your phone does not dial out, it is probably being used from an older
private switchboard (PBX). In this case, the Tone/Pulse setting must be
changed to Pulse.
Telephone Network Settings
There is a choice of four telephone network settings. These settings are
used to match the signal level when working on different telephone
networks.
A = Factory Setting – default value
B = Normal
C = Low
D = Very Low
Flash Time Settings
Your telephone works with a flash time setting for United Kingdom
(R=100ms).
In France, flash time setting should be R=300ms.
Dial Pause Settings
This setting enables you to insert a 3 second pause after the first digit
dialed. The rest of the telephone number is dialed normally. This can be
used when plugged in at a private telephone exchange ( in a hotel, an
office etc).
18
Shaker On
Shaker Off
HANDSET SETTINGS HANDSET SETTINGS