GefenTV GTV-HDMI1.3-441N User manual

www.gefentv.com
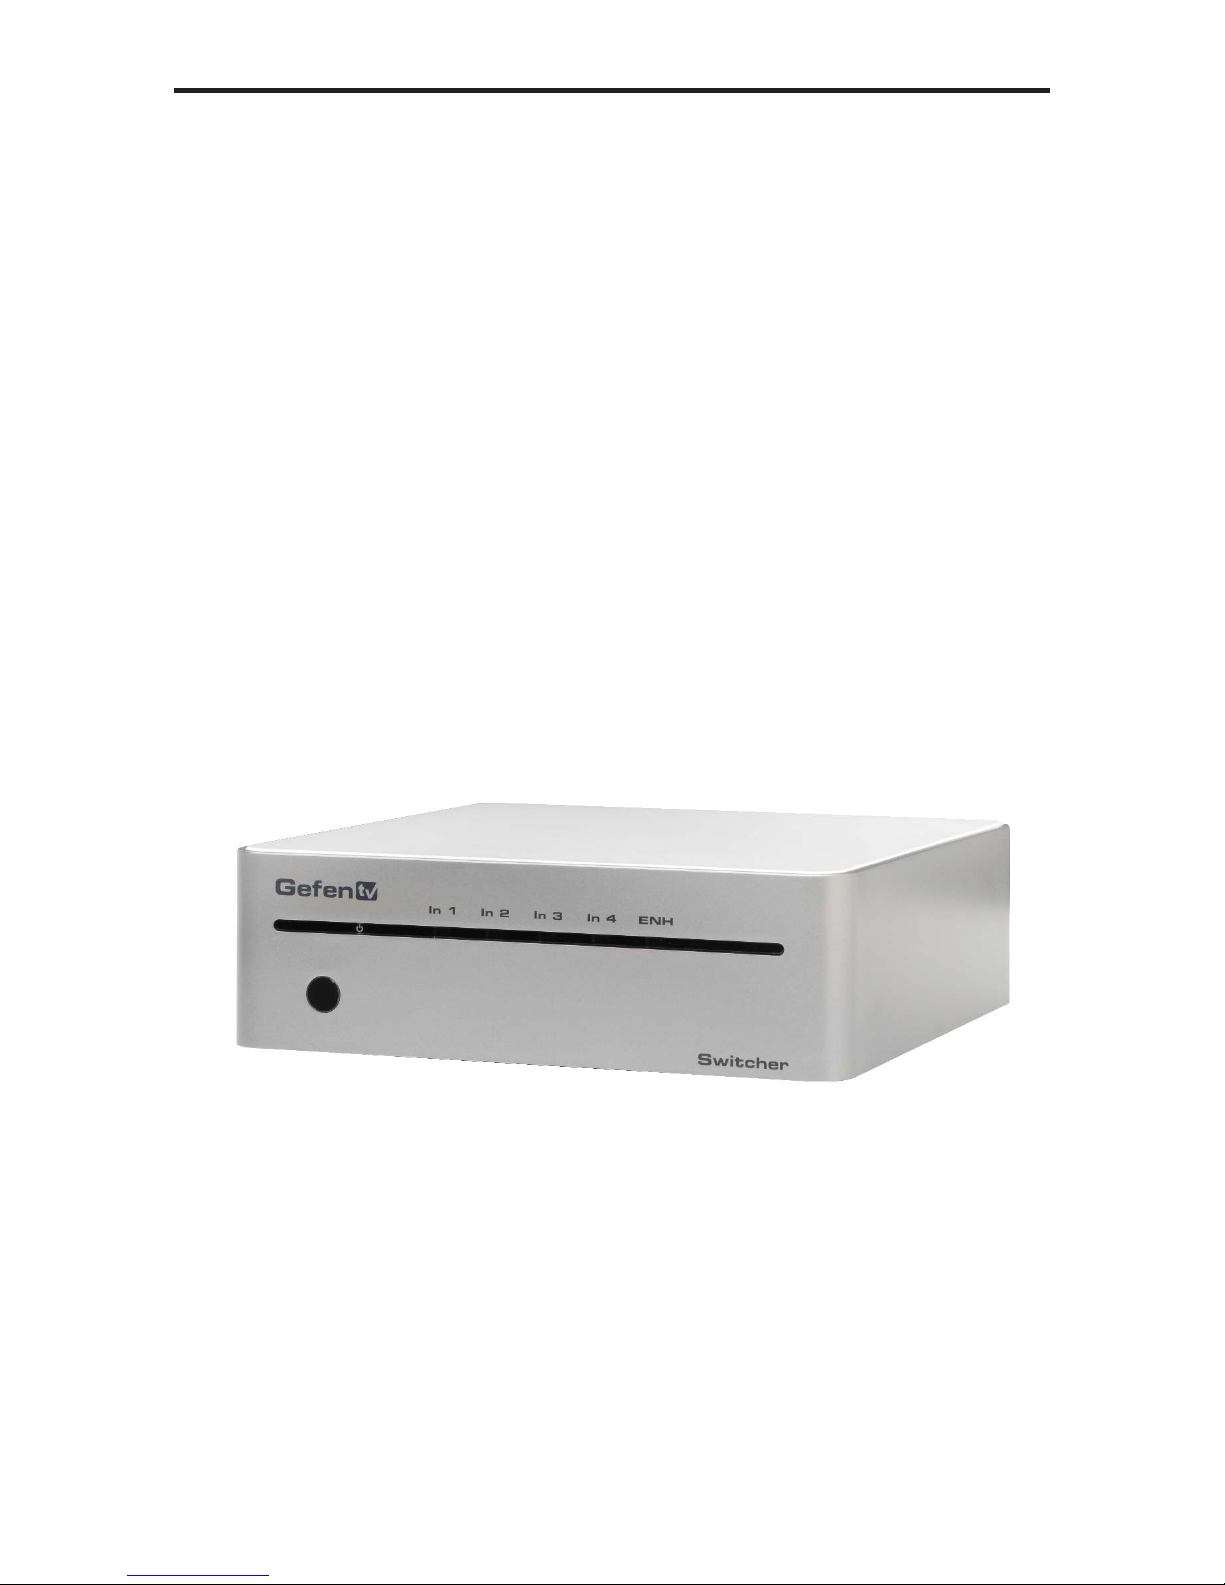
4X1 Gefen TV Switcher
GTV-HDMI1.3-441N
User Manual

ASKING FOR ASSISTANCE
Technical Support:
Telephone (818) 772-9100
(800) 545-6900
Fax (818) 772-9120
Technical Support Hours:
8:00 AM to 5:00 PM Monday thru Friday Pacific Time
Write To:
Gefen, LLC
c/o Customer Service
20600 Nordhoff St
Chatsworth, CA 91311
www.gefentv.com
support@gefentv.com
Notice
Gefen, LLC reserves the right to make changes in the hardware, packaging and
any accompanying documentation without prior written notice.
4x1 GefenTV Switcher is a trademark of Gefen, LLC
HDMITM, the logo and High-Definition Multimedia Interface are
trademarks or registered trademarks of HDMI Licensing in the United States and
other countries.
© 2011 Gefen, LLC, All Rights Reserved
All trademarks are the property of their respective companies
Rev A3

CONTENTS
1 Introduction
2 Operation Notes
3 Features
4 Panel Layout
5 Panel Descriptions
6 IR Remote Description
7 IR Remote Installation
8 IR Remote Configuration
9 Changing the IR Channel
10 Connecting and Operating the GefenTV 4x1 Switcher for HDMI 1.3
10 Wiring Diagram
11 Controlling the GefenTV 4x1 Switcher for HDMI 1.3
11 Automatic Switching
12 RS-232 Serial Control
12 Settings
13 Commands
15 Specifications
16 Warranty

1
INTRODUCTION
Congratulations on your purchase of the 4x1 GefenTV Switcher. Your complete
satisfaction is very important to us.
GefenTV
GefenTV is a unique product line catering to the growing needs for innovative
home theater solutions. We specialize in total integration for your home theater,
while also focusing on going above and beyond customer expectations to ensure
you get the most from your hardware. We invite you to explore our distinct
product line and hope you find your solutions.. Don’t see what you are looking for
here? Please call us so we can better assist you with your particular needs.
The GefenTV Switcher
The GefenTV 4x1 Switcher for HDMI with RS232 switches between any of four
Hi-Def sources to one HDTV display. Resolutions up to 1080p Full HD with
multichannel digital audio are supported. 3D content can be displayed when
connecting a 3DTV and 3D source. The front panel LEDs show the currently
selected source. This 4x1 Switcher has an auto-switching feature: If a new
source is connected or turned on, the Switcher will automatically switch to that
input. The 4x1 Switcher will revert to the previous input once the current device is
turned off or disconnected.Any of the four Hi-Def sources can be selected by the
push-button, IR remote control, or using the RS-232 control.
How It Works
Connect up to four HDMI sources to the GefenTV 4x1 Switcher for HDMI with
RS232 using the supplied cables. Connect the HDTV display to the HDMI output.
Connect the 5V power supply to the 4x1 Switcher.Apply power to the source
devices and the display. The Hi-Def source is displayed and will follow the current
switching selection.
OPERATION NOTES
2
READ THESE NOTES BEFORE INSTALLING OR
OPERATING THE 4X1 GEFEN TV SWITCHER
• This product has an auto-switching feature: If a new source is connected
or turned on, the Switcher will automatically switch to that input. The 4x1
Switcher will revert to the previous input once the current device is turned off
or disconnected. Any of the four Hi-Def sources can be selected by using the
push-button, IR remote control, or using the RS-232 control.
®

3
FEATURES
HDMI 1.3 Features
• 225 MHz (up to 12-bit YUV 444 @ 1080p)
• Deep Color
• Dolby TrueHD and DTS HD MasterAudio
• Lip-Sync
• CEC Pass-Through
Features
• Supports resolutions up to 1080p Full HD and 1920x1200
• 3DTV Pass-Through
• Supports LPCM 7.1 audio, Dolby Digital Plus, Dolby TrueHD, and DTS-HD
Master Audio
• Local Switching /Auto-Switching feature
• RS-232 control
• IR remote control
• Supports DVI sources and DVI displays with an HDMI-to-DVI adapter
• Energy Star Compliant
Package Includes
(1) GefenTV 4x1 Switcher for HDMI with RS232
(4) 6 ft. HDMI cable (M-M)
(1) 6 ft. DB9 Serial Cable (M-F)
(1) IR Remote Control unit
(1) 5V DC Power Supply
(1) User Manual

4
PANEL LAYOUT
Front Panel
1
23
4
5
67 8 9 10
®
Back Panel

5
PANEL DESCRIPTIONS
1 IR Sensor
Receives signals from the IR Remote Control.
2 Power Indicator
This LED will turn bright red once the locking power supply has been properly
connected.
3 Input Indicators (HDMI In 1 - HDMI In 4)
Displays the current input of the 4x1 Switcher.
4 Enhance Indicator
This LED indicates that EQ (Pre-Emphasis) is active.
5 RS-232 Serial Port (Output)
Connects to the RS-232 control device. The 4x1 may be switched remotely
using this port. See page 12 for details.
6 EQ (Pre-Emphasis) Button
Use this button to improve the signal over long cable distances.
7 Select Button
Used to select the input source.
8 HDMI Output Port
Connect an HDTV display to this HDMI port.
9 HDMI Input Ports (4)
Connect a Hi-Def source to these ports.
10 5V DC Power Connector
Connects the included 5V DC power supply to this receptacle.

6
IR REMOTE DESCRIPTION
1 Activity Indicator
This LED will be activated momentarily each time a button is pressed.
2 Input Source Selection Buttons (1 - 4)
These buttons are used to select which input source is routed to the
HDTV display.
1
2
RMT-4IR Remote

7
IR REMOTE INSTALLATION
Installing the IR Remote Control Battery
1. Remove the battery cover on the back of the IR Remote Control unit.
2. Insert the included battery into the open battery slot. The positive (+) side of
the battery should be facing up.
3. Replace the battery cover.
The Remote Control unit ships with two batteries. One battery is required for
operation and the other battery is a spare.
Battery Slot
Table of contents


