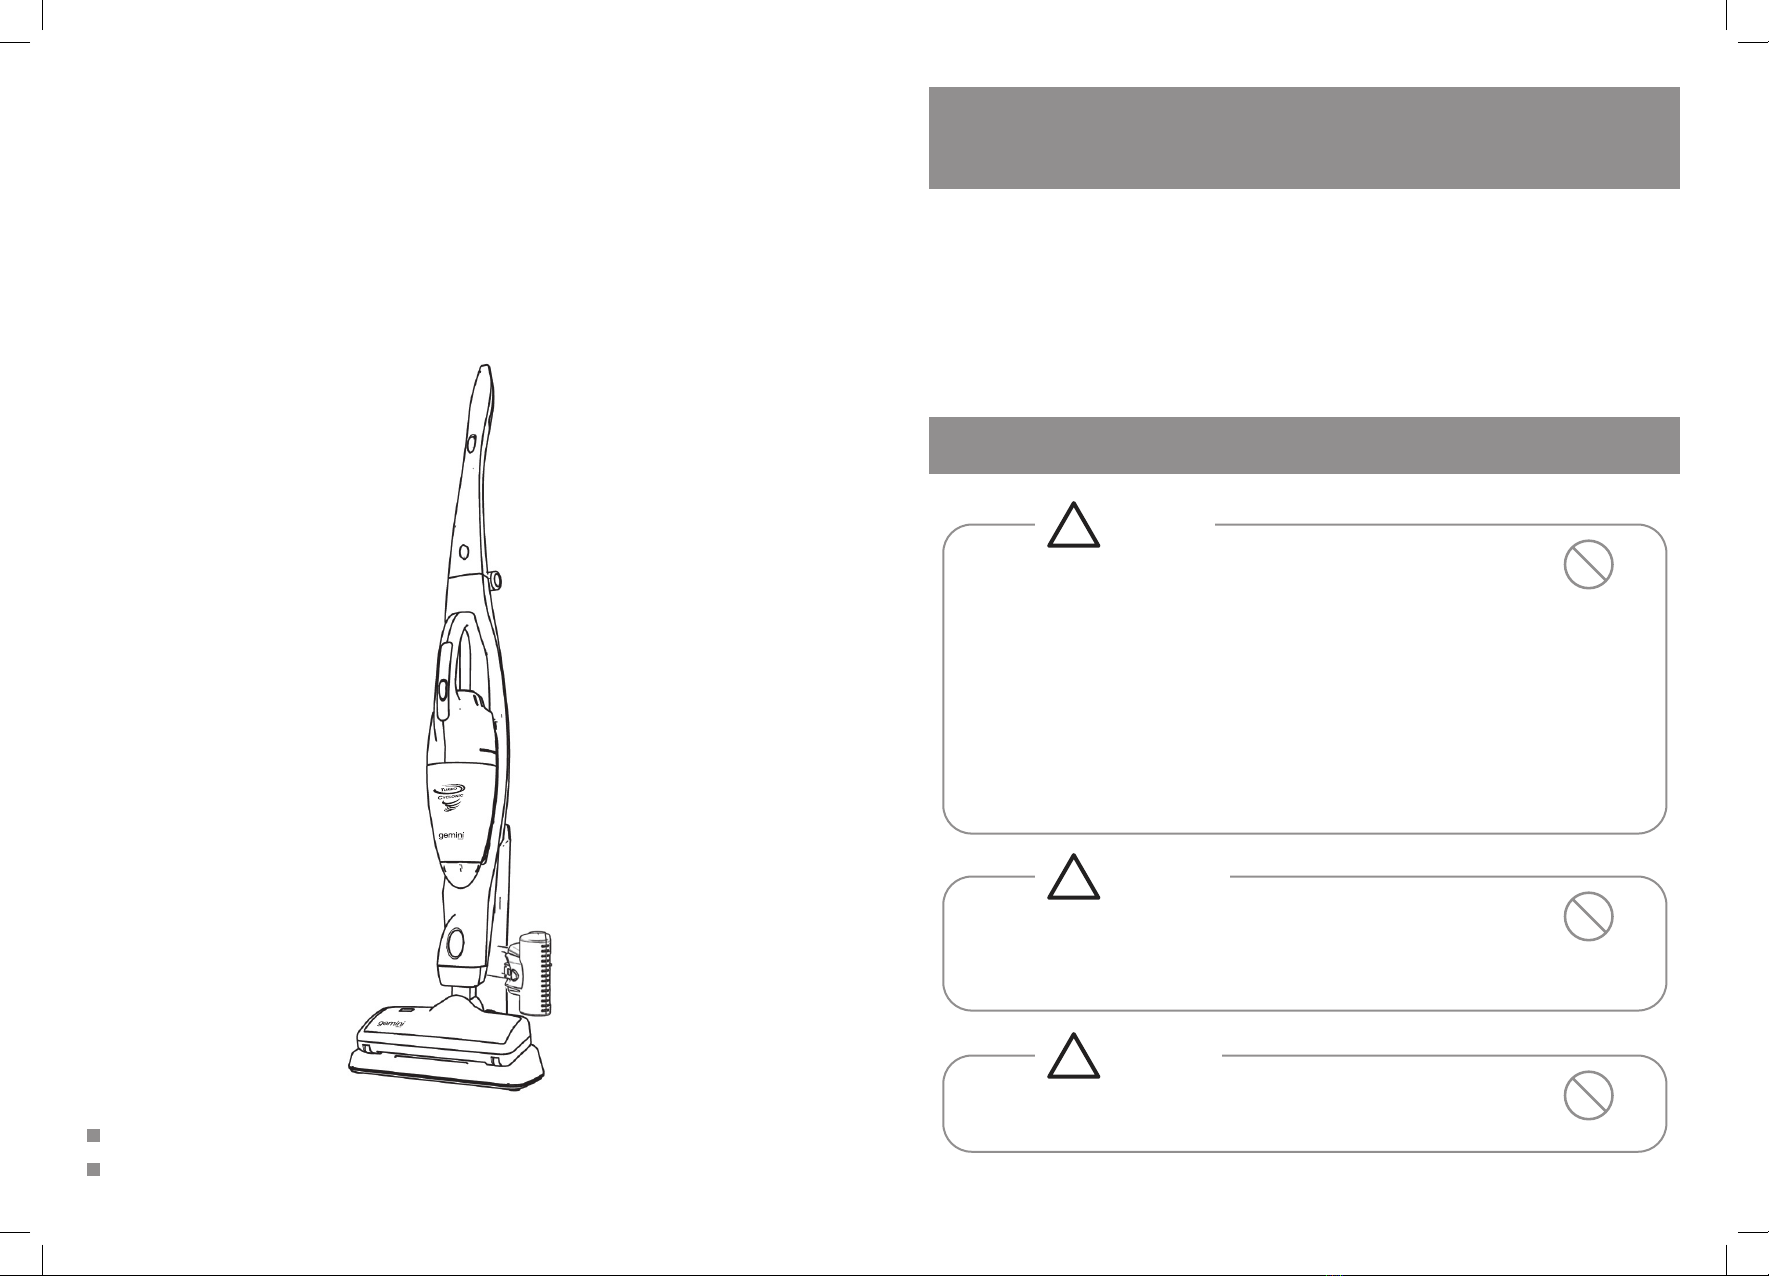
8 9
Charging The Battery
Charge the battery in the following situations.
- When using the product for the rst time after purchase.
- When using the product after storing for a long time.
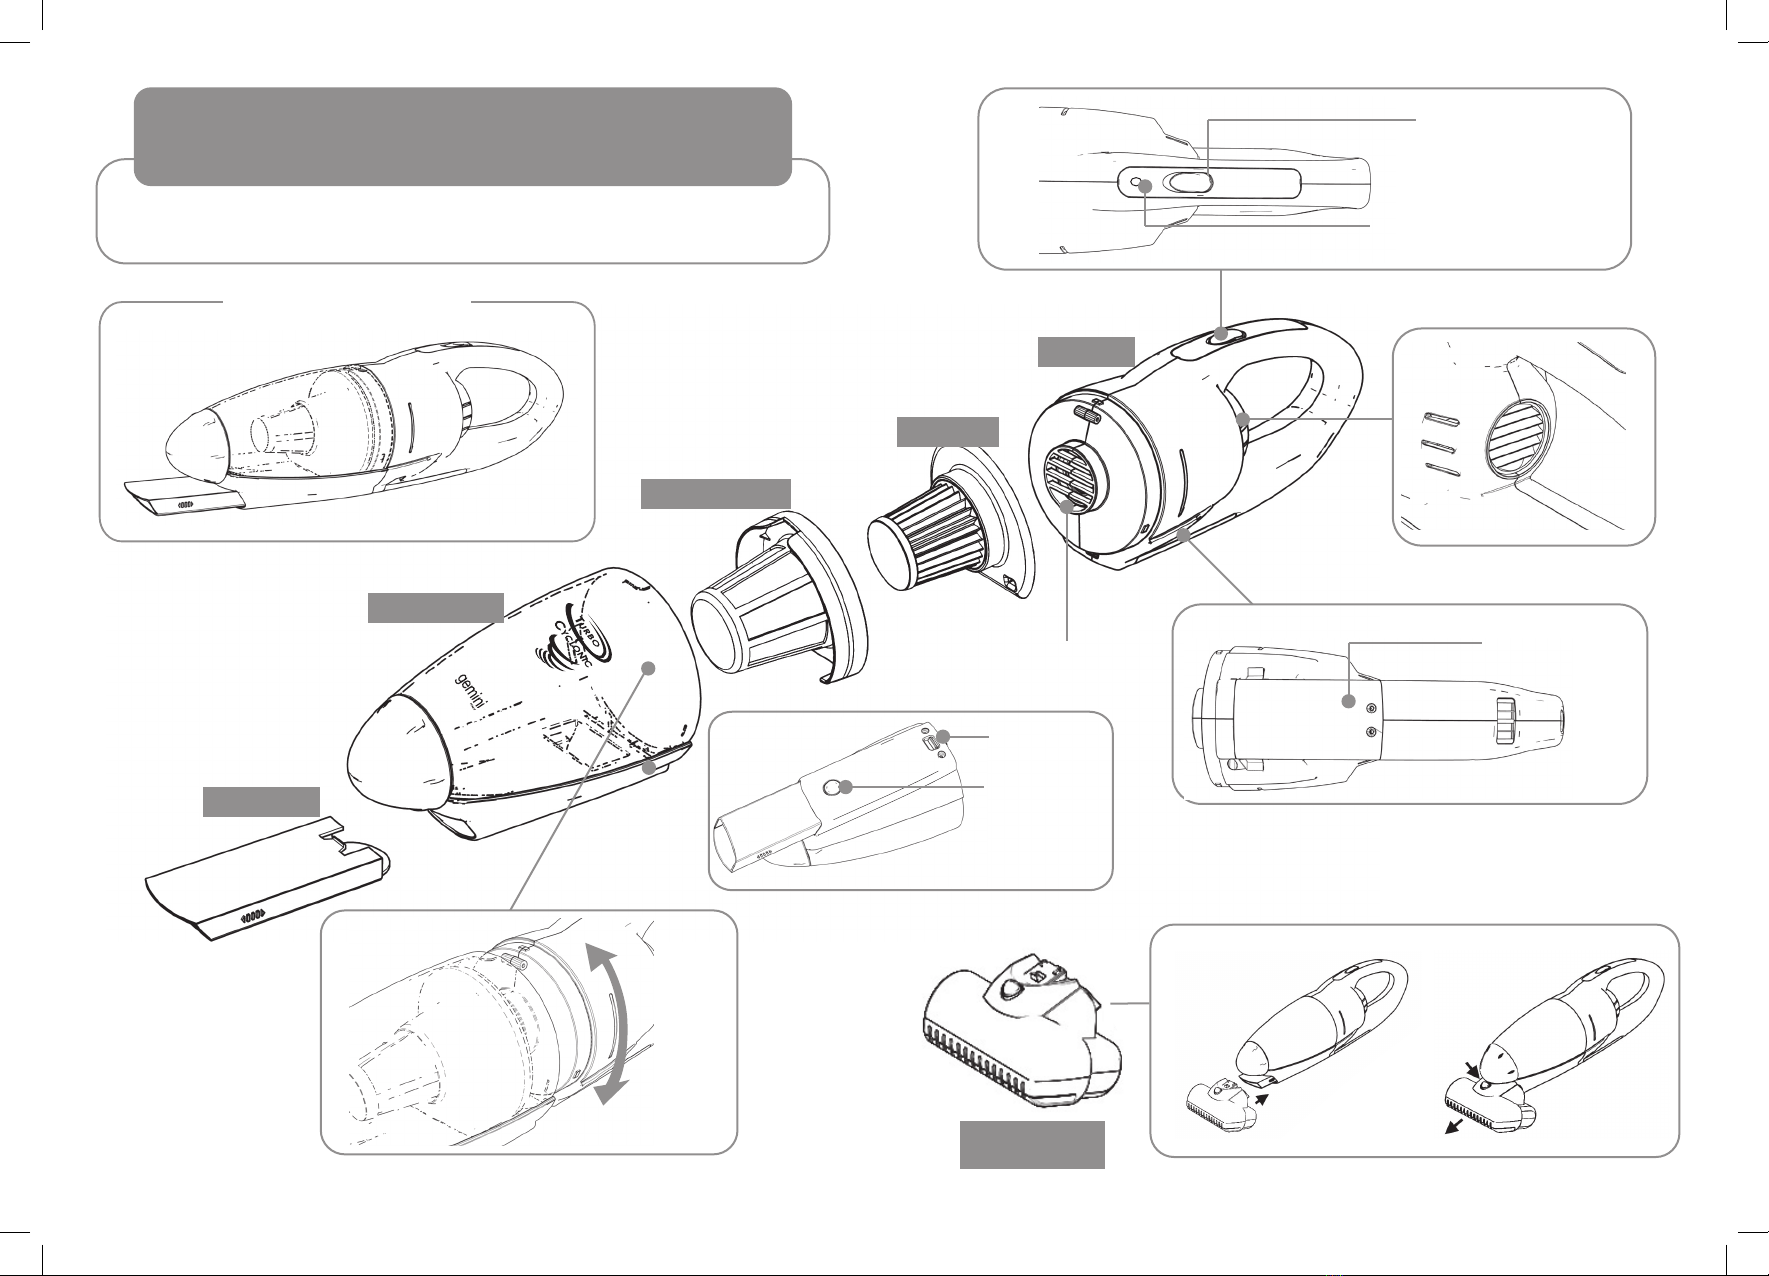
1. Insert the handheld unit to the main body.
•
Alway switch OFF the power button when
insert the handheld unit to the main body.
• Avoid any substances between the
contacts of
handheld
unit and the main
body.
• If the main body is not set properly at the battery
charger, the battery will never be charged or the
main body may topple over.
• Avoid any unstable surfaces when carrying out
battery charging, otherwise the battery will never
be charged due to the insecure contact. Select a
stable oor to charge the battery.
• Take care not to trip over the power cable when
charging the battery.
2. Insert the main body to the battery charger.
Always switch OFF the appliance when charging the battery. If the appliance is ON, the battery
never charges.
3. Connect the power plug to the power outlet
When the power plug of the battery charger is connected to the
AC power outlet, the indication blue lamp will light up.
• Note: Even after completing a charging cycle, the
inication lamp will not go OFF.
• The main body may become warm during
charging. This is not an abnormal sign.
Disposing Vacuumed Waste
• Try to dispose the vacuumed waste as frequently as possible. The dust attached to the lter
can cause poor vacuuming performance and stress the motor.
• Always switch OFF the power when operating for disposal.
• If the disposal indicator exceeds the marked level, dust builds on the lter bafe plate
resulting in poor vacuuming performance.
• Depending on the type of dust or wastes vacuumed, the dust may build on the mesh of lter
bafe plate and disposal may be required even before the disposal indicator reaches the
marked level.
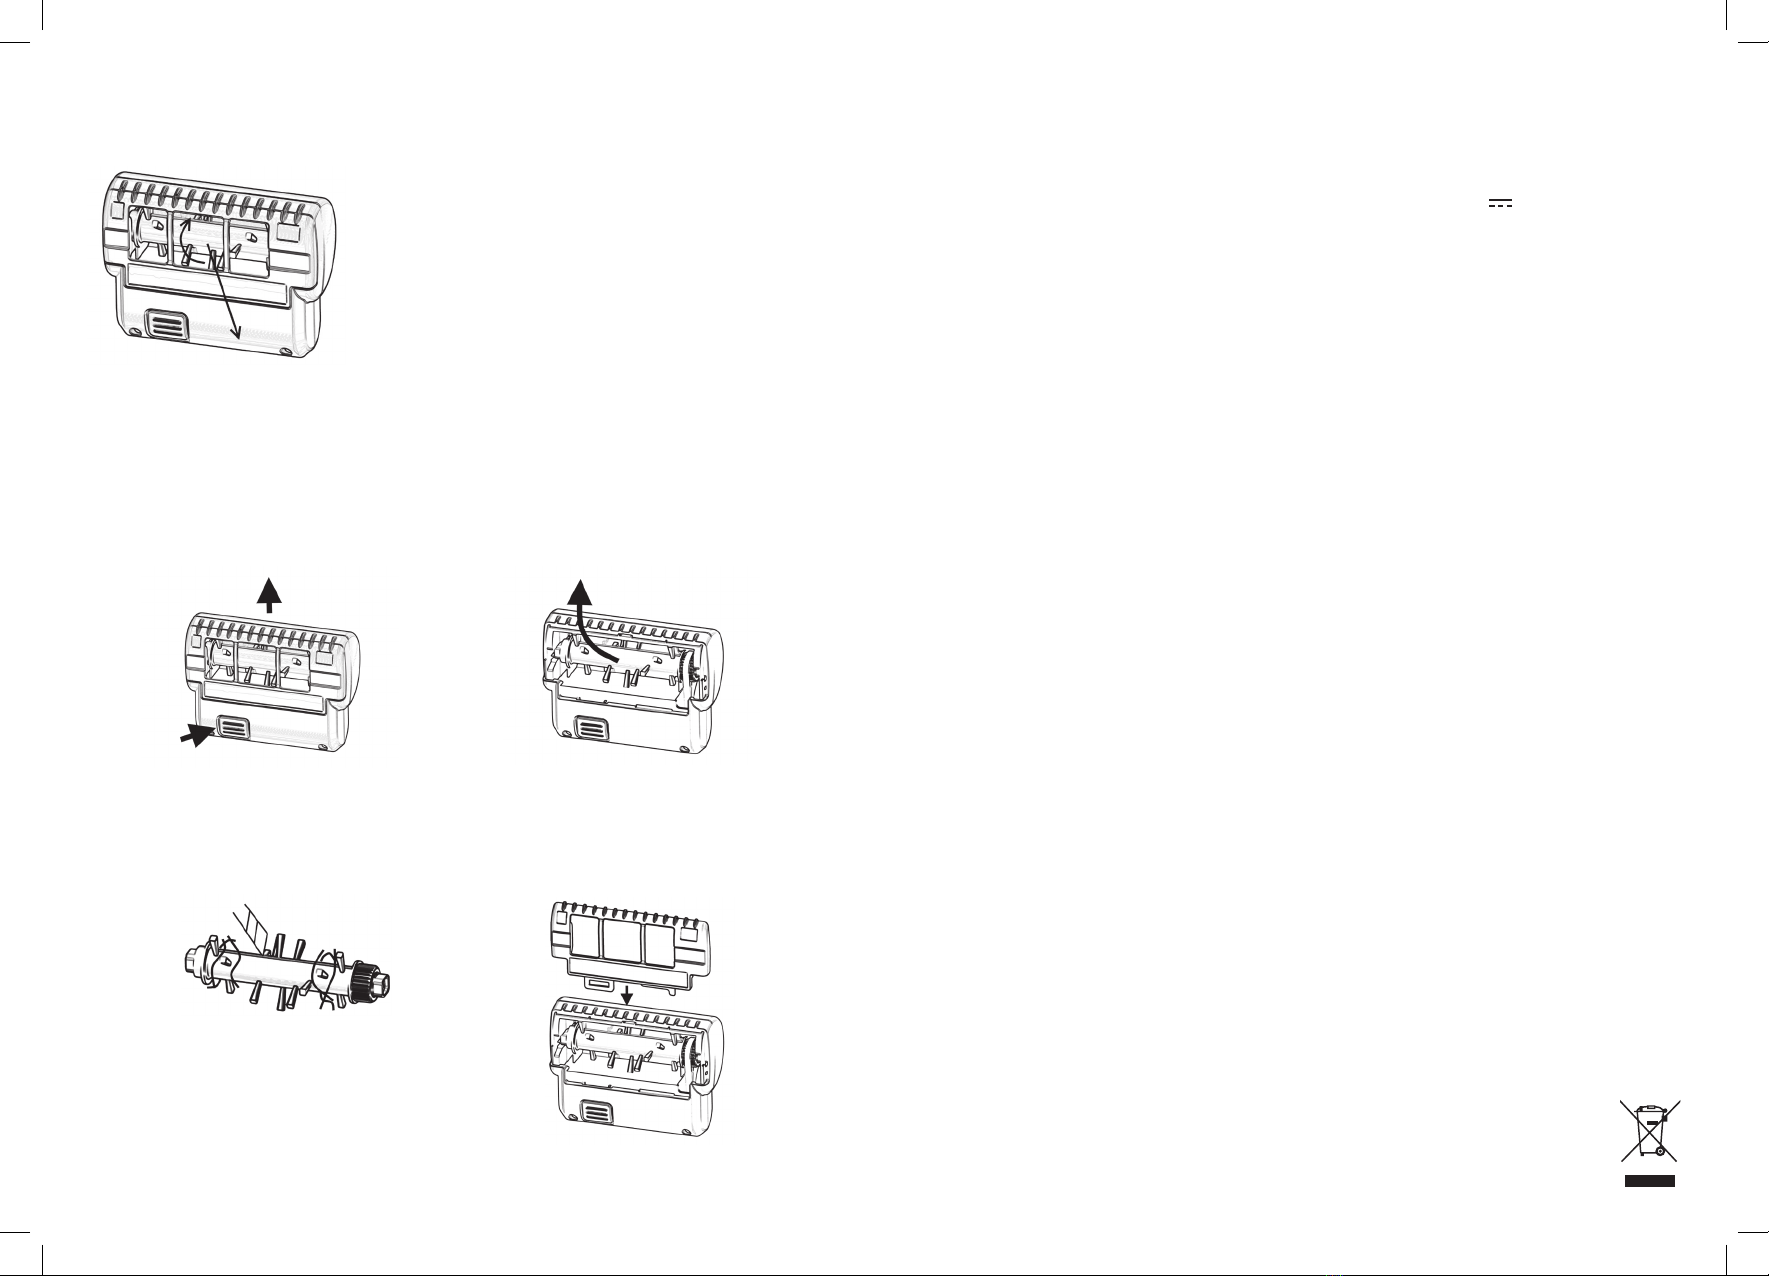
Press
and hold
Detaching the
Dust Container
Pull out
Re-install the lter after the lter
bafe plate in the dust container.
Place to match up with the both
ventilation positions.
Re-install the components
!Caution
Do not vacuum a lot of dust at any one time and do not vacuum
large objects such as tissue papers, otherwise it may cause the
suction port to choke and loose the suction power.
Do not vacuum kerosene, petrol or butts of smoked cigarettes, otherwise it
may cause a re.
Dispose dust frequently, otherwise it may damage the product.
Battery
Indicator
lamp