Geneq F100 User manual

1/ 26
GENEQ F100
User Manual

2/ 26
Statement
Please read carefully:
The final interpretation of this user manual belongs to GENEQ INC.
Thank you very much for your purchase. For directions on how to use the
product, please be sure to read the user manual.
This user manual is only for your receiver. If your receiver does not match the
case in user manual, the actual situation of the receiver shall prevail.
Information in this document is subject to change without notice; GENEQ INC.
reserves the right to change or improve its products and to make changes in
the content without obligation to notify any person or organization of such
changes or improvements. If you have any questions, please contact customer
service center, or contact our authorized dealers.
Customer safety is important. Please carefully read the notes and instructions
in User Manual. In order to avoid unexpected damage, you should only use
original supplied parts. If you do not use the system with the correct procedure
or connect incompatible accessories, cause the equipment damage, and may
even endanger other person and your safety. In this regard, the company does
not assume any responsibility.

3/ 26
Contents
1. Product overview__________________________________________________________7
2. Technical Specification__________________________________________________ 10
2.1. GNSS _______________________________________________________________________10
2.2. System configuration ______________________________________________________11
2.3. Tilt Survey __________________________________________________________________11
2.4. Weight and Measurement_________________________________________________11
2.5. Environmental _____________________________________________________________12
2.6. Electrical____________________________________________________________________12
2.7. Data interface ______________________________________________________________12
2.8. User interface ______________________________________________________________12
3. WEB UI___________________________________________________________________ 13
3.1. Status ______________________________________________________________________13
3.1..1. Position __________________________________________________________________________ 13
3.1..2. Datalink __________________________________________________________________________ 14
3.1.3. Satellites _________________________________________________________________________ 15
3.1.4. Information ______________________________________________________________________ 16

4/ 26
3.2. Settings ____________________________________________________________________17
3.2.1. Working Mode___________________________________________________________________ 17
3.2.2. Satellite Settings _________________________________________________________________ 18
3.2.3. Device Configuration ____________________________________________________________ 19
3.2.4. NMEA Message __________________________________________________________________ 20
3.2.5. View Logs________________________________________________________________________ 20
3.2.6. Configuration Set ________________________________________________________________ 21
3.3. Download __________________________________________________________________21
3.3.1. Raw Data ________________________________________________________________________ 21
3.3.2. Backup Data _____________________________________________________________________ 22
3.4. Management_______________________________________________________________22
4. Pannel Settings__________________________________________________________ 23
4.1. Power on/off _______________________________________________________________23
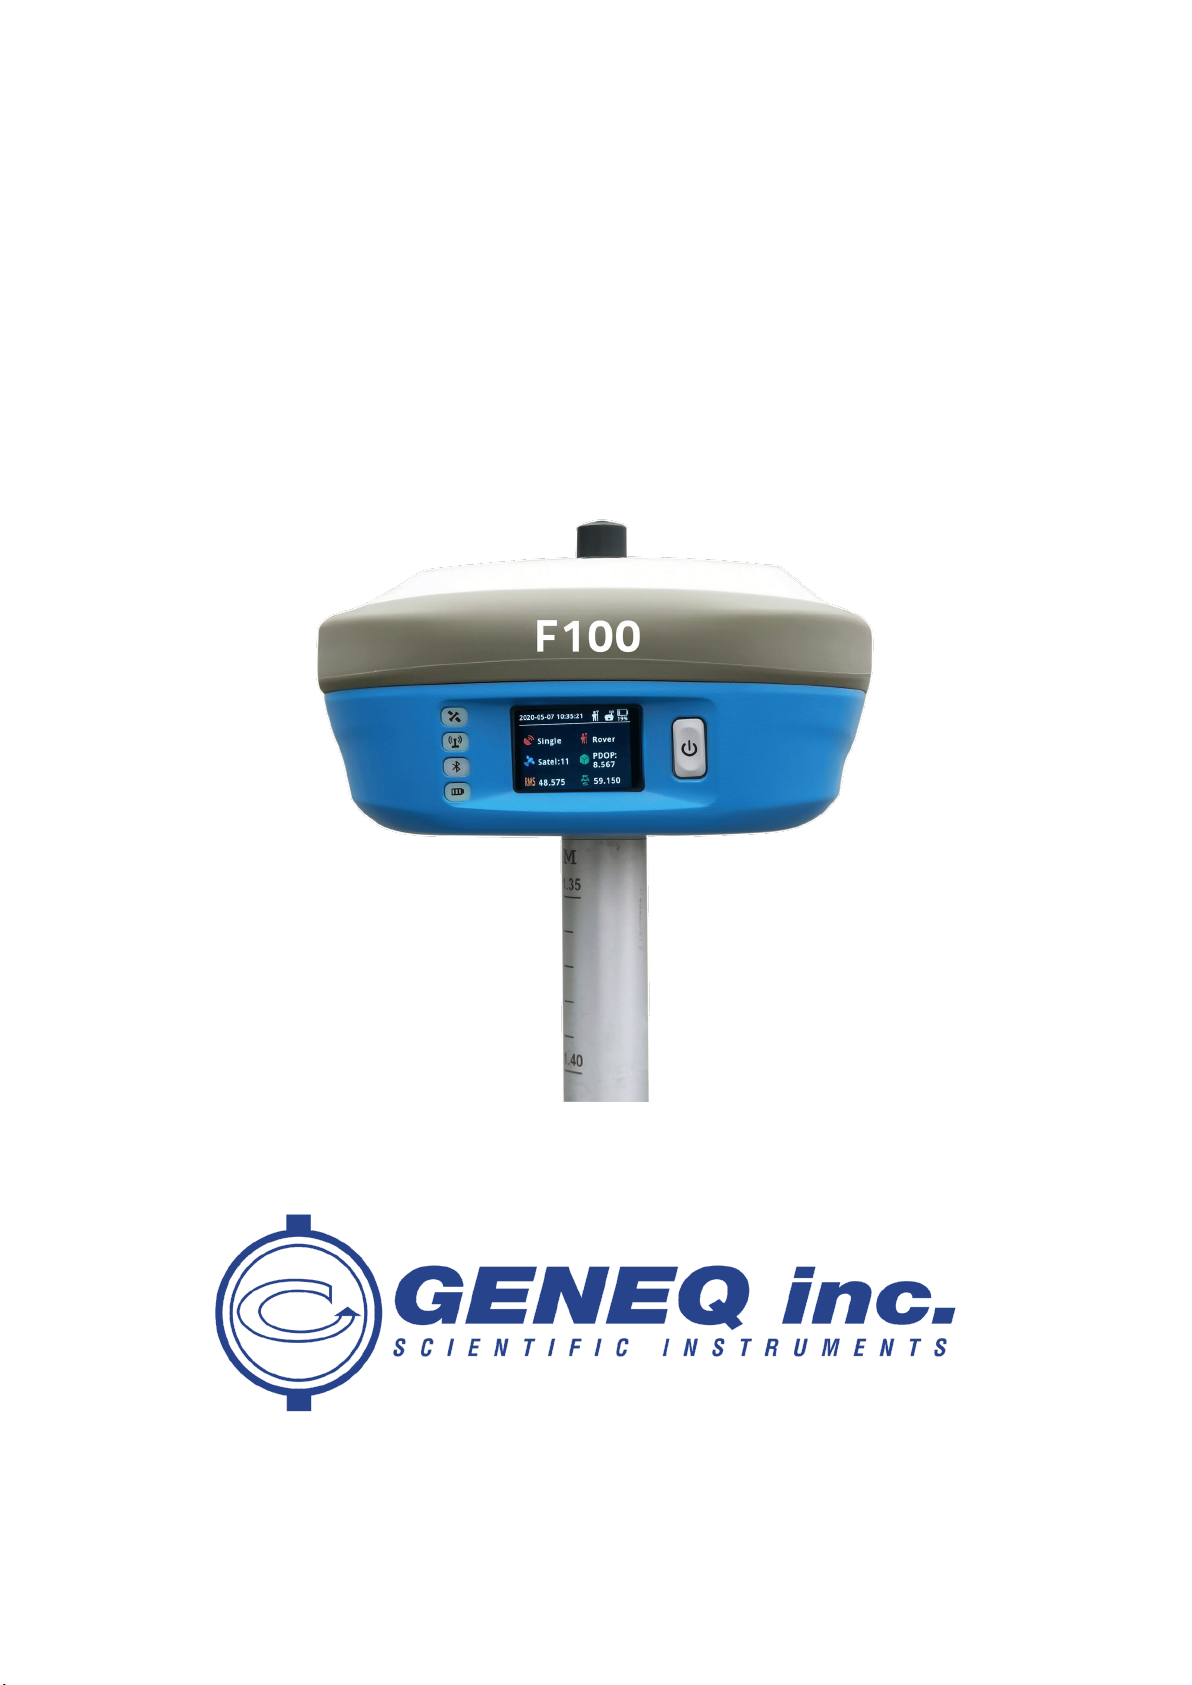
4.2. Working Status interface __________________________________________________23
4.2.1. Base Station Mode _______________________________________________________________ 23
4.2.2. Rover Station Mode______________________________________________________________ 23
4.2.3. Static Mode ______________________________________________________________________ 23
4.3. Data Link ___________________________________________________________________24
4.3.1. Radio ____________________________________________________________________________ 24
4.3.2. GPRS_____________________________________________________________________________ 24
4.3.3. External __________________________________________________________________________ 24
4.4. Differential _________________________________________________________________25
4.5. System Settings ____________________________________________________________25
5. Tilt calibration instructions _____________________________________________ 25
5.1. Magnetic calibration_______________________________________________________25

5/ 26
5.2. MEMS Calibration__________________________________________________________26
5.3. Pole Calibration ____________________________________________________________27
6. Accessories ______________________________________________________________ 28
First, thank you very much for purchasing Geneq F100 geodesic GNSS receiver
(hereinafter referred to as F100). F100 is a GNSS receiver with strong performance
and constant strength. It takes LINUX system as the development platform, stable
and reliable, support secondary development, it can play well in different fields.
Product Features:
● 5W Receive/Transmit full protocol radio
● Super capacity smart battery
●Capsule design 2.0
●Smart Color touch screen
●Combined antenna
●Tilt Survey 3.0
●Intelligent base
●Type-C port
The next I will show you the excellent performance and usage of F100

6/ 26
1. Product Overview
❶
Satellite indicator light
Extinguish: No receiving satellites;
Blink red:Satellites received, but not positioning success;
Blink green: Positioning success, but not fixed;
Green light on: Fixed solution;
Red/Green lights flicker alternately: GNSS motherboard dysfunction;

7/ 26
❷
Datalink indicator light
Green light on: Datalink setup success;
Blink green: Data transmission;
Blink blue: Blue light flashes according to the set static sampling interval;
❸
Bluetooth indicator light
Extinguish: No Bluetooth connection;
Blue light on: Bluetooth connection with device;
❹
Power indicator light
Green light on:Electric quantity: 30%-100%;
Blink green:Electric quantity: 10%-30%;
Blink red:Electric quantity:<10%,beeping sound: interval per second.
Red light on when charging,green light on after charging;
❺Power button
Power button, used to start and close devices
❻
Display
1.45-inch color touch screen, used for interface display and settings;
❶5pin To connect external power supply and external radio
❷Type-C For charging and data transfer
❸SIM NANO SIM Card

8/ 26
2. Technical Specification
2.1. GNSS
● Channels:336
● Signal tracking
Satellite Navigation System Signals
GPS
L1 C/A, L2E, L2C, L5
GLONASS
L1 C/A, L2 C/A, L3 CDMA
BDS
B1, B2, B3
Galileo
E1, E5A, E5B, E5AltBOC, E6
NAVIC
L5
SBAS
L1 C/A, L5
QZSS
L1 C/A, L1 SAIF,L1C, L2C, L5
● Position accuracy
Position Mode
Plane Precision
Elevation
Static
±(2.5+0.1×10
-6
D)mm ±(5+0.4×10
-6
D)mm
RTK
±(8+1×10
-6
D)mm ±(15+1×10
-6
D)mm
● Initialization time: <10s
● Initialization reliability: >99.9%

9/ 26
● Update rate: up to 50Hz
2.2. System configuration
Operation system Linux
Internal Storage
Bluetooth
32G
BT5.0, BLE
WIFI
Radio
Network (EG25-G)
802.11b, g, n Hotspot / client mode
RX/TX, Power:5W, Frequency: 403-470MHz
Mode
Frequency
LTE FDD B1/B2/B3/B4/B5/B7/B8/B12/B18/B19/B20/B25/B26/B28
LTE TDD
UMTS
B38/B39/B40/B41
B1/B2/B4/B5/B6/B8/B19
GSM
B2/B3/B5/B8
2.3. Tilt Survey
Horizontal precision
30°Rod tip accuracy
60°Rod tip accuracy
0.6mm/⁰Tilt
Within 2cm
Within 5cm

10 / 26
2.4. Weight and Measurement
Weight 1.55KGS
Measurement 154mm x 154mm x 76mm
2.5. Environmental
Work temperature -30℃~+65℃
Stock temperature -40℃~+80℃
Humidity 100% Condensing
Ingress protection IP67
Shock & Vibration
Withstand 2m along with rod drop onto hardwood
floor, 1.2m drop without pole
2.6. Electrical
Power 9-28V DC,2A
Battery
Internal battery,7.2V, 13600mAH,97.92Wh
2.7. Data Interface
5Pin To connect external power supply and external radio

11 / 26
Type-C For charging and data transfer
SIM NANO SIM 卡
2.8. User Interface
Button 1* button (Power button)
Indicator light 4* Indicator lights
Respectively are: satellites, datalink, Bluetooth, Power
Display 1.45-inch color touch screen
3. WEB UI
F100 has built-in WIFI hotspot. You can log into the WEB UI through WIFI connected
smartphone, PC or controllers. The specific operation is as follows.
Firstly, make sure that the WIFI mode of F100 is in [hotspot] state. Then open the smartphone
/PC/ hand controller and look for the wireless network with the name of SN and connect to
the network. Then open the browser and type in the address bar of the browser: 192.168.10.1.
After typing, the browser will access to the login interface.
Username: admin
Password: password
3.1. Status
【Status】Here you can view the receiver's Position, Data link status, Satellite and information.

12 / 26
3.1.1. Position
【Position】Here you can view the receiver's position information, including System Mode,
Latitude and Longitude, Height, Status, Satellite and so on.
3.1.2. Datalink
【Datalink】Here you can view the receiver's Datalink status. Here you can "connect" or
"disconnect" or "restart" the network, as well as “Set Parameters”.
"Setting parameters" include “System mode”, “Current datalink”, “Automatically start Base”,
“Data type”, “Site ID”, “PDOP Threshold”, “Base Position”, “Record Raw Data”, “Network Link”,
“APN”, “Network Type”, “Connect mode”, “Caster Address”, “Caster Port”, “Mountpoint”,
“Password”, etc.

13 / 26
3.1.3. Satellites
【Satellites】Here you can view the receiver's satellite list and satellites skyplot, and set the
satellite cut-off Angle.

14 / 26
3.1.4. Information
【Information】Here you can view the receiver's master control board information, Antenna
information, GNSS board information, Network information, UHF information.

15 / 26
3.2. Settings
【Settings】Here you can set “Working Mode”, “Satellite Settings”, “Device Configuration”,
“NMEA Message”, “View logs”, “Configuration set”
3.2.1. Working Mode
【Working Mode】Here you can set “System Mode”, “Current datalink”, “Data type”, “Site ID”,
“PDOP Threshold”, “Base Position”, Record Raw Data”, “Network Link”, “APN”, “Network Type”,
“Connect mode”, “Caster Address”, “Caster Port”, “Mountpoint”, “Password”, “External serial
port baud rate setting” etc.

16 / 26
3.2.2. Satellite Settings
【Satellite Settings】Here you can set “Satellite cutoff Angle”, “GPS, GLONASS, Beidou,
GALILEO, SBAS”, ”Receiver dynamic model selection”, and “RTK Timeout” setting.

17 / 26
3.2.3. Device Configuration
【Device Configuration】Here you can set “Time zone”, “Direct link Mode”, “Sensors”, 5-pin
serial port baud rate”, “Speaker”, “Base Alert”, “Device Debug”, “Power on automatically when
connect5-pin cable”, “Network Enable”, “WIFI Hotspot share Network”, “Static File Naming
Way”

18 / 26
3.2.4. NMEA Message
【NMEA Message】Here you can set “GGA,ZDA,GEDOP,GSA,GSV,GEREF,GST,VTG,GESNR,
RMC, GLL, GEVCV and External Port Output NMEA”
3.2.5. View Logs
【View Logs】Here you can view and download “APP Log” and “OS Log”.

19 / 26
3.2.6. Configuration Set
【Configuration Set】Here you can upload the configuration file and Save Current Settings.
3.3. Download
【Download】Here you can download the raw data and the backup data.
3.3.1. Raw Data
【Raw Data】Here you can download and delete the original data, and convert according to
the required RINEX format and compressed format. You can also edit the file name and
choose the antenna fetching method, etc.

20 / 26
3.3.2. Backup Data
【Backup Data】Here you can download and delete the backup data.
3.4. Management
【Management】Here you can “Upgrade online”, “Device Registration”, “RTX/XTRa License
Information checking”, “Security Settings”, “Format Internal Disk”, “Self-Test”, “Restore Factory
Settings”, “Reset”.
Table of contents
Other Geneq Receiver manuals