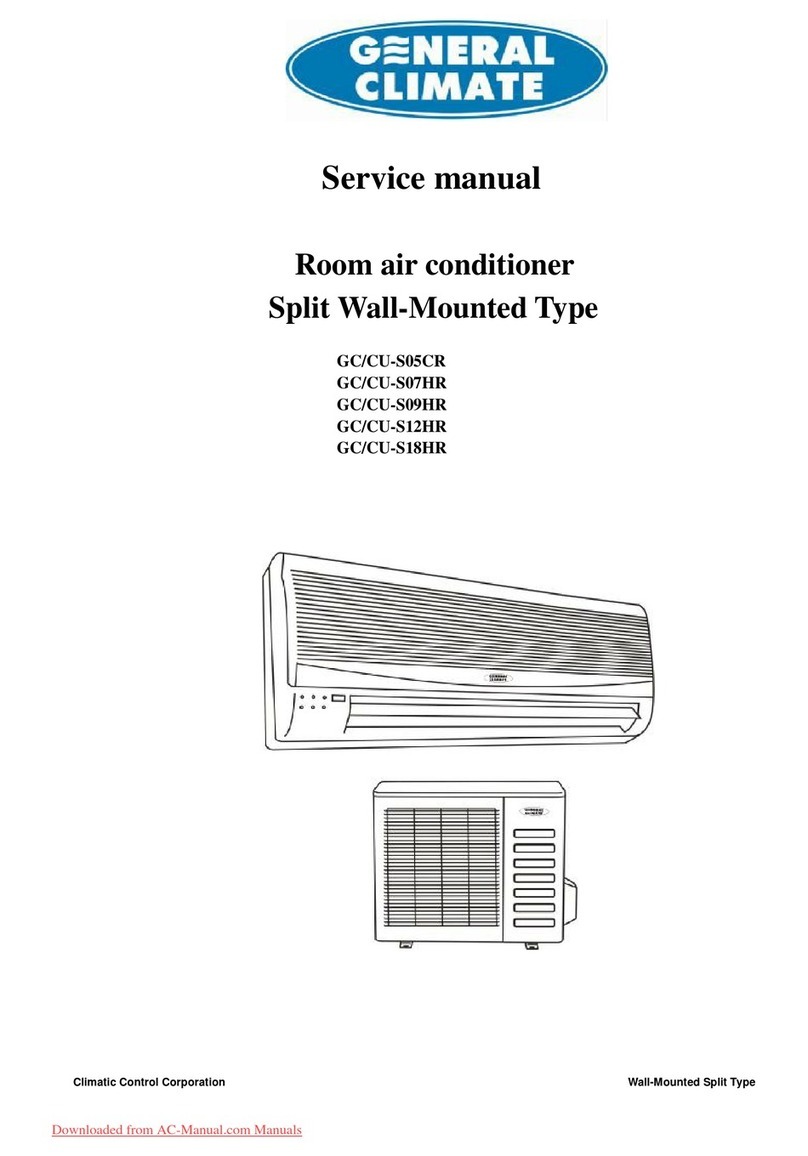
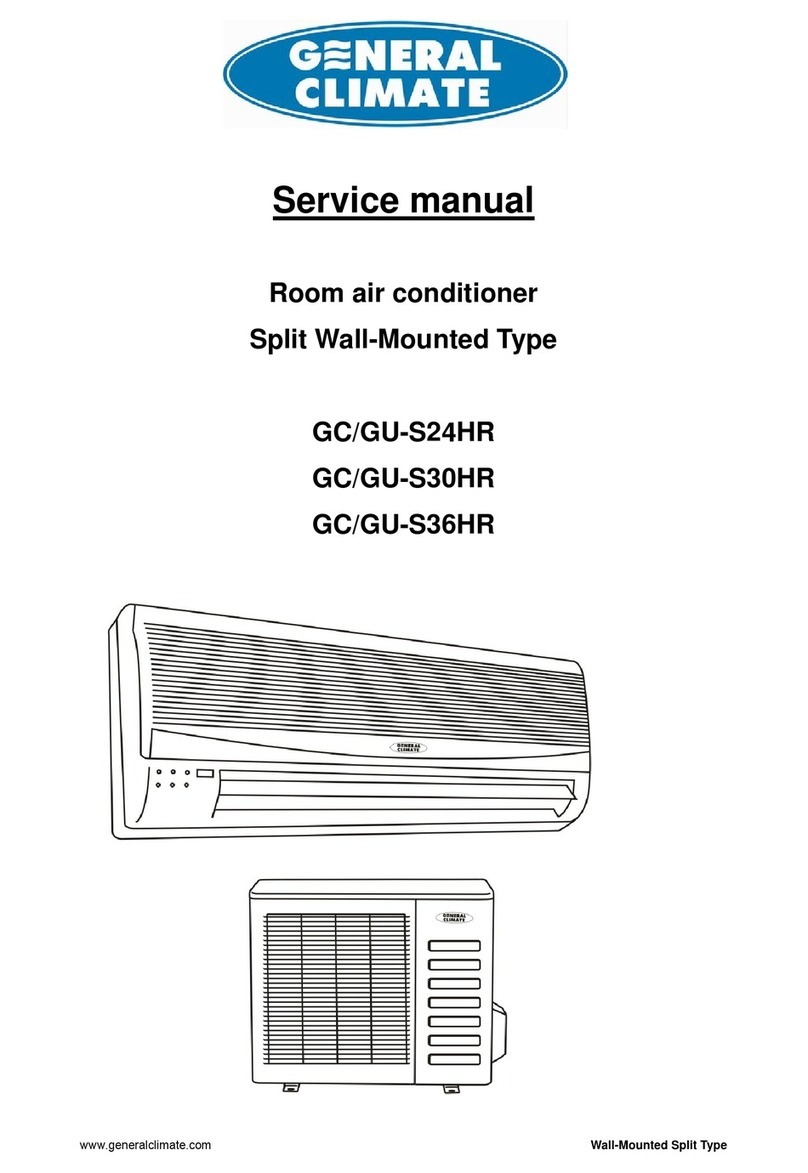
General Climate GC/CU-S24HR User manual

www.generalclimate.com Wall-MountedSplitType
Service manual
RoomAirConditioner
Split Wall-MountedType
GC/CU-S24HR
GC/CU-S30HR
GC/CU-S36HR

www.generalclimate.com Wall-MountedSplitType
Content
1. Precaution1
1.1 SafetyPrecaution1
1.2 Warning1
2. Function3
3. Dimension5
3.1 Indoorunit5
3.2 Outdoorunit6
4. Specification7
5. Refrigerantcyclediagram8
6. Operationlimits9
6.1 Coolingoperation9
6.2 Heatingoperation9
7. SchematicdiagramandWiringdiagram9
7.1 Schematicdiagram10
7.2 Wiringdiagram11
8. Installationdetails13
8.1 Wrenchtorque sheet forinstallation 13
8.2 Connectingthe cables13
8.3 Pipelengthand the elevation 13
8.4 Airpurgingofthe pipingand indoorunit14
8.5 Pumpingdown(Re-installation)15
8.6 Re-airpurging(Re-installation)16
8.7 Balancerefrigerant ofthe 2-way, 3-wayvalves17
8.8 Evacuation 18
8.9 Gascharging19
9. Capacitytable20
9.1 GC/GU-S24HR20
9.2 GC/GU-S30HR21
9.3 GC/GU-S36HR22
10. Electronicfunction23
10.1 Electroniccontrolworkingenvironment23
10.2 Propersymbolsand theirmeaning 23
10.3 Function24
10.4 Protection24
10.5 Fan onlymode 24
10.6 Coolingmode 24
10.7 Dehumidifyingmode 25
10.8 Heatingmode 25
10.9 Defrostingmode(availableforheatingmode)27
10.10 Automode28
10.11Forcecoolingfunction 28
10.12 Sleepmode 28

www.generalclimate.com Wall-MountedSplitType
10.13 Autorestart function29
11. Model andParameters30
12. Troubleshooting31
12.1 Displayboard31
12.2 Troubleshooting32
12.3 Diagnosticchart33
12.4 Resettingphenomenon often occursduringoperation.34
12.5 Operation lampflashesand Timerlampoff.34
12.6 Operation lampflashesand Timerlampon.34
12.7 Operation lampoffand Timerlampflashes35
12.8 Operation lampon and Timerlampflashes35
12.9 Operation lampflashes,Timerlampflashes.35
13. Characteristicoftemperaturesensor36

www.generalclimate.com 1Wall-Mounted SplitType
1.Precaution
1.1SafetyPrecaution
nTopreventinjurytotheuserorotherpeopleandpropertydamage,thefollowinginstructionsmustbefollowed.
nIncorrectoperationduetoignoringinstructionwillcauseharmordamage.
nBeforeserviceunit,besuretoreadthisservicemanualatfirst.
1.2Warning
ØInstallation
nDonotuseadefectiveorunderratedcircuitbreaker.
Use thisappliance onadedicatedcircuit.
Thereisrisk offireorelectricshock.
nForelectrical work,contactthedealer, seller,a
qualifiedelectrician,oranAuthorizedservicecenter.
Donotdisassembleorrepairtheproduct,thereisriskof
fireorelectricshock.
nAlwaysgroundtheproduct.
Thereisrisk offireorelectricshock.
nInstallthepanel and thecoverofcontrolbox
securely.
Thereisrisk offireofelectricshock.
nAlwaysinstall adedicatedcircuitandbreaker.
Improperwiringorinstallation maycauseforeorelectric
shock.
nUse thecorrectlyratedbreakeroffuse.
Thereisrisk offireorelectricshock.
nDonotmodifyorextend thepowercable.
Thereisrisk offireorelectricshock.
nDonotinstall,remove,orreinstalltheunitby
yourself(customer).
Thereisrisk offire,electricshock,explosion,orinjury.
nBecautionwhenunpackingandinstallingthe
product.
Sharpedgescouldcauseinjury,beespeciallycarefulof
thecaseedgesand thefinsonthecondenserand
evaporator.
nForinstallation,alwayscontactthedealeroran
Authorizedservicecenter.
Thereisrisk offire,electricshock,explosion,orinjury.
nDonotinstalltheproducton adefectiveinstallation
stand.
It maycauseinjury,accident,ordamagetotheproduct.
nBesuretheinstallationareadoesnotdeteriorate
withage.
If thebasecollapses,theairconditionercouldfallwithit,
causing propertydamage, productfailure,andpersonal
injury.
nDonotlettheairconditionerrun foralong time
whenthehumidityisveryhighandadooror
windowsisleft open.
Moisturemaycondenseandwet ordamagefurniture.
nTake caretoensurethatpowercablecouldnotbe
pulledoutordamagedduringoperation.
Thereisrisk offireorelectricshock.
nDonotplaceanythingonthepowercable.
Thereisrisk offireorelectricshock.
nDonotplug orunplugthepowersupplyplugduring
operation.
Thereisrisk offireorelectricshock.
nDonottouch(operation)theproductwithwethands.
Thereisrisk offireorelectricshock.
nDonotplaceaheaterorotherappliancenearthe
powercable.
Thereisrisk offireand electricshock.
nDonotallowwatertorunintoelectricparts.
Itmaycausefire,failureoftheproduct, orelectricshock.
nDonotstoreoruseflammablegasorcombustible
neartheproduct.
Thereisrisk offireorfailureof product.
nDonotuse theproductinatightlyclosedspacefora
long time.
Oxygendeficiency couldoccur.
nWhenflammablegasleaks,turnoffthegasand
openawindowforventilationbeforeturnthe
producton.
Donot usethetelephoneorturnswitcheson oroff.
Thereisrisk ofexplosionorfire.
nIfstrangesounds,orsmallorsmoke comesfrom
product.Turnthebreakeroffordisconnectthe
powersupplycable.
Thereisrisk ofelectricshockorfire.
nStop operationandclose thewindowinstormor
hurricane.Ifpossible,remove theproductfromthe
windowbeforethehurricanearrives.

www.generalclimate.com 2Wall-Mounted SplitType
Thereisrisk ofpropertydamage,failureof product, or
electricshock.
nDonotopentheinletgrill oftheproductduring
operation.(Donottouchtheelectrostaticfilter,ifthe
unitissoequipped.)
Thereisrisk ofphysicalinjury, electricshock, orproduct
failure.
nWhentheproductissoaked(floodedorsubmerged),
contactanAuthorizedservicecenter.
Thereisrisk offireorelectricshock.
nBecautionthatwatercouldnotentertheproduct.
Thereisrisk offire,electricshock,orproductdamage.
nVentilatetheproductfromtimetotimewhen
operatingittogetherwithastove,etc.
Thereisrisk offireorelectricshock.
nTurnthemainpoweroffwhencleaningor
maintaining theproduct.
Thereisrisk ofelectricshock.
nWhentheproductisnotbeusedforalong time,
disconnectthepowersupplyplug orturnoffthe
breaker.
Thereisriskofproductdamageorfailure,orunintended
operation.
nTake caretoensurethatnobodycouldsteponorfall
ontotheoutdoorunit.
Thiscouldresultinpersonalinjuryandproductdamage.
ØCAUTION
nAlwayscheckforgas(refrigerant)leakageafter
installationorrepairofproduct.
Lowrefrigerantlevelsmaycausefailureof product.
nInstallthedrainhosetoensurethatwaterisdrained
awayproperly.
Abadconnectionmaycausewaterleakage.
nKeeplevel evenwheninstallingtheproduct.
Toavoidvibrationof waterleakage.
nDonotinstalltheproductwherethenoiseorhotair
fromtheoutdoorunitcoulddamagethe
neighborhoods.
It maycauseaproblemforyourneighbors.
nUse twoormorepeopletoliftandtransportthe
product.
Avoidpersonalinjury.
nDonotinstalltheproductwhereitwill beexposedto
sea wind (saltspray)directly.
It maycausecorrosion on theproduct.Corrosion,
particularlyonthecondenserandevaporatorfins,could
causeproduct malfunctionorinefficient operation.
ØOperational
nDonotexpose theskindirectlytocoolairforlong
periodsoftime.(Donotsitinthedraft).
Thiscouldharmtoyourhealth.
nDonotusetheproductforspecial purposes,such
as preservingfoods,worksofart,etc.Itisa
consumerairconditioner, notaprecisionrefrigerant
system.
Thereisrisk ofdamageorlossof property.
nDonotblocktheinletoroutletofairflow.
It maycauseproductfailure.
nUse asoftclothtoclean.Donotuseharsh
detergents,solvents,etc.
Thereisrisk offire,electricshock,ordamagetothe
plasticpartsoftheproduct.
nDonottouchthemetalpartsoftheproductwhen
removingtheairfilter.Theyareverysharp.
Thereisrisk ofpersonalinjury.
nDonotsteponprputanythingontheproduct.
(outdoorunits)
Thereisrisk ofpersonalinjuryand failureof product.
nAlwaysinsertthefiltersecurely. Cleanthefilter
everytwoweeksormoreoftenifnecessary.
Adirtyfilterreducestheefficiencyof theairconditioner
and couldcauseproduct malfunctionordamage.
nDonotinserthandsorotherobjectthroughairinlet
oroutletwhiletheproductisoperated.
Therearesharpandmovingpartsthatcouldcause
personalinjury.
nDonotdrinkthewaterdrainedfromtheproduct.
Itisnotsanitarycouldcauseserioushealthissues.
nUse afirmstool orladderwhencleaningor
maintaining theproduct.
Becarefulandavoidpersonalinjury.
nReplacetheallbatteries intheremotecontrolwith
newonesofthesametype.Donotmixoldand mew
batteries ordifferenttypesofbatteries.
Thereisrisk offireorexplosion.
nDonotrechargeordisassemblethebatteries. Donot
disposeofbatteries inafire.
Theymayburnofexplode.
nIftheliquidfromthebatteriesgetsontoyourskinor
clothes,washitwell withcleanwater.Donotusethe
remoteofthebatteries haveleaked.
Thechemicalinbatteriescouldcauseburnsorother
healthhazards.

www.generalclimate.com 3Wall-Mounted SplitType
2.Function
T
he functionwill be
operatein anyoperation
mode.
Indoorunit
Operation ON/OFF byremotecontroller
Roomtemp
eraturesensor.
Pipetemperaturesensor.
Sensing byroomtemperature
Maintaintheroomtemperatureinaccordancewiththesettingtemperature.
Roomtemperaturecontrol
Indoorfanisdelayedfor5secat thestarting.
Startingtemperaturecontrol
Restartingisforapprox.
3
minutes..
Time DelaySafetycontrol
High
,med,low,breeze.
Indoorfanspeedcontrol
LightupintheLED(LCD)foreachoperationmode.
T
he unit will decidethelouverdirectionaccording tooperationmode.
Two-direction airvane
The fan isturntolowspeed
(cooling/heating).
The unit will beturnoff aftersevenhours.
Sleepmodeauto control
The functionisusuallyusedinrainydaysin
springtimeordampareas.
Independentdehumidification
Operationindication Lamps(LED)
The louvercanbe
setat thedesired position orswing upand
downautomatically
AirflowDirection control
The unitcanbechangebytheroomtemperature.
Automode
Easycleanpanel
Flexiblewiringconnection
Defrostmode
Temp. Compensation
P
revent thecoldwindat
thebeginning of unit start.
Anti-coldfunction
Auto-restartfunction
Self-diag. function

www.generalclimate.com 4Wall-Mounted SplitType
T
he unitcanoperateincoolingmodeatlow
ambient
temperatureconditions.
The unithas
3minsdelaybetween
continuously
ON/OFF
operations
.
Outdoorunit
Powerrelaycontrol
Lowambientkit
B
irdtailpropellerfanmakestheoutdoorunit runmorequietly.
Lownoiseairflowsystem
T
he hydrophilicfincanimprovetheheatingefficiencyatoperationmode.
Hydrophilicaluminumfin
I
t isonlyoperated int
heheatingoperation modeexceptdefrosting
operation
.
Dischargepipetemperatureprotect
Anti-rustcabinet
Valve protectioncover
4wayvalve control
Madefromelectrolyticzincsteel shee
tandanti
-
rust coated components.
I
t protectsthevalvesandpreventswaterfromdripping.

www.generalclimate.com 5Wall-Mounted SplitType
3.Dimension
3.1Indoorunit
Dimension
Mode WHL
24K1080330222
30K1080330222
36K1250325230

www.generalclimate.com 6Wall-Mounted SplitType
3.2Outdoorunit
Dimension
Mode WHDL1L2L3
24K845695335
560
360
735
30K845695335
560
360
735
36K895860302
560
360
735

www.generalclimate.com 7Wall-Mounted SplitType
4.Specification
GC/GU-S24HRGC/GU-S30HRGC/GU-S36HR
Ph-V-Hz
1, 220-240V~,50Hz1, 220-240V~,50Hz
1, 220-240V~, 50Hz
CapacityBtu/h
2400028000 35000
Input W
27503200 4120
Ratedcurrent A
12,515 18,6
EER Btu/w.h
8.7,2.68,8 8,5
CapacityBtu/h
2700030000 38000
Input W
27503100 4100
Ratedcurrent A
12,514,5 18,5
COP W/W
2,99,79,3
A
162032
A
5076150
Model
QP407PT24CZR34KH-PFJ-522 ZR47K3-PFJ-522
Type
RotaryScroll SCROLL
Brand
LGCopeland COPELAND
CapacityBtu/h
2340028800 39000
Input W
23172520 3510
Ratedcurrent(RLA)A
10,112,1 19,3
LockedrotorAmp(LRA) A
5476 114
Thermal protector
InternalInternal15HM1637
Capacitor uF
4550 60uF/
400VAC
Refrigerant oilml
65012421240
Model
YDK36-4GYDK36-4GYDK50-4E
Brand
WellingWellingWelling
Input W
65/63/6068/65/62 85/80/77
Capacitor uF
2
μ
F/450V3
μ
F/450V3
Speed(hi/mi/lo)r/min
1050/950/8501150/1050/9501260/1150/990
m3/h
1050/950/8501150/1050/9501350/1200/1050
dB(A)
43/40/3747/44/41 49/46/42
Model
YDK53-6KYDK53-6KYDK100-6
Brand
WellingWellingWelling
Input W
130140169
Capacitor uF
3,53,55
Speed r/min
800800900
m
3
/h
250025003000
dB(A)
≤
56
≤
58
59
g
R22/1900R22/24502450
MPa
2,62,62,6
Liquidside/ Gas side mm
Ф
9.53/
Ф
16.0
Ф
9.53/
Ф
16.0
Φ
9.52/
Φ
16
Max. refrigerant pipe lengthm
202025
Max. difference inlevel m
101010
℃
17-3017-3017-30
℃
-7-45-7-45-7-45
m
2
40~5650~6860~78
Operationtemp
Ambient temp
Applicationarea
Outdoor noiselevel
Refrigerant typeR410A
Design pressure
Refrigerant
piping
Indoor air flow(Hi/Mi/Lo)
Indoor noiselevel(Hi/Mi/Lo)
Outdoor
fanmotor
Outdoor air flow
Max. current
Startingcurrent
Compressor
Indoor
fanmotor
Model
Powersupply
Cooling
Heating
Note:
Thenoisedateisbaseon hemi-anechoicchamber, duringactualoperation;thesevaluesarenormallysomewhat
different asaresultofambientcondition.
Theabovedesign andspecificationsaresubjecttochangewithout priornoticeforproductimprovement.

www.generalclimate.com 8Wall-Mounted SplitType
5.Refrigerantcyclediagram
ØCooling only
ØHeatpumpmode

www.generalclimate.com 9Wall-Mounted SplitType
6.Operationlimits
6.1Coolingoperation
Outdoorunitairtemp.℃DB
Indoorairtemp. ℃DB
Note:Thechartistheresult fromthecontinuousoperation underconstantairtemperatureconditions. However,excludestheinitial
pull-downstage.
6.2Heatingoperation
Indoorairtemp. ℃DB
Outdoorunitairtemp.℃DB
Note:Thechartistheresult fromthecontinuousoperation underconstantairtemperatureconditions. However,excludestheinitial
pull-downstage.
7.SchematicdiagramandWiringdiagram

www.generalclimate.com 10Wall-MountedSplitType
7.1Schematicdiagram

www.generalclimate.com 11Wall-MountedSplitType
7.2Wiring diagram
7.2.1Heatingmode
GC/GU-S24HR, GC/GU-S30HR
A1 A2

www.generalclimate.com 12Wall-MountedSplitType
GC/GU-S36HR
A1A2

www.generalclimate.com 13Wall-MountedSplitType
8.Installationdetails
8.1Wrenchtorque sheet forinstallation
Torque
mminchKg.m
6.351/41.8
9.523/84.2
12.71/25.5
15.885/86.6
19.053/46.6
Outsidediameter
8.2Connecting the cables
The powercordofconnect should beselected accordingtothefollowingspecificationssheet.
Unit24K30K36K
mm22,52,52,5
Grade
8.3Pipe lengthandthe elevation
Standard
length
Max.Max.Additional
(m)ElevationElevationrefrigerant
Btu/h
GAS
LIQUID
B
(m)
A
(m)
(g/m)
24K
5/8’’ ( 15.88)
3/8’’ ( 9.52)
5
10
20
65
5/8’’ ( 15.88)
3/8’’ ( 9.52)
5
15
30
65
3/4’’ ( 19.05)
3/8’’ ( 9.52)
5
15
30
65
Pipe size
30K~36K
Capacity
Caution:
Capacityisbaseonstandardlengthandmaximumallowancelengthisbaseofreliability.
Oil trapshouldbeinstall per5-7meters.
Incasethatmore
than 5m.

www.generalclimate.com 14Wall-MountedSplitType
8.4Airpurging of the piping andindoorunit
Requiredtools:
Hexagonalwrench; adjustablewrench;torquewrenches,wrenchtoholdthejointsandgasleakdetector.
Note:
The airintheindoorunit andinthepipingmustbepurged.If airremainsintherefrigerationpiping,itwillaffect thecompressor, reduce
thecooling capacity,andcouldlead toamalfunction of unit.
Besure,using atorquewrenchtotighten theserviceport cap (afterusing theserviceport), sothatitpreventsthegasleakagefromthe
refrigeration cycle.
Procedure
1.Recheck thepiping connections.
2.Openthevalvestem ofthe2-wayvalve
counterclockwiseapproximately90’, wait10 seconds,
andthensetitto closedposition.
§Besuretouseahexagonalwrenchtooperatethevalve
stem
3.Checkforgasleakage.
§Check theflareconnection forgasleakage
4.Purgetheairfromthesystem.
§Setthe2-wayvalvetotheopenpositionandremovethecap
fromthe3-wayvalve’sserviceport.
§Using thehexagonalwrenchtopress thevalvecorepin,
dischargeforthree secondsand thenwait foroneminute.
5.Use torquewrench to tighten theserviceportcaptoa
torqueof1.8kg.m.(18n.m)
6.Setthe3-wayvalvetotheopenedposition.
7.Mounted thevalvestemnutstothe2-wayand3-way
valves.
8.Checkforgasleakage.
§At thistime,especiallycheckforgasleakagefromthe2-way
and3-waystemnuts,and fromtheserviceport.
Caution:
Ifgasleakageisdiscoveredinstep (3)above, takethefollowing
measures.
Iftheleaksstopwhenthepiping connectionsaretightened
further, continueworking fromstep(4).
Ifthegasleaksdonot stop when theconnectionsareretightened,
repairthelocationoftheleak, dischargeall ofthegasthroughthe
serviceport,andthenrechargewiththespecified amountofgas
fromagascylinder.

www.generalclimate.com 15Wall-MountedSplitType
8.5Pumping down(Re-installation)
Procedure
1.Confirmthatboth the2-wayand 3-wayvalvesaresetto theopenedposition.
§Removethevalvestemcapsandconfirmthat thevalvestemsarein theopened position.
§Besuretouseahexagonalwrenchtooperatethevalvestems.
2.Operatetheunitfor10to15minutes.
3.Stopoperation and waitfor3minutes, then connectthechargesetto theserviceportofthe3-wayvalve.
§Connectthechargehosewiththepushpintothegasserviceport.
4.Airpurging ofthechargehose.
§Open thelow-pressurevalveonthechargeset slightlytopurgeairfromthechargehose.
5.Setthe2-wayvalvetotheclose position.
6.Operatetheairconditioneratthecoolingcycleand stop itwhenthegaugeindicates0.1MPa.
7.Immediatelysetthe3-wayvalveto theclosed position.
§Dothisquicklysothatthegaugeendsupindicating0.3to0.5Mpa.
8.Disconnectthechargeset,and amountthe2-wayand 3-wayvalve’sstemnutsand service portcaps.
§Useatorquewrenchtotighten theserviceport cap toatorqueof1.8kg.m.
§Besuretocheckforgasleakage.

www.generalclimate.com 16Wall-MountedSplitType
8.6Re-airpurging (Re-installation)
Procedure:
1.Confirmthatboth the2-wayand 3-wayvalvesaresetto theclosedposition.
2.Connectthechargesetand achargingcylinderto theservice portofthe3-wayvalve.
§Leavethevalveonthechargingcylinderclosed.
3.Airpurging.
§Open thevalveson thechargingcylinderandthechargeset. Purgetheairbylooseningtheflarenutonthe2-wayvalve
approximately45’for3secondsthenclosingitfor1minutes; repeat 3times.
§Afterpurgingtheair, useatorquewrenchtotightentheflarenut toon the2-wayvalve.
4.Checkthegasleakage.
§Check theflareconnectionsforgasleakage.
5.Dischargetherefrigerant.
§Closethevalveon thechargingcylinderanddischargetherefrigerant untilthegaugeindicate0.3to0.5Mpa.
6.Disconnectthechargesetandthecharging cylinder,and setthe2-wayand3-wayvalvestotheopenposition.
§Besuretouseahexagonalwrenchtooperatethevalvestems.
7.Mountthevalvestemsnutsand theservice portcap.
§Besuretouseatorquewrenchtotightentheserviceport cap toatorque18N.m.
§Besuretocheckthegasleakage.

www.generalclimate.com 17Wall-MountedSplitType
8.7Balancerefrigerant of the2-way, 3-wayvalves
Procedure:
1.Confirmthatboth the2-wayand 3-wayvalvesaresetto theopen position.
2.Connectthechargesettothe3-wayvalve’sserviceport.
§Leavethevalveonthechargesetclosed.
§Connectthechargehosewiththepushpintotheserviceport.
3.Openthevalves(Lowside)on thechargesetanddischargetherefrigerantuntilthegaugeindicates0.05to 0.1Mpa.
§Ifthereisnoairintherefrigeration cycle[thepressurewhentheairconditionerisnotrunningishigherthan 0.1Mpa,dischargethe
refrigerantuntilthegaugeindicates0.05to0.1Mpa.Ifthisisthecase, itwillnotbenecessarytoapplyaevacuation.
§Dischargetherefrigeration gradually;ifitisdischarged toosuddenly,therefrigerationoil sill bedischarged.
This manual suits for next models
8
Table of contents
Other General Climate Air Conditioner manuals
Popular Air Conditioner manuals by other brands

Daikin
Daikin FXSQ20M7V1B Installation and operation manual

Olimpia splendid
Olimpia splendid Unico Easy HP Instructions for installation, use and maintenance

Lezeti
Lezeti DC4812VRF Service manual

Panasonic
Panasonic S-3650PK3E operating instructions

Draper
Draper AC9000 instructions

Haier
Haier HW-12C13 user manual

Mitsubishi Electric
Mitsubishi Electric MSZ-A18YV-E1 Service manual

Dometic
Dometic FreshJet 3000 operating instructions

Daikin
Daikin FTXTJ30A2V1BW installation manual

Trane
Trane Mitsubishi Electric TPEFYP006MA143A Technical and service manual

Bosch
Bosch Climate 5000 Series installation manual

Fujitsu
Fujitsu AB A30TATA Series operating manual