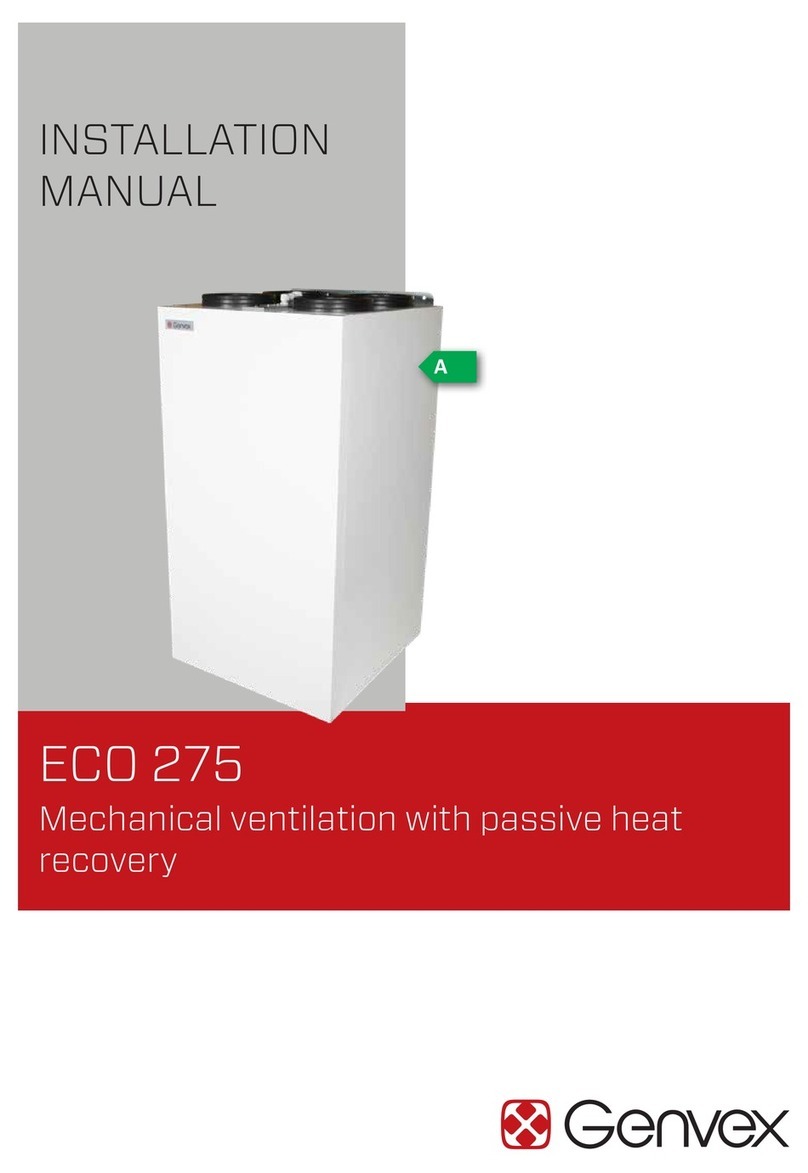
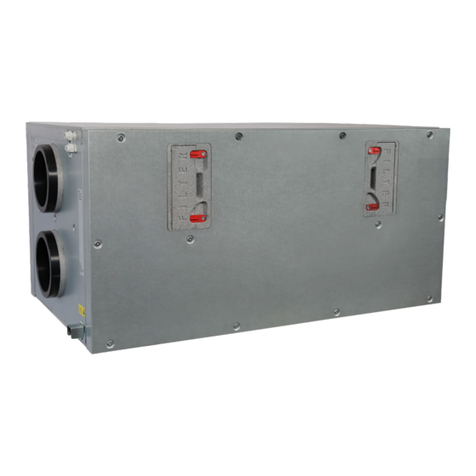
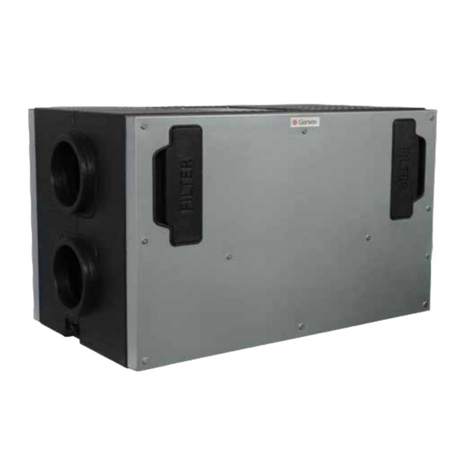
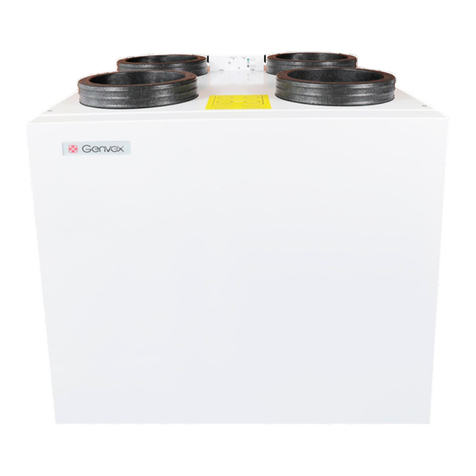
Genvex GE ENERGY 3 User manual

Genvex A/S •Sverigesvej 6 •DK-6100 Haderslev •Tel.: +45 73 53 27 00 •salg@genvex.dk •genvex.dk
GE ENERGY 1 / 2 / 3
GES ENERGY 1
PASSIVE VENTILATION WITH WIRING
DIAGRAM FOR OPTIMA 100 AND
OPTIMA 250
INSTALLATION MANUAL
UK / Version 21.08.2014

2Subject to Technical Modications of GE Energy 1, 2 and 3/GES Energy 1
Table of contents
GE Energy 1 - Installation...................................... 4
GE Energy 2 - Installation...................................... 5
GE Energy 3 - Installation...................................... 5
GES Energy 1 - Installation ................................... 5
Duct connection..................................................... 6
Duct system........................................................... 6
Condensate drain .................................................. 7
Insulation of ducts in cold loft spaces.................... 7
Insulation of ducts in heated spaces ..................... 8
Reheating of supply air.......................................... 8
Electrical installation.............................................. 9
Inspection and initial adjustment of appliance....... 9
Adjustment and maintainance ............................. 10
Troubleshooting....................................................11
PCB and wiring diagram Optima 100 Design...... 12
PCB and wiring diagram Optima 250 Design...... 14
EU-Declaration of conformity - GE Energy 1/2/3. 15
EU-Declaration of conformity - GES Energy 1 .... 16

3
When installing the units follow these instructions:
1) Tilt the machine 10-15 mm towards the drainpipe
to allow condensing water to run to drain.
(Does not apply for GES)
2) Install an airtight water trap on a non-freezing
location, to compensate for fan pressure.
3) The water trap hight must be at least 100 mm.
4) Make sure that the drain flows downwards all the
way from the unit.
5) Pour 1 liter water into the driptray in the unit to verify
that it is drained properly. Up to the heating season
make sure that the drain is properly filled with water.
6) If freezing of the water trap may occur, it is
necessary to install a thermostat and electrical
heater to prevent freezing, when the temperature
drops below +2C°.
7) Airflow adjustments must be made on both supply
and exhaust sides for a normal use of the machine.
It is important to have a balance between supply
and exhaust air volumes
8) It is recommended to keep the ducts closed until
the unit is adjusted and used.
This instruction must be followed. If the drain is not
made according to this instruction, GENVEX A/S can
not be made responsible for any additional damages,
which have nothing to do with the GENVEX unit.
.IMPORTANT .IMPORTANT .IMPORTANT .IMPORTANT .IMPORTANT .
100 mm
Siphon
To internal drain
Extract AirFresh Air
Supply AirExhaust Air
Lack of water in siphon = water damage
1%

4Subject to Technical Modications of GE Energy 1, 2 and 3/GES Energy 1
ø160
ø160
382 7
ø160
ø160
ø
15
175
580
1000
1000
191
310 380
150
5
3
4
9
1
276
8
10
12
12
11
13
GE Energy 1
Dimensions in mm
GE Energy 1 - Installation
The GE Energy 1 is available in a right-hand version (as
shown). For a mirror image unit, the front and rear panels
may be removed, the back panel mounted on the front
and the unit rotated 180°. This will cause the supply to
exchange places with the escaping and the fresh air with
the extract, with the cover on the correct side of the unit.
The drain connection will also be on the opposite side.
The unit must be positioned on a subsurface such that
vibrations from the unit cannot be transferred down
through ceiling and walls and such that the condensate
drain with the necessary trap can be led to an internal
drain without danger of freezing in cold weather, as in
the winter period a unit may produce up to 8 litres of
condensate per day.
To allow access for service and maintenance, there must
be a clear space of a minimum of 600 mm in front of the
unit. If the unit is located in the loft, there must be free
access to the unit from the loft hatch.
Bypass:
The GE units can be delivered with modulising bypass or
it can be mounted on site.
Weight: 55 kg
GE Energy 2 - Installation
The GE Energy 2 is available in a right-hand version
(as shown). For a mirror image unit, the front and rear
panels may be removed, the back panel mounted on the
front and the unit rotated 180. This will cause the supply
to exchange places with the escaping and the fresh air
with the extract, with the cover on the correct side of the
unit. The drain connection will also be on the opposite
side. The unit must be positioned on a subsurface such
that vibrations from the unit cannot be transferred down
through ceiling and walls and such that the condensate
drain with the necessary trap can be led to an internal
drain without danger of freezing in cold weather, as in
the winter period a unit may produce up to 8 litres of
condensate per day.
To allow access for service and maintenance, there must
be a clear space of a minimum of 600 mm in front of the
unit. If the unit is located in the loft, there must be free
access to the unit from the loft hatch.
Bypass:
The GE units can be delivered with modulising bypass or
it can be mounted on site.
Weight: 84 kg
1: Fresh (external) air
2: Escaping air
3: Extract air
4: Supply air
5: Countercurrent heat exchanger
6: Supply fan
7: Extract fan
8: Fresh air lter
9: Extract lter
10: Electrical cabinet
11: Condensate tray
12: Condensate drain 15 mm
13: Bypass
ø200
228
150
175
266
ø200
ø15
ø200
ø200
1000
580
580 10
4
3
1
2
5
89
76
12
10
12
11
13
GE Energy 2
Dimensions in mm
1: Fresh (external) air
2: Escaping air
3: Extract air
4: Supply air
5: Countercurrent heat exchanger
6: Supply fan
7: Extract fan
8: Fresh air lter
9: Extract lter
10: Electrical cabinet
11: Condensate tray
12: Condensate drain 15 mm
13: Bypass

5
Subject to Technical Modications of GE Energy 1, 2 and 3/GES Energy 1
GE Energy 3 - Installation
The GE Energy 3 is supplied in a right-hand version (as
shown) or left-hand version (mirror image), in which the
fresh air exchanges places with the extract air and the
supply air with the escaping air. The drain is also on the
opposite side. The unit has supports and can be installed
directly on a vibration-free sold sub-surface. If oscillation
dampers are provided (extra equipment), these should
be mounted under the supports. In addition it must be
ensured that the condensate drain with the necessary trap
can be led to an internal drain without danger of freezing
in cold weather, as a unit may produce up to 8-10 litres of
condensate per day.
To allow access for service and maintenance, there must
be a clear space of a minimum of 700 mm in front of the
unit. If the unit is located in the loft, there must be free
access to the unit from the loft hatch.
The units are installed with bypass.
Weight 185 kg
GE Energy 3
Dimensions in mm
GES Energy 1
Dimensions in mm
1: Fresh (external) air
2: Escaping air
3: Extract air
4: Supply air
5: Countercurrent heat exchanger
6: Supply fan
7: Extract fan
8: Fresh air lter
9: Extract lter
10: Electrical cabinet
11: Condensate tray
12: Condensate drain 15 mm
13: By-pass damper
14: Water-based reheating
1.480
12
214 214
2
1
4
13
8
5
366
Ø250
Ø250
732
696
798
1
1
6
93
4
100
7
GES Energy 1 - Installation
The GES Energy 1 is supplied in a right-hand version (as
shown) or a left-hand version (mirror image), in which the
fresh air exchanges position with the extract air and the
supply air with the escaping air. The electrical connections
and condensate drain are also on opposite sides. The
appliance can be mounted on a vibration-free solid wall
or floor (concrete, brick etc.). The unit must be positioned
so that the condensate drain with a necessary trap can be
properly led to an internal drain, as in the winter period a
unit may produce up to 3-5 litres of condensate per day. To
allow access for service and maintenance, there must be a
clear space of a minimum of 600 mm in front of the unit.
Weight: 92 kg
1: Fresh (external) air
2: Escaping air
3: Extract air
4: Supply air
5: Countercurrent heat exchanger
6: Supply fan
7: Extract fan
8: Fresh air lter
9: Extract lter
10: Electrical cabinet
11: Condensate tray
12: Condensate drain 15 mm
(Does not apply for the GES unit)
TOP
11
5
8
6
10
FRONT H side
7
874
670
1211 13
340
130130
339
600
670
120
3
4
2
1
13
9
12
159
54,5
12
Front
Top
Bottom

6Subject to Technical Modications of GE Energy 1, 2 and 3/GES Energy 1
3 m
1 m
3 m
Friskluft
Incomming Air
Frischluft
Afkast
Exhaust Air
Fortluft
Udsugning
Extract Air
Abluft
Indblæsning
Supply Air
Zuluft
Afløb
Duct connection
All duct connections display a yellow sticker indicating the
type of ventilation channel to be connected.
Connect the supply air:
Duct system from the unit to the supply outlet in the living
room.
Connect the extract air:
Duct system from wet rooms to the unit.
Connect the fresh air:
Duct system from fresh air roof cowls/external grills from
the ground collector to the unit.
Connect the exhaust air:
Duct system from unit to the escaping roof cowls/external
grills.
Duct system
It is recommended that the duct system is executed in
spiral ducting connected with rubber ring seal fittings in
order to provide a leak-free and durable duct system.
To achieve a satisfactory low sound level from the unit,
sound locks must always be fitted to the supply and extract
duct system between the unit and the first supply and
extract fittings.
It is recommended that air speeds in the ducts are
dimensioned at sufficiently low level to prevent noise from
the supply and extract fittings.
When positioning fresh air and extract roof cowls/grills,
make sure the two air flows do not intercept, causing
escaping air to be drawn in again.
It is recommended that grills are placed on the north or
east side of the house to provide optimum comfort.

7
Subject to Technical Modications of GE Energy 1, 2 and 3/GES Energy 1
100 mm
Siphon
To internal drain
Extract AirFresh Air
Supply AirExhaust Air
Lack of water in siphon = water damage
1%
Duct insulation, alt. A
Duct insulation, alt. B
Faulty duct insulation
Condensate drain
The units produce up to 10 litres of condensate per day. It
is therefore important that the condensate drain is correctly
executed and that the unit has a slight fall towards the
condensate drain.
The condensate drain pipe must be air tight for example by
bending a copper pipe as an siphon (see sketch to the left).
Use an armed water hose between the drain connecting
piece on the unit and the siphon and tightend it in both
ends with a collar band.
From the siphon and to the internal outlet there must be
a necessary fall on 1%. The condensate drain must be
fitted with a water trap as there is negative pressure in the
chamber in which the condensate tray is mounted.
If the unit is installed in a cold loft space, the condensate
drain pipe must be insulated to prevent freezing of the
condensate in the pipe. However, it is recommended that
the water trap is installed in a heated space below to
ensure that the water in it does not freeze.
If installation problems make it impossible to secure the
condensate drain pipe from freezing by insulation, it will be
necessary to mount a thermostat-controlled heating tape
round the condensate drain pipe.
Insulation of ducts in cold loft spaces
In order to exploit the unit’s high recovery potential
(efficiency), it is necessary to insulate the ducts correctly.
Genvex recommends as follows:
Supply and extract ducts:
To minimise heat losses from the duct system in cold loft
spaces, the supply and extract ducts must be insulated
with a minimum of 100 mm insulation. If insulation form
alternative A is used, it is recommended that it is executed
with two layers of 50 mm lamella mats with paper or foil
externally and with staggered joints between the two
layers. If the ducts are laid on the rafter foot, alternative B
may be used. The insulation must always be tightly packed
round the ducts.
Fresh air and escaping ducts in cold spaces:
It is recommended that fresh air and escaping ducts
are insulated with a minimum of 50 mm insulation. The
fresh air duct is insulated to prevent warm air in the loft in
summer from heating up the fresh air. Take care to seal the
termination where the escaping duct is led through the roof
or through the gable end, in order to avoid condensation
damage.
Refer to your local distributor for guidance on national
insulation directives.
GE Energy 1 - 3
Bund Bagside
Condensate
drain
Condensate
drain
GES Energy 1
Bottom Back

8Subject to Technical Modications of GE Energy 1, 2 and 3/GES Energy 1
Extract Air
Supply Air
With water-based reheating surface
500
Extract air
Supply air
With electrical reheating surface
500
Insulation of ducts in heated spaces
Genvex recommends as follows:
Supply and extract ducts:
In warm loft spaces the supply and extract channels must
be insulated with 50 mm insulation.
Supply and extract air ducts led through heated spaces in
dwellings do not require insulation. If the supply air duct
has cooling, bypass or earth heat exchanger installed it
must be insulated.
Fresh air and exhaust ducts:
In warm loft spaces and warm rooms in dwellings the fresh
and exthaust air ducts must be insulated with minimum 50
mm insulation. In addition, the insulation must be covered
externally with plastic film or aluminium foil in order to
avoid condensate in the insulation.
We recommend an insulation of 100 mm on the fresh air
duct when installing a earth heat exchanger.
Refer to your local distributor for guidance on national
insulation directives.
Reheating of supply air
As the counter current heat exchanger cannot extract all
the heat from the extract air and supply it to the supply air,
the supply air will be about 1-4°C colder than the room
temperature in the dwelling for the whole winter season.
If this lower supply temperature is insupportable during
cold periods, a water-based or electrical reheating surface
can be mounted for reheating the supply air up to room
temperature.
Water-based reheating surface
To protect the water-based reheating surface from frost
burst, a frost protection thermostat must be fitted to the unit
and the surface insulated. The frost protection thermostat
sensor is mounted behind the fins of the water-based
reheating surface. The sensor for controlling the motor
valve is mounted in the supply air channels approx. 500
mm downstream of the water-based reheating surface
in order not to be affected by the radiant heat from the
heating element. The water supply to the water-based
reheating surface must be executed by an authorised
plumbing and heating engineer.
Electrical reheating surface
The sensor for controlling the electrical heating surface
is mounted in the supply air channel approx. 500 mm
downstream of the electrical reheating surface in order
not to be affected by the radiant heat from the heating
element.

9
Subject to Technical Modications of GE Energy 1, 2 and 3/GES Energy 1
Electrical installation
The electrical connection must be carried out by an
authorised electrical engineer.
See accompaning electric diagram.
The cable between the unit and the control panel is a 4-
conductor cable for Optima 250, with a maximum length
of 50m and a 8-conductor cable for Optima 100 with a
maximum length of 10m.
Inspection and initial adjustment of appliance
To achieve optimum running of the unit it must be initially
adjusted with air measuring equipment.
To start up the unit before adjustment, do as follows:
Before starting up the unit:
1: Check that the Genvex unit is correctly mounted and
that all ducts are insulated as required.
2: Check that hatches can be opened so that service and
maintenance on the unit can be carried out.
3: Check that filters are clean (may be dirty from
installation work).
4: Check that the condensate drain is correctly mounted
with water trap and is protected from freezing. Pour 1
litre water into the condensate tray and make sure it
can run unhindered through the condensate drain pipe.
5: Set all supply valves such that the valve closest to the
unit is opened three turns from closed position, while
the furthest is open eight turns from closed position.
Open the intermediate valves by 4-7 turns depending
on how far they are from the unit.
Set all extract valves so that the extract valve in
the kitchen opens 8 rounds, the extract valve in the
bathroom/toilet 7 rounds and the extract valve in the
utility room opens 6 rounds from closed position.
6: If a reheating surface has been mounted on the unit,
set the supply temperature to 0-3°C below the room
temperature in the dwelling.
The unit can now be started up and be allowed to run until
initial adjustment with air measurement equipment has
taken place.

10 Subject to Technical Modications of GE Energy 1, 2 and 3/GES Energy 1
Condensate drain:
When changing the filter in August/September,
before outside temperatures falls to 5°C, check the
condensate drain for blockage by dirt and check that
there is water in the water trap.
Pour 1 litre water into the condensate tray and make sure it
can run off without problems. If the condensate drain does
not work, this could lead to water damage in the dwelling.
Countercurrent heat exchanger:
Inspect the countercurrent heat exchanger every year. If it
is dirty, remove it and wash in warm soapy water and then
rinse, possibly in the bathroom using the shower head.
Fans:
Every year check the two fan wheels for dirt. If they are
dirty they may be cleaned with a brush, bottle washer
etc. Remember to shot down the power.
Supply and extract valves:
Clean the valves by wiping with a dry cloth. Make sure the
valve does not rotate, causing a change in the air volume.
Service
If you are unable to maintain your unit yourself, you
can sign a service agreement with the Genvex service
department. If any faults arise in the unit, contact the
Genvex service department.
GE Energy 1, 2 and 3
Adjustment and maintainance
Air measuring equipment is used.
Before starting initial adjustment, check that the 6 points
in the chapter „Inspection and initial adjustment of
appliance“ have been carried out. Then start up the unit.
Maintenance of the unit with the control
Optima 250 DESIGN
Turn off the electricity for the unit before
opening it
Filters:
When the lter timer reaches the set value for lter
change, “Alarm!” will show in the screen saver and ”Chg.
lter” will ash. This means that it is time to clean/change
the lters.
Stop the unit on the power switch of the unit or at the
board. Open the front panel and take out the filters. After
changing the filters, switch off the filter timer.
If you want to change the interval for cleaning the filters,
this can be adjusted in the User menu.
Maintenance of the unit with the control
Optima 100 DESIGN
Turn off the electricity for the unit before
opening it
Filters:
When the LED D5 for changing the filters flashes in
the display on the control panel, the filters must to be
changed.
Stop the unit on the power switch of the unit. Change the
filters and reset the filter timer.
If you want to change the interval for cleaning the filters,
this can be adjusted in the operating instructions under
section 3.3 Filter alarm.
Do not vacuum or clean at high air pressure.
It will damage the lter!
Careful handling of the plates is required.
They have sharp edges and must not be
damaged.
G4 = Standard lter
(Coarse lter class G4)
F5 = Fine lter (Fine lter class F5)
F7 = Pollen lter (Fine lter class F7)
100 mm
Water trap
To internal drain

11
Subject to Technical Modications of GE Energy 1, 2 and 3/GES Energy 1
Troubleshooting
Safety thermostat in electrical heater
(optional equipment)
If an error occurs on an electrical heater, the safety ther-
mostat will disconnect.
The heater is equipped with a re thermostat that auto-
matically cuts off the power supply, if the temperature
exceeds 80 °C. If the temperature decreases, the heater
automatically re-engages.
As an additional security there is a built-in thermal cut-out,
which disengages if the temperature exceeds 110 °C. Re-
engaging must be done manually.
Does not apply to PTC electrical heaters.
The system is not running
Unit stopped
Possible error:
• Fuse in main board has blown, no power to unit.
• One of the fuses on the circuit board of the unit is-
blown.
• Loose wire, no power to unit.
• Loose wire between unit and control panel.
• Faulty or incorrectly set week program.
• Filter timer has switched the system off.
Condensed water is leaking from the unit
Possible error:
• Condensation outlet blocked by dirt.
• The condensation outlet is not adequately protected
against freezing at low outdoor temperatures.
Air faults
No supply air:
Possible error:
• Faulty supply air fan
•Clogged supply air lter
• Clogged fresh air grill due to dirt and leaves during the
fall and snow and ice during the winter.
• Fuse on the circuit board is blown.
• The unit is in defrost mode (supply air fan stops)
• Incorrect value set in User menu item 2.
No extract air:
Possible error:
• Faulty extract air fan
•Clogged extract air lter.
• Fuse on the circuit board is blown
Cold supply air:
Possible error:
• Clogged heat changer.
• Faulty extract air fan.
•Clogged extract air lter.
• Electrical reheater is disconnected at the over heat-
ing thermostat (only units with electrical reheater
installed).
• Air in the heating pipes, faulty thermostat / motorvalve,
incorrect setting of control panel.
Within the guarantee period (0-2 years):
The installer from whom you have bought the system.
After the guarantee period (2 years ->):
The installer from whom you have bought the system or
the Genvex service department (+45 7353 2765).
Before calling, please write down the data from the inscrip-
tion plate (silver plate on the unit).
Alarms
Filter timer
The control has a lter timer to guarantee that the lter is
changed and that optimal operation is established. When
the timer reaches the set value, “Chg. lter” will ash in
the display until the lters have been changed.
When the lters have been changed, the button for the
lter symbol must be held down until ”Alarm!”, “Chg. Filter”
and the exclamation mark disappears and the unit reverts
to normal operation.
Com error
This error appears when there is no communication
between the display and control. Check that the wiring is
correct on terminals 21 to 24.
21 Signal
22 Signal
23 10 Volt
24 0 Volt
Frost protection error
This error message will be displayed if a water reheater
is tted to the system and the temperature of the water
reheater is too low, causing a danger of frost burst.
The control will stop the system and open the motor-
operated valve to keep the heater warm.

12 Subject to Technical Modications of GE Energy 1, 2 and 3/GES Energy 1
PCB ES951 and Wiring Diagram for Optima 100 Design
Electrical Heater/Preheater
230V
230V
230V
230V
Sensor Heater/Preheater
Connection
for Dataloging
Genvex
Hygrostat
Potentialfree
Contact
Must be used
Sensor Exhaust air
EC-Fan
Exhaust
Max 1,0A
EC-Fan
Supply
Max 1,0A
EC-Fan
Supply
Max 1,0A
EC-Fan
Exhaust
Max 1,0A
Mains
1x230VAC, 50Hz
MAX Fuse 10A
Must be connected
to earth
Yell/Green
Yell/Green
Brown
Brown
Blue
Blue
Blue
Blue
Blue
Yellow
Yellow
Yellow
Red
+5V
GND
+5V
12
L1
123
1234
L2
12345678
L3
12
H1
12
H3
12
H7
123
H8
12
H9
L1
M1
M2
M4
N
PE PE
PE
T1
90°C
manu
PE
LNPE
T4
T9
M1
M2
1234
L6,1
5678
L6,2
1
1
1
11
1
1
1
1
1
2
2
22
2
2
2
2
2
23
3
3
3
3
4
4
4
45
5
5
6
67
7
8
8
L1 L2
L3
L6
H3
H7
H8 H9
ES951
PEPE
R2
R4
Q1=1,6A
H1
L4
R3
R1
21
22
23
24
C1
C2
C3
C4
OPTIMA 100 DESIGN
K3 K4 K5
L1 = Hygrostat
L2 = T4 Sensor exhaust air
T9 Sensor heater/preheater
L3 = Display
L6,1 = Datalogging
L6,2 = Exhaust and
supply fan
H1 = 230V
H3 = Electrical heater/preheater
H7 = Exhaust fan
H8 = Bypass
H9 = Supply fan

13
Subject to Technical Modications of GE Energy 1, 2 and 3/GES Energy 1
PCB ES960 for Optima 250 Design

14 Subject to Technical Modications of GE Energy 1, 2 and 3/GES Energy 1
Wiring Diagram Optima 250 Design with ES960 PCB

15
Subject to Technical Modications of GE Energy 1, 2 and 3/GES Energy 1

16 Subject to Technical Modications of GE Energy 1, 2 and 3/GES Energy 1

Genvex A/S •Sverigesvej 6 •DK-6100 Haderslev •Tel.: +45 73 53 27 00 •salg@genvex.dk •genvex.dk
Our Units and Controls – Your Choice
Genvex has more than 40 years of experience in creating quality units
providing optimum indoor climate with excellent energy efficiency. Our
systems employ the newest technologies in heat recovery and have
heat recovery rates of up to 96%. The systems are continuously
optimised with the newest technologies.
Advanced controls ensure that as little energy as possible is used for
reaching an optimum level of comfort.
Today’s and future construction place greater and greater requirements
for energy-friendly, yet compact systems. We at Genvex are aware of
this and are continuously developing solutions that meet these needs.
For example, a brilliant solution for decentralised housing ventilation is
a range hood solution with full integration to the system’s control which
ensures that the most efficient ventilation system is achieved with the
simplest installation.
This manual suits for next models
3
Table of contents
Other Genvex Fan manuals

Genvex
Genvex ECO 190 CS/CL User manual

Genvex
Genvex ECO 375 TS User manual

Genvex
Genvex ECO 275 User manual

Genvex
Genvex ECO 190 XL User manual

Genvex
Genvex ECO 400 XL User manual

Genvex
Genvex ECO 300 User manual

Genvex
Genvex ECO 360 R User manual

Genvex
Genvex ECO 375 User manual

Genvex
Genvex OPTIMA 270 User manual
Popular Fan manuals by other brands

Domus Ventilation
Domus Ventilation HRXE-AURA installation instructions

BLAUBERG Ventilatoren
BLAUBERG Ventilatoren VENTO Solar V60 Pro Operation manual

Nordic
Nordic DELTACO SH-FT01 user manual

Bo-Camp
Bo-Camp 8520952 instruction manual

OBH Nordica
OBH Nordica 1383 manual

Honeywell
Honeywell HT-800E User instructions