1110
Frequently Asked Questions
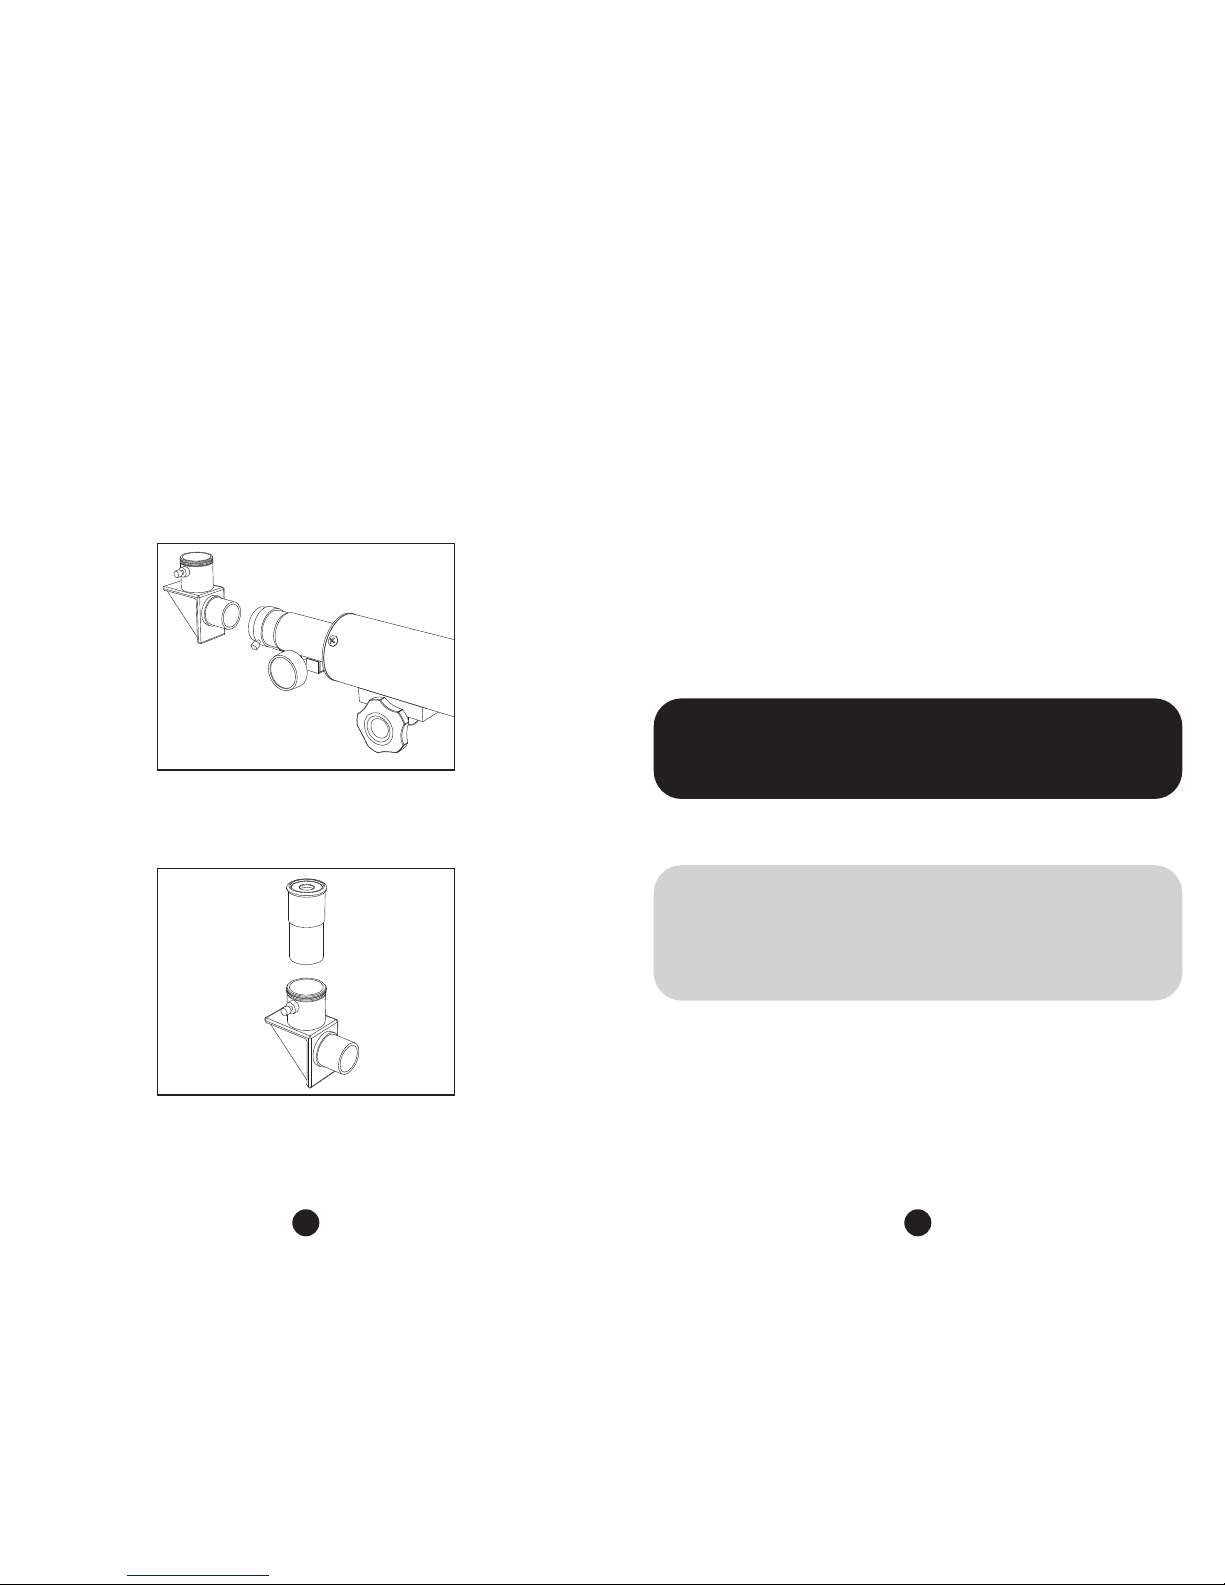
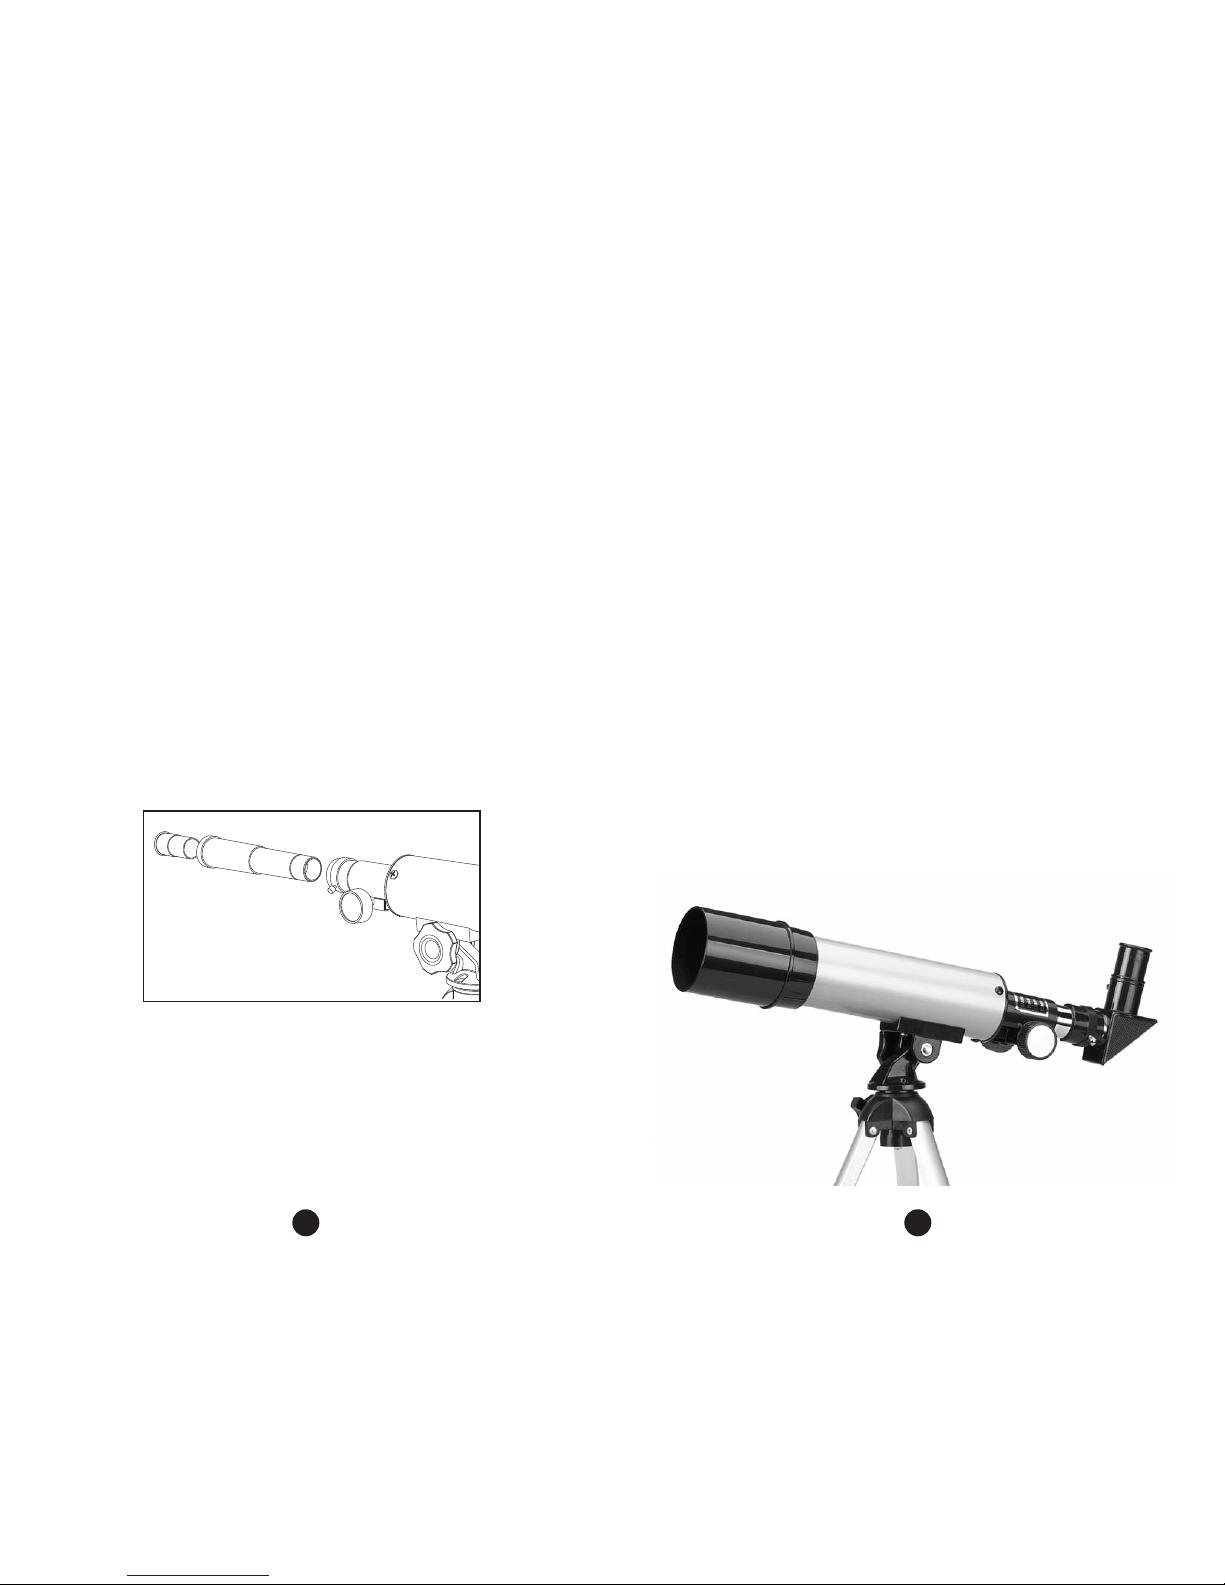
1. Why is the image in my telescope eyepiece upside down and/or
backwards?
If you hav ins rt d your y pi c dir ctly into th t l scop ’s
focusing tub , you will s an imag that is upsid -down and
backwards. If you hav ins rt d th diagonal mirror into th focusing
tub and th n plac d th y pi c into th diagonal mirror, your
imag will b right-sid up, but it will still app ar backwards or
r v rs d. This is normal for an astronomical t l scop . Aft r all,
th r ’s no up or down in spac so it do sn’t matt r how th fi ld is
ori nt d. For t rr strial vi wing, wh n you want imag s to b
ori nt d prop rly (as s n with th nak d y ), ins rt th r cting
y pi c according to th dir ctions on pag 8 of this guid .
2. Why can’t I see anything when I look through my telescope?
If you s only whit , gray, or black through th t l scop you
probably hav ins rt d an y pi c that is too pow rful. To solv this
probl m, switch to th low pow r y pi c . As a rul , always start
with th low st pow r y pi c , gradually switching to high r pow r
y pi c s only aft r you hav locat d an obj ct.
3. When I use my high power eyepiece, why does everything look
darker?
As t l scop magnification incr as s, brightn ss diminish s. Brightn ss
incr as s wh n magnification is r duc d. If an imag app ars dark or
uncl ar, try using your low pow r y pi c . It is asi r to study small,
bright vi ws of c l stial obj cts than larg , dark, or blurry on s. You
do not n d v ry high pow rs to study most c l stial obj cts.
4. Why do objects in the sky move out o view when I look through
my telescope?
Wh n you vi w a c l stial obj ct through a t l scop , th rotation of
th arth mak s it app ar as though obj cts ar moving across th
vi wing ar a. You can l ss n this ff ct and obs rv th larg st ar a
of th sky by using your low pow r l ns.
Observing the Night Sky
Your t l scop can bring you th moon and stars—and som plan ts, too.
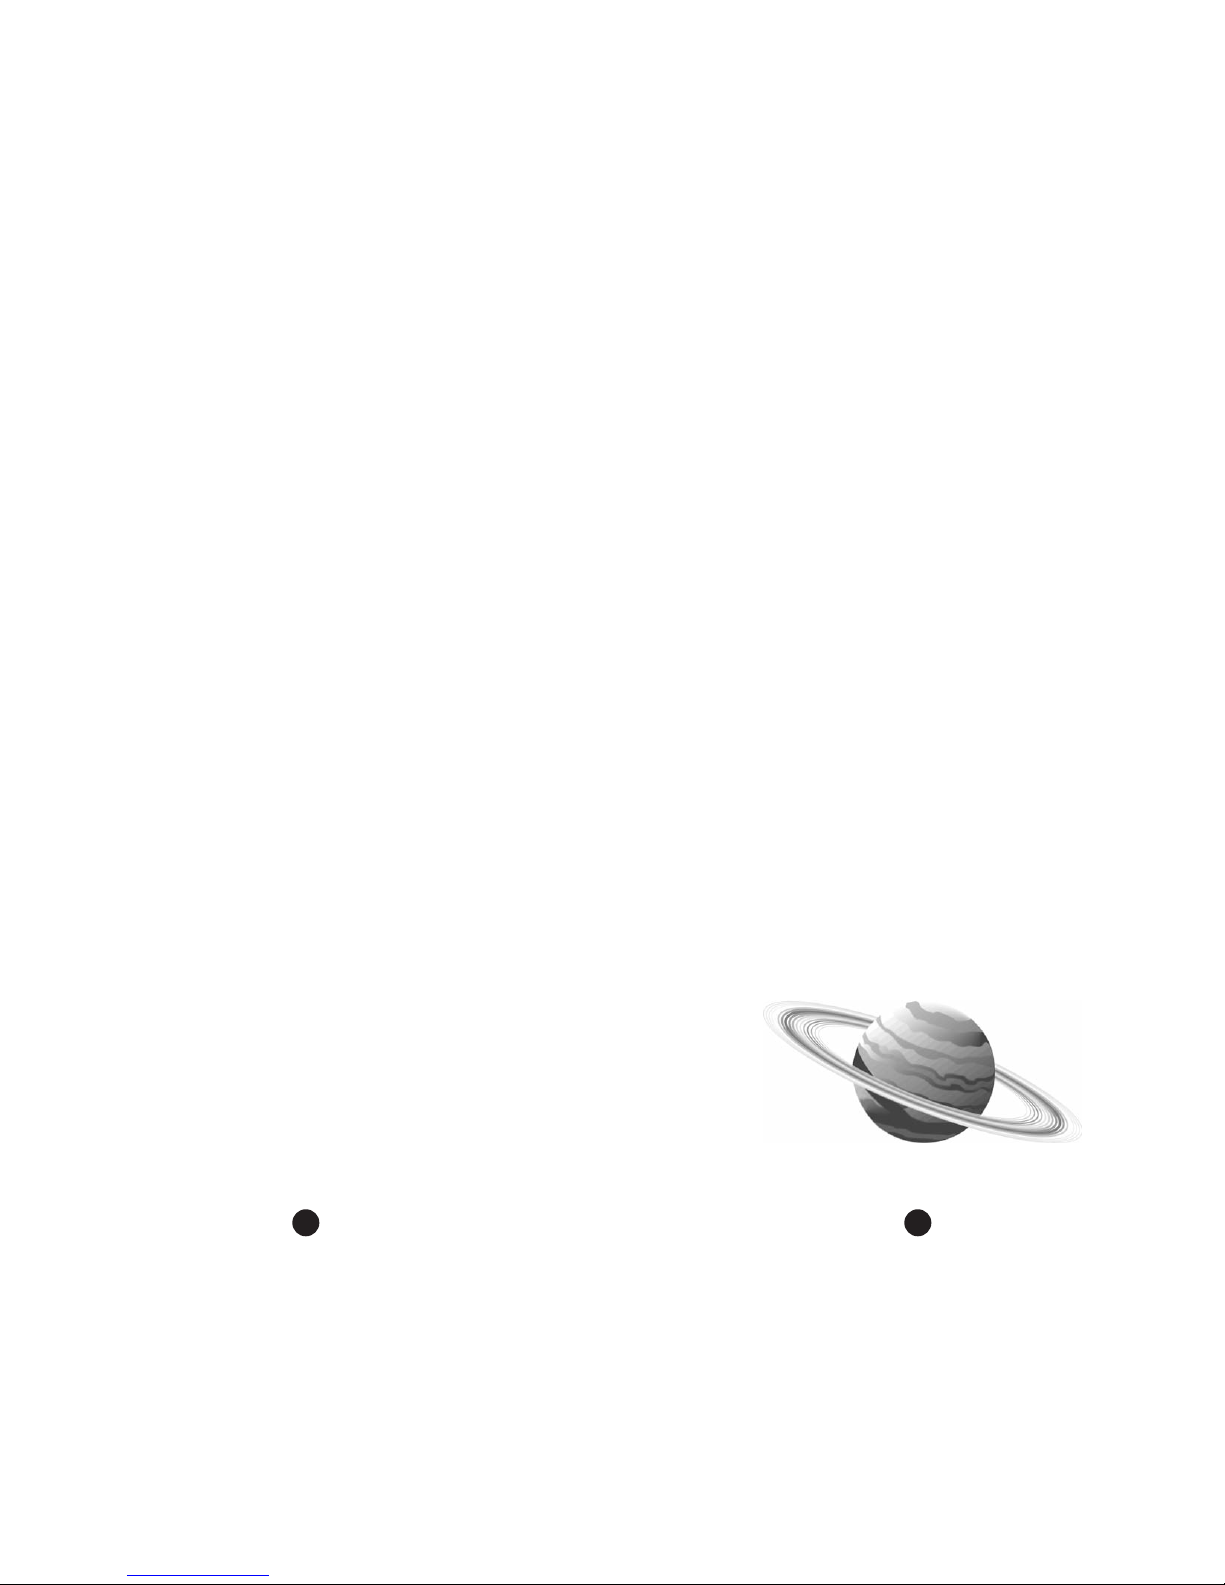
Planets
Th plan ts ar our solar syst m companions. Th y rang in siz from
Pluto, a rocky plan t small r than our moon, to Jupit r, a giant gas ball
that could hold 1,000 Earths. Vi wing th plan ts pr s nts som
chall ng s. As th plan ts in our solar syst m orbit th sun, th ir
position in our night sky chang s. To find out wh r to look for
plan ts at a particular tim , ch ck an astronomy magazin , such as Sky
and Telescope. You can also visit th magazin ’s w b sit , list d on
pag 14 in this guid .
Most p opl who hav look d up at th night sky hav probably s n
som plan ts but did not r aliz it. A plan t, wh n it is abov th
horizon, will not twinkl lik a star. Plan ts ar r solv d by th y as
tiny balls, as oppos d to stars, which ar infinit ly small points of light.
Th asi st plan ts to vi w, wh n th y ar visibl , ar th fiv “nak d-
y ” plan ts: Saturn, Jupit r, Mars, V nus, and M rcury. M rcury is th
most difficult to s sinc it is usually b low th horizon. Each of th
plan ts has its own s t of uniqu charact ristics, making th m a
wond r to b hold.
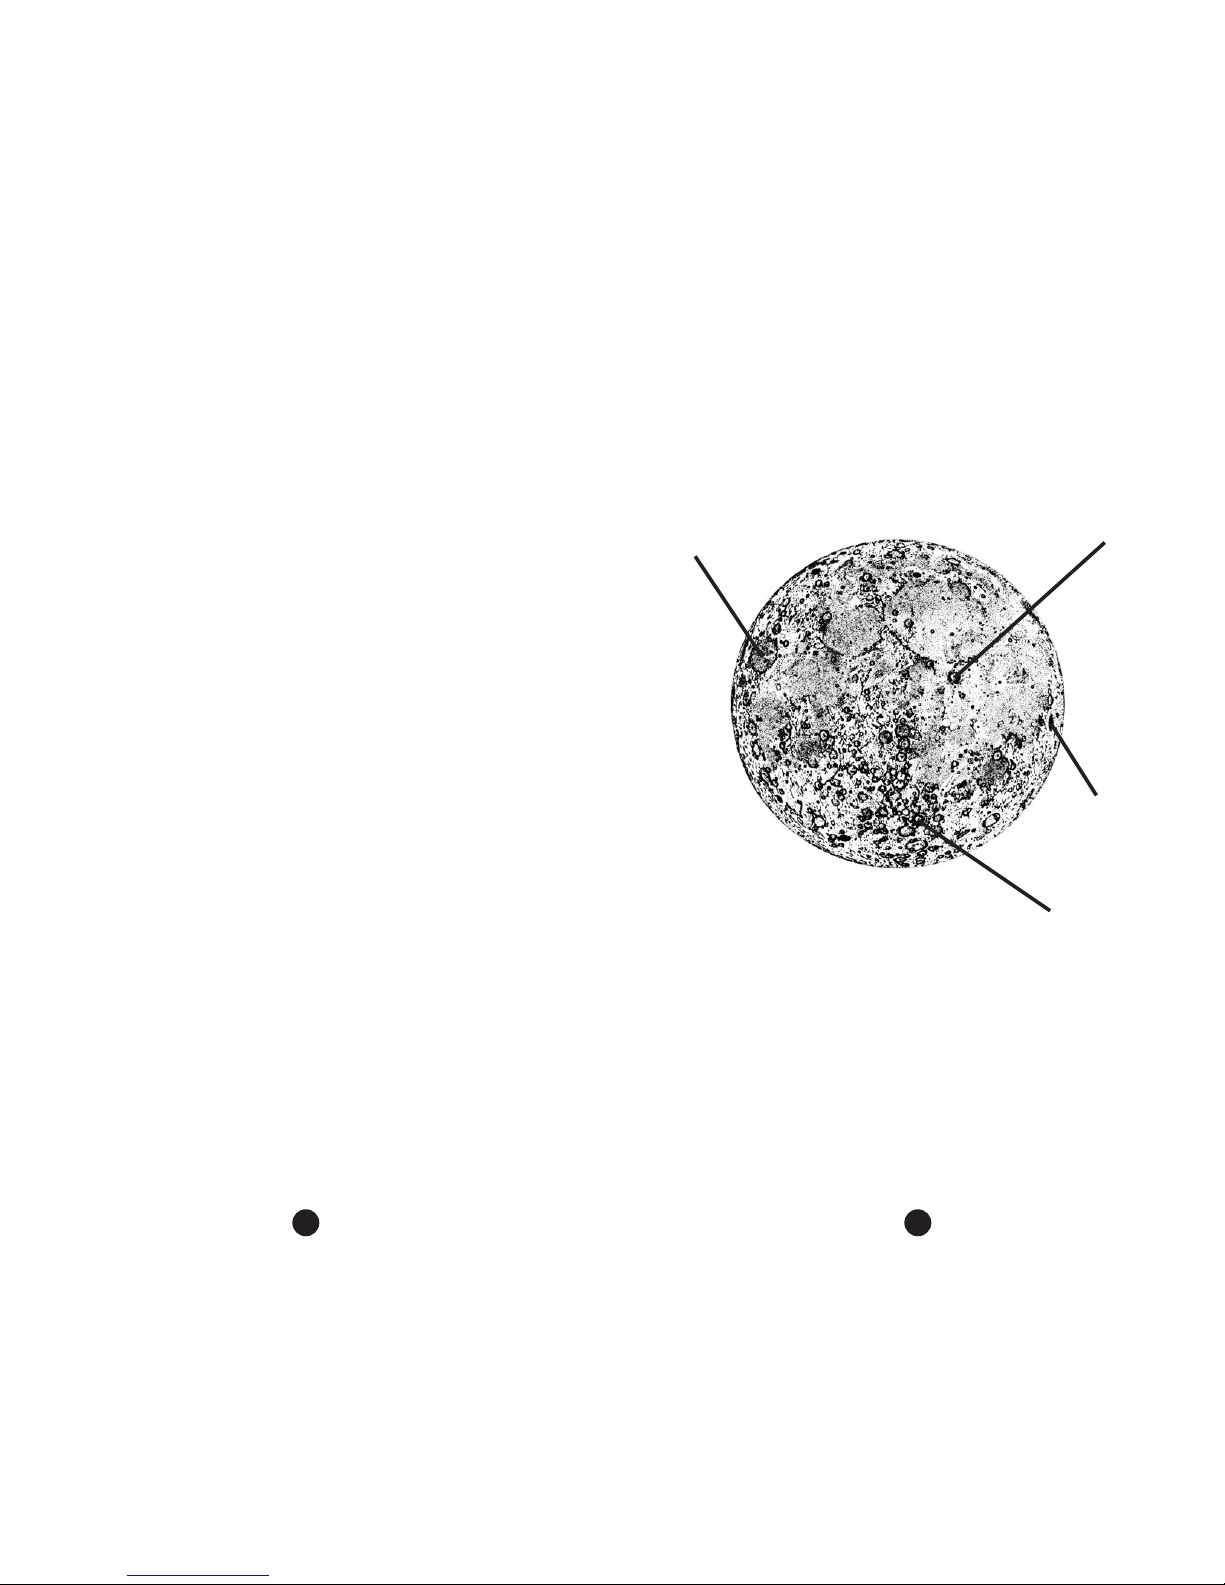
Stars
Th stars ar so far away that wh n you look at on with your
t l scop , you won’t s a disk as you do wh n you look at a plan t.
Ev n with a larg , pow rful t l scop , a star is s n as a point of light.
Som stars look larg r than oth rs, but what you ar actually s ing is
bright r points of light compar d to dimm r points of light. Th
bright r stars ar n’t n c ssarily larg r, but th y app ar that way to us.