5
Olimpia Bicycle Ltd. – www.gepida.e 5
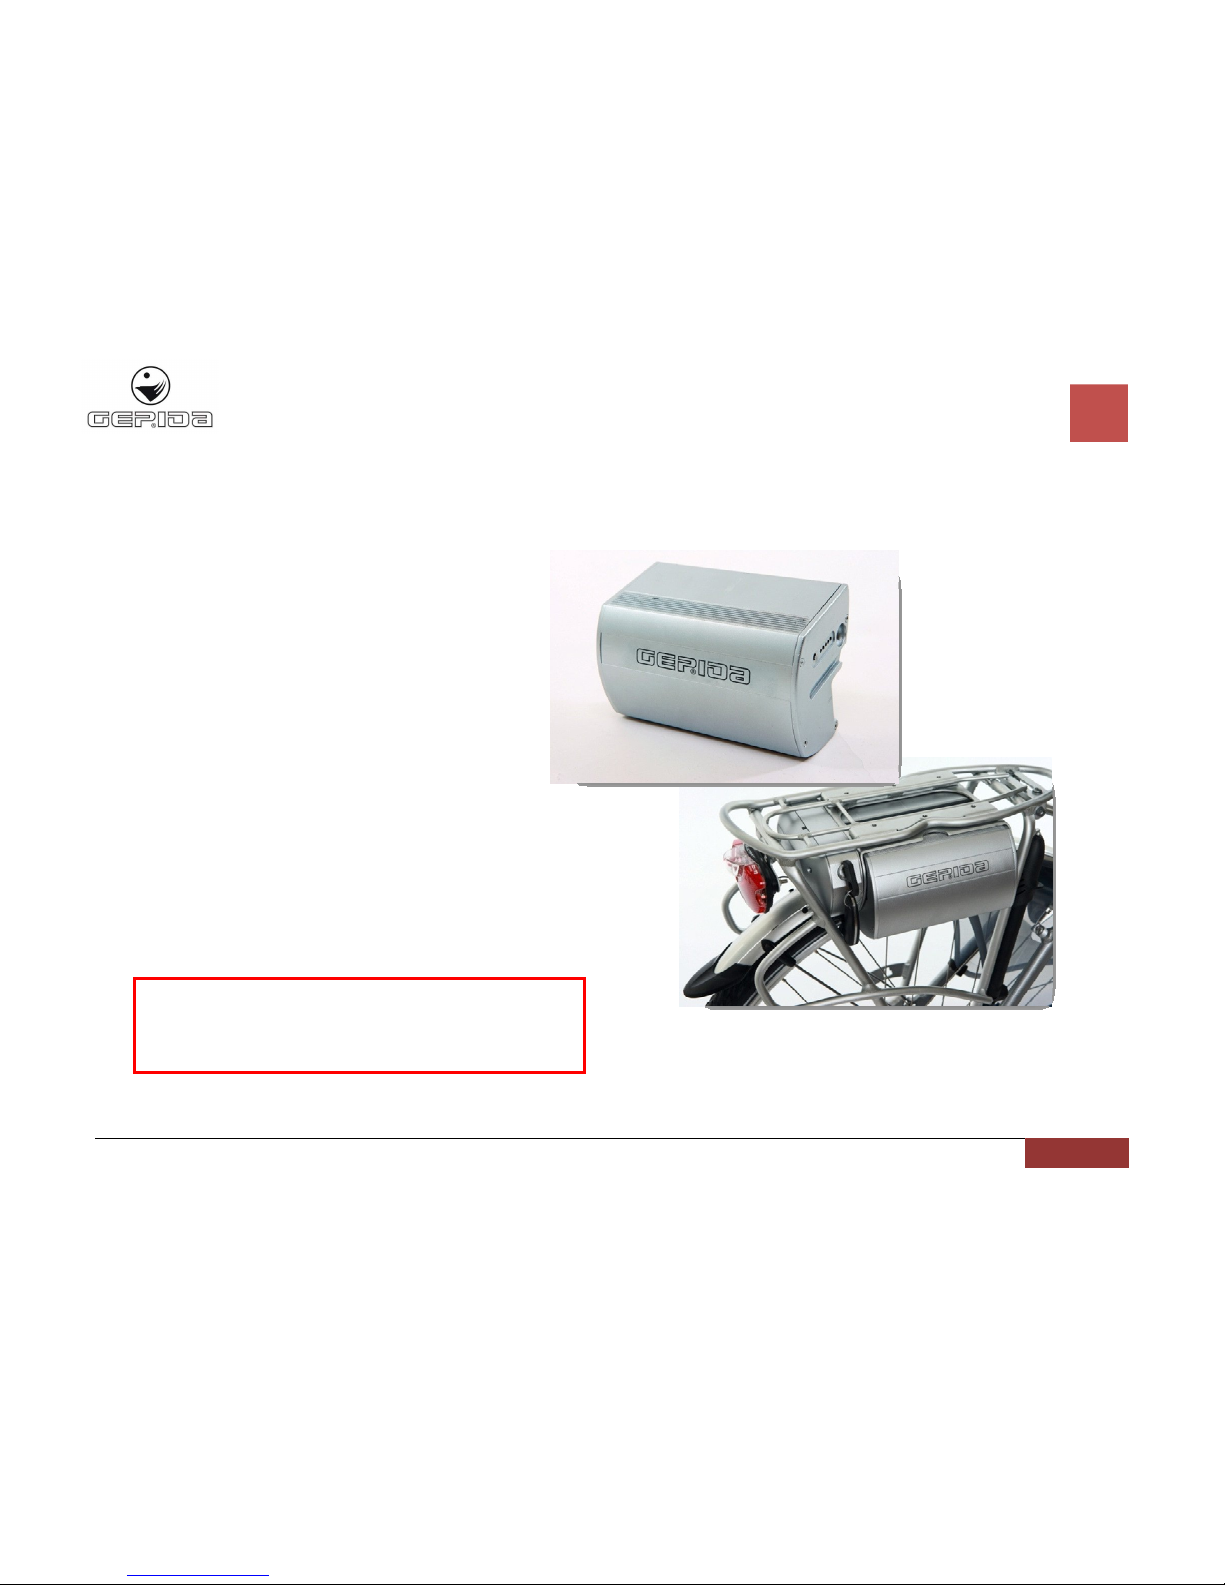
Battery characteristics
This Gepida battery is a large-capacity, high performance lithium-ion (Li-ion) battery that outputs large current. More compact and lightweight
than the conventional nickel cadmium (Ni- d) and nickel-metal hydride (Ni-Mh) batteries as well as it can keep a large amount of electricity.
Moreover, conventional batteries suffered from the memory effect, that is a symptom wherein batteries that were charged repeatedly before
being entirely discharged each time had an apparently strong decrease in capacity over the time. In contrast, the Li-ion battery does not have
the memory effect, so you can charge it anytime at your convenience.
Battery does not operate well in extremely hot or cold environment. During charging cycles, the battery goes through a chemical reaction
which is greatly influenced by temperature.
A battery is subject to self-discharge even if it is not used. The loss suffered due to self-discharge can be recovered by charging the battery
before use.
Sometimes, the travel distance with a new battery might be shorter, but this will improve by using and charging it 2 to 3 times.
In a cold environment, below approximately 10 ° , the output capacity of the battery decreases, leading to a shorter travel distance or a
reduced power assist. Its capacity automatically recovers by the rising temperature. Even a high-performance Li-ion battery will suffer a gradual
decline in its capacity after repeated charge-and-discharge cycles (appr. 800 cycles), necessitating its replacement. This is the nature of the
battery and is not considered as a malfunction.