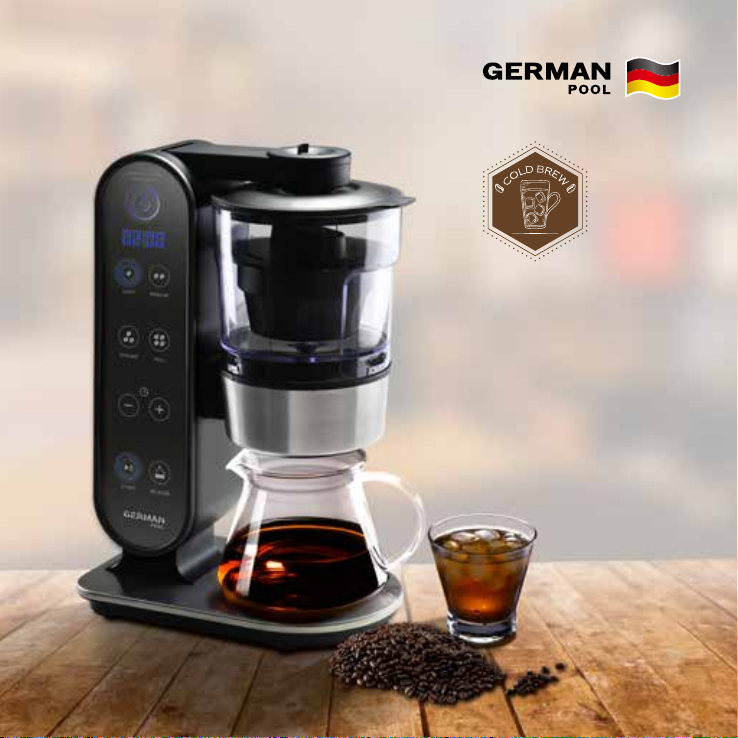
6 | GERMAN POOL Vacuum Cold Brew Coffee Maker |CMV-200 - User Manual GERMAN POOL Vacuum Cold Brew Coffee Maker |CMV-200 - User Manual | 7
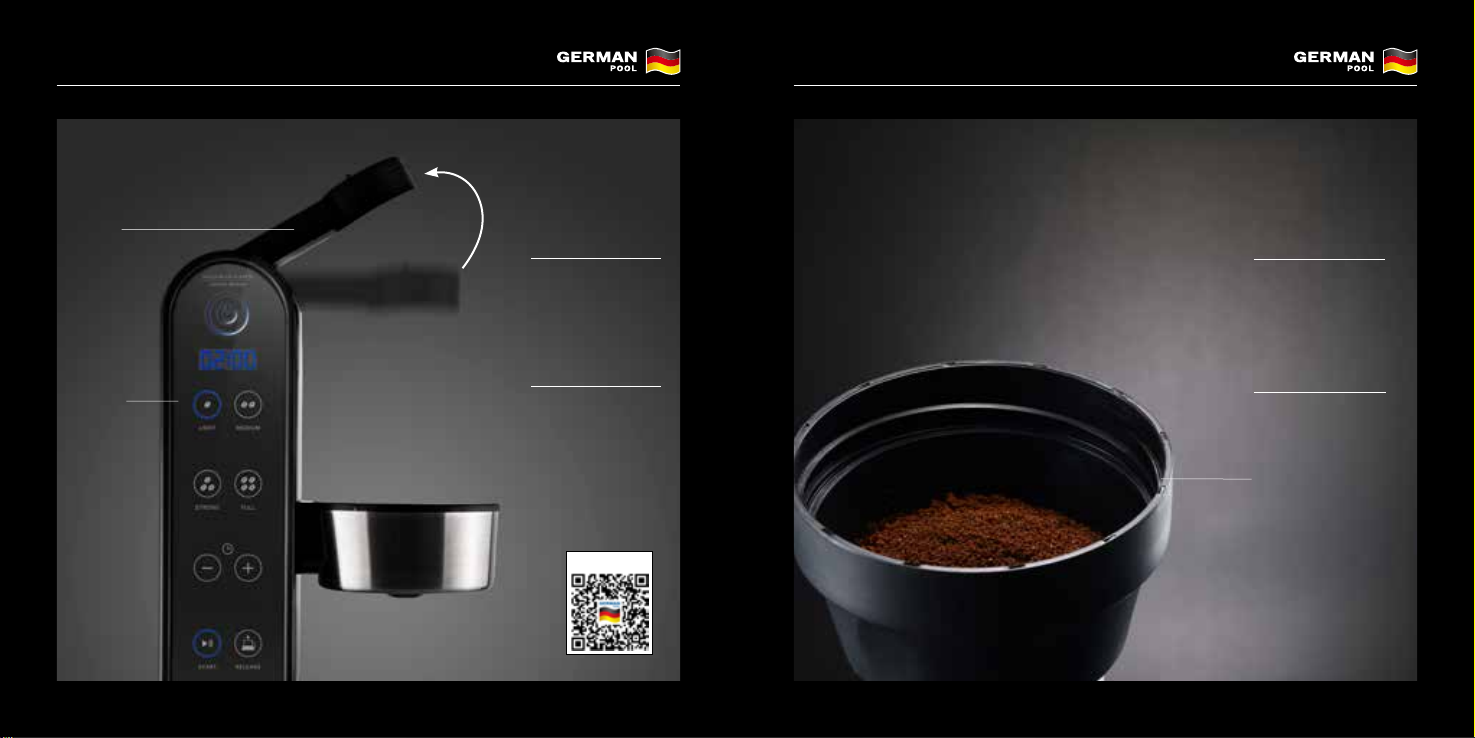
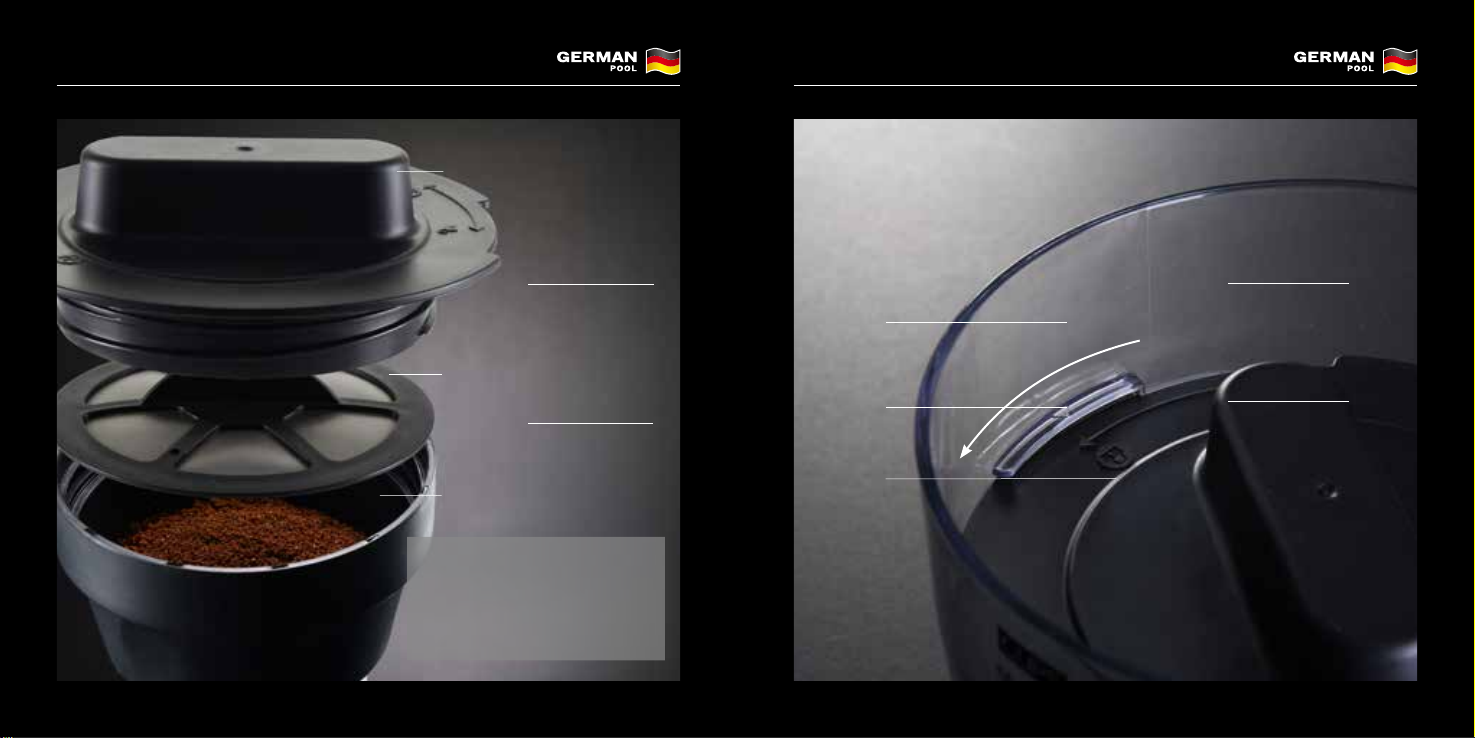
Knowing Your Coffee Maker
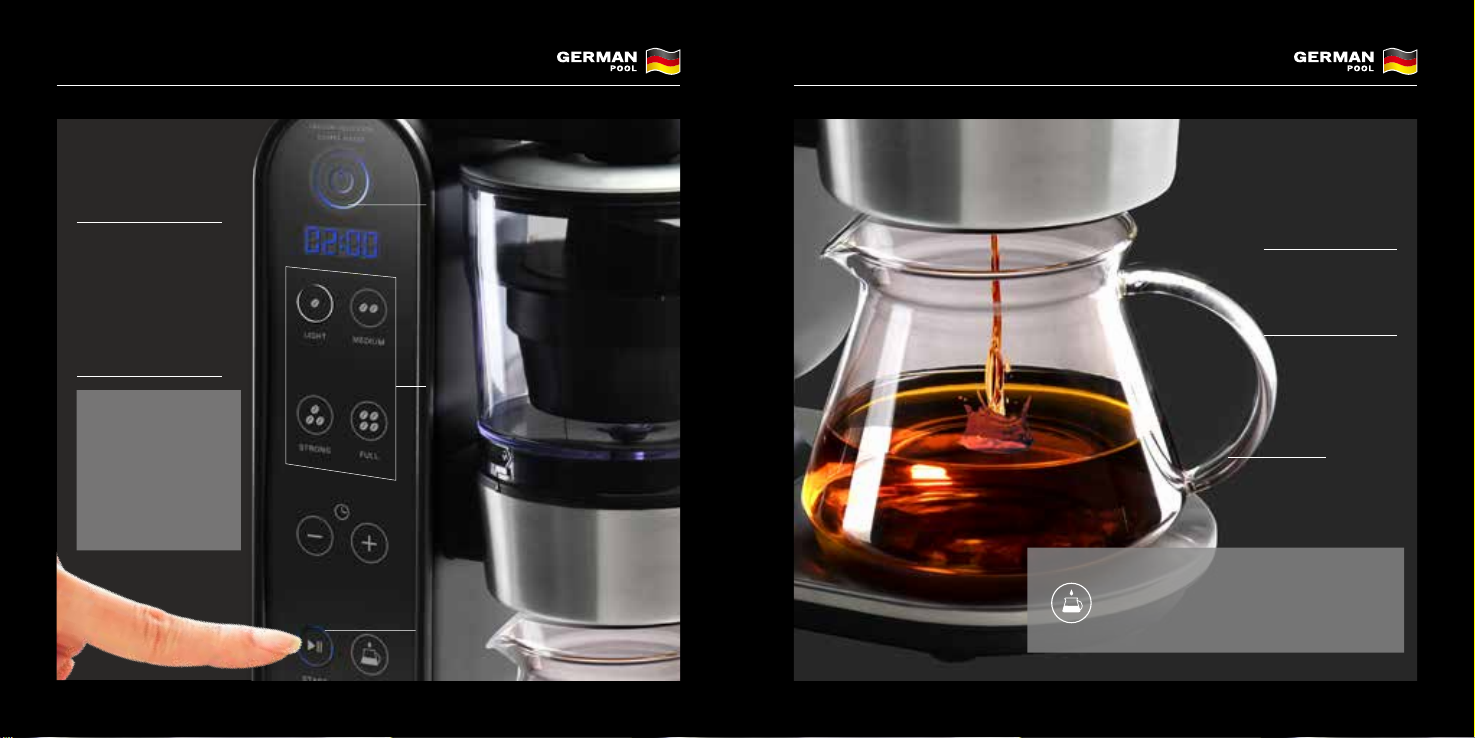
A Control Panel
B Lever
C Middle Base
D Coffee Pot
E Resting Plate
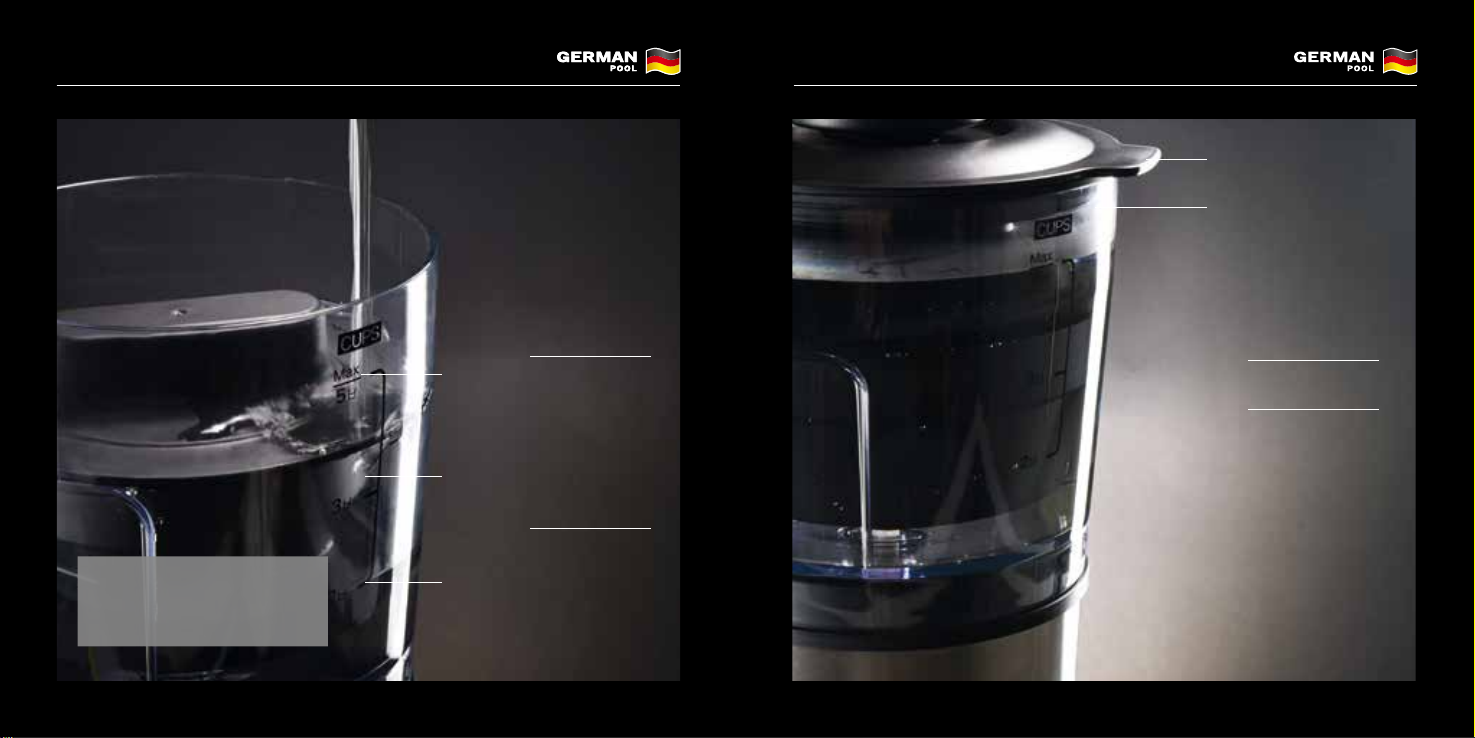
Water Chamber Lid
Coffee Pot
Top Filter
Coffee Basket
Water Chamber
AB
C
F
G
H
I
J
Knowing Your Coffee Maker
MEDIUM
To choose MEDIUM, 4 minutes
for brewing cycles.
LIGHT
To choose LIGHT, 2 minutes for
brewing cycles.
FULL
To choose FULL, 15 minutes
for brewing cycles.
STRONG
To choose STRONG, 7 minutes
for brewing cycles.
START / STOP
Start or stop the brewing cycles.
CUSTOM STRENGTH
To increase or decrease the
brewing time from 2 minutes
to 30 minutes. (15 second
intervals)
Notes:
You can press RELEASE button during brewing cycles anytime to release your cold brew coffee.
All the buttons will be locked, except the Power button, once the machine starts releasing.
POWER BUTTON
Turn the machine on or off.
RELEASE
Release the coffee from the
Water Chamber during brewing
cycles.
E
D
F
G
H
I
J