German pool RT-1120 User manual

RT-1120-M-08-(1)
蒸氣電熨斗
STE A M I R O N
RT-1120

P.2
NOTICE BEFORE USE P.3
GET TO KNOW YOUR IRON P.4
TIPS FOR IRONING P.5
FILLING THE WATER TANK P.6
OPERATING INSTRUSTIONS P.7
Test Ironing
Spraying
Dry Ironing
Steam Ironing
Burst of Steam
Burst of Steam in Vertical Position
SELF-CLEANING FUNCTION P.10
CARE & MAINTENANCE P.11
A. Draining Water
B. Cleaning The Iron
TECHNICAL SPECIFICATIONS P.22
WARRANTY TERMS & CONDITIONS P.23
TABLE OF CONTENTS

P.3
NOTICE BEFORE USE
IMPORTANT
For safety purpose, you should read the instructions carefully before using the appliance for
thersttime.Savetheinstructionsforfuturereference.
The appliance is designed for domestic use and may only be operated in accordance with
these instructions for use.
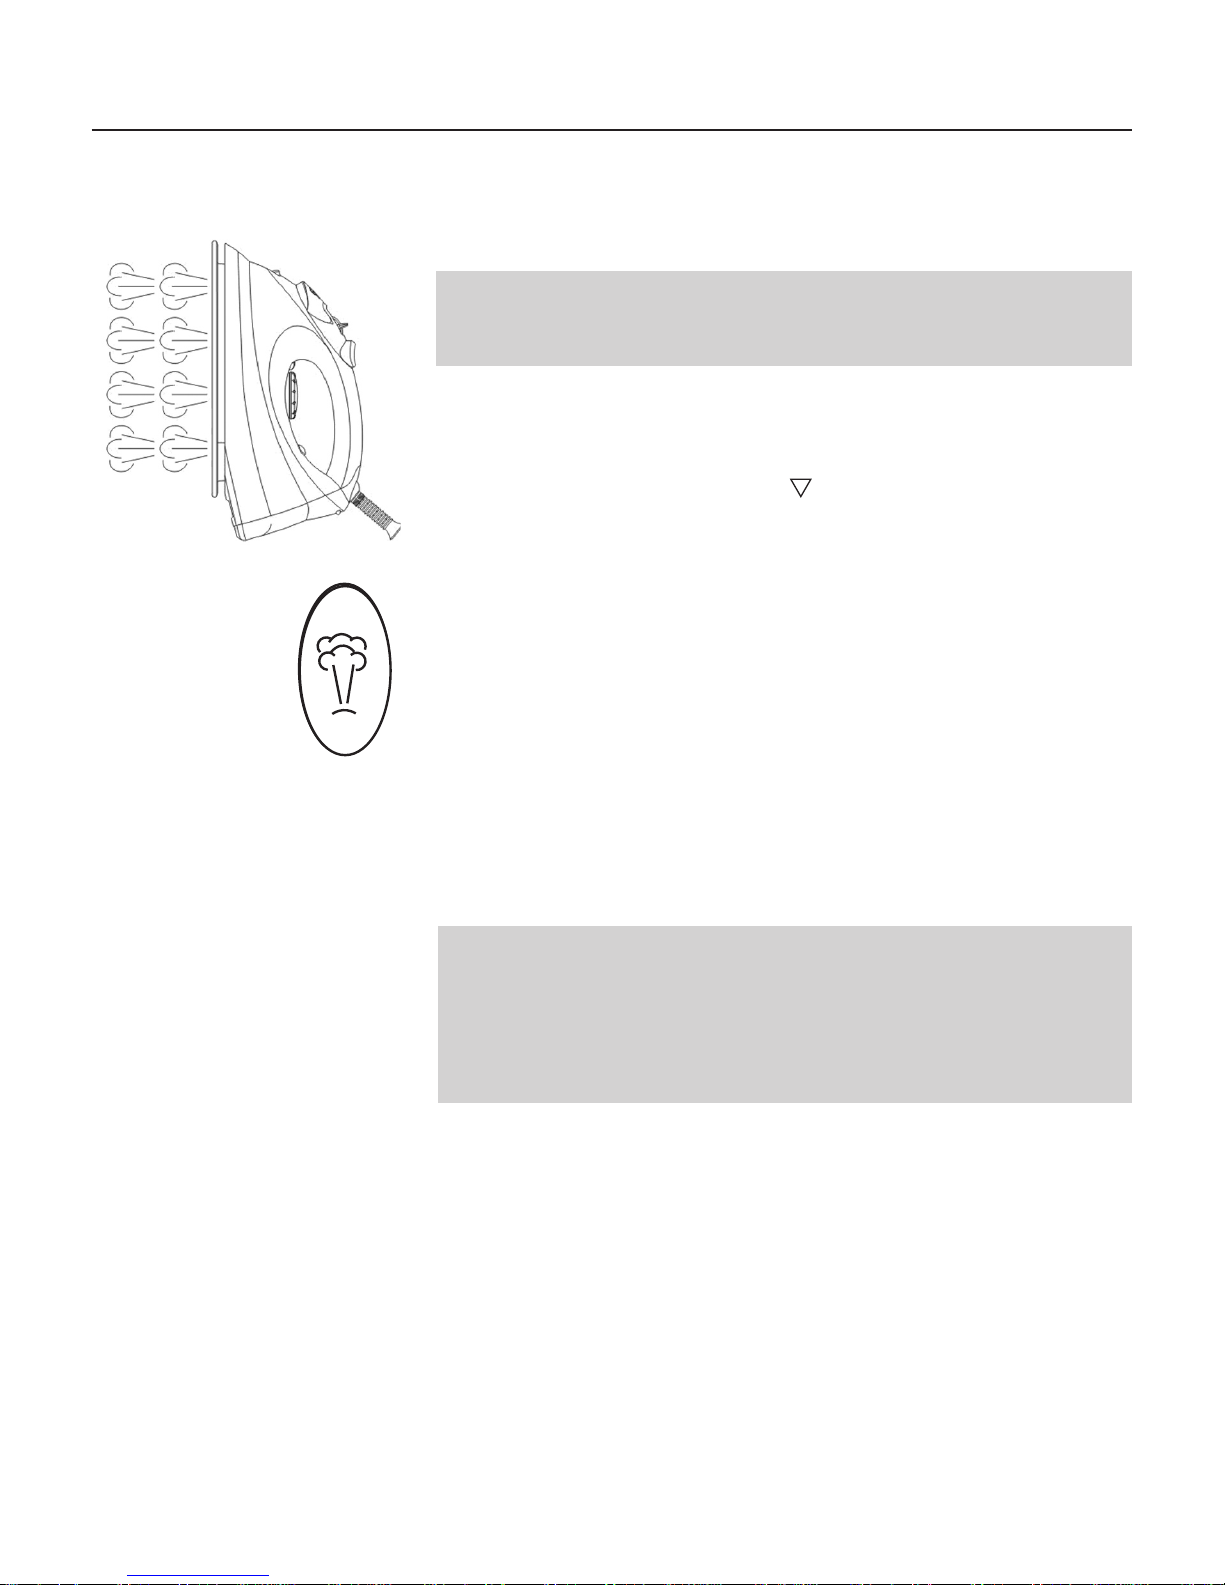
The appliance generates high temperature steam. Always handle with care and warn other
users of potential danger.
DO’S
1. Checkthemainsvoltagestatedontheratingplatecorrespondstothelocalelectricitysupply.
2. Unwind and straighten the power cord and supply cord before use.
3. Thisapplianceshouldbeusedandrestedonarmandsteadysurface.
4. Avoidpowercordorsupplycordtouchingthesoleplate.
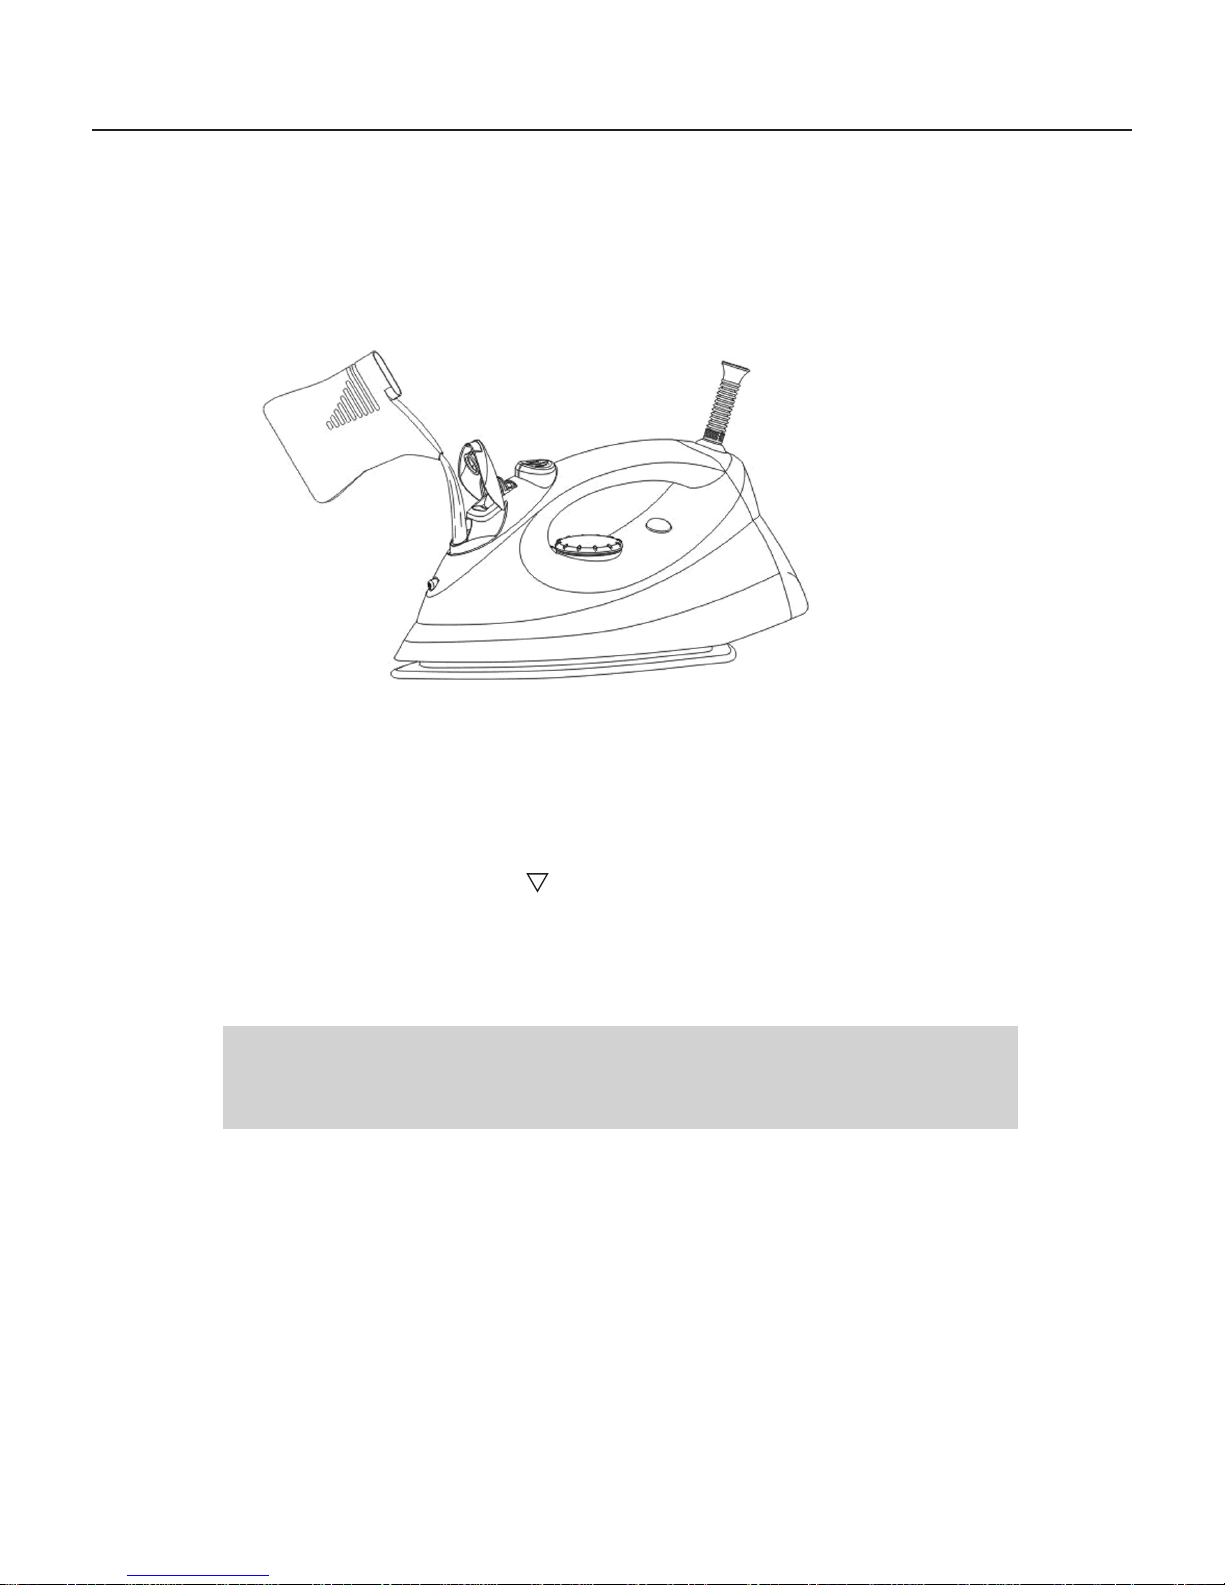
5. Theplugofthesupplycordmustberemovedfromthesocket-outletbeforethewatertankis
lledwithwater.
6. This appliance is not intended for use by persons (including children) with reduced physical,
sensoryormentalcapabilities,orlackofexperienceandknowledge,unlesstheyhavebeengiven
supervisionorinstructionconcerninguseoftheappliancebyapersonresponsiblefortheirsafety.
7. When placing the iron on its stand, ensure that the surface on which the stand is placed is stable.
8. Ifpowercordorsupplycordisdamaged,contactourservicedepartmentoralicensed
technicianforareplacementinordertoavoidanyhazard.
9. Empty the water tank after use.
DO NOT’S
1. Do not allow children to touch the appliance when ironing.
2. Donotleavetheapplianceunattendedwhenitisconnectedtoamainssupplyoutlet.
3. Donotuseanextensionpowercordsetunlesscompetentauthorityhasapprovedit.
4. Donotaddperfumed,vinegarorotherchemicalliquidsintothewatertank;theycandam
age the appliance seriously.
5. Donotimmersetheapplianceinwateroranyotherliquid.
6. Do not use the appliance when it is damaged or performs abnormally.
7. Theironisnottobeusedifithasbeendropped,iftherearevisiblesignsofdamageorif
it is leaking.
8. Do not touch the iron rest during or just after ironing. It is hot!
9. Do not roll the power cord or supply cord around the iron unit or base console for storage
until it has cooled down completely.
10. Do not attempt to open the cabinet or dismantle any parts from the appliance, there is no
serviceablepartinside.

P.4
GET TO KNOW YOUR IRON
Soleplate
Temperature Dial
Pilot Light
WaterInletCover
SprayNozzle
Steam On Position (Max)
Steam Off Position
Self Clean Position
Burst of Steam Button
Spray Button

P.5
TIPS FOR IRONING
˙ Sortoutthearticlestobeironedaccordingtothetypeoffabric.Thiswillminimizethefrequencyof
temperature adjustment for different garments.
˙Test ironing a small area on the backside or inside the garment if you are unsure about the type of
fabric. Start with a low temperature and increase gradually.
˙ Waitforaboutthreeminutesbeforeironingheatsensitivefabrics.Temperatureadjustmentneeds
certaintimetoreachtherequiredlevelnomatteritishigherorlower.
˙ Delicatefabricssuchassilk,wool,velour,etc.arebestironedwithanironingclothtopreventshinemarks.
˙ Youmayneedafewtimesofpresstoactivatethespray,burstandverticallyburstfunction.
Garment Labels
Read the garment labels and follow the manufacturer’s ironing instructions that are often shown
by symbols similar to the followings:
M
I
N
Cotton
Linen
Silk
Triacetate
Viscose
Wool
Acetate
Polyamide
Polypropylene
Polyester
Temperature Dial

P.6
FILLING THE WATER TANK
1. Disconnect the iron from mains supply outlet.
2. Adjust Steam Control Knob toposition.
3.ReleaseWaterInletCover.
4. Fill water through the water inlet hole.
5.Fillupto‘Max’levelmarkedonthesideofwatertank.
Note:
Forthebestresult,itisadvisabletousedistilledwaterornon-mineralizedwater.
Avoidusingchemically-descaledwateroranyotherliquids.

P.7
OPERATING INSTRUCTIONS
TEST IRONING
1.Removeanyprotectivelmsorstickersfromthesoleplateandthecabinet.
2. Unwind and straighten the power cord.
3. Fill the iron as described in “How to Fill Water in Water Tank”.
4. Connect the iron to a suitable mains supply outlet.
5.TurntheTemperatureDialinclockwisedirectiontomaximumposition;pilotlightglows.
6.Pilotlightgoesoffwhentherequiredtemperatureisreached.
7.MovetheSteamControlKnobtoposition;steamstartscomingoutfromtheholesinthesoleplate.
8.Beginrsttimeironingwithanoldtowel.
9. When the water tank is empty and there is no more steam produced. The preparation work is
completed. The iron is now ready for proper use.
SPRAYING
This function can be used any time and does not affect any setting:
1. Fill the water tank as described in “FILLING THE WATER TANK”.
2. Aimthenozzletothegarment.
3. Press the Spray Button.
Note: It may be necessary to press the spray button a few times to
start this function.
DRY IRONING
1. Adjust the Steam Control Knob to position.
2. Connect the iron to a suitable mains supply outlet.
3. TurntheTemperatureDialinclockwisedirection;select
‘•’ (1 dot), ‘••’ (2 dots) or ‘•••’ (3 dots) according to the
recommendation of garment label. Pilot light glows indicating the
iron is switched on.
4. Whentherequiredtemperatureisreached,pilotlightgoesoff.
5. The iron is ready for use.
6. Disconnect the iron from mains supply outlet.
7. Whentheirongetscoolcompletely,storeitverticallyinasafeplace.

P.8
OPERATING INSTRUCTIONS
STEAM IRONING
1. Fill water tank as described in “FILLING THE WATER TANK”.
2. Adjust the Steam Control Knob to position.
3. Connect the iron to a suitable mains supply outlet.
4. Turn the Temperature Dial in clockwise direction to ‘•••’ (3 dots)
setting.(Foroptimumsteamquality,donotuse1dotor2dots
setting for steam ironing). Pilot light glows indicating the iron is
switched on.
5. Pilotlightgoesoffwhentherequiredtemperatureisreached.
6. The iron is ready for use.
7. MovetheSteamControlKnobtogivethedesiredamountofsteam.
8. TurntheTemperatureDialinanti-clockwisedirectionto“Min”;the
iron is switched off.
9. Disconnect the iron from mains supply outlet.
10.Whentheirongetscoolcompletely,storeitverticallyinasafeplace.
Note:
Set the Steam Control Knob to position after use.
BURST OF STEAM
Thisfunctionprovidesextraamountofsteamtoremovestubbornwrinkles.
1. Fill the iron as described in the section of “FILLING THE WATER TANK”.
2. Adjust the Steam Control Knob to position.
3. Connect the iron to a suitable mains supply outlet.
4. Turn the Temperature Dial to ‘•••’ (3 dots) setting. Pilot light glows
indicating the iron is switched on.
5. Pilotlightgoesoffwhentherequiredtemperatureisreached.
6. The iron is ready for use.
7. Press the Burst Of Steam Button. Steam will shoot from the holes of
thesoleplateintothefabricbeingironedandremovingthewrinkles.
8. For stubborn wrinkles, wait a few seconds before pressing the Burst of
SteamButtonagain.Mostwrinklescanberemovedwithinthreepresses.
9. Turn the Temperature Dial in anti-clockwise direction to “Min”, the
iron is switch off.
10. Disconnect the iron from mains supply outlet.
11.Whentheirongetscoolcompletely,storeitverticallyinasafeplace.
Note: - It may be necessary to press the burst of steam button a few
times to start this function.
-Foroptimumsteamquality,donotoperatetheBurstofSteam
more than three times in succession.
Steam-0ff position
Steam On position (MAX)

P.9
OPERATING INSTRUCTIONS
BURST OF STEAM IN VERTICAL POSITION
Warning!
Do not apply steam on any clothes or fabrics that are being worn by
humanorpets.Temperatureofsteamisveryhigh.
Thisfunctionprovidesextraamountofsteamtoremovewrinklesondelicate
garments in hanging position, hanging curtains, or other hanging fabrics.
1. Fill the iron as described in the section of “FILLING THE WATER TANK”.
2. MovetheSteamControlKnobtoposition.
3. Connect the iron to a suitable mains supply outlet.
4. Turn the Temperature Dial to maximum setting. Pilot light glows indicating
the iron is switch on.
5. Pilotlightgoesoffwhentherequiredtemperatureisreached.The
iron is now ready for use.
6. Hold the iron between 15 and 30 centimeters away from the garment.
7. Press the Burst of Steam Button once.
8. Steamwillpenetrateintothegarmentremovingthewrinkles.
9. For Stubborn wrinkles, wait a few seconds before pressing the Burst
Of Steam Button again.
10.Mostwrinklescanberemovedwithinthreepresses.
11. Turn the Temperature Dial in anti-clockwise direction to “Min”, the
iron is switch off.
12. Disconnect the iron from mains supply outlet.
13.Whentheirongetscoolcompletely,storeitverticallyinasafeplace.
Note: - Maintain a distance of a few centimeters from delicate fabric
(Synthetics,silk,velvet,etc.),otherwisethefabriccouldbedamaged.
- It may be necessary to press the burst of steam button a few
times to start this function.
-Foroptimumsteamquality,donotoperatetheBurstOfSteam
more than three times after the pilot light goes off.

P.10
SELF-CLEANING FUNCTION
SELF-CLEANING
ThisfunctionremovesthescalesandmineralsbuiltupintheSteam
Chamber. The iron will remain in the best condition if the following
procedures are performed monthly (or more regularly depending on
the hardness of the water used).
1. Fill water tank half full.
2. Place the iron on a surface in upright standing position.
3. Turn the Temperature Dial in clockwise direction to ‘•••’ (3 dots)
setting. Pilot light glows indicating the iron is switched on.
4. Pilotlightgoesoffwhentherequiredtemperatureisreached.
5. Waitforonemorecycle;pilotlightglowsandgoesoff.
6. Turn the Temperature Dial in anti-clockwise direction to “Min”.
7. Disconnect the iron from mains supply outlet.
8. Holdtheironhorizontallyoverasink.
9. Pull and hold the Steam Control Knob at “Self Cleaning” position.
10. Steam and boiling hot water will drain from the holes on the
soleplatewashingawaythescalesandmineralsthathavebuiltup
inside the Steam Chamber.
11. Gentlymovetheironbackandforthuntilthewatertankisempty.
12. When Self-Cleaning is complete, release the Steam Control Knob.
13. Rest your steam iron back on its heel rest and allow to fully cool down.
14. Wipe the soleplate with a cold damp cloth.
Caution: Keep skin/body away from hot water.

P.11
CARE & MAINTENANCE
A. DRAINING WATER
1. MovetheSteamControlKnobtoposition.
2. Disconnect the iron from the mains supply outlet.
3. While the soleplate is still hot, press the Burst Of Steam button to
release any trapped water.
4. Press the Spray Button to release any trapped water.
5. Holdtheironupsidedownandgentlyshakeittoremoveany
remainingwateroutofllinghole.
6. Whentheirongetscoolcompletely,storeitverticallyinasafeplace.
B. CLEANING THE IRON
1. Disconnect the iron from the mains supply outlet.
2. Useadampedclothornon-scratchingcleanertoremoveany
deposits on the sole plate or the cabinets.
Note: -Neverusesharporroughobjectstoremovethedepositson
the sole plate.
-Neveruseanyabrasive,vinegarorotherchemicalagentsto
clean the iron.

P.12
使用前注意 P.13
認識本產品 P.14
使用提示 P.15
如何注水 P.16
操作說明 P.17
測試使用
噴霧
乾熨
連續蒸氣
蒸氣噴射
垂直蒸氣噴射
自動清洗功能 P.20
保養與維護 P.21
A.排水
B.清潔熨斗
產品技術規格 P.22
保用條款 P.23
目錄

P.13
使用前注意
重要說明
為安全起見,初次使用產品前請先小心細閱本說明書,並將說明書放置好,以便將來作參考之用。
本產品只供家居使用。請必須依照本說明書內的指示操作。
本產品操作時會釋出高溫蒸氣,請閣下小心使用和提醒其他人時刻保持警覺。
注意事項﹕
1. 檢查家中電源是否符合本產品規格列明之要求。
2. 使用前,應先將電源線解開並儘量拉直。
3. 本產品應在堅固和穩定之平面上操作和擺放。
4. 電源線應避免接觸熨斗底板。
5. 注水入熨斗的水箱前應先拔下電源插頭。
6. 本產品應避免讓兒童、殘障人士或缺乏經驗之人士接觸或讓其單獨使用。
7. 當擺放熨斗於熨斗座時,應先確定熨斗座下的平面是否穩固和有足夠承托力。
8. 電源線如有損壞,應聯絡本公司和聘請持牌專業技術人員。
9. 使用後應將水箱內剩餘之清水倒出。
須避免情況﹕
1. 熨衣時,切勿讓兒童觸摸本電器。
2. 切勿在無人看管下讓本產品插上電源。
3. 如無專業人士准許下,請勿使用電源拖板。
4. 切勿將香水、醋或其他化學液體注入水箱內,否則會嚴重破壞本產品結構。
5. 切勿將本電器浸在清水或任何液體中。
6. 如發現電器有任何損壞或運作不正常,切勿繼續使用。
7. 當本產品有被掉在地上、明顯損毀或洩漏等現象時,切勿繼續使用。
8. 使用時或剛完成熨衣後,不要觸摸熨斗座,避免燙手。
9. 當熨斗使用後未完全冷卻時,切勿將電源線環繞熨斗機身或熨板以作儲存。
10.切勿嘗試將本電器機件拆開或自行維修。

P.14
認識本產品
溫度設定旋鈕
蒸氣關閉位置
注水口封蓋
恆溫指示燈
噴嘴
發熱底板
蒸氣噴射按鈕
噴霧按鈕
自動清洗位置
蒸氣開啟位置(最大)

P.15
使用提示
˙ 熨衣前,先將衣物依其物料進行分類,這樣可以減少對熨斗作出溫度調校之頻率。
˙ 熨衣前可在衣物背面一小範圍進行試熨。開始時先設定較低的溫度,然後慢慢將溫度提升
至適當度數。
˙ 熨燙對熱力敏感的衣物時,設定溫度後應先等候約3分鐘,然後待溫度穩定後才進行調校。
˙ 熨燙細緻質料衣物如絲綢、羊毛、絲絨等,應使用熨衣布以防留有熨斗印。
˙ 使用噴霧、蒸氣噴射或垂直蒸氣噴射時,閣下或許要多按按鈕數下方能啟動功能。
衣物質料標籤
請細閱衣物上的質料標籤,並依照上面之熨衣指示處理衣物。
標籤上常見的符號如下﹕
乙酸纖維素
聚酰胺
聚丙烯
聚酯
絲綢
醋酸
粘膠
羊毛
棉質
麻質
M
I
N
溫度設定旋鈕

P.16
1. 從電源插座拔下電熨斗之插頭。
2. 蒸氣設定桿調到位置。
3. 打開注水口蓋。
4. 從注水口注入清水。
5. 如圖,將清水注至機身旁邊所指示之“MAX”水位。
注意﹕
除清水外,切勿在水箱中注入混有化學物料的水或任何液體。
如何注水

P.17
操作說明
測試使用
1. 移除底板上之所有保護膜或貼紙。
2. 解開並拉直電源線。
3. 根據「如何注水」部分之說明在水箱中注入清水。
4. 將電熨斗接上電源。
5. 以順時針方向,將溫度設定旋鈕調校至「最高(MAX)」位置,此時指示燈會亮起。
6. 當指示燈熄滅時,表示所需溫度已達。
7. 把蒸氣設定旋鈕調校至位置,蒸氣會開始從蒸氣孔噴出。
8. 用舊毛巾作測試熨燙。
9. 當再沒有蒸氣噴出時,表示水箱中的水已耗盡,測試使用程序完成,用戶可正式開始
如常使用產品。
噴霧
本功能可在任何狀態下使用而不影響其他設定﹕
1. 先根據「如何注水」說明,在水箱中注入清水。
2. 將噴嘴指向衣物。
3. 按下噴霧按鈕。
注意﹕
用戶或須按噴霧按鈕數下方能啟動此功能。
乾熨
1. 把蒸氣設定桿旋鈕調校至位置。
2. 將電熨斗接上電源。
3. 根據衣物質料標籤指示,以順時針方向將溫度設定旋鈕調校
至適當位置﹕‘˙’、‘˙˙’或‘˙˙˙’。此時指示燈會亮起。
4. 當熨斗達至所需溫度,指示燈熄滅。
5. 用戶可開始熨衣。
6. 完成熨衣後,溫度設定旋鈕調校至「最低(Min)」,然後拔下
電源插頭。
7. 待熨斗完全冷卻後,垂直放置在安全的地方。

P.18
操作說明
連續蒸氣
1. 根據「如何注水」說明注入清水。
2. 把蒸氣設定桿調校至位置。
3. 將電熨斗接上電源。
4. 以順時針方向將溫度設定旋鈕調校至‘˙˙˙’。(為達至最佳蒸
氣效果,不要選擇‘˙’或‘˙˙’)此時指示燈會亮起。
5. 當熨斗達至所需溫度,指示燈熄滅。
6. 用戶可開始熨衣。
7. 將蒸氣設定旋鈕調校至所需蒸氣度數。
8. 完成後,以逆時針方向將溫度設定旋鈕調校至「最低(MIN)」
位置以關上電熨斗。
9. 拔下電源插頭。
10.待熨斗完全冷卻後,垂直放置在安全的地方。
注意﹕
完成熨衣後,建議將蒸氣設定桿調到位置。
蒸氣噴射
本功能可釋放較多蒸氣,方便熨燙有較深皺痕之衣物。
1. 根據「如何注水」說明注入清水。
2. 把蒸氣設定桿調校至位置。
3. 將電熨斗接上電源。
4. 以順時針方向將溫度設定旋鈕調校至‘˙˙˙’。此時指示燈會亮起。
5. 當熨斗達至所需溫度,指示燈熄滅。
6. 用戶可開始熨衣。
7. 按下蒸氣噴射按鈕,蒸氣會從蒸氣孔噴出。
8. 熨燙皺痕較深刻之衣物,可於數秒後再按蒸氣噴射按鈕。大部
份皺痕都可在三次或以下噴射中去除。
9. 完成後,以逆時針方向將溫度設定旋鈕調校至「最低(MIN)」
位置以關上電熨斗。
10.拔下電源插頭。
11.待熨斗完全冷卻後,垂直放置在安全的地方。
注意﹕-用戶或須按蒸氣噴射按鈕數下方能啟動此功能
-為達至最佳蒸氣效果,避免連續使用噴射按鈕超過三次。
蒸氣關閉位置
最高蒸氣量位置

P.19
垂直蒸氣噴射
警告!
本產品釋出之蒸氣溫度極高,當衣物被穿在人和動物身上時,
切勿使用蒸氣功能。
本功能可釋放較多蒸氣,方便熨燙有較深皺痕之細緻、被垂直掛
起或用作窗簾等之布料。
1. 根據「如何注水」說明注入清水。
2. 把蒸氣設定桿調校至位置。
3. 將電熨斗接上電源。
4. 以順時針方向將溫度設定旋鈕調校至‘˙˙˙’。此時指示燈會亮起。
5. 當熨斗達至所需溫度,指示燈熄滅。
6. 離衣物15至30cm距離的位置垂直握著熨斗。
7. 按下蒸氣噴射按鈕一次。
8. 噴出之蒸氣會滲入衣物,去除皺痕。
9. 熨燙皺痕較深刻之衣物,可於數秒後再按蒸氣噴射按鈕。
10.大部份皺痕都可在三次或以下噴射中去除。
11.完成後,以逆時針方向將溫度設定旋鈕調校至「最低(MIN)」
位置以關上電熨斗。
12.拔下電源插頭。
13.待熨斗完全冷卻後,垂直放置在安全的地方。
注意﹕
- 以蒸氣熨燙細緻衣物(如合成纖維、絲綢、絲絨等)時,
熨斗應保持數厘米距離,以免損壞衣料。
- 用戶或須按蒸氣噴射按鈕數下方能啟動此功能。
- 為達至最佳蒸氣效果,避免連續使用噴射按鈕超過三次。
操作說明

P.20
自動清洗
此功能可清除蒸氣槽中的鈣化物質。每個月進行以下程序最少一
次,可讓熨斗發揮最佳效能。
1. 根據「如何注水」部份之說明注入清水。
2. 將熨斗垂直放置。
3. 以順時針方向將溫度設定旋鈕調校至‘˙˙˙’。此時指示燈
會亮起。
4. 當熨斗達至所需溫度,指示燈熄滅。
5. 讓熨斗運作一個循環,即指示燈亮起再熄滅各一次。
6. 以逆時針方向將溫度設定旋鈕調校至「最低(MIN)」位置以
關上電熨斗。
9. 拔下電源插頭。
10.於洗手盆中,以水平方向握著熨斗。
11.將蒸氣設定桿拉至「自動清洗(SELFCLEAN)」位置,按著
不放。
12.熱蒸氣會從底板上的蒸氣孔慢慢流出,將蒸氣槽中的鈣化
物質一併沖走。
13.輕輕地前後搖晃熨斗,讓水箱內所有水分排出。
14.完成自動清洗後,放開蒸氣設定桿。
15.垂直放置好熨斗,讓底板完全冷卻。
16.用濕布拭抹底板。
注意﹕避免讓身體或皮膚接觸熱水。
自動清洗功能
Table of contents
Other German pool Iron manuals