GHL Doser 2.1 Firmware update

Written by V. Altamirano
GHL Doser
Resource Guide
Step-by-step resource guide for GHL Doser 2.1 and Doser Maxi

GHL Doser Resource Guide
Release 07/2018
2
Table of Contents
Getting Started
3
GHL Doser SA Connectivity Options
4
GHL Control Center Startup Screen Explained
5
GCC Overview for GHL Doser SA
6
Reading the GHL Doser Status LED
12
How to Connect via USB
13
Wi-Fi Connection Setup
14
How to Connect via Wi-Fi to GHL Control Center
18
LAN Connection Setup
20
How to Connect via our GHL smartphone app
21
How to Setup myGHL
22
How to Program a Dosing Pump
23
How to Calibrate a Dosing Pump
26
How to Program for AWC Function
27
How to Program for ATO Function
30
How to Program Magnetic Stirrers
32
How to Update GHL Doser SA Firmware
33
How to Add a Slave Doser to a SA Doser or ProfiLux
36
How to Convert a Standalone Doser to Slave Mode
39
How to Update GHL Doser Slave Firmware
40
Troubleshooting
GHL Doser SA USB driver did not automatically install
USBVCOM driver not shown in device manager during update
Error Code 28 pops up when connected via GHL Control Center
Firmware update failed - No response from GHL Doser 2.1 SA
Firmware update failed - No response from GHL Doser 2.1 Slave
43
Tips and Information
48
Doser SA and Slave FAQ
Difference between GCC and GHL Connect App?
Does the dosing pump require regular maintenance?
How do I clean the dosing pump heads?
How long is the warranty period?
What does the warranty cover?
50

GHL Doser Resource Guide
Release 07/2018
3
Getting Started
Congratulations on purchasing a GHL Dosing pump. You now own a piece of
equipment built to last the test of time!
This guide is a supplement to our existing GHL Doser 2.1 / Doser Maxi manual. This guide will
assist you with getting both slave and standalone versions of the GHL Doser 2.1 / Doser Maxi
up and running.
If you purchased a slave doser, you will need either a GHL Doser 2/2.1/Maxi SA or Profilux 3 or
4 Controller to operate it. Instructions for assigning a slave doser and updating its firmware are
included in this guide.
NOTE:
The details and instructions provided by this guide begin at Firmware 1.28.
For firmware versions above 1.28, this guide will still serve as a useful tool for setting up your
GHL Doser SA. Depending on your doser’s firmware version and GHL Control Center software
version you use, photos may not be exactly what you see on your version of GHL Control
Center.
Please also download the correct manual for information on proper placement,
usage, maintenance, and warranty.
GHL Doser 2 manual –Click here
GHL Doser Maxi manual –Click here
Before powering on your doser for the first time, please be sure to check the contents of your
box. Each doser should include the following:
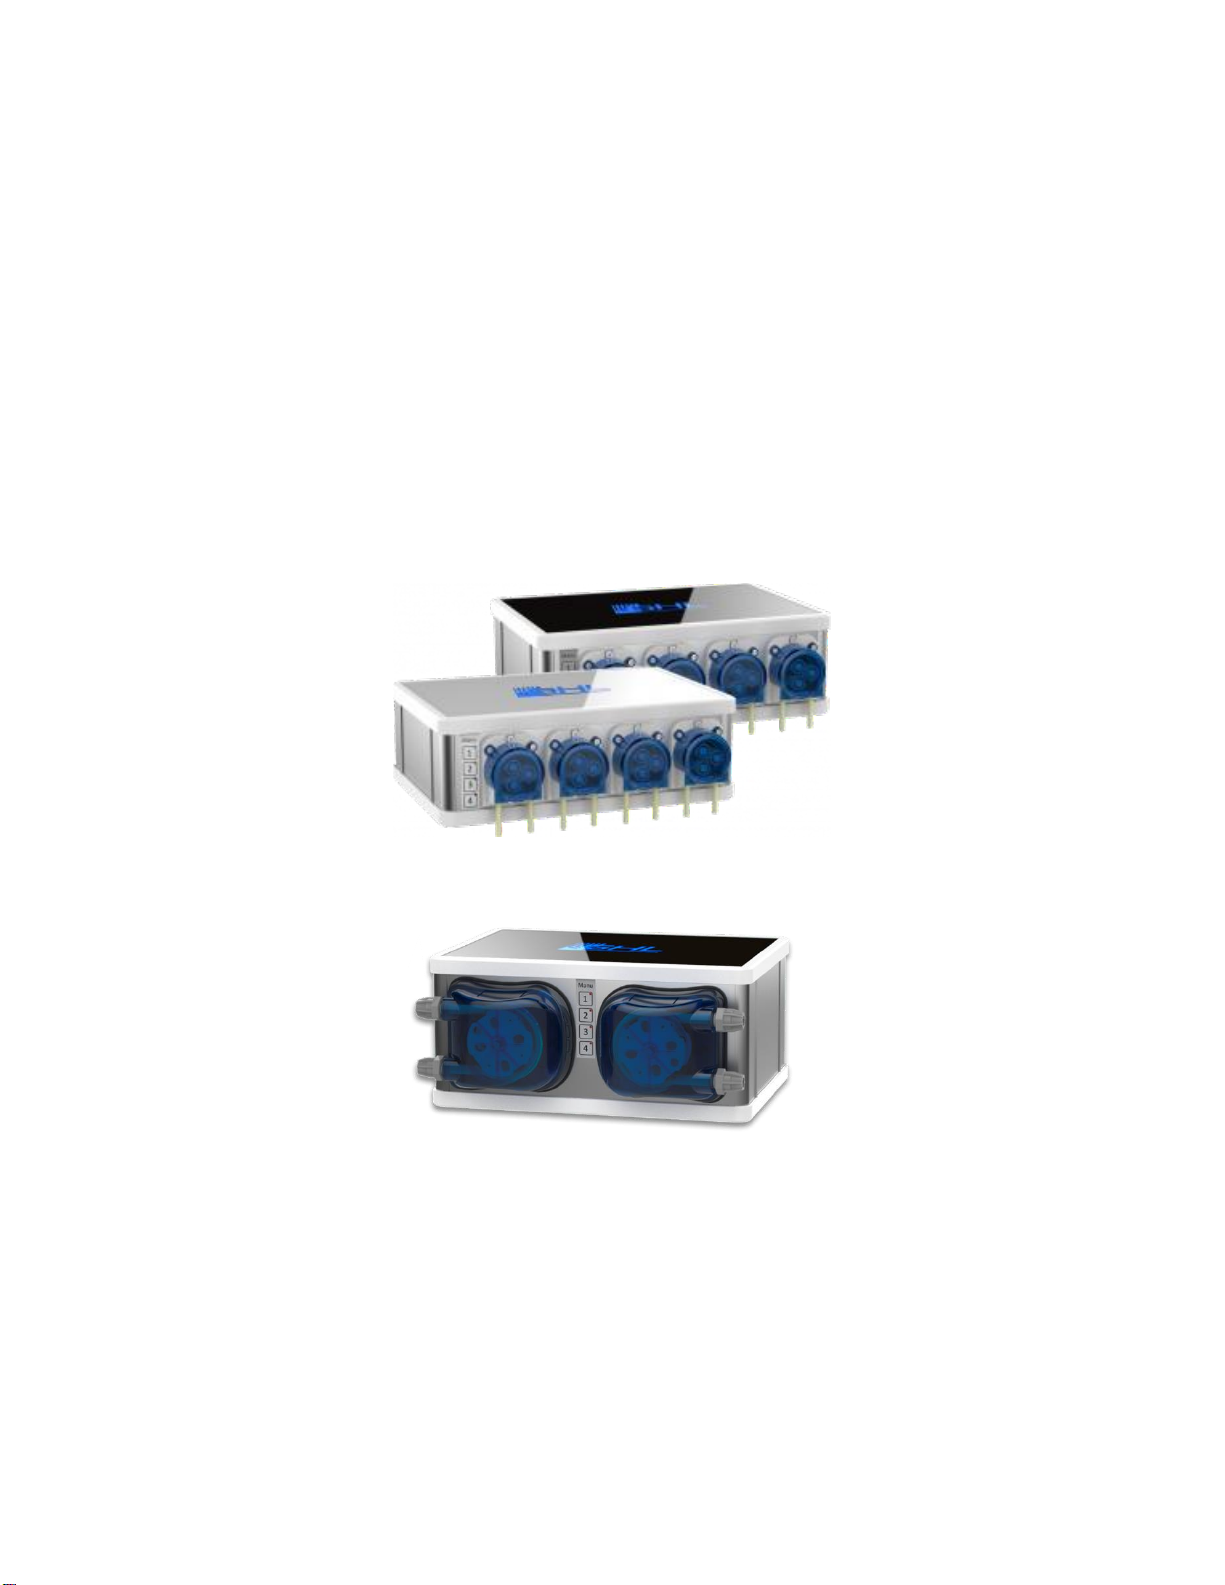
GHL Doser 2.1 / Maxi Standalone
GHL Doser 2.1 / Maxi Slave
●
Standalone GHL Doser 2
●
24V power supply
●
Clear tubing adapters
●
10ft USB Cable (3m)
●
Slave GHL Doser 2
●
24V power supply
●
Clear tubing adapters
Once you have confirmed the contents of the box, please visit our website and download our
latest version of GHL Control Center. Our website’s download page can be found here.
Our PC software, GHL Control Center, will be located in the “Software, Tools & Driver” section.
Support: If you require technical support, please visit our dedicated GHL Support forum
You can also contact us via email: support@ghl-usa.com

GHL Doser Resource Guide
Release 07/2018
4
GHL Doser SA Connectivity Options
The standalone GHL Doser allows you to connect to it in different ways.
Connectivity options include:
●Direct USB Connection to a PC
●LAN Connection
●Wi-Fi Connection
●myGHL Cloud*
Direct USB Connection to a PC
Allows you to connect to the standalone GHL Doser by using the USB cable included in the box.
LAN Connection
Allows you to connect to the standalone GHL Doser when an Ethernet cable is connected to the
LAN port of the doser and an available LAN port on your wireless router.
Wi-Fi Connection (Two Options)
Direct Wi-Fi Connection
Use your doser’s built-in Wi-Fi as a hotspot to connect to it using any smartphone or tablet with
the GHL smartphone app.
*With this option, you can only access the GHL Doser SA from your smartphone, tablet, or USB
connection.
OR
Standard Wi-Fi Connection
Use the Standalone GHL Doser’s built-in Wi-Fi to connect directly to an existing Wi-Fi network.
*By doing this, you can connect to the GHL Doser SA from your smartphone, tablet, myGHL
cloud, and GHL Control Center via USB or WLAN.
myGHL Cloud
Allows you to access your Doser SA from anywhere in the world through a web browser.
*Requires the Doser SA to be connected to your existing Wi-Fi network;
Standard Wi-Fi
connection.

GHL Doser Resource Guide
Release 07/2018
5
GHL Control Center Startup Screen Explained
Before even connecting to your device, this section will explain what GHL Control Center is used
for and the important options displayed in the GHL Control Center (GCC) startup screen.
What is GHL Control Center?
●GHL Control Center (GCC) is the platform that is used for programming GHL Devices.
●GCC allows you to connect to devices to perform firmware updates as well as setup
basic and advanced functions.
1. These are your connection options. When connecting to your Doser, make sure you
have the correct device selected before clicking connect.
2. Buttons for connecting to the selected device or making changes to the connection
settings.
○Connect: Click to connect to the selected device
○Administrator: Click to add a new connection or modify an existing one.
3. This is the screen that pops up when you click on “Administrator”. It will display all your
current connections to various devices such as ProfiLux, GHL Doser 2.1, and Mitras LX
LED.

GHL Doser Resource Guide
Release 07/2018
6
GCC Overview for GHL Doser SA
GHL Control Center gives you the flexibility to program the Doser SA in multiple ways. We have
included multiple screenshots to show the general features and an overview of our PC software.
(General Overview Page)
1. This is the drop-down section which is where most doser functions are performed.
○General: The general overview of your doser as shown in the above screenshot.
○Processes: The section where you can set timer functions for ATO and AWC.
○Dose Overview: Program your doser pumps from this section. The drop-down
will show all 16 dosing pumps.
○Probe/Sensor Controls: Program your ATO and AWC functions from this
section.
○System: Doser systems settings can be accessed here for Wi-Fi/LAN settings,
PAB configuration, and myGHL settings.
2. The current firmware version and date will be displayed here.
3. If you have a GHL temperature probe (PL-1115), current temperature will be displayed
here.
4. You can set your Alarm to be audible or silent.

GHL Doser Resource Guide
Release 07/2018
7
(Timer Settings Page)
1. Set your timer functions for AWC and ATO functions here.
2. Control how you want the timers to function here.

GHL Doser Resource Guide
Release 07/2018
8
(Dosing Pump Programming Page)
1. GHL Doser SA will monitor your fluid levels and display it here. Once the specific dosing
pump has been programmed, the doser will automatically calculate the approximate
amount of days remaining before you run out of fluid for that pump. Container capacity
and remaining fluid is also displayed here.
2. Container capacities for each dosing container can be set here. You also have the option
to set the minimum threshold for when the GHL Doser SA should notify you that you are
running low on fluid. When the container needs a refill, you can click on “Refill
Container” and enter the amount of fluid added to the container.
3. If you wish to manually dose, you can do so by clicking on the picture of the doser
head. You can also specify the amount you want to manually dose by clicking on “Dose
Now”.
4. The GHL Doser has the option to run at 3 different speeds: Slow, Moderate, Fast. Each
time the speed of the pump is changed, it MUST be recalibrated. After calibration, the
new amount of fluid dispensed is entered into this section.
5. This section will allow you to tell your selected dosing pump how to react. For example,
if you wanted to use this pump as an ATO or AWC pump, you would select “Level
Control”.

GHL Doser Resource Guide
Release 07/2018
9
(Dosing Pump Programming Page Cont.)
6. Set how you want to run the doser.
○Auto Dosing: Auto dosing allows you to tell the doser how many times per day
to dose and how many ml each dose will consist of. For example, 5 dosings per
day at 10ml per dose will dose 50ml per day. Once the amount has been set, the
GHL Doser will evenly dose the total specified amount evenly throughout the
day. Up to 150 doses per day and 200ml at a time is the maximum
amount.
○Manual Dosing: Manual Dosing allows you to set the times to dose, on what
days or how often, and how much to dose at that specified time. You may set
up to 8 doses with this setting.
7. This option is available for both Auto and Manual dosing. From here, you can specify the
exact days you want a specific doser pump to run or in what intervals. For example, you
can set the doser pump to dose every 3 days by selecting “3” days in “Repeat all”.
8. Available only for Auto Dosing mode. You can tell the doser how many times per day to
dose and how many ml each dose will consist of.

GHL Doser Resource Guide
Release 07/2018
10
(Level Sensor Page)
1. Program your ATO and AWC settings here.
2. Check on status of each level sensor here.
3. Adjust sensor reaction times and invert the functions if necessary.

GHL Doser Resource Guide
Release 07/2018
11
(System Settings Page)
1. myGHL settings can be viewed here. Please refer to this section when assigning the
Doser SA to your myGHL account.
2. You can change the GHL Doser SA WiFi/LAN settings here.
3. PAB devices can be assigned here. This feature is used to expand the number of dosing
pumps you want to use. If you purchased a slave GHL Doser 2.1 or Doser Maxi to add to
your dosing system, you would assign pump numbering here.

GHL Doser Resource Guide
Release 07/2018
12
Reading the GHL Doser Status LED
The GHL Doser status LED will flash certain colors to indicate the current condition of the doser.
Here’s what each color means:
LED Color
Information
Action
Violet (Blinking)
Device booting
No action required
Red/Yellow (Blinking)
Error: Problem w/ serial
number or security key
Email: support@ghlusa.com
Red (Constant)
Error: Memory defective
Email:support@ghlusa.com
Yellow (Constant)
Memory has been reset -
please reactivate control by
confirming on the device
Reactivate control
Red (Blinking)
Alarm
Check status
Yellow (Blinking)
Warning
Check fluid levels
Green (Blinking)
Activity, dosing or water
change
No action required
White (Constant)
Configuration LAN/Wi-Fi
Wait for completion
White (Blinking)
Connecting to myGHL
Wait for completion
Blue (Blinking)
Connected to myGHL
No action required
Blue (Constant)
No information to display
No action required
For more information about these color codes, click here.

GHL Doser Resource Guide
Release 07/2018
13
How to Connect via USB
When you connect your standalone GHL Doser to the PC for the first time, a driver will begin to
install itself. This driver is needed to connect to the GHL Doser 2. If the driver does not
automatically install itself or fails to install, please refer to the Troubleshooting pages.
1. Using the USB cable included in the box, connect it to the Doser 2 and PC.
2. Open GHL Control Center and select the correct “GHL Doser” on the lower left side of
the screen. If you do not see the correct “GHL Doser” listed, follow steps
a-c
before
proceeding.
a.
Click on “Administrator”, a new window will pop up.
b.
Click “New” and another window will pop up. Select the correct “GHL Doser” to
create a new connection.
c.
Give this new connection a name and click “Save”

GHL Doser Resource Guide
Release 07/2018
14
3. Click “Connect”
4. Your GHL Doser SA will now connect.
Wi-Fi Connection Setup
The standalone doser’s built-in Wi-Fi can be setup in two ways; Direct Wi-Fi Connection or
Standard Wi-Fi Connection.
You can:
●Connect directly to the Doser’s Wi-Fi hotspot using your smartphone or
tablet; Direct Wi-Fi Connection

GHL Doser Resource Guide
Release 07/2018
15
●Use the Doser’s Wi-Fi to add it to your existing Wi-Fi network: Standard Wi-Fi
Connection
Direct Wi-Fi Connection
These steps will ONLY work with default doser Wi-Fi settings or when set to Access
point mode.
1. Using your smartphone or tablet, go to the Google PlayStore or App Store and download
“GHL Connect”.
2. With GHL Control downloaded, go to your device’s Wi-Fi settings and search for
available Wi-Fi networks. You should see “GHL Doser 2.1” or “GHL Doser Maxi”listed.
3. Select your doser and wait for your device to successfully connect to the GHL Doser’s
Wi-Fi hotspot.
4. Once your device is connected to the doser’s hotspot, open the “GHL Connect” app.
5. Select “Add Device”and select the device you wish to add.
6. You will then see two fill-in blanks, “Display name” and “Host/IP”. Give this connection
any name you wish. Enter
10.10.100.254
into the “Host” section and tap “ADD”.
7. Select the connection you just made and the device will connect to the doser.
If you wish to have more flexible connectivity options to your doser, we recommend having
your doser join an existing Wi-Fi network. Doing this will allow you to use myGHL cloud and still
have access through our smartphone app.
Standard Wi-Fi Connection
To configure your Doser SA to join an existing Wi-Fi network, please follow these
steps.
1. Using the USB cable included in the box, connect it to the Standalone Doser and PC.
2. Open “GHL Control Center” and connect to the GHL Doser via USB.
3. Click on “System”.
4. Under
WiFi/LAN
, click on “Settings”. A new window will pop up.

GHL Doser Resource Guide
Release 07/2018
16
5. Under “WiFi/LAN Settings”, click “Client Mode”, then “Search WiFi”. Your doser will now
search for available WiFi networks, select the network that belongs to you. If your
network does not show up, disconnect from your doser and try again. You may also
enter the Wi-Fi settings manually.
SSID:
The name of your network
Encryption:
Usually WPA2PSK
Encryption Type:
Usually AES
WiFi Key:
Your network’s password

GHL Doser Resource Guide
Release 07/2018
17
6. Once you have selected your network, the SSID, Encryption, etc. boxes, will be
automatically filled in for you.
7. Click on “Setup Wizard”
8. In this screen, you are asked to select a number between a range. You will see that the
first three boxes have already been filled in for you. The last box is where you will input
any number within the specified range.
9. Write down the complete number as shown in the four boxes. This is your doser’s IP
address which will be used to wirelessly connect to the doser using any PC, smartphone,
and/or tablet.
10. Click “OK”, then “SAVE”.
11. To apply your WiFi network settings, click “DISCONNECT” at the top-left part of the GCC
screen.
12. The logo on the doser will go white for a couple minutes, then turn blue. When it goes
back to blue, the doser has connected to your Wi-Fi network.
Need a visual?
You can view our Wi-Fi setup how-to video by clicking the link below.
Static IP Wi-Fi Setup:
https://youtu.be/PHCcd1tQQrA

GHL Doser Resource Guide
Release 07/2018
18
How to Connect via Wi-Fi to GHL Control Center
Connection to GHL Control Center via Wi-Fi is only available when the Standalone GHL Doser is
connected to your existing Wi-Fi network.
To connect to the GHL Doser via Wi-Fi over GHL Control Center, please follow these steps:
1. Open GHL Control Center and click on “Administrator”.
2. Click “New” and another window will pop up.
3. Select your GHL Doser to create a new connection

GHL Doser Resource Guide
Release 07/2018
20
6. Click “Save” and select the new connection. It will be displayed in the lower left side of
the GCC screen.
NOTE: Make sure the PC is connected to the same Wi-Fi network, otherwise you will
not be able to connect!!!
LAN Connection Setup
1. Using the USB cable included in the box, connect it to the Standalone GHL Doser and
PC.
2. Open “GHL Control Center” and connect to the GHL Doser via USB.
3. Click on “System”
4. Under
Wi-Fi/LAN
, click on “Settings”. A new window will pop up.
5. Click on “LAN”
6. Click on “Setup Wizard”
7. In this screen, you are asked to select a number between a range. You will see that the
first three boxes have already been filled in for you. The last box is where you will input
any number with the specified range.
8. Write down the complete number as shown in the four boxes. This is your doser’s IP
address which will be used to wirelessly connect to the doser using any PC, smartphone,
and/or tablet.
This manual suits for next models
1
Table of contents
Popular Water Pump manuals by other brands

Wilo
Wilo Drain TC 40 Installation and operating instructions

Sanisan
Sanisan Condens CD10 installation instructions

Canature WaterGroup
Canature WaterGroup Duro Titan SBA025T1 Operating and installation instructions

Zehnder Pumpen
Zehnder Pumpen ZPK Series Operation manual

welldana
welldana D66-112015 Operation instructions

M&C
M&C MP Series instruction manual

Ironton
Ironton 50134 owner's manual

GORMAN-RUPP PUMPS
GORMAN-RUPP PUMPS PA Series Installation, operation, and maintenance manual with parts list

EINHELL
EINHELL BG-WW 1355 NN Original operating instructions

Reefe
Reefe RSF980 user manual

Graco
Graco Bulldog 221-104 Instructions-parts list

Coleman
Coleman Quickpump 12Vdc Instruction leaflet