6
First steps
Gigaset E36 / IM1_en / A31008-M1853-R101-2-6Z19 / starting.fm / 11.10.2008
Version 4, 16.09.2005
On the handset
Menu§ ¢Settings ¢§OK§ ¢Handset ¢§OK§
¢Register Handset ¢§OK§ ¢Enter
system PIN of base station
(default status: 0000) ¢§OK§
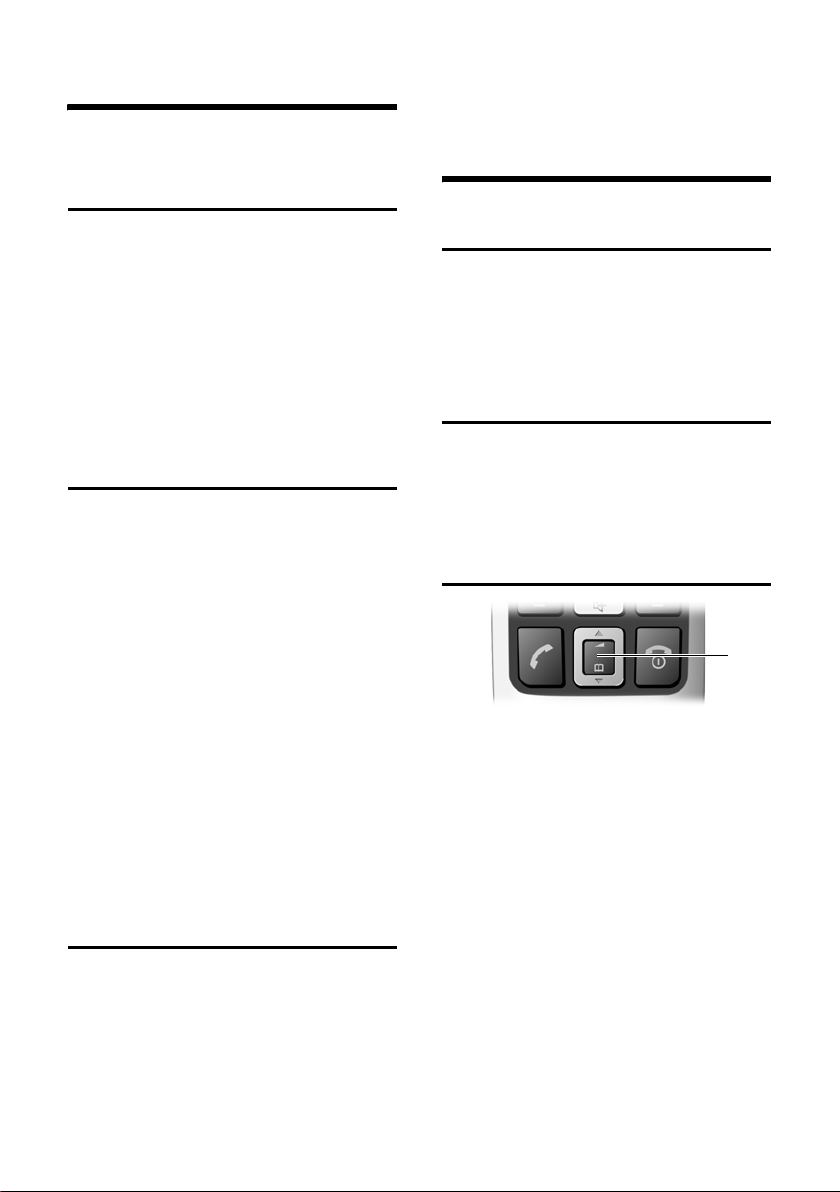
On the base station
Press and hold the registra-
tion/paging key on the base
station (min. 1 sec.).
Registering the Gigaset E36 on other
GAP-enabled base stations
On the handset: §Menu§ ¢Settings ¢§OK§
¢Handset ¢§OK§ ¢Register Handset
¢§OK§ ¢Enter system PIN of base
station (default status: 0000) ¢§OK§.
On the base station: Start to register the
handset on the base station as described
in its user guide.
Charging the batteries
¤Plug the mains adapter of the charging
cradle into the power socket.
¤Place the handset in the charging cra-
dle with its display facing forward.
To charge the batteries, leave the handset
in the charging cradle. Battery charging is
indicated in the top right of the display by
a flashing battery icon eif the handset
is switched on. During handset operation,
the battery icon indicates the charge sta-
tus of the batteries (page 1).
Initial charging and discharging of
batteries
The correct charge status can only be dis-
played when the batteries are first fully
charged and discharged through use.
¤To do this, leave the handset in the
charging cradle without interruption
until the battery icon stops flashing in
the display (approx. 6 hours).
¤Once the batteries are fully charged,
remove the handset from the charging
cradle and do not put it back again until
the batteries are fully discharged.
Please ensure the following:
uAlways repeat the charging and dis-
charging procedure if you remove the
batteries from the handset and re-
insert them.
uThe batteries may warm up as they are
charging. This is not dangerous.
uAfter a time the charge capacity of the
batteries will decrease for technical rea-
sons.
Setting the date and time
§Menu§ ¢Settings ¢§OK§ ¢Date/Time
¢§OK§
~Enter the day, month and year
with 6 digits and press §OK§. Use
qto move between the
fields.
~Enter hours and minutes with
4 digits (e.g. 0 7 1 5 for
07.15 hrs) and press §OK§. Use
qto move between the
fields.
Once the phone is registered and the
time set, the idle display looks as shown
on page 1.
Your phone is now ready for use.
Note:
After the first battery charge and discharge
you may replace your handset in the charging
cradle after every call.
Note:
You will find explanations for the symbols and
typographical conventions used in this user
guide in the appendix, page 14.