Glasstudio Modena MD3648 Guide

Ergo In Demand, Inc. •Support line 800-888-6024 • www.ergoindemand.com
Glassboard Installation and Assembly Sheet.
Models: Modena MD3648, MD4836, MD7248, and Nova NV4836
and NV7236 collection.
WARINING
• Do not begin to install your Glassboard product until you have read and understood the instructions and
warnings contained in this Installation Sheet. If you have any questions regarding any of the instructions
or warnings, please call your reseller or customer service at 800 8886024. You could also ask support at
info@ergoindemand.com
• This product should only be installed by a qualified professional.
• Make sure that the supporting surface will safely support the combined load of the Glassboard and
hardware components.
• Never exceed the Maximum Load Capacity of recommended and included anchors.
• If mounting to wood wall studs, make sure that mounting screws are anchored into the center of the
studs. Use of an "edge to edge" stud finder is highly recommended.
• Always use an assistant to safely lift and position Glassboard.
•Secure and Tight screws firmly. Don’t over tight, since this could greatly reduce holding strength.

Ergo In Demand, Inc. •Support line 800-888-6024 • www.ergoindemand.com
Tools Needed for Assembly
• Stud finder ("edge to edge" stud finder is recommended)
• Phillips screwdriver
• Drill with 1/4" and 5/32" drill bits.
• Bubble level.
Parts List
Item
Description
Quantity
A
Self-Drilling Drywall Anchors Diameter: 9/ 16 Overall Length: 2-
1/ 2 Hole Size: 9/ 16 Screw Size: #8 Material: Zinc - Grade
3 (includes screws)
5
B
Flat Washers Material: Nylon -
4
C
Flat Washers - Stainless Steel Type
4
C
Stainless steel standoff
4
D
Plastic cushion wahers
8
A B C
D
Dry wall Installation (Wood Stud Wall)
Installation of your Glass Whiteboard is simple and straightforward but it requires careful
handling of at least two people. By following these steps your board will be properly
installed, secured and ready for immediate use.
Notes. Please don’t undress Glassboard from its plastic wrap until you are ready to hang it
. This prevents scratches from happening when friction occurs against walls.

Ergo In Demand, Inc. •Support line 800-888-6024 • www.ergoindemand.com
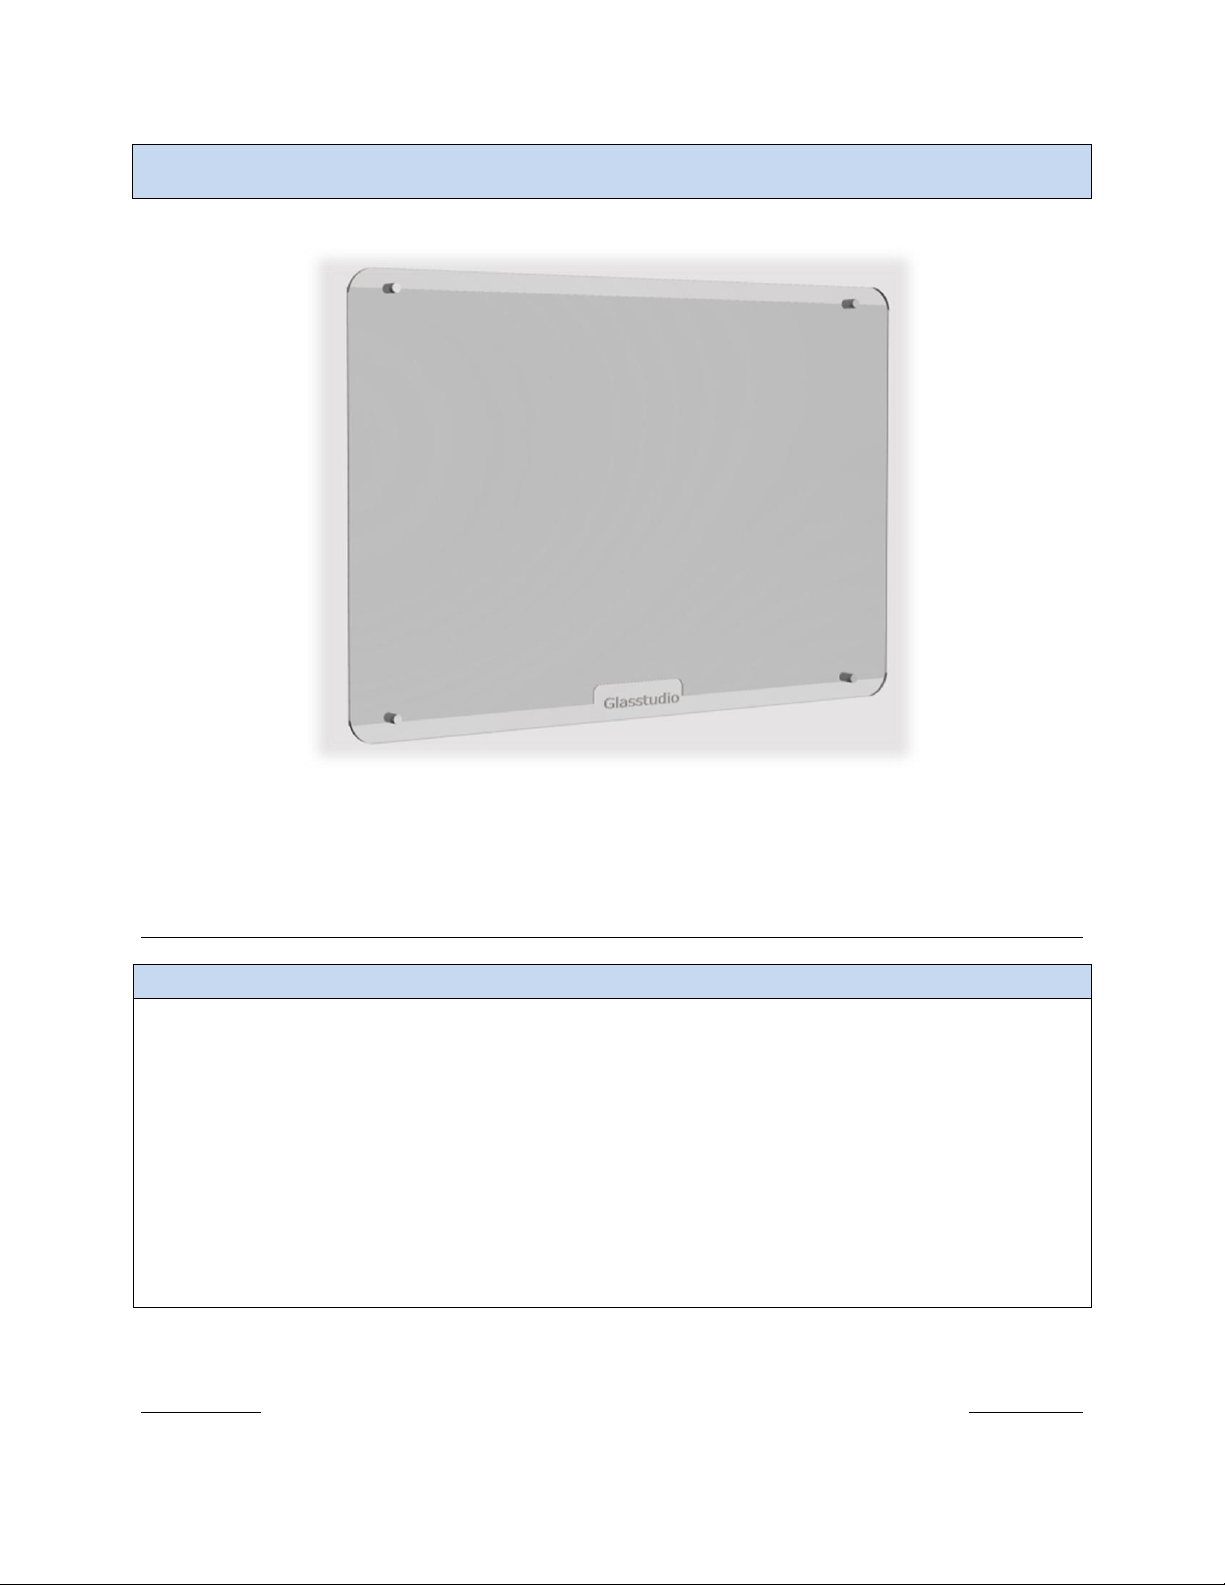
Where to install it?
Even though it is obvious please take into consideration the following:
Select the wall where you will install the Glassboard onto.
Decide what height is going to be most convenient based on functionality and
room distribution. While doing this, consider how Glassboard will reflect light to
avoid excess ghosting and shadows.
Measurements.
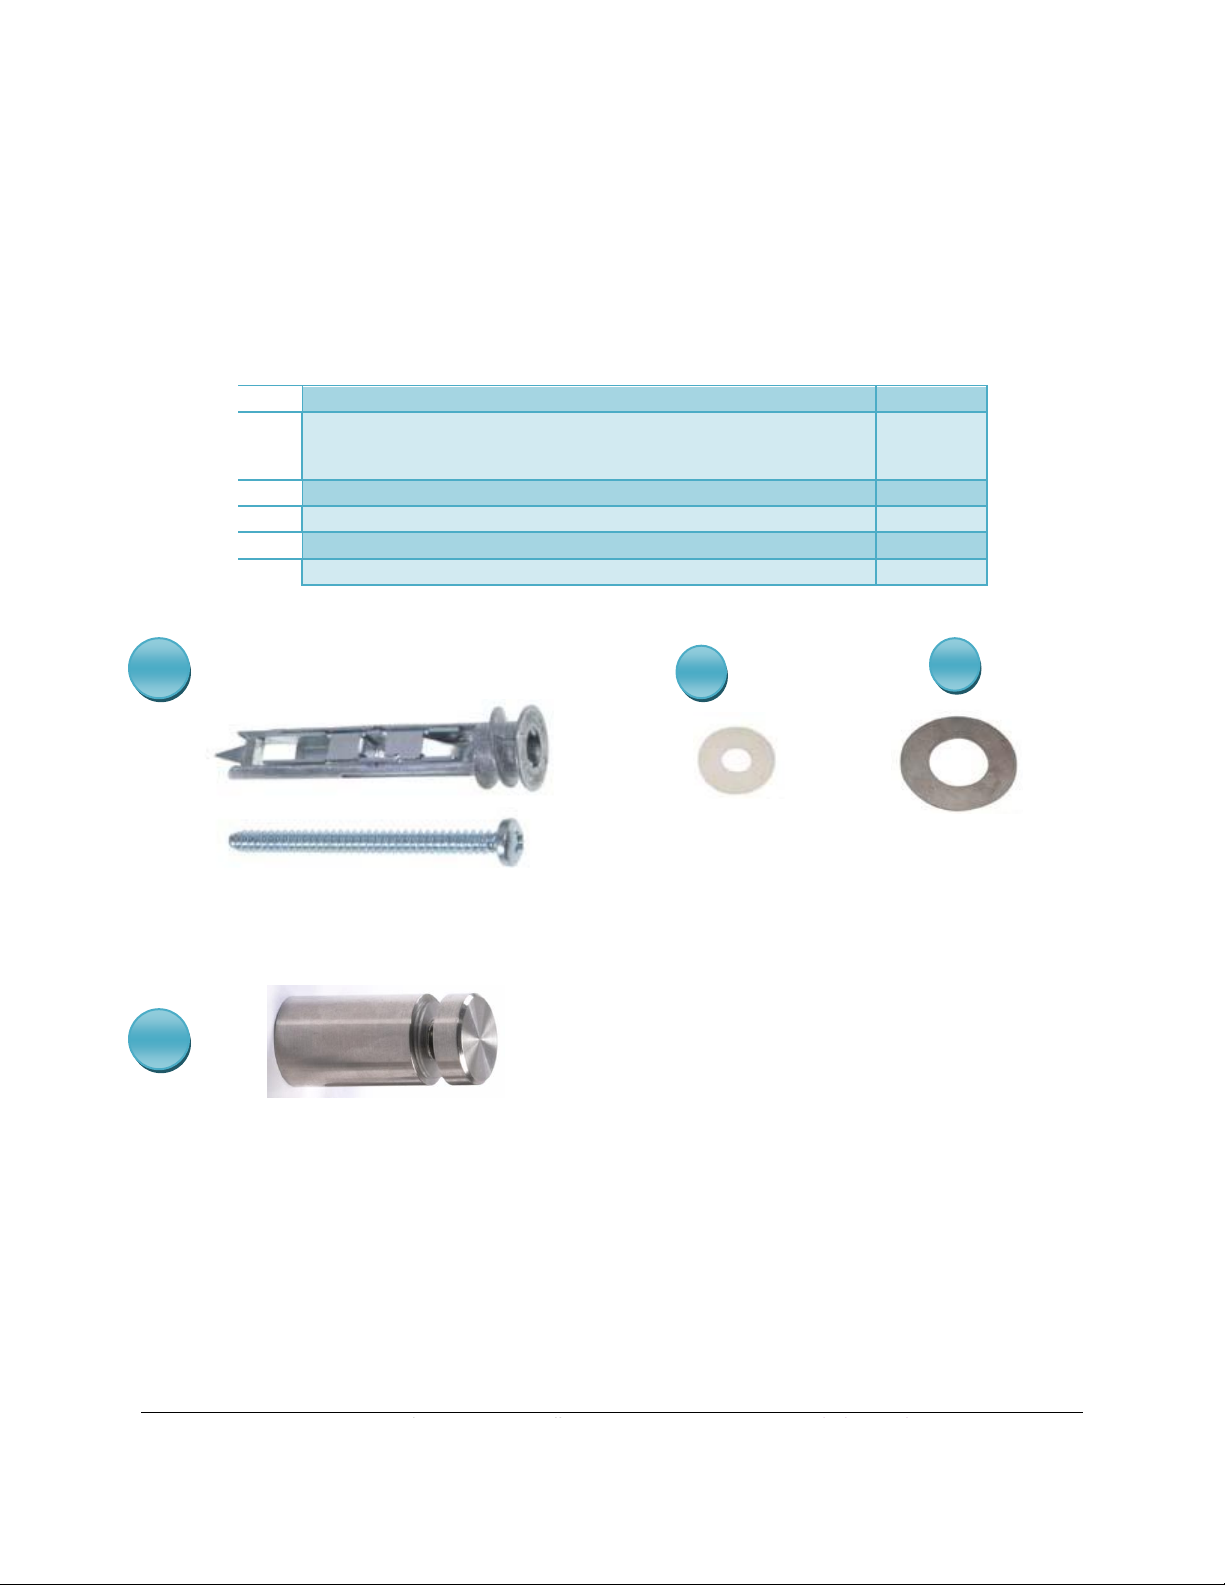
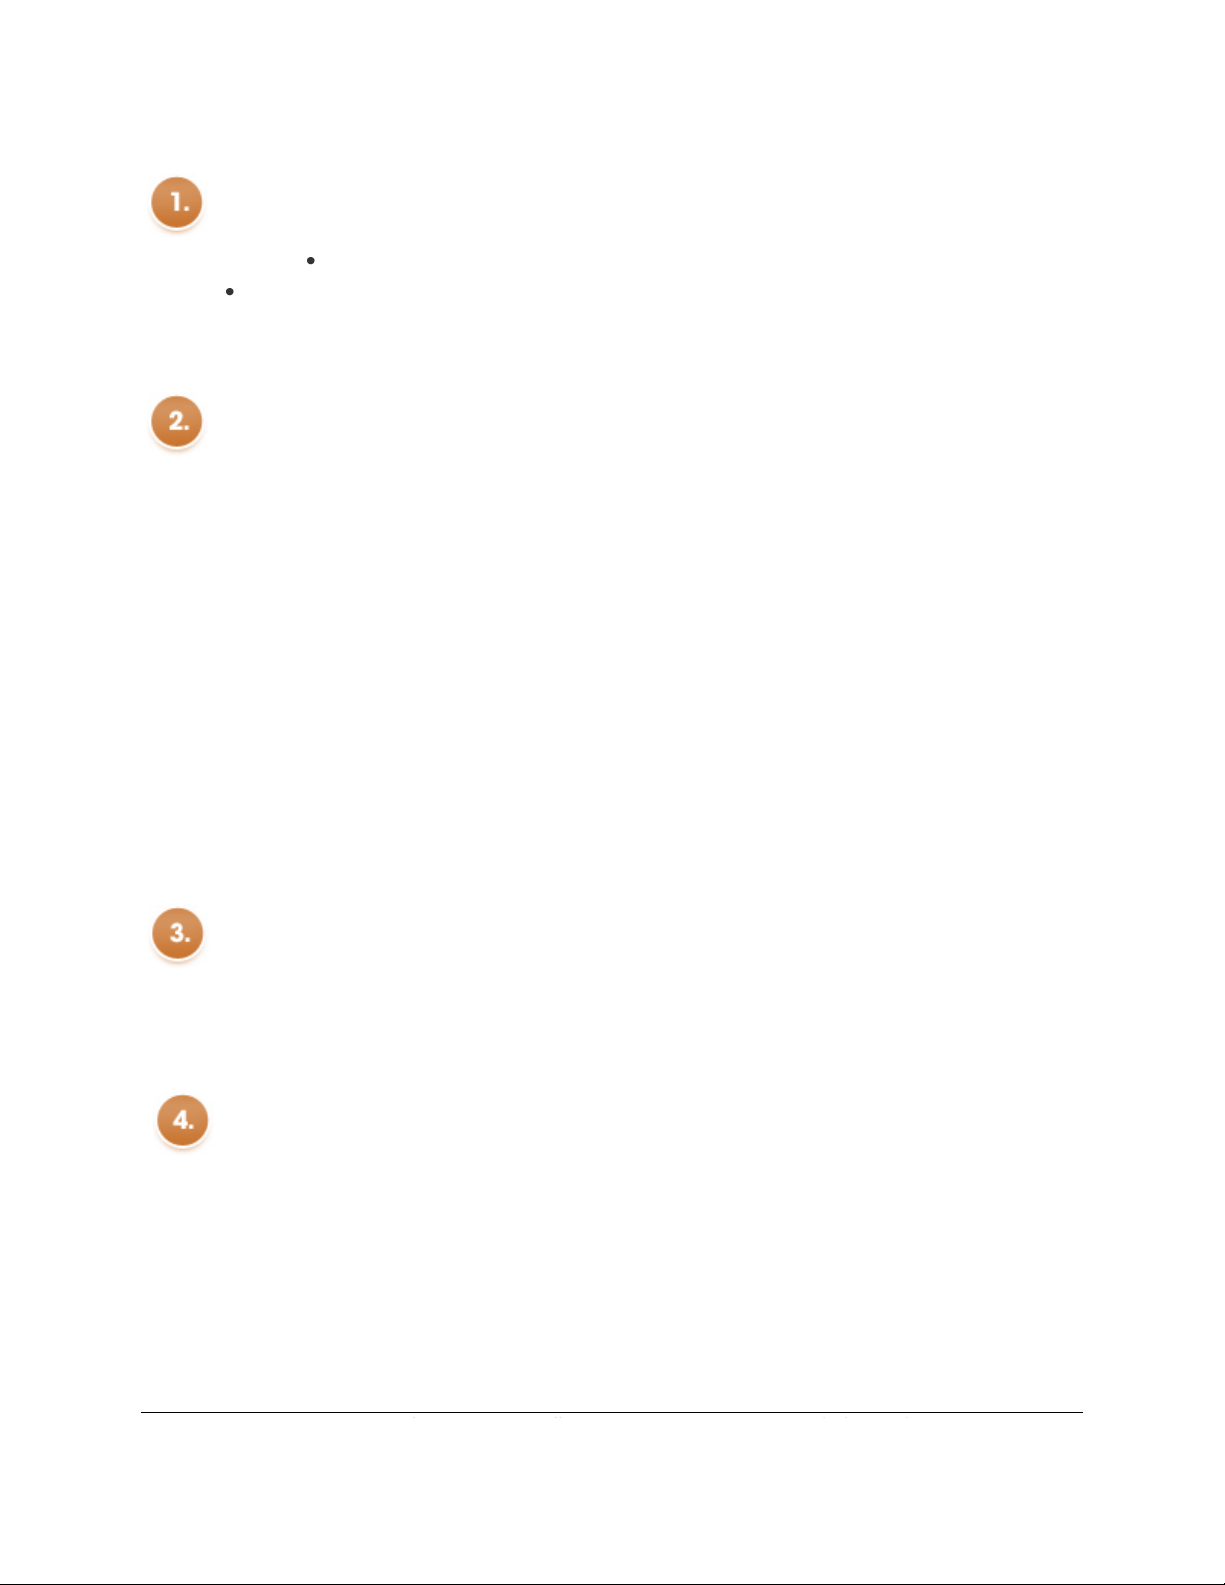
For dry wall installations, we provide special Self-Drilling Drywall Anchors D. This anchor
as its name implies uses itself to create a hole as you screw it into the dry wall. When
measuring and deciding Glassboard location, make sure anchors are not on top of a
construction stud (this vertical device is made of metal or wood ensuring wall strength sitting
behind the drywall). To avoid this problem you could use a Stud finder device, or use a thin
nail
To avoid handling Glassboard for measurements purposes, you could take a piece of
cardboard and cut it exactly as a template. If done so, make sure you mark exactly the
four holes on the cardboard. Then position the cardboard on the wall in the position you
have decided to mount Glass whiteboard. Using a bubble level, ensure the cardboard
template is level, and carefully using a nail mark drywall holes (anchors). Make sure you
mark the middle of each circle onto the wall. If you have measured correctly, these should
be the points at which you should drill the holes for the wall anchors.
Check Level and Measurements
Check your measurements and cardboard level one more time. Once you are ready, proceed
to anchors installation.
Anchors Installation. Drill the fixing holes
Install each self drilling anchor onto the wall. Make sure you don’t over tight them maintaining
the arrow pointing up on the head of each self drilling anchor. This guarantees proper
functionality of them when securing screws and standoff fixtures to the wall.

Ergo In Demand, Inc. •Support line 800-888-6024 • www.ergoindemand.com
Install Standoff Fixtures.
Unscrew standoff head and insert provided screw through standoff’s main body. Also use
provided metal washer C between wall and Standoff. Using a Phillips screwdriver, secure
standoff to the wall already installed anchor. Make sure you tight top Glassboard standoffs
while allowing some liberty to the bottom ones. This is to allow installers shift and align
standoff glassbords when mounting. Once all four standoffs are installed and board has
already fit perfectly, then proceed to hang the Glassboard. (Don’t forget to secure bottom
standoffs too).
Fix the Glass Whiteboard
Carefully lift the Glass whiteboard so that the four mounting standoffs are aligned with
Glassboard holes. This is best done with two people. Carefully screw each standoff head
through Glassboard to anchors. Make sure you use provided nylon washers Bto cushion
glass from both sides.. Be careful not to scratch the back of the glass. When you have all four
threaded bolts through the glass, screw them until they are firmly resting against the glass.
Oncecompleted, you are ready to start using Glassboard. It is a good idea to make sure
anchors are not becoming loose. If so repeat steps.
This manual suits for next models
4
Table of contents