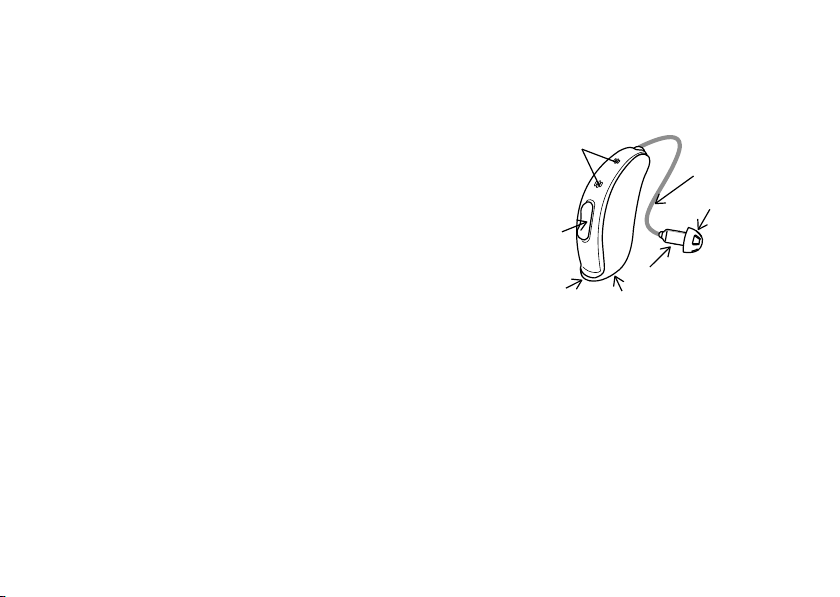
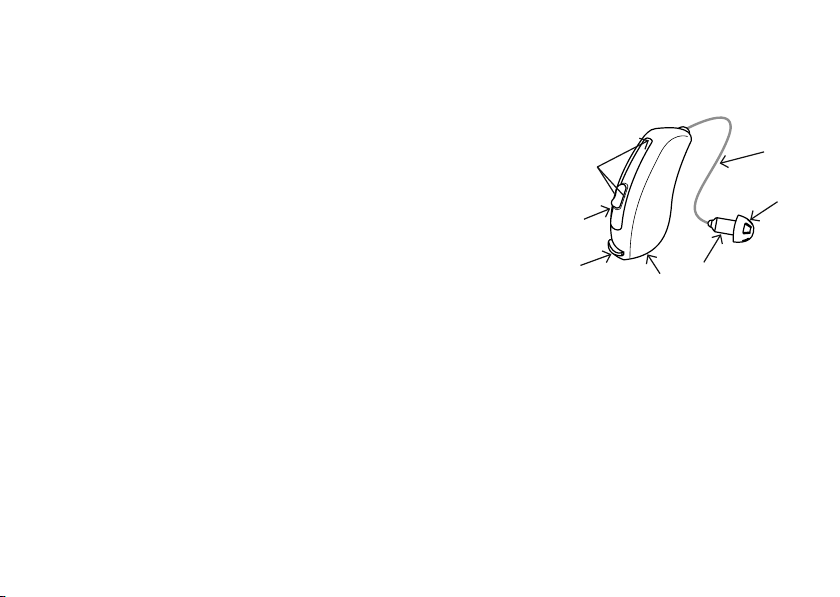
Preparing your hearing aids for use
Battery warnings
WARNING: Batteries contain dangerous substances and should be disposed of carefully in the
interest of your safety and for the environment. Please note:
1. Keep batteries away from children, mentally disabled persons, and pets.
2. Do not place batteries in your mouth. Consult a physician immediately if a battery has been
swallowed, as they can be harmful to your health.
3. Do not recharge zinc-air batteries – they may leak or explode.
4. Do not attempt to dispose of batteries by burning them.
5. Used batteries are harmful to the environment. Please dispose of them according to local
regulations or return them to your hearing care professional.
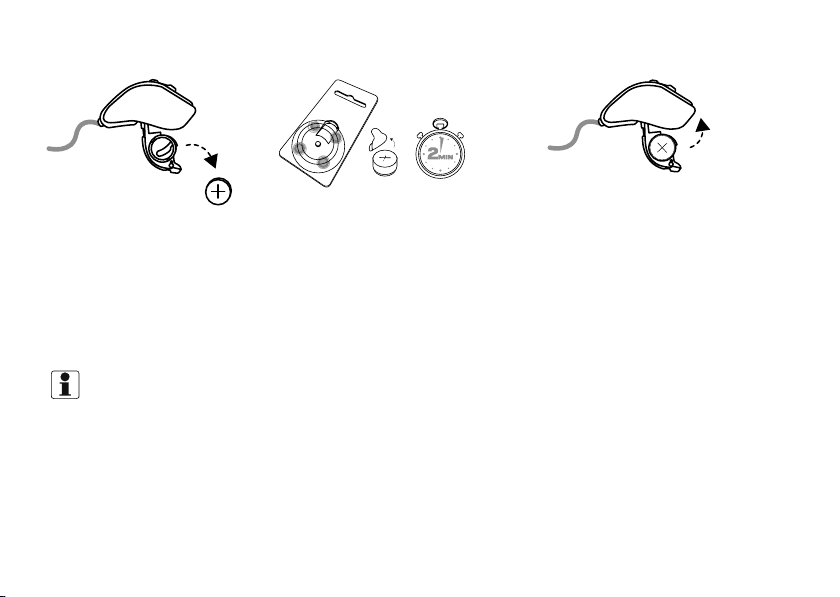
6. Batteries may leak. Remove the battery if you leave the hearing aids unused for longer periods.
7. If the batteries are not inserted correctly, the device will not work and the batteries may build up
heat. If this happens, please remove the batteries.
NOTE:
• Always use new zinc-air batteries that have a minimum remaining shelf life of one year.
• To save battery power, turn off your hearing aids when they are not in use.
Preparing your hearing aids for use 9