1.
MOUNTING OPERATIONS
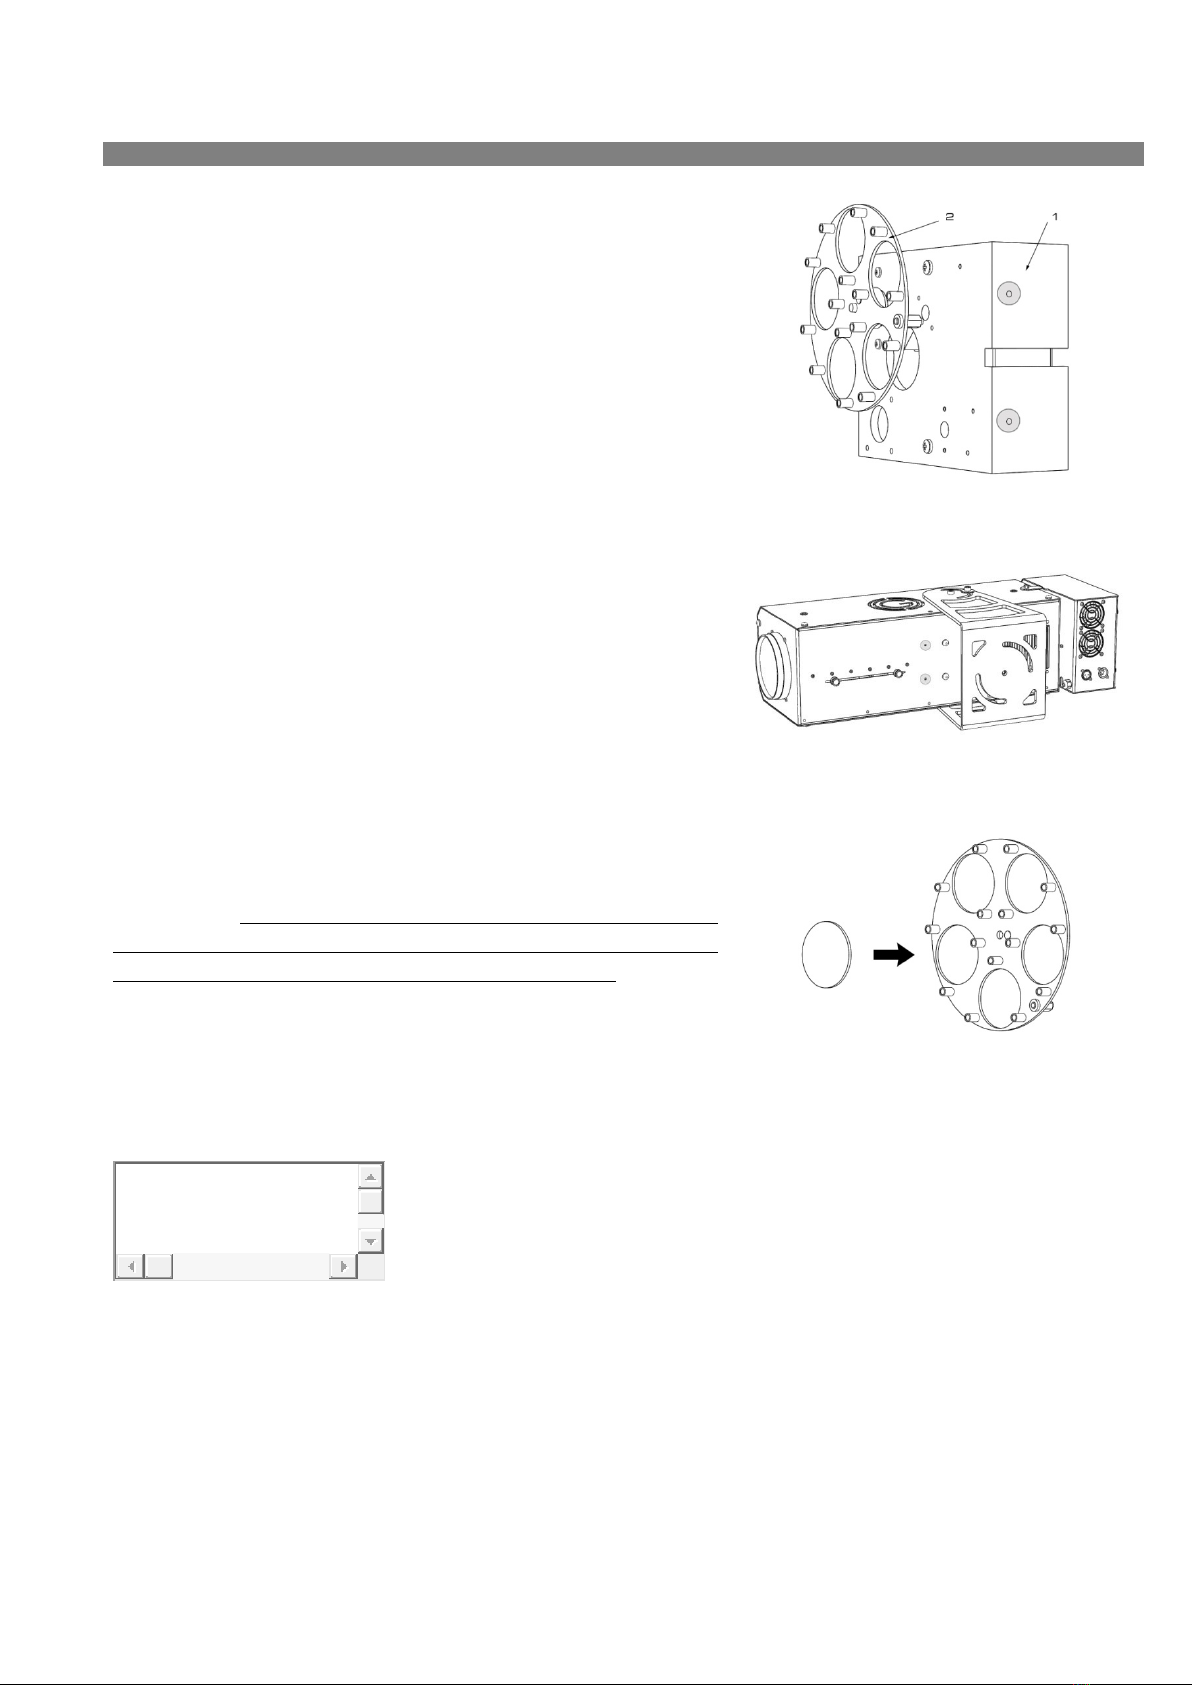
The Change Image Kit consists of two parts (Fig1):
1. Component 1 is the mechanical part of the accessory, or the
bracket that makes the movement of the effect possible.
2. Component 2 is the gobo-holder wheel, or the support where
it is possible to mount up to 5 gobos.
To install the accessory, act on the couple of threaded holes on
the base (Fig.1), screw these in correspondence with the through
holes of the projector (Fig.2), connect the 12V plug to the relative
socket from the panel and, finally, activate the everything from an
external button on the back of the projector.
The gobo-holder wheel is anchored to the bracket by magnetic
attraction, to proceed with the installation of the gobos more
safely remove it from the base.
When installing /replacing gobos into the projector , is
necessary to place the gobo positioning the REFLECTING SIDE
of it ALWAYS FACING THE LAMP; on contrary the MATTED
(BLACK/GREY) SIDE must FACE the PROJECTOR LENS (see
projector’s manual).
ATTENTION: This mounting rule allows the correct usage of
gobo avoiding its breaking. Prestare sempre attenzione a non
fare investire la ruota gobo-holder dal fascio luminoso.
Once the installation direction of gobo is clear, embed it among
the silicone cylinders visible on GOBO HOLDER, doing a slight
pressure on the gobo. It is important that all gobos have the
same thickness and are in line respect to the cylinders base
(Fig.3).
As already mentioned, to operate
the accessory it is necessary to turn the relative 12V line ON using
the red button outside the projector. The accessory starts with a
standard display mode (5 seconds stay on each of the 5 available
positions).
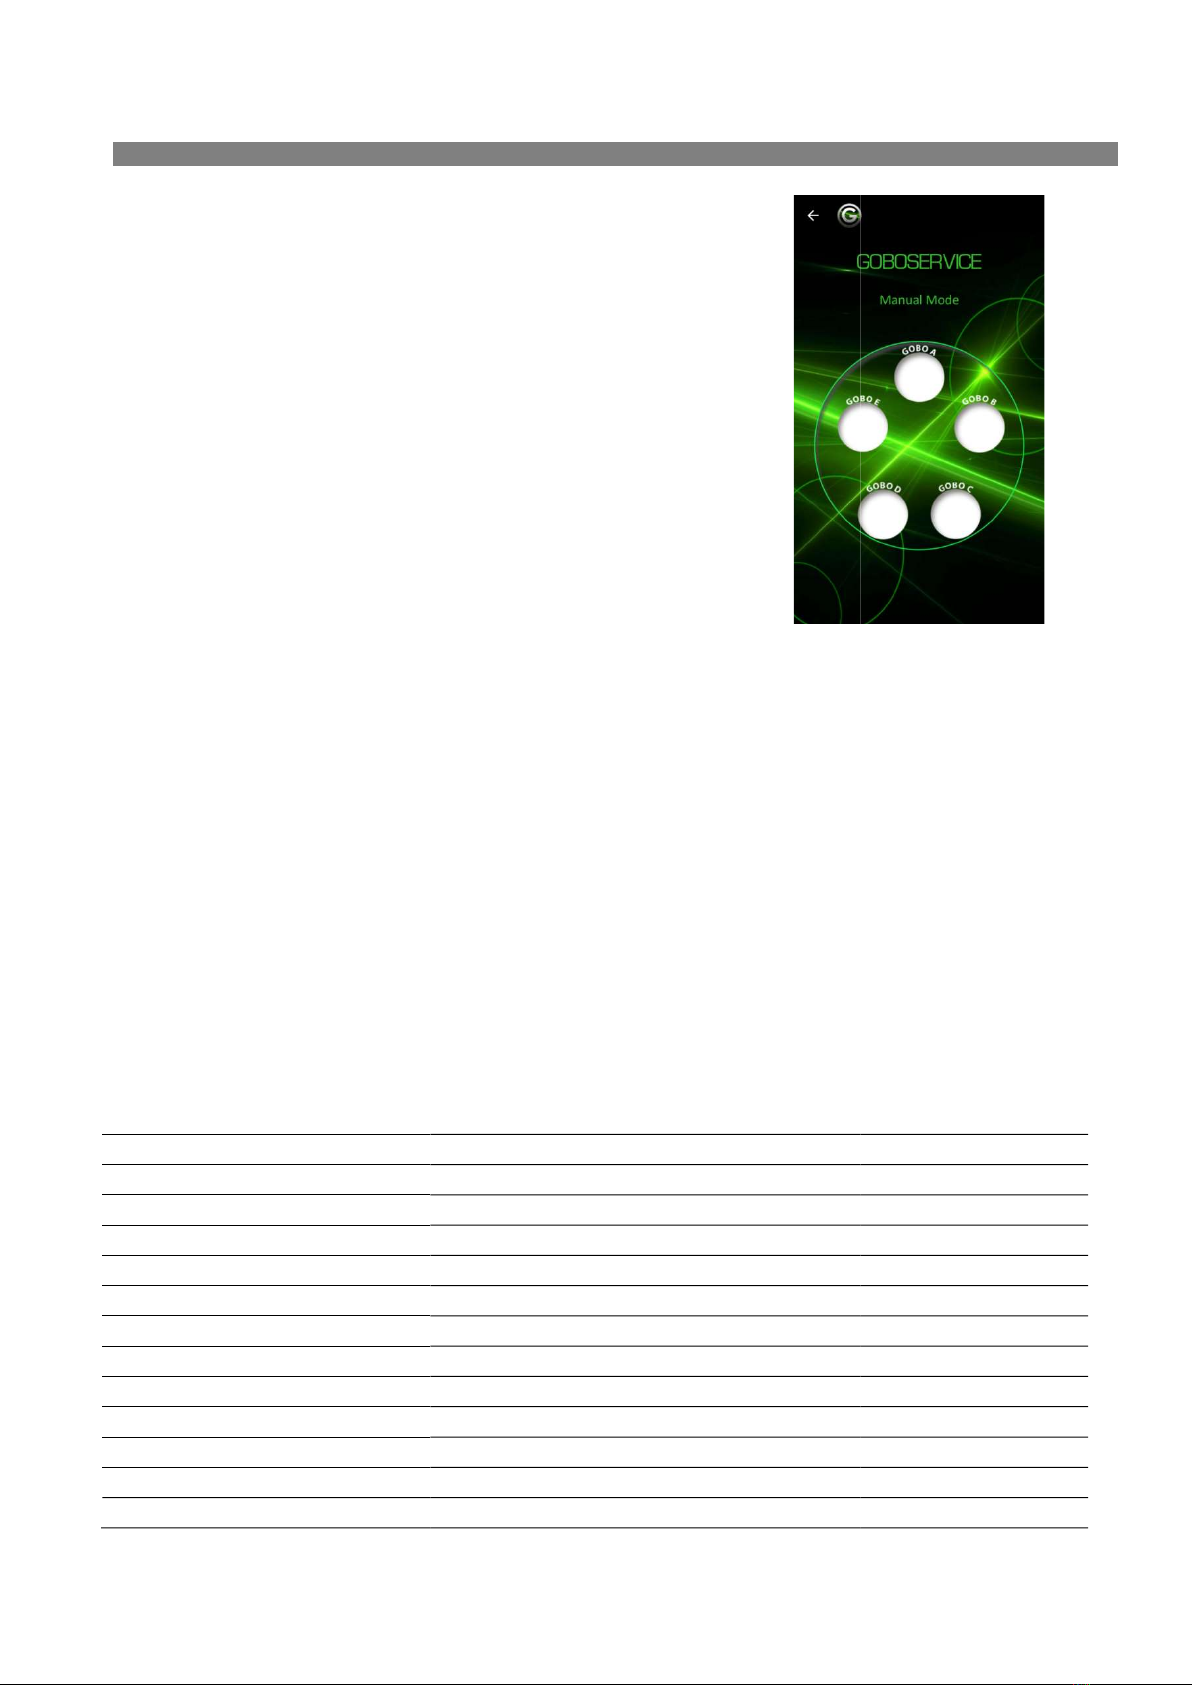
If envisaged during the purchase phase, it is possible to control
the Change Image Kit remotely via DMX connection or by using
the free Goboservice APP.
Fig.1
Fig.2
Fig3.