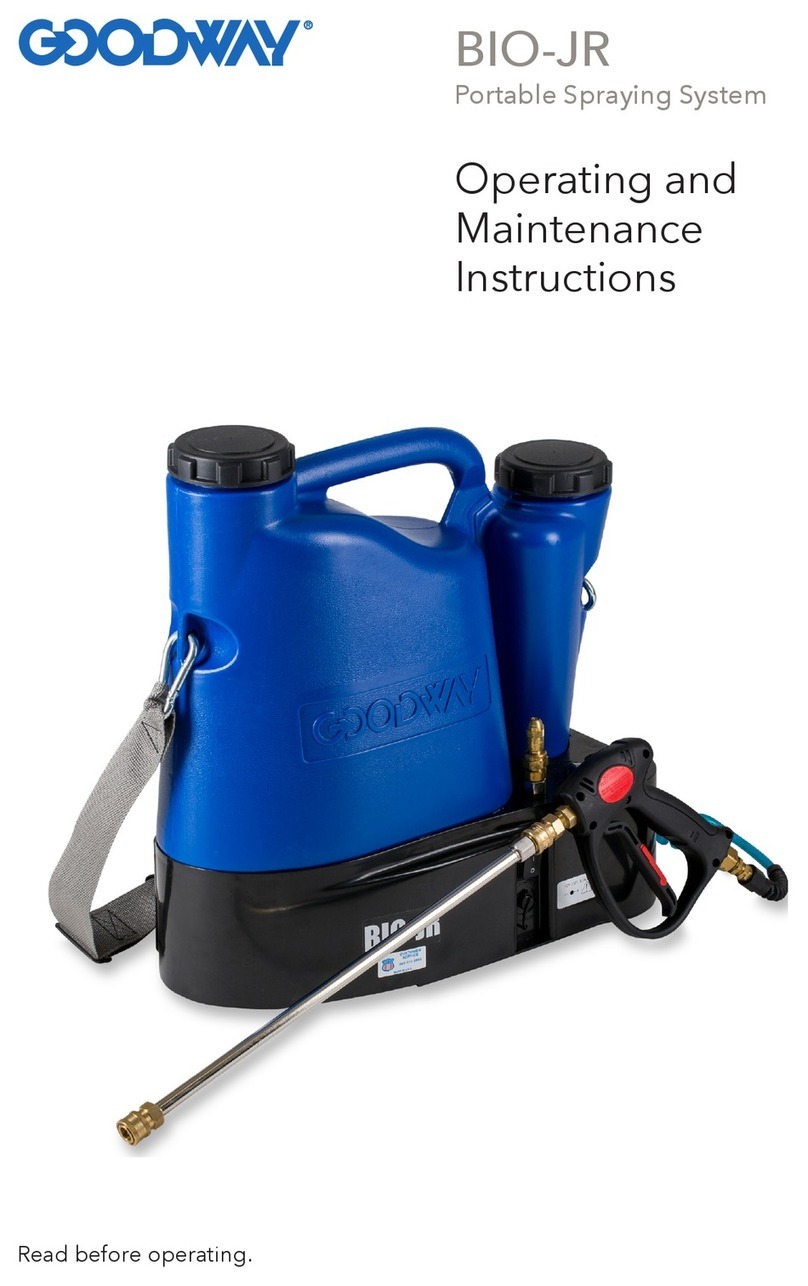
Good Way MoldPro MP-50 Manual

ÓCopyright 2012 Goodway Technologies Corp., Stamford, CT, U.S.A.
Effective Date: January 2012
Goodway is a registered trademark of Crossford International
Goodway reserves the right to improve products - contact the factory for the latest configuration and uses
MODEL MP-50
MoldPro™SPRAYER
OPERATING AND MAINTENANCE INSTRUCTIONS

1
Thank you for purchasing Goodway’s MP-50 MoldPro™sprayer. We appreciate your business and look forward to
serving you in the future. As with all Goodway products, you can be assured that the finest quality components and
workmanship have gone into this machine.
Please take a few minutes to read the following Operating and Maintenance Instructions. By carefully following the
instructions, you will obtain years of trouble free service from this product. Please pay particular attention to the safety
instructions and exercise caution when using this machine.
Important Safety Instructions
·Read all instructions before using unit. Failure to follow all instructions may result in serious injury.
·Keep objects, loose clothing, hair and body parts away from openings and moving parts.
·Do not overreach or stand on unstable support. Keep good footing and balance at all times.
·Stay alert –watch what you are doing!
·Do not operate the product when fatigued or under the influence of alcohol or drugs.
·Keep operation area clear of all persons.
·Use personal safety equipment. Always wear eye protection. Dust mask, non-skid rubber sole safety shoes, and
gloves are recommended.
·Use only GOODWAY recommended accessories and replacement parts.
·SAVE THESE INSTRUCTIONS!
Electrical Precautions
·Never expose the unit to rain or the elements. Store unit indoors in a cool, dry area.
·Make certain that the power source conforms to the requirements of the equipment.
·DANGER: For proper protection this product must be grounded. Always plug the power cord into a properly
grounded receptacle. Check with a qualified electrician or service personnel if you are in doubt as to whether an
outlet is properly grounded. Never remove the grounding prong from the power cord plug.
·Do not use any type of plug adapter with this product.
·WARNING: To reduce the risk of electrocution, keep all connections dry and off the ground. Do not handle the unit
or electrical plug with wet hands.
·When unplugging the power cord, grasp the plug –not the cord.
·Unplug the power cord when servicing the unit or leaving the machine unattended
·Do not roll the machine over the power cord, pull the cord, close a door on the cord or pull the cord around sharp
corners. Keep the cord away from hot surfaces.
·Do not use the machine if it has a damaged cord or plug.
Operational Precautions
·Keep your work area clean and well lit.
·Don’t use the unit in an environment or on objects that are above 125° F (52° C).
·Do not use with flammable or explosive fluids such as gasoline, fuel oil, kerosene, etc. Do not use in explosive
atmospheres.
·Consult Goodway or the chemical manufacturer about mixing or using unspecified chemicals. Mixing incompatible
chemicals can be dangerous and life threatening.
·If the machine does not operate properly or is damaged contact Goodway Customer Service.
·Disconnect the plug from the power source, turn off water supply, and depressurize lines before disconnecting
hoses or fittings, and before making any adjustments or changing accessories.
·Never point nozzle at anyone, especially with the machine turned on.
·If servicing this unit, use only identical replacement parts. Follow instructions in the Maintenance section of this
manual. Failure to follow maintenance instructions may create a risk of electric shock or injury.
·Be sure to select the proper tool for the application. Do not force the tool.
·DANGER! DO NOT OPERATE THE UNIT WITH COVER(S) REMOVED!
·Running this unit dry may cause serious damage.
Operating Instructions
Setup
The battery should be fully charged before first use. Plug the unit into AC power for at least 3 hours after unpacking.
Install wheels and axle by inserting axle through tank body and securing wheels with washers and locknut at either end.
Check all fluid connections to see that they are tight and have not been damaged in shipment. Before filling with
chemical, test pump, lines, and fittings by running water through the unit (per operating instructions below) and
checking for leaks.

2
Operation
Mix MoldTek™spray chemical per the chemical packaging using a separate mixing container. Carefully pour mixed
chemical into tank; do not use a chemical solution over 125°F (52°C). Point nozzle toward area to be sprayed and do not
leave unattended. Turn switch on, aim nozzle, and squeeze wand handle lever to spray chemical. For continuous
operation, slide lever lock forward. The nozzle on the tip of the wand may be adjusted for various spray patterns. After
use, turn switch off and depress wand trigger to release pressure.
Pressure adjustment
Discharge pressure can be adjusted from 20—95 psi; this unit is factory set at 65 psi. To adjust, turn the pressure
adjustment screw in the pressure switch located below the pump. Turn the screw clockwise to increase pressure, and
counterclockwise to decrease pressure. As pressure is decreased, pump will tend to pulsate, and as the screw is
loosened beyond two full turns, it may come loose from the switch.
Charging battery
After any period of use this battery may be fully or partially charged without risk of damage. For maximum battery life,
fully charge the battery after each use.
Maintenance and Storage
Follow instructions on chemical label for proper cleanup procedure. In general, clean sprayer and breather cap with
dishwashing soap, diluted with clean water after each use. Run soap solution through the pump, hose, and wand and
rinse after every application to increase the life of your unit.
Store this unit indoors in a cool, dry place. In areas with extreme winter conditions, unit should be winterized with a 75%
antifreeze (ethylene glycol based) solution. Pour the mixture into the tank and run through the plumbing until a steady
stream of solution sprays from the nozzle. When finished, switch power off and depressurize system before storing.
Even in warm temperatures, we recommend using antifreeze before extended storage in order to reduce the chance of
rust and scale from damaging components.
Specifications
AC input
90
—
130 VAC, 0.1 A max, 60 Hz
(OPTIONAL) 230 VAC, 0.05 A max, 50 Hz
Output
12 VDC, 1 A
Battery
12 V, 7 Ah, sealed lead acid battery
, rechargeable
Tank capacity
5 gallons
Maximum operating liquid temperature
125 °F (52 °C)
Pump characteristics
Intermittent duty cycle
95 psi max output
0.5 gpm at 95 psi
Warranty Information
Please check the included warranty card for all warranty information.
Troubleshooting
PROBLEM
PROBABLE CAUSE
REMEDY
Pump does not operate when spray
gun trigger is squeezed
·
Power switch is off.
·Battery too low to operate
·
Turn on.
·Plug into AC power or replace battery
Pump does not remain on when
switch is on.
·
Battery too low to operate
·
Plug into AC power or replace battery
Pump runs but no flow
·
On-board tank empty
·Kinked or collapsed hose
·Clogged nozzle
·
Fill tank
·Remove kink or replace worn hose
·Remove nozzle & clean orifice
Inconsistent and/or erratic pressure
·
Sucking air on inlet side of pump
·Partial blockage in hose.
·
Make sure on-board tank is filled, check
switch position.
·Remove blockage
Low Pressure
·
Worn nozzle
·Low Battery
·
Replace nozzle
·Charge or replace battery
Pump runs but cycles on/off or pulses
when spray gun trigger is squeezed
·
Clogged Nozzle
·Hose is clogged (ice, debris, etc).
·
Remove nozzle & clean orifices
·Remove hose and clean
Pump stops after extended use
·
Battery too low to operate
·Thermal breaker tripped
·
Charge or replace battery
·Turn unit off, let unit cool off and wait
for breaker to reset
Problem Not Listed
Call Goodway Customer Service: 1
-
800
-
370
-
2855

GOODWAY TECHNOLOGIES CORPORATION
420 WEST AVENUE, STAMFORD, CT 06902, USA
Tel: 203-359-4708 · Toll-Free Tel: 800-243-7932
Fax: 203-359-9601 · Toll-Free Fax: 800-359-9625
E-Mail: goodway@goodway.com
Web: www.goodway.com
Parts List
REF PART NAME REF PART NAME
1
Breather valve
11
Lever
2
Cap
(9687)
12
Sprayer grip
3
Safety labels
13
Hose
4
Base
14
Charging jack
5
Battery charger
(
MP
-
50
-
4
)
15
ON/OFF switch
(
9685
-
3
)
6
Nozzle
16
Tank
7
Wand
17
Handle
8
Battery
(
9689
)
18
Snap buttons
9
Pump
(
MP
-
50
-
2
)
19
Axle
10
Lever lock
20
Wheels
(
MP
-
50
-
6
)
We Are Here to Serve You!
For Sales Call: 1-800-333-7467
For Service Call: 1-800-370-2855
Goodway Technologies Corporation
Manufactures And Distributes A Complete Line Of Tube/Pipe Cleaning
Systems, Duct Cleaning Systems, Vacuums, Floor Machines, High-
Pressure Washers And Other Maintenance Related Equipment.
Table of contents
Other Good Way Paint Sprayer manuals
Popular Paint Sprayer manuals by other brands

Hozelock
Hozelock KILLASPRAY PLUS Instructions & warnings

Graco
Graco 311861G Instructions and parts list

Kremlin-Rexson
Kremlin-Rexson A 25 instruction manual

WAGNER
WAGNER Paint Crew Brochure & specs

Earlex
Earlex Spray Station HV5500 Manual and safety instructions

Graymills
Graymills Tempest T-10 Operation and maintenance instructions