manuals.online logo
Brands
  1. Home
  2. •
  3. Brands
  4. •
  5. Goodiy
  6. •
  7. Garden House
  8. •
  9. Goodiy 502227748 User manual

Goodiy 502227748 User manual

502227748
PRICE
MATTERS.
GB
FI
SE
NO
EE
Instruction manual
Käyttöohje
Bruksanvisning
Bruksanvisning
Kasutusjuhend
pg 2 - 38
pg 39 - 75
pg 76 - 112
pg 113 - 149
pg 150 - 186
Greenhouse
Assembly Instructions
IMPORTANT
You must read these instructions carefully before you start to assemble this greenhouse. Please ensure that you
find all parts
Please carry out the steps in the order set out in these instructions.
Do not tighten the steps in the greenhouse until completing on the assembly of the poly
carbonate panels.
Keep these instructions in a safe place for future reference.
size: 250Lx190Wx207Hcm
2020
in the carton box in the correct type and quantity as mentioned in the list illustrated in every page
accordingly.
-2-
502227748
!
SAFETY ADVICE
- We strongly recommend the use of work gloves during assembly.
- Do not attempt to assemble the greenhouse in windy or wet conditions,
- Do not touch overhead power cables with the aluminum profiles.
- Dispose of all plastic bags safely keep them out of reach of small children.
- The greenhouse must be positioned and fixed on a flat level surface.
- Do not lean against or push the greenhouse during construction.
- Keep children away from the assemble area.
- Do not position your greenhouse in an area exposed to excessive wind.
- Hot items such as recently used grills, blowtorches etc. must not be stored in the
greenhouse.
GENERAL ADVICE
- This is a multi-part assembly, allow 2-3 days for assembly.
- Selecting a site, choose a sunny level position away from overhanging trees.
drilled holes in the metal base supplied.
- Keep roof clear of snow and leaves.
CARE & MAINTENANCE
- When your greenhouse needs cleaning, use a mild detergent solution
and rinse with clean water.
clean the clear panels .
TOOLS & EQUIPMENT REQUIRED
Protective Equipment:
1. Helmet
2. Glove
3. Long Sleeve Cotton Overalls
4. Emergency Medicine Cabinet
5. Eye Shield
Measure (metric):
1. The Tape (5 m)
2. Angle Square
3. Level Meter
Installation Tool:
1. Spanner 8mm (Ratchet Wrench is better)
2. Electric screwdriver+8mm hex bolt sleeve(suggest)
3. Wooden Mallet
4. Marking Pen
5. Silicon
6. Knife
7. Screwdriver
Silicon
-3-
8. Drill bit Ø6
- If you are fixing your greenhouse directly to a solid concrete foundation use the
pre-
- Keep all small parts (screws etc.) in a bowl so they do not get lost.
Ø6
- Do not attempt to assemble this greenhouse if you are tired or are under the
influence of drugs or alcohol or if you are prone to dizzy spells.
- The component parts should be checked and laid out close at hand.
- If using a step ladder or power tools ensure that you follow the manufactures
safety advice.
- Ensure there are no hidden pipes or cables in the ground before inserting the
pegs.
- Do NOT use acetone, abrasive cleaners or other special detergents to
- Always wear shoes and safety goggles when working with extruded aluminum.
!
OTHER CAUTIONS
1. 2 people required, one is for measuring & taking
person is responsible for the installation and the
last one do as assistant and assure the safety.
2. High-power electric tools are required, ensure
they work normally and highly pay attention to
electric safety.
4. Wear long sleeve cotton overalls, gloves and
helmet during installation and wear safety glasses
when using power tools.
6. No climbing, no standing on the tent to avoid
falling down.
-4-
250cm
190cm
56cm
207cm
133cm
176cm
12cm
marks to ensure the installation dimension, the second
FOUNDATIONS
The ground should be even under the greenhouse, check the eveness for example with a level meter. Make sure the base of the greenhouse is firmly anchored
to the ground, for example by pouring the legs in its corners into the ground. Check the rectangle of the corners by measuring. If necessary, replace the soil
frosting material deep enough with non-frosting material so that the soil movement does not later break the greenhouse frame.
3. Be careful when using blunt tools, like hammer.
5. When installing parts above you, protect yourself
from potentially dripping parts.
PARTS LIST (3-1)
NO. Qty.
D1 2
D2 4
1722mm
493mm
5 3
6 6
60mm
40mm
735mm
D7 1
632mm
D5 1
1197mm
1142mm
Front wall and back wall
7 4
16 4
1769mm Upward
9L 1
9R 1
1674mm
Upward
10L 1
10R 1
14 1
22 4
23 4
1838mm
1200mm
1100mm
NO. Qty.
D3 2 550mm
1328mm
NBP1 1
1897mm
NBP2 1
NO. Qty. NO. Qty.
C2 8
B4 4
B5 4
B6 2
L3 1
L3-1 1
L2 1
L5 3
F1 6
-5-
F6 6
PARTS LIST (3-2)
NO. Qty.
Left and right walls and top
NO. Qty.
-6-
15 7 578mm
19 6
20 6
1197mm
1142mm
580mm
26 2
2440mm
27L 2
W1 2
W2 4
W3 2
W4 2
588mm
588mm
500mm
380mm
B7 2 200mm
2440mm
2440mm
2433mm
8 2
25 2
17 1
2501mm
NBP5 2
NO. Qty. NO. Qty.
B3 2
3 4
S2 13
S5 2
S6L 2
S6R 2
S8 2
S9 2
F2 8
F3 32
F4 154
F8 2
F9 2
F04 n
F03 n M6
M5
345mm
PARTS LIST (3-3)
-7-
Summary of polycarbonate panel
P7
PD1
PD1
PD1
P2
P2
P3 P3
P3 P3
P3
P4L P4R
P4L
P4R P6
P8
P8
P8
P8
P8
P8
P8
P9
P9
P9
P9
P9
P9
P9
P10
P5
-8-
"hexagonal screw" installation
Place the "hexagonal screw" into the groove, turn
nut clockwise until it stops turning.
Adjust the nut by hand and twist so threads fix it in place.
There is a protective film for both sides of the polycarbonate sheets.
The white film side is with UV-protection and the transparent side film
is without UV-protection. The UV-protected side must be placed
towards sunlight! You identify the UV-protected side from the text:
“expose this side to sunlight”. Before installing the sheet, remove the
transparent film that is not UV-protected. Remove the UV-protected
white film only when the sheets are in place in the greenhouse so
that you do not mix the correct side during the installation work.
However, It is advisable to remove about 5 centimeters of UV-
protective white film from all edges of the sheet before installing
so that the film edge does not remain under the frame.
UV
DOOR
F3 x16
D1 x2
D2 x4 5 x3 D3 x2
D3
D3
D1
F3
F3
F3
F3
F3
D2
D2
D2
D2
180mm
D3
D2
F3
D2
F3
D3
D2
F3 PD1
PD1
PD1
PD1
PD1
PD1
D1
F3
F3
F3
F3
F3
F3
F3
180mm
5F3
D1
948mm
F3




-9-
5
5
5
PD1 x3
!
-
10-
WINDOW
W1 x2
W2 x4
W3 x2
W4 x2
S8 x2
S9 x2 F2 x8
F8 x2
F9 x2
WINDOWS x2
W1
W2 W2
F2
F2
W1
W2
F2
P2
!
Note the UV surface towards to the Sun
W1
W2
W2
W3
UV
F2
W3
W2
back
W4
W3
F8
F9
S9
S9
S8
Note the direction of parts F8and F9
F2 will be easy to install by using screwdriver



NBP1
F3 x16
NBP2
NBP1
3 x4

Silicon
NBP1 NBP1
NBP2
NBP1
NBP1




3
3
3
3
NBP1 NBP5R
NBP1
NBP5L
NBP5R NBP2
NBP2
NBP5L
NBP5
-11-
NBP5
NBP5
3
3
3
3
15 x7 B7 x2
-12-
F4 x26
F4
C2 x8
x5 15
F4
F4

x2
15
F4 F4
F4 F4
C2
F4

x8
B7
7 x2 F4 x8
BACK WALL
14
x2 77
NBP2
NBP5R
F4 F4
77
F4

7
7
14
NBP5R NBP2
NBP5L




997mm
997mm
F4
14
14
7 7
F4 F4
14
-13-
F4
F4
F4 x6
10R
10L
10L
10R
14
F4
F4
10R 10L
F4 F4



10R 10L
NBP2
NBP2
x2


F4
F4

x2
14
F4




F4
-14-
-15-
S2 x3
P3 x3
S2
S2
S2
P3
P3
P3
P3
10L
7
14
15
14
F4
P3
10L
14
15
10R
P3
10R
7
14
15
15
S2 S2
x3
P3
7
7
10R
10L









14

UV
x3

15
15
15
-16-
7 x2
FRONT WALL
D7 9L
9R
NBP1
NBP1
D7
7
7
9L
9R
x2 77
NBP5R
F4 F4
NBP5R
NBP5R
NBP5L
F4 x4


F6 x6
NBP1
NBP1
D7



D7
NBP1
9R
9L
D7
D7
NBP1
NBP1
NBP1
Top view
NBP1
D7
9R 9L
F6 x6



F6
F6
9L 9R
D7
-17-
F4 x4
F4
F4
S2 x2
P3 x2
S2
S2
P3
P3
15
9R
9L
7
7
7
79R
9L
C2 C2 C2 C2
F4
F4 F4 F4



F4
F4






15
C2 C2
C2 C2
7
7
9R
9L
15
15
P3 P3
P3 P3

F4
P3
15
UV
C2
F4 x16

77
77
F4 x3
F4 x3 F4 x3 F4 x3
x2
77
88
8
7
7
8
!
F4
F4
-18-
8




8
8
7
7
7
7




F4 x3
F4 x3
F4 x3
F4 x3
-19-
19 x4 F4 x12
19
19
19
19
8
8
F4
x4
19
x4
F4
F4
F4
F4
19
8
8
19
19
19
8
8
F4
F4
F4
F4
x4
!
-20-
19 x2 F4 x4
x2
19
8
8
19
19
19
8
F4
F4
F4
F4 !
x2
19
8
8
19

Other Goodiy Garden House manuals

Goodiy Kalmar 178 x 125 cm User manual

Goodiy

Goodiy Kalmar 178 x 125 cm User manual

Goodiy Kuusikko User manual

Goodiy

Goodiy Kuusikko User manual

Goodiy 502227604 User manual

Goodiy

Goodiy 502227604 User manual

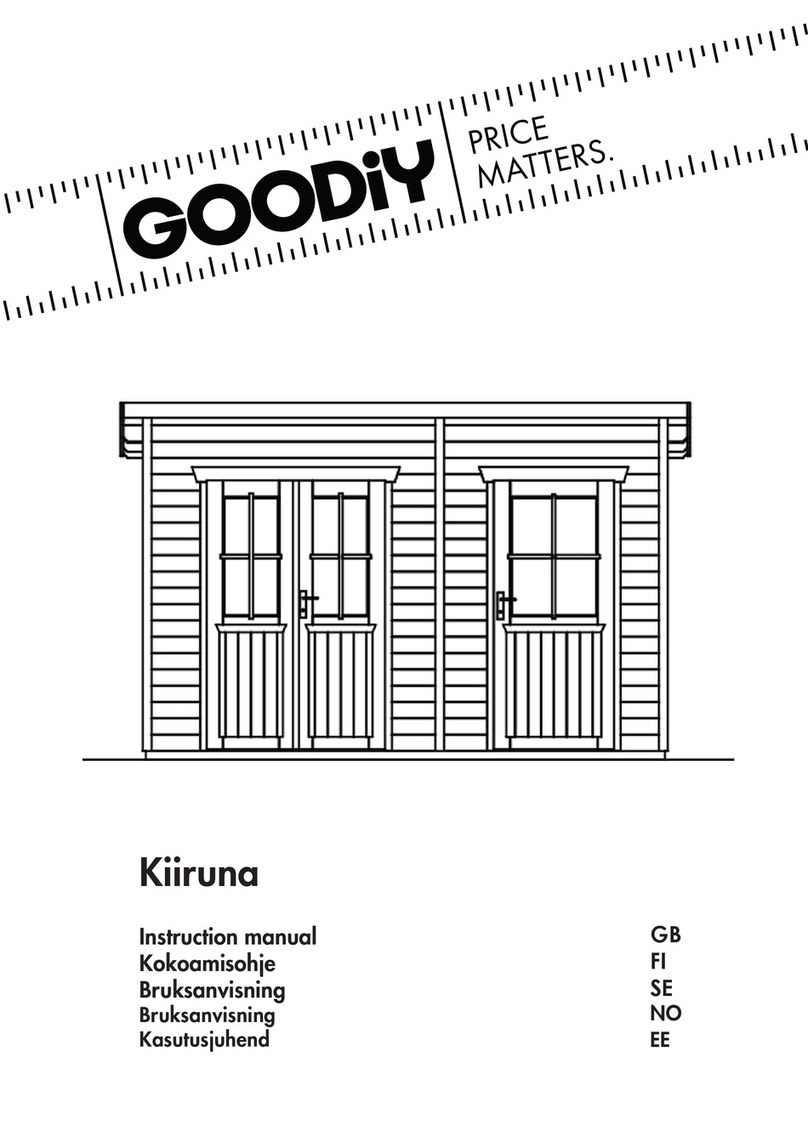
Goodiy Kiiruna User manual

Goodiy

Goodiy Kiiruna User manual

Goodiy 502323397 User manual

Goodiy

Goodiy 502323397 User manual

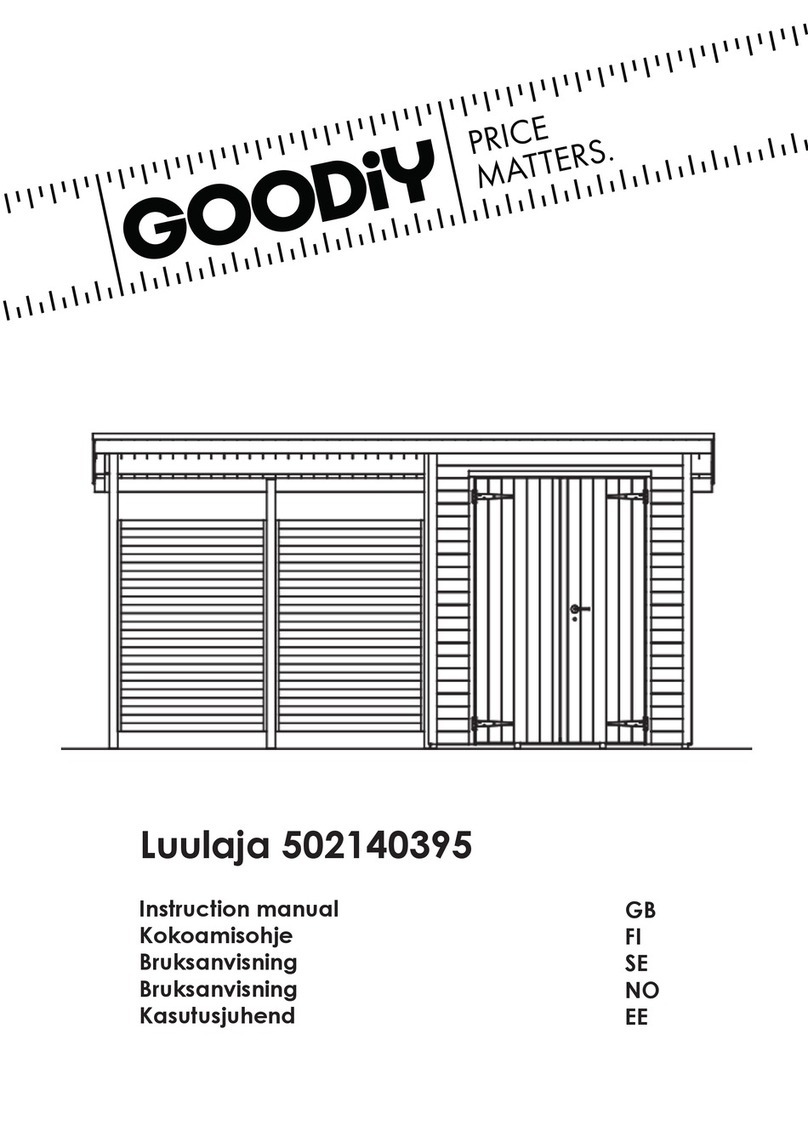
Goodiy Luulaja 502140395 User manual

Goodiy

Goodiy Luulaja 502140395 User manual

Popular Garden House manuals by other brands

Yardmaster 66 ZGEY Assembly instructions

Yardmaster

Yardmaster 66 ZGEY Assembly instructions

Mercia Garden Products 0628LOG181-V4 manual

Mercia Garden Products

Mercia Garden Products 0628LOG181-V4 manual

Lemeks Palmako PA120-5930-6 Assembly, installation and maintenance manual

Lemeks

Lemeks Palmako PA120-5930-6 Assembly, installation and maintenance manual

Rion Hobby Gardener Assembly instructions

Rion

Rion Hobby Gardener Assembly instructions

Select ISAAC E9682 Assembly manual

Select

Select ISAAC E9682 Assembly manual

Palmako Saale installation manual

Palmako

Palmako Saale installation manual

Palmako Roger FR44-5953-2 installation manual

Palmako

Palmako Roger FR44-5953-2 installation manual

Lemeks Palmako Grace PM56-4529 Assembly, installation and maintenance manual

Lemeks

Lemeks Palmako Grace PM56-4529 Assembly, installation and maintenance manual

Mercia Garden Products 03WES0808-V1 General instructions

Mercia Garden Products

Mercia Garden Products 03WES0808-V1 General instructions

Mercia Garden Products 03DTSHHP1206HGD4MW-V1 General instructions

Mercia Garden Products

Mercia Garden Products 03DTSHHP1206HGD4MW-V1 General instructions

Shire Salcey Assembly

Shire

Shire Salcey Assembly

Pergola kits USA PREMIUM VINYL PAVILION Assembly manual

Pergola kits USA

Pergola kits USA PREMIUM VINYL PAVILION Assembly manual

G21 Boston 882 manual

G21

G21 Boston 882 manual

Mercia Garden Products 05DTMBPN0503DD-V1 Assembly instructions

Mercia Garden Products

Mercia Garden Products 05DTMBPN0503DD-V1 Assembly instructions

Rutland County Burley 6ft Assembly instructions

Rutland County

Rutland County Burley 6ft Assembly instructions

Palmako Roger 27,7 installation manual

Palmako

Palmako Roger 27,7 installation manual

Mercia Garden Products 01PTOSBA0306DDNW-V1 General instructions

Mercia Garden Products

Mercia Garden Products 01PTOSBA0306DDNW-V1 General instructions

Gartenhaus-King Valery manual

Gartenhaus-King

Gartenhaus-King Valery manual

manuals.online logo
manuals.online logoBrands
  • About & Mission
  • Contact us
  • Privacy Policy
  • Terms and Conditions

Copyright 2025 Manuals.Online. All Rights Reserved.