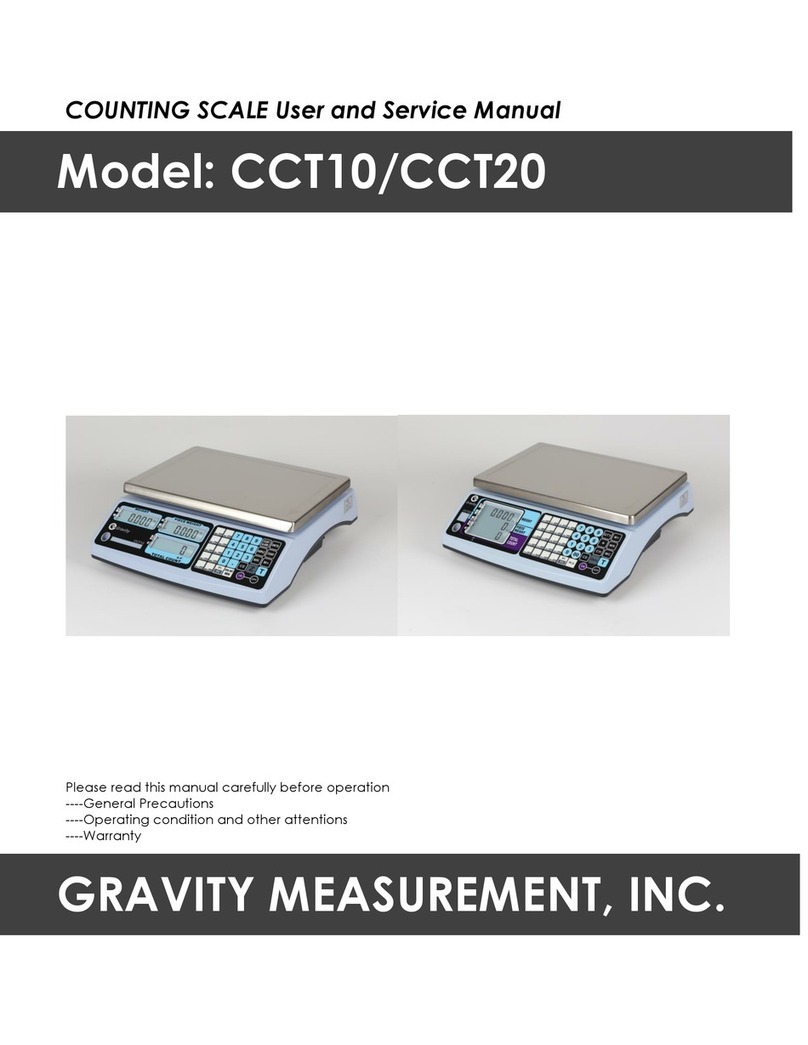
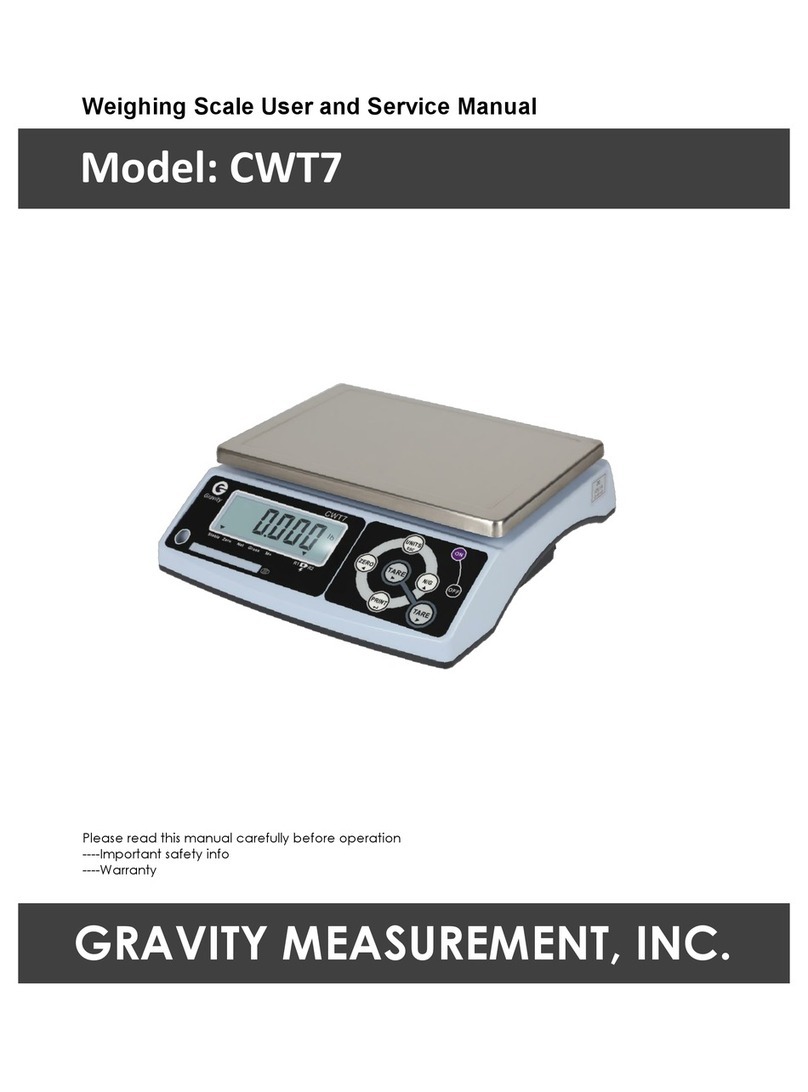
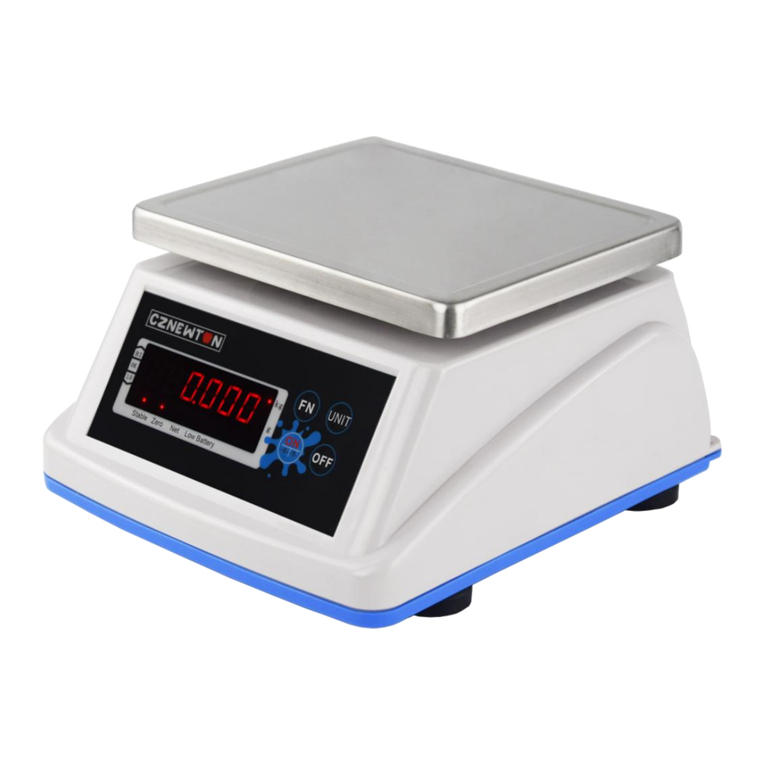
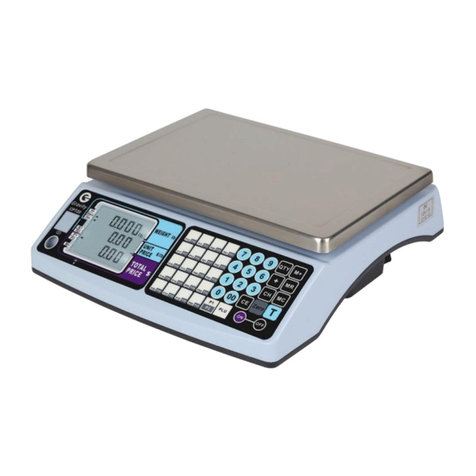
Gravity Measurement CWT7 User manual

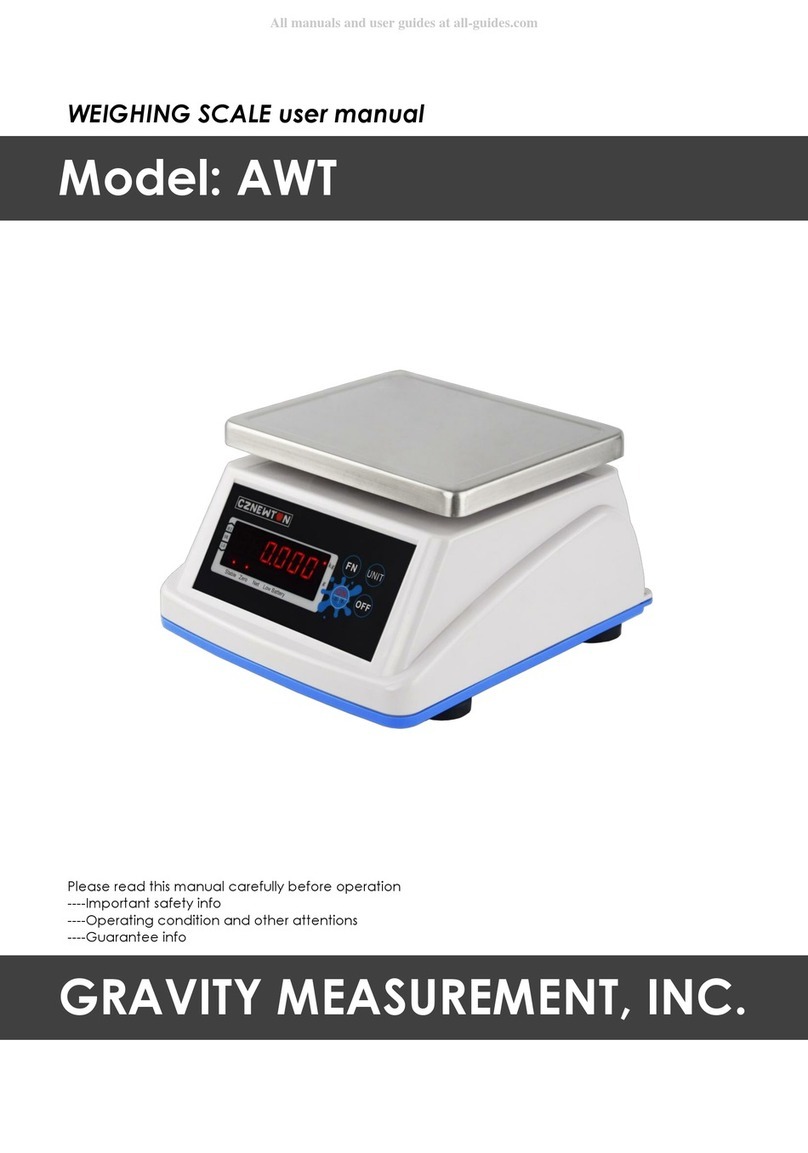
WEIGHING SCALE user manual
Please read this manual carefully before operation
----Important safety info
----Operating condition and other attentions
----Guarantee info
Model: CWT7
GRAVITY MEASUREMENT, INC.

@CWT7 USER MANUAL
2
Please read the manual in details before operation Please use the right plug and right voltage
Be much attention of 110V or 220V!!!
Adjust the bubble level on the balance position Don’t hit the platform rudely and overload
Don’t put the chemical liquid or other liquids Don’t open the scale by yourself and please call
to avoid damage to the scale the service people or our distributor when you get
theproblem
Please recharge the scale on time to assure the health of the battery, and replace the battery if it runs out of
life. The replaced battery must be handled correctly.
Important Safety And Operation Info

@CWT7 USER MANUAL
3
Specifications 4
Power 4
Before using 4
System power consumption 4
Display description 4
Basic function operation 5
Basic parameter setting 5
UF-1 A/D count 5
UF-2 High / Low limits setting 6
UF-3 Auto-power off 6
UF-4 Backlight setting 7
UF-5 Hold function (*) 7
UF-6 RS-232 output 7
UF-7 Speed setting (*) 9
UF-8 Zero tracking (*) 10
UF-9 G Value setting 10
Weight Calibrations (*) 10
EcF-1 Zero and Span Calibration 10
EcF-2 Zero Calibration 11
EcF-3 Span Calibration 11
Guarantee 11
INDEX

@CWT7 USER MANUAL
4
SPECIFICATIONS
Accuracy: Class III
Nonlinear: ≤0.01%F.S
System working voltage: DC:5V
Large display connector: Sampling serial output way
Sample rate: 20 times per second (can select)
POWER
Input: 120
~
240
V
Output: 12
V/
1A
Rechargeable battery: 6
V/
4AH
BEFORE USING
1) Place this product on a firm and smooth place, don´t place it in vibration or shaking,
use bench for use on four only adjust foot, adjust the balance using the bubble level.
2) Use independent source, avoid other electrical disturbance.
3) Don´t put any object on the platter when turn on the balance.
4) Please, turn on 2-3 minutes before using.
5) Avoid temperature change too large and air flow strenuous sites.
6) Don´t overload the balance, don´t exceed the maximal capacity.
SYSTEM POWER CONSUMPTION
Main system power consumption: about 12mA
Main system power consumption (with backlight): about 36mA
Main system power consumption (with backlight and RS-232): about 48mA
Battery life: none backlight, about 320 hours.
DISPLAY DESCRIPTION
CWT7 Model:

@CWT7 USER MANUAL
5
BASIC FUNCTION OPERATION
Press and hold this key for 2 seconds to turn off the balance.
Press this key to turn on the balance
Function 1. To select the desired weight unit.
Function 2. To exit from setup mode.
Function 1. To reset the weight to “0”, but the display value has to be
lesser than
±
2% of maximum capacity.
Function 2. To move one space to the left or downward in setup mode.
Function 1. To subtract the container´s weight.
Function 2. To move one space to the right or upward in setup mode.
Function 1. To view gross or net weight when the balance is on tare status.
All other keys will be disabled when gross weight is activated.
Function 2. To increase values upward in setup mode.
Function 1. Key of confirmation in setup mode.
Function 2. Manually transmitting data through RS232 to computer or
printer.
BASIC PARAMETER SETTING
To access to functions setting, press the and key at the same time in
weighing mode.Press the key to select the parameter (UF-1
~
UF-9)
“*” This flag indicates that the function is locked when “Approval Version”.
UF-1 A/D count
1. Press the key to view the A/D count.
2. Press the key to view the the battery voltage or press the key to exit
back to menu UF-1

@CWT7 USER MANUAL
6
3. To move to next parameter press the key.
4. To exit and return to normal weighing press the key.
UF-2 High / Low limits setting
1. Press the key to enter.
2. The display will show 00.000L (set low limit).
3. Use the keys and to move cursor and press the to select
number.
4. Press the key to confirm.
5. The display will show 00.000H (set high limit).
6. Use the keys and to move cursor and press the to select number.
7. Press the key to confirm.
8. The display will show o .000 ,look at the remarks below.
9. Use the keys and to move cursor and press the to select number.
10. Press the key to confirm.
Remarks: 0 0 0
A B C
A --- Buzzer on: 0= Stable not required 1= Stable required
B –- LCD indicator and RELAY on: 0= Stable not required 1= Stable required
C : Buzzer beeps when: 0= Buzzer off 1= OK 2= LO and HI
Low limit set as 0 will clear all check weigh values.
This function is locked when UF-5 is set as “HoLD 1”
UF-3 Auto-power off
Modes: AoFF00 :Auto-turn off disable.
AoFF01 : The balance will automatically turn off after 1 minute of non use.
This time can be set up to 99 minutes.
1. Press the key to access to auto-power configuration.
2. Use the keys and to move cursor and press the to select
number.
3. Press the key to confirm.
@CWT7 USER MANUAL
7
UF-4 Backlight setting
Modes: lit a : Automatic
lit on : Backlight on
litoFF : Backlight off
1. Press the key to access to backlight configuration.
2. Use the key to select the desired mode.
3. Press the key to confirm.
UF-5 HOLD function (*)
Modes: HoLd 0 : Disable
HoLd 1 : Animal (motion) Hold function
HoLd 2 : Peak value hold (when held can press any key to cancel)
HoLd 3 : Stable hold (when held can press any key to cancel)
HoLd 4 : Stable hold (when held can auto cancel at zero)
1. Press the key to access to hold function configuration.
2. Use the key to select the desired mode.
3. Press the key to confirm.
Remarks: HoLd 1 :
1. Press the key will show PcT002
2. Use the keys and to move cursor and press the to select
number, this can set the range from 001 ~ 100 units of the animal hold.
3. Press the key will show TiME 8
4. Use the key to select 1,2,4,8,16,32 or 64 times within the hold range.
5. Press the key to confirm.
UF-6 RS-232 Output
1. Press the key to enter.
2. The display will show 232 1 .
3. Press the key to select the modes.

@CWT7 USER MANUAL
8
4. Press the key to confirm,and will show b 9600 .
5. Use the key to select the baud rate.
6. Press the key to confirm.
Modes: 232 0 : RS-232 disable
232 1 : Stable output – Format 1
232 2 : Stream output – Format 1
232 3 : Manual output – Format 1
232 4 : Stable output – Format 2
232 5 : Stream output – Format 2
232 6 : Manual output – Format 2
232 7 : Manual accumulate output – Format 3
232 8 : Auto accumulate output – Format 3
232 9 : Manual accumulate output – Format 4
232 10 : Auto accumulate output – Format 4
232 11
~
232 13 : LP50 printer is used
Baud rate: B 1200 : Baud rate 1200
B 2400 : Baud rate 2400
B 4800 : Baud rate 4800
B 9600 : Baud rate 9600
B19200 : Baud rate 19200
B38400 : Baud rate 38400
Remarks:
Format 1 o
u
tp
u
t
e
x
am
pl
e
s
:
Format 2 o
u
tp
u
t
e
x
am
pl
e
s
:
Format 3 o
u
tp
u
t
e
x
am
pl
e
s
:
Format 4 o
u
tp
u
t
e
x
am
pl
e
s
:
ST
,
GS
,
+ 1.000lb
+ 1.000lb
S/N WT/lb
---------------
0001 2.205
0002 2.205
---------------
0002 4.410
TICKET NO.0001
G 3.000lb
T 1.000lb
N 2.000lb
TOTAL NUMBER
OF TICKETS 0001
TOTAL
NET 2.000

@CWT7 USER MANUAL
9
Format 3 and format 4 if you want to print the total weight, press the key
twice, and the accumulative weight will be removed.
Communication Protocol:
UART signal of EIA-RS232 C
Format:
1. Baud rate: 9600
2. Data bits : 8 bits
3. Parity bits: None
4. Stop bits : 1 bit
Format 1 (232 1 – 3):
HEAD1 (2 BYTES) HEAD2 (2 BYTES)
OL – Overload
ST – Stable NT – Net weight
US – Unstable GS – Gross weight
F
i
x
ed
18
B
Y
T
E
S
AS
C
II
(
k
g
g
t
lb
)
1
2
1
1
2
1 1
2
3
4
5 6 7 8 1 2 1 2
H
E
AD1
,
H
E
AD2
,
DA
T
A
U
N
IT
CR
LF
F
i
x
ed
21
B
Y
T
E
S
AS
C
II
(
t
l.
T
lbo
z
)
1
2
1
1
2
1
1
2
3
4
5
6
7
8
9
1
2
3
4
1
2
H
E
AD1
,
H
E
AD2
,
DA
T
A
U
N
IT
CR
L
F
F
i
x
ed
19
B
Y
T
E
S
AS
C
II
(
p
c
s
)
1
2
1
1
2
1
1
2
3
4567812312
H
E
AD1
,
H
E
AD2
,
DA
T
A
U
N
IT
CR
L
F
UF-7 Speed setting (*)
Modes: spEED1 : Standard speed
spEED2 : High speed
spEED3 : Low speed
1. Press the key to enter.
2. Press the key to select the desired mode.
3. Press the key to confirm.

@CWT7 USER MANUAL
10
UF-8 Zero tracking(*)
Modes: Zp 0 : OFF
Zp 1 : One division tracking at zero
Zp 2 : Two division tracking at zero
Zp 3 : Three division tracking at zero
Zp 4 : Four division tracking at zero
Zp 5 : Five division tracking at zero
1. Press the key to enter.
2. Press the key to select the desired mode.
3. Press the key to confirm.
UF-9 G Value setting
1. Press the key to display the G value of manufacture place.
2. If set the G value of local press the key and then press the or
key and key to input the new G value.
3. Press the key to confirm.
Weight Calibrations (*)
1. In weight mode, press the and keys, the display will show EcF-1 .
2. Press the or key to select EcF-1 , EcF-2 or EcF-3 .
EcF-1 Zero and Span Calibration
1. Press the key to enter, display will show cALZ .
2. Press the key to calibrate zero point.
3. The display will show the calibration weight 00.6.000 .
4. Use the keys and to select the digit,press key to input the
weight value.
5. Put the calibration weight on the platter and press the key to calibrate.
The scale will return back to weighing mode automatically.

@CWT7 USER MANUAL
11
EcF-2 Zero Calibration
1. Press the key to enter, display will show cALZ .
2. Press the key to calibrate zero point.
3. The scale will return back to weighing mode automatically.
EcF-3 Span Calibration
1. Press the key to enter, display will show the calibration weight 00.6.000 .
2. Use the keys and to select the digit,press key to input the
weight value.
3. Put the calibration weight on the platter and press the key to calibrate.
The scale will return back to weighing mode automatically.
GUARANTEE
This scale is guaranteed for one year from the delivery date. The guarantee covers
any fabrication defect of the material.
During this period Gravity covers the labour cost and the spare parts necessary for the
reparation of the scale.
This guarantee does not cover the failures caused by an inappropriate use or
overcharge.
The guarantee does not cover the freight cost (transport) necessary to repair
the scale.

@CWT7 USER MANUAL
12

@CWT7 USER MANUAL
13
Officially Distributed By
GRAVITY MEASUREMENT, INC.
Other manuals for CWT7
1
Table of contents
Other Gravity Measurement Scale manuals

Gravity Measurement
Gravity Measurement AWT User manual

Gravity Measurement
Gravity Measurement CPT20 User manual

Gravity Measurement
Gravity Measurement SWT User manual

Gravity Measurement
Gravity Measurement CWT7 Troubleshooting guide

Gravity Measurement
Gravity Measurement AWT User manual

Gravity Measurement
Gravity Measurement CCT10 Troubleshooting guide