GREAT GREEN SYSTEMS GREEN JOHANNA User manual

1
FOOD WASTE COMPOSTER
Installation and User Manual

2
You are now one of the thousands of householders and businesses who have
chosen the Gardeners’ World Star Buy* to perform all their composting needs.
This handy guide features all the information you need to erect and use the
Green Johanna to help you create nutrient-rich compost from food and garden
waste.
To Get The Best From Your Green Johanna, Follow The
Instructions Below:
It’s important to not only familiarise yourself with how to use your new
composter properly but with the components that make up the unit. By
understanding how the composter breaks down waste material, you can learn
to get the very best out of the Green Johanna every day.
From assembling and installing the unit in your garden to feeding it the
rightwaste and keeping the carbon-nitrogen balance just right, everything is
included in this booklet. Please make sure you keep it safe as you may nd it
handy to refer back to should your composting slow down during the winter or
you wish to check whether certain waste matter can be put in it.
All that’s left to do now is read through the next few pages and follow the
simple instructions to quality composting.
CONGRATULATIONS
ON BUYING YOUR
GREEN JOHANNA
*Awarded 2021 and 2022

Now It’s Time To Assemble:
Step 1. Locate the four circular sections of the Green Johanna. These will be
assembled in decreasing circles moving upwards. The four sections are
marked A-D with A as the bottom section. When you join the sections,
ensure that A lines up with A, B lines up with B etc. With the basic
shape of the unit now formed, locate the screw holes that will secure
the Green Johanna together. You may nd it easier to insert the screws
North and South rst, then East and West. Put a screw in each hole
and fasten gently, only going halfway in with each screw (this allows
for a little manipulation as you attach the bottom and lid).
Step 2. With the main body assembled you need to attach the bottom
plate.Lift up the Green Johanna and place on top of the base. As
withstep 1, align both sections so the screw holes are together.
Putinthe nal screws halfway again.
Step 3. It is now time to tighten each screw. This should be done from the
base plate upwards. As you tighten each level of the unit, gently push
down from above to make sure every part of the unit is secure and
doesn’t slip as you x together. With every screw tightened properly,
the Green Johanna will now be solid and stable.
Step 4. You can now place the lid on top of the Green Johanna and put the
whole unit in your garden. The two doors at the bottom of the Green
Johanna should be screwed shut to prevent animals gaining access,
and opened when you want to take out compost. If you have any
further questions regarding assembly please don’t hesitate to call
0800 731 2572 or email sales@greatgreensystems.com
The Green Johanna comes with a guarantee against material defects. Please
keep all your paperwork safe for any future reference.
Checking over the Green Johanna
andsetting it up ready for the garden
With your Green Johanna now in front of you, it’s worthwhile just giving it
aquick check to ensure there was no damage in transit to you. You should
have a base plate, four ring sections, two hatch doors, a lid and aerator stick.
You will nd a bag of screws taped to the underside of the lid. You just need to
have a athead and crosshead screwdriver to hand.
3

4
Choosing The Ideal Location For The Unit
The Green Johanna is best placed on a at patch of grass or soil.
Itcanbesited on a hard surface if excess liquid is able to drain freely
away. Please be aware that this liquid may stain stone or decking. Also
pay particular attention to getting the base layer right (see below). Ideally
the Johanna should also be near the house, so that it is convenient to get
to in winter. If there is aknownrodent problem locally, it is advisable to
sitetheJohannaawayfromfence lines if you can.
Getting The Base Layer Right
With the Green Johanna ideally located, you now need to prepare the unit
with a perfect base layer to help activate the compost and keep the air in the
composter owing. This initially involves 10cm to 20cm of twigs and very coarse
garden material spread evenly across the base. Top this with some ne garden
waste such as grass trimmings, followed by a little soil or existing compost
youmay already have. The basic mix is now ready for food waste.
Keep The Aerator Stick Handy
Aerating the material within the Green Johanna is a vital part of the
compostingprocess. With this in mind we recommend that wherever you
placethe composter, you keep your aerator stick nearby. This gives you
easy access to the stick whenever you add new material and reminds
youtoagitatethe mix.
Getting the Green Johanna perfectly
placed and ready
With the Green Johanna now assembled you need to nd theperfect place
forit in your garden. Choosing this spot and getting the initial feed of material
right are vital to successful compostingmoving forward.
Completing the set-up process and
continuing to compost
With the Green Johanna well located and the base layers prepared and ready,
we can now turn our attention to making the perfect compost. Just as with the
set-up materials, it is vital to keep layering the waste you put into the unit.
How To Add Food And Garden Waste
On top of the base layer mixture you can add your rst layer of food waste.
From here on, waste should be added in alternating layers of food waste then
garden/paper waste in roughly equal proportions. Ensure waste is chopped
up, as smaller items will compost faster. Composting micro-organisms need
nutrition in the form of carbon and nitrogen. Food waste and fresh green
garden waste provide nitrogen, while dry, woody garden waste and paper/
cardboard waste provide carbon. Best practice is to cover each addition of food
waste with a layer of woody garden waste and/or shredded paper and torn-up
cardboard (tape and labels removed). Woodchips are a useful addition as they
create pathways for air. When adding paper and cardboard it can be helpful to
create air pockets, this can be done by adding paper that is scrunched up and
by leaving tubes from toilet rolls and kitchen rolls whole. Ecient composting
is best achieved through a good balance of materials. Through observing your
composter’s contents you will come to know if the balance is not right. If the
compost is too wet and is starting to smell, add carbon-rich materials and
aerate well. If it is dry, add materials high in nitrogen. Theconsistency should
be damp like a wrung-out bath sponge.

5
Aerating The Mix
Here’s What To Put In Your Green Johanna
Kitchen Waste:
Air Circulation WaterHeat
Garden Waste/Paper Waste:
With every new layer of waste material, ensure that you gently stir the
freshtoplayer of mixture with some of the older layer beneath. This allows
all the micro-organisms working below to become part of the new layer that’s
just been added. It is also vital that once a month you give the whole compost
pile a stir, helping all the layers to blend together for a more consistent and
necompost nish.
Chopped branches and twigs, garden clippings, leaves,
bark, wilted owers and plants, wood chips, straw,
sawdust, household paper, newspaper, egg cartons,
cereal boxes, cardboard.
Fresh grass mowings are high in nitrogen so if added in
large amounts they should be balanced with high-carbon
inputs such as stored autumn leaves, scrunched-up
paper and cardboard, wood chips.
Cooked foods, including meat and sh, plus
fruit and vegetable scraps and peelings, dairy,
bread, eggshells (crushed), pasta, rice, tea bags,
coee grounds, coee lters.
By continually moving
thewaste in the composter
you allow oxygen to reach all
the micro-organisms helping
to break down thematter.
Without air, compost will start
to smell bad and the process
will slow down oreven stop.
Occasional deeper aeration
using a garden fork will
aidthe process.
Moisture is an essential
part of the composting
process so ensure that you
have a mixture of wet and
dry materials so that the
Johanna’s contents have
the continuous consistency
of a wrung-out damp bath
sponge.
As the contents are
brokendown, heat is
created by micro-organisms.
As the temperature in the
compost uctuates, the types
of micro-organisms present
also changes. This diversity
is important for successful
composting.
It is OK to place food into the Johanna in a compostable bag, but do not place
regular plastic bags into the composter in any circumstances.
Remember the essential ingredients for
continual composting
The location and the right waste management are vital for ensuring the three
mainstays of good composting.
Accelerating The Composting Process
You can choose to accelerate the composting process by liberally and evenly
sprinkling our Bokashi Bran into the Johanna on a regular basis. In winter you
can add a bucketful or two of mature compost to boost the process. Depending
on the conditions, the compost should be ready to use after four to six months.

6
Q. My Compost Smells Of Ammonia, Is
That Right?
A. No, your compost should hardly
havean aroma. You have probably
been putting in too much nitrogen-
rich waste like grass clippings, meat or
sh. To counter the smell and regain
the normal harmony of the compost,
add in some garden soil and a mixture
of chopped-up woody garden waste,
shredded paper, torn-up cardboard
and/or woodchips. Mix this in and
then take a small batch of thenished
compost from the base of the unit
and sprinkleoverthe top.
Q. The Compost In The Green Johanna
Smells Bad. How Do I Get Rid Of The
Odour?
A. First of all it’s important to
understandthe cause of the smell,
which in this case is due to poor
aeration. You will need to add some
chopped hedge clippings and other
coarse garden waste. This must now
be well mixed in and air forced around
all the interior of the unit. If at this
stage the compost is looking too wet,
add some shredded paper, torn-up
cardboard and/or woodchips and mix
in well.
Q. How Do I Stop Ants From Getting In
The Compost?
A. You need to keep your compost
moist,the ants are attractedto dry
soil-like materials. Now is the time to
take asmall watering can and gently
start to add water to your mix. After
every few sprinkles mix in the water.
You want the consistency to feel
likedampsponge.
Q. There Are Lots Of Flies In And
Around My Compost, Is This
Normal?
A. No, this is an indication of poorly
covered, nitrogen-rich compost. There
are a couple of things you need to
look at here. Firstly, mix the surface
layer well and cover with fresh soil and
clippings. Secondly, check that you are
shutting the lid securely when you are
lling up the Green Johanna.
Q. What Insects Do I Want Living In
My Compost?
A. The more insects and creatures
munching away in your Green
Johanna the warmer it will get and
the composting process will continue
at pace. So when you mix your layers
look out for: mites, worms, false-
scorpions, woodlice, springtails,
nematodes, centipedes and earwigs.
Q. It Looks Like The Activity In My
Composter Has Stopped, What
Have I Done Wrong?
A. There are six main reasons for a
composter to stop working. Read
through the options below to identify
your cause:
#1. There may be too much carbon content
(ie dry leaves, twigs, paper) so add food
waste and green garden waste and mix
in well.
#2. You have too much bulky material in the
mix. It is important to chop all waste
nely and mix well.
#3. A lack of material in general will always
slow the process and in some cases stop
it completely. Fresh and regular waste
lled near to the top of the unit is the
way to start up the process again.
#4. The whole mix is too solid and compact,
strangling air supply throughout. Give
the contents a really good stir and
add chopped-up twigs, shredded or
scrunched-up paper, torn-up cardboard,
woodchips to help with aeration.
#5. The compost has dried out, stalling the
process. You need to be adding more
moist food waste and water carefully to
bring back the damp sponge consistency.
#6. Cold weather and a poorly-fed
GreenJohanna can bring a halt to the
composting process. During the colder
months make sure you are topping up
the layers every day and consider putting
an insulating jacket on the composter.
Insulating Jackets are available at
www.greatgreensystems.com
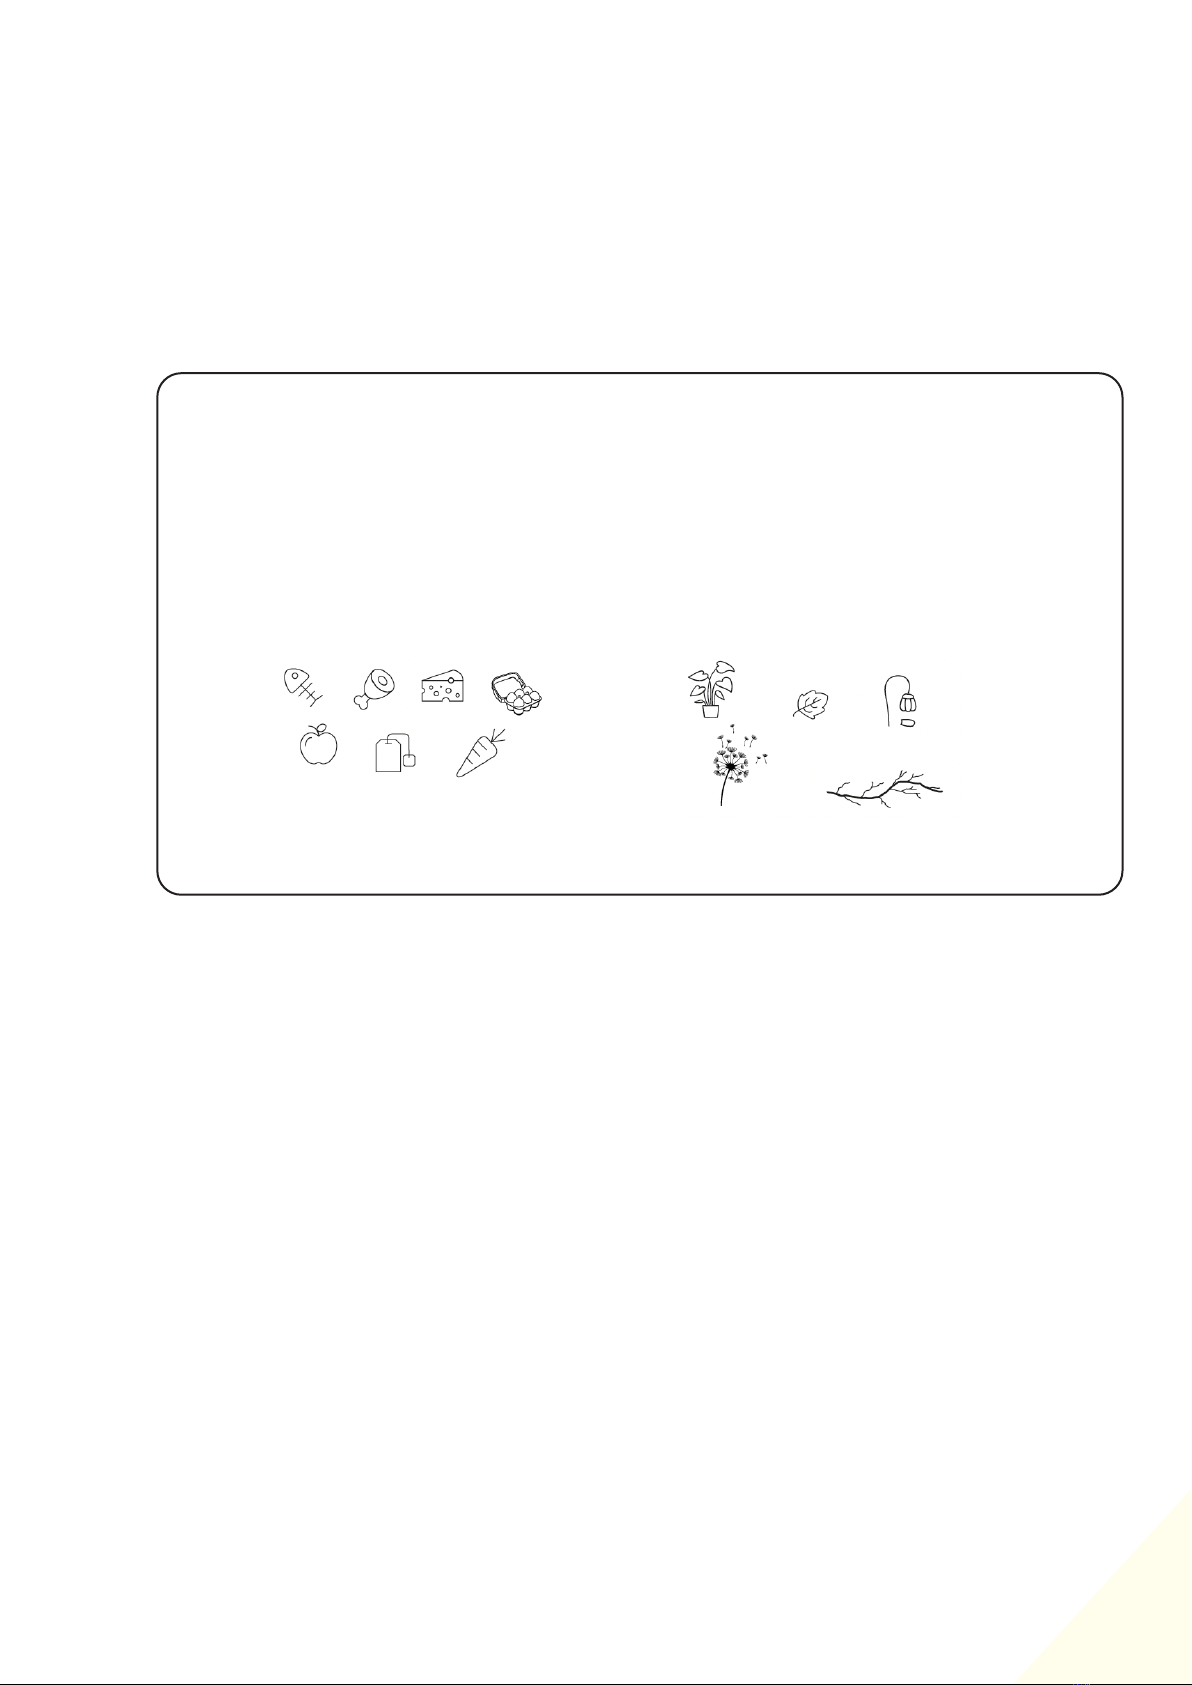
The most common questions asked by
Green Johanna users

7
Sliding Doors
Enables easy removal ofcompost
at the frontand rear.
The Cone-Shaped Design
The Base Plate
Ensures compost sinks towards
the centre of the unit and not
to its sides for optimum air
circulation and oxygenation.
Enables optimum ventilation
and space for worms to enter.
The plate’s holes are kept to
adiameter of 4.5mm, deterring
vermin from accessing the
unit. The base plate’s four
inward-facing air vents ensure
adequateair circulation.
The Lid
Assembling
The container’s ventilation
system is controlled by simply
turning the lid. The minimum
setting covers the ventilation
holes (and so maintains
awarm internal temperature
in coldweather) while the
maximum setting uncovers
theventilation holes.
When assembling the Green Johanna the arrows on
each section of the bin must be kept in line.
The Green Johanna
Other GREAT GREEN SYSTEMS Garbage Disposal manuals
Popular Garbage Disposal manuals by other brands

Champion
Champion P-5 Equipment manual

Emerson
Emerson InSinkErator Evolution PRO Series manual

Toro
Toro FP-2200 Operator's manual

InSinkErator
InSinkErator LC50-13 Installation and use manual

Weber mt
Weber mt CR 9 CCD 2.0 Operating and maintenance manual

InSinkErator
InSinkErator AnswerLine EVOLUTION SEPTIC ASSIST manual

Kraus
Kraus WasteGuard KWD100-100MBL installation manual

Glasdon
Glasdon NEXUS SHUTTLE BIN Operator Instruction Leaflet

JNF
JNF IN.60.568 quick start guide

KWC
KWC STRATOS STRX605E Installation and operating instructions

Kuezen
Kuezen DSA-1104 manual

KitchenAid
KitchenAid 4151847 WHITE installation instructions