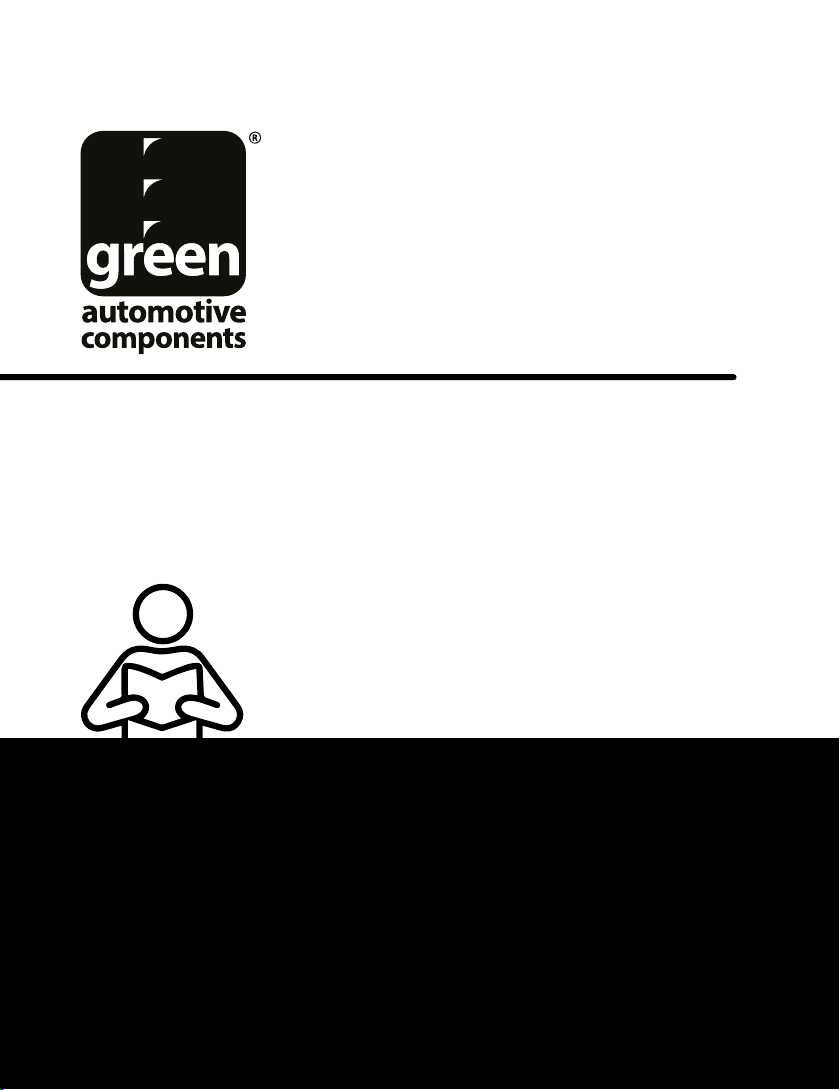
1312 Compressor Elétrico Automotivo Green 12V Kit com Inversor/Comando/Chicote - DS105138
Compressor Elétrico Automotivo Green 24V Kit com Inversor/Comando/Chicote - DS105181
Compressor Elétrico Automotivo Green 12V Kit com Inversor/Comando/Chicote - DS105138
Compressor Elétrico Automotivo Green 24V Kit com Inversor/Comando/Chicote - DS105181
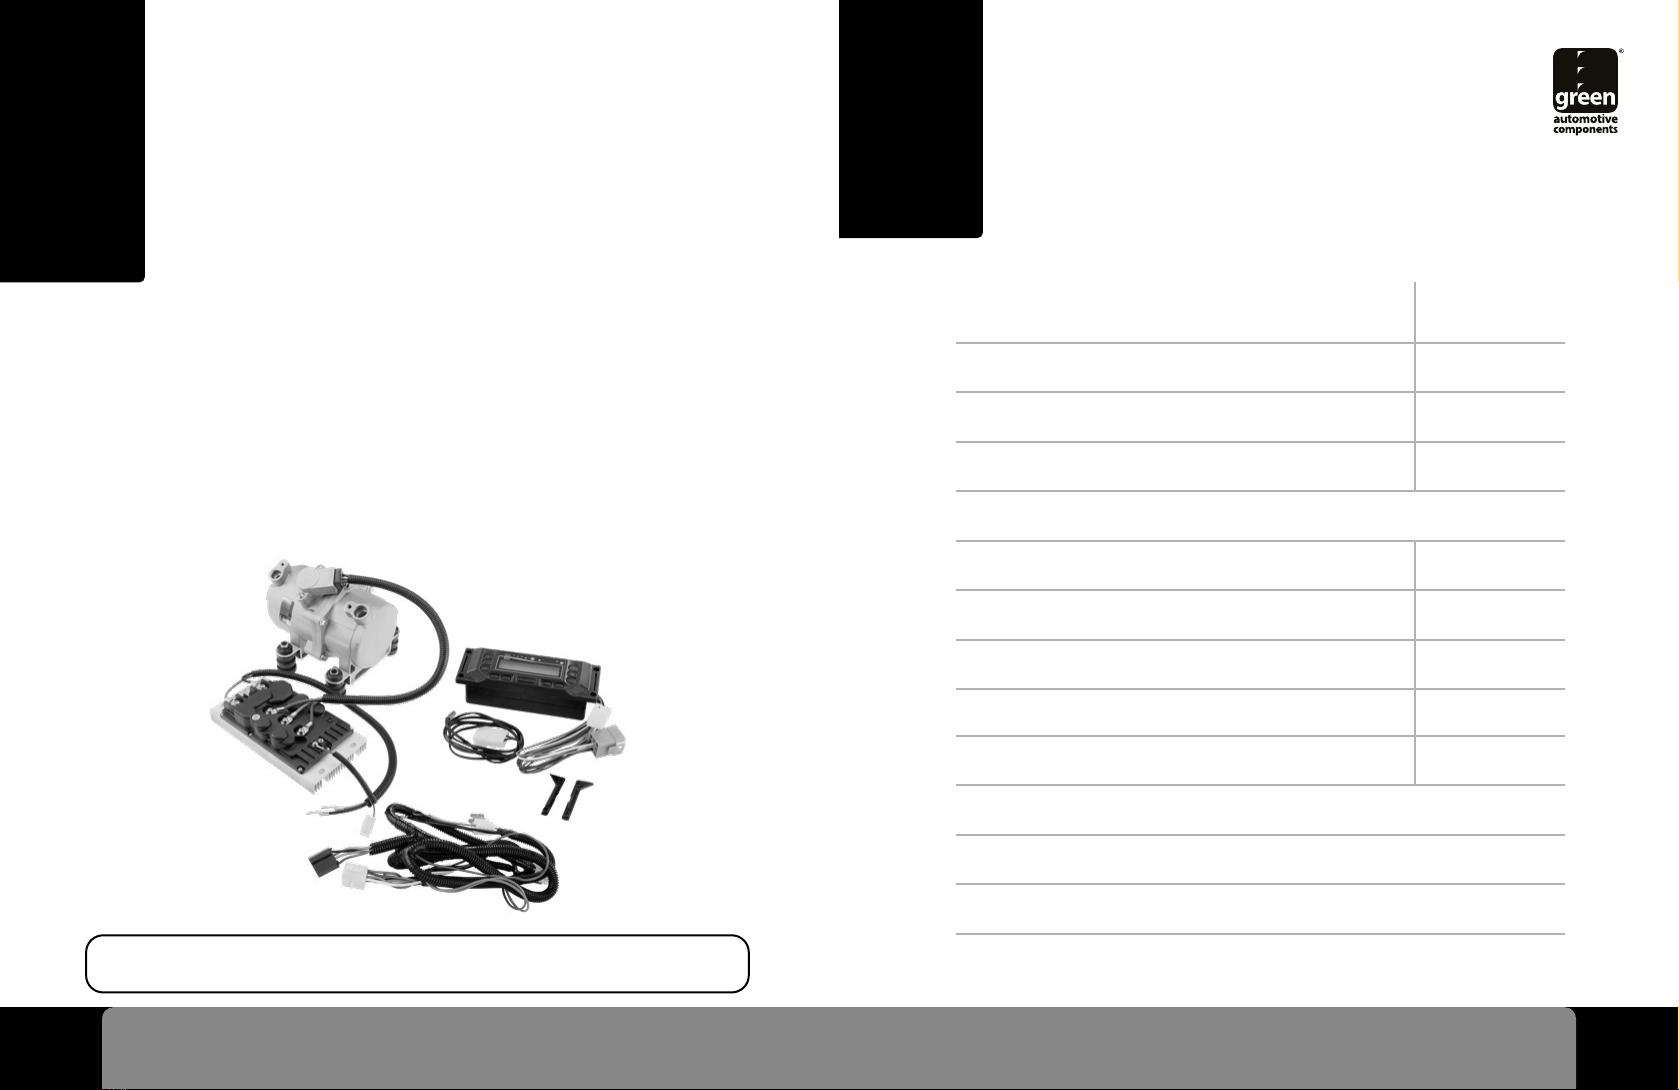
Note-se:
- A bateria deve fornecer a corrente e tensão necessárias;
- Conectar a bateria somente após instalados, no veículo,
todos os componentes elétricos;
- Certificar-se de não inverter os polos ao instalar a
bateria, com o risco de queimar o inversor;
- Não utilizar a lâmpada de filamento para testar o
circuito do a/c (com o risco de queimar o inversor -
conector 5V);
- Não colocar tensão acima de 5V no conector do
compressor / inversor.
• Utilizar tipos de óleo não recomendados pode causar falha no
acionamento do sistema, bem como causar um curto-circuito
e destruir a parte elétrica do compressor;
• Utilizar corante UV pode danificar os componentes isolantes
do óleo do compressor. É, expressamente, proibido a mistura
de gás com UV ou outra aplicação UV para os sistemas
elétricos;
• Para instalar ou fazer a manutenção do sistema elétrico, não
se recomenda o uso de recicladora, um equipamento usado
pela maioria das oficinas e que funciona com apenas um tipo
de óleo;
• O compressor é hermeticamente fechado para vedar o eixo,
evitando-se o risco de vazamento, ou seja, a possibilidade
de vazamento do refrigerante é menor em comparação a
de um compressor acionado mecanicamente, porém faz-se
necessário uma manutenção periódica;
• Faz-se necessário avaliar a substituição da bateria e do alterna-
dor do veículo, periodicamente, levando em conta que o novo
consumo gerado pelo sistema é de 30-40 A/h para o modelo
de 24V e de 35-60 A/H para o modelo de 12V.
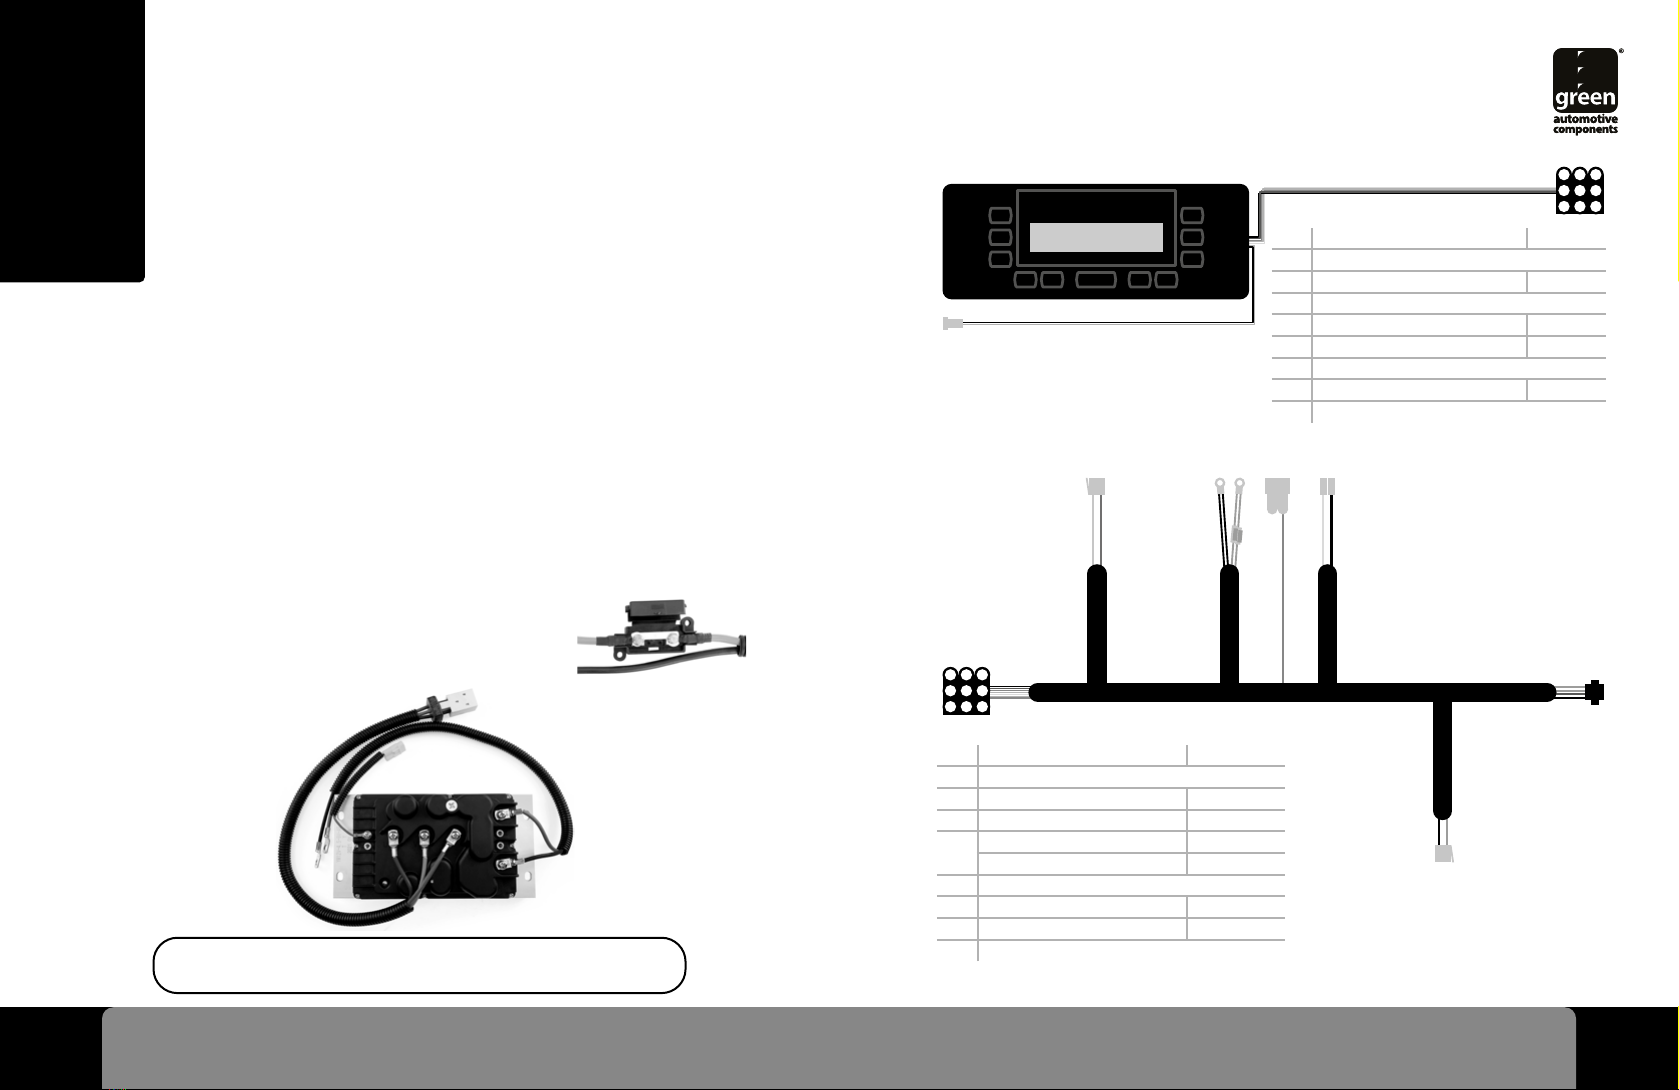
ERRO
16.0oC
PROBLEMA NO SENSOR INTERNO DE TEMPERATURA
AC AUTOMATICO
x16.0oC
MOTOR DO EVAPORADOR EM CURTO
CV1 AC AUTOMATIC
x16.0oC
AC AUTOMATICO
x16.0oC
BAIXA TENSÃO
BATERIA BAIXA
AC AUTOMATICO
x16.0oC
ALTA TENSÃO
BATERIA ALTA
• A garantia desse dispositivo cobre quaisquer defeitos materiais,
quando em uso normal, durante um período de 03 (três) meses
a partir da data da compra. Assim como, essa garantia também
prevê o reparo ou a substituição da unidade em caso de defeito;
• Quaisquer danos ou mau funcionamento causados por
negligência, abuso, uso em não-conformidade com o manual
e/ou eventuais alterações realizadas, não serão consideradas
por essa garantia;
• Não será concedida a garantia por defeitos ou danos causados
por serviços não autorizados.
6. ADVERTÊNCIAS
7. SERVIÇOS E
GARANTIA