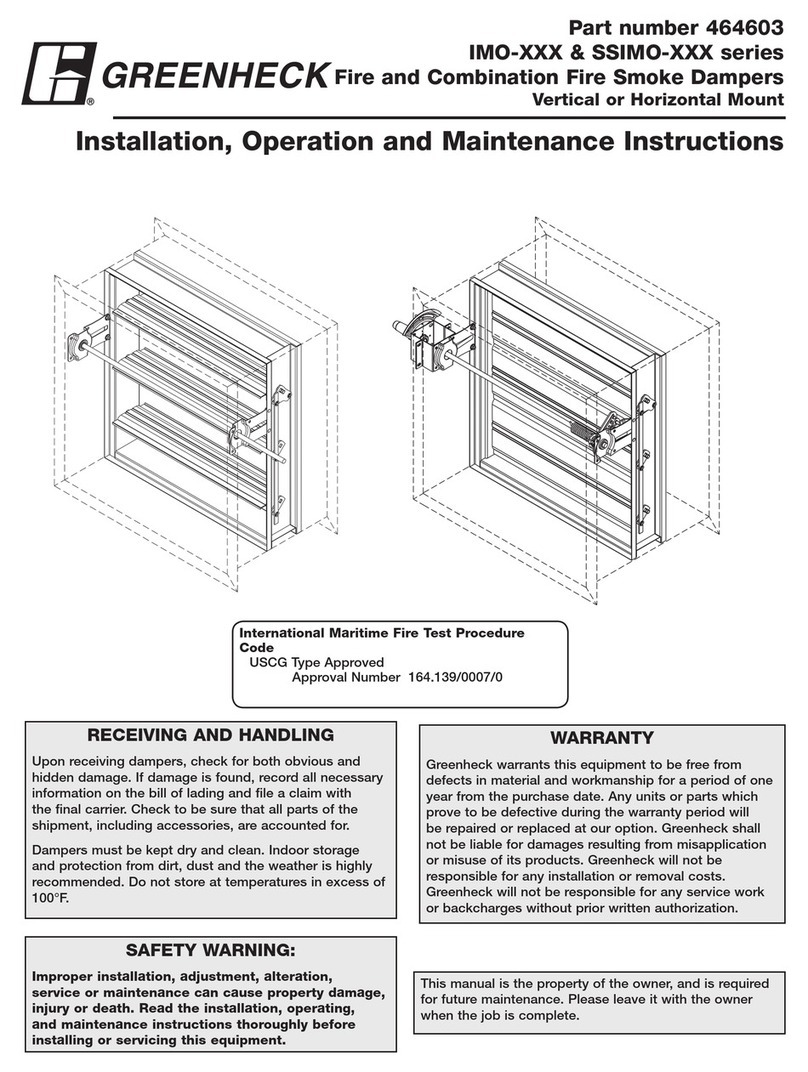
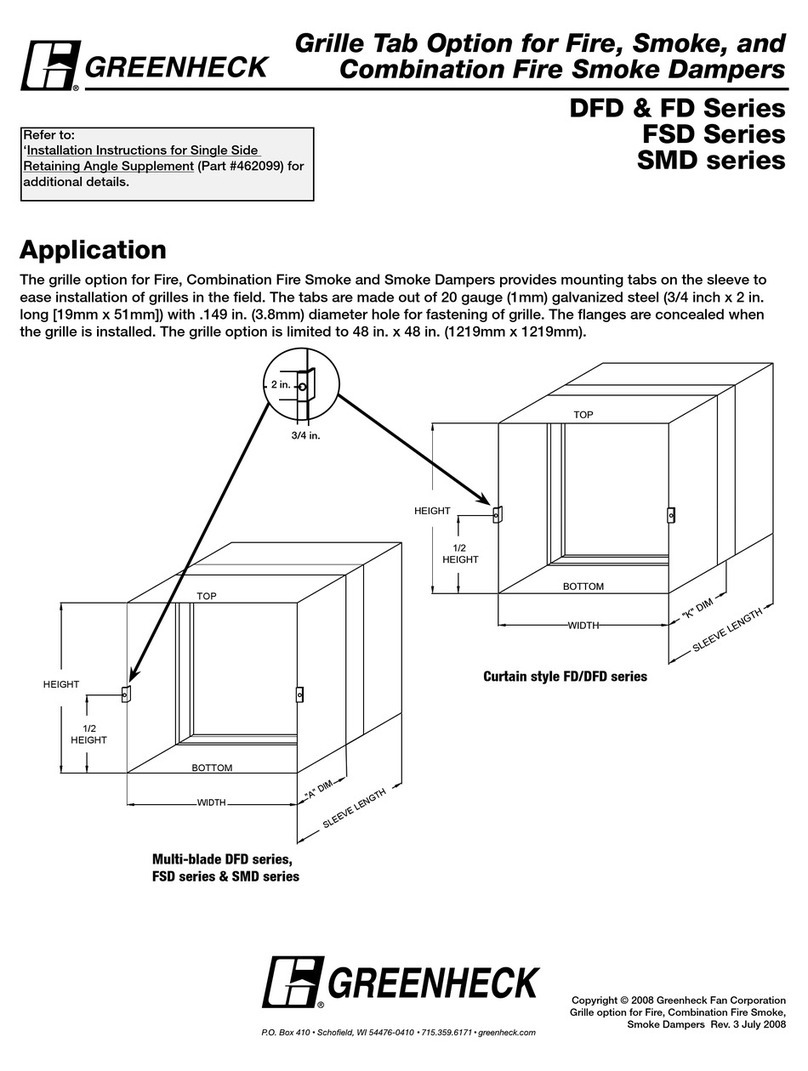
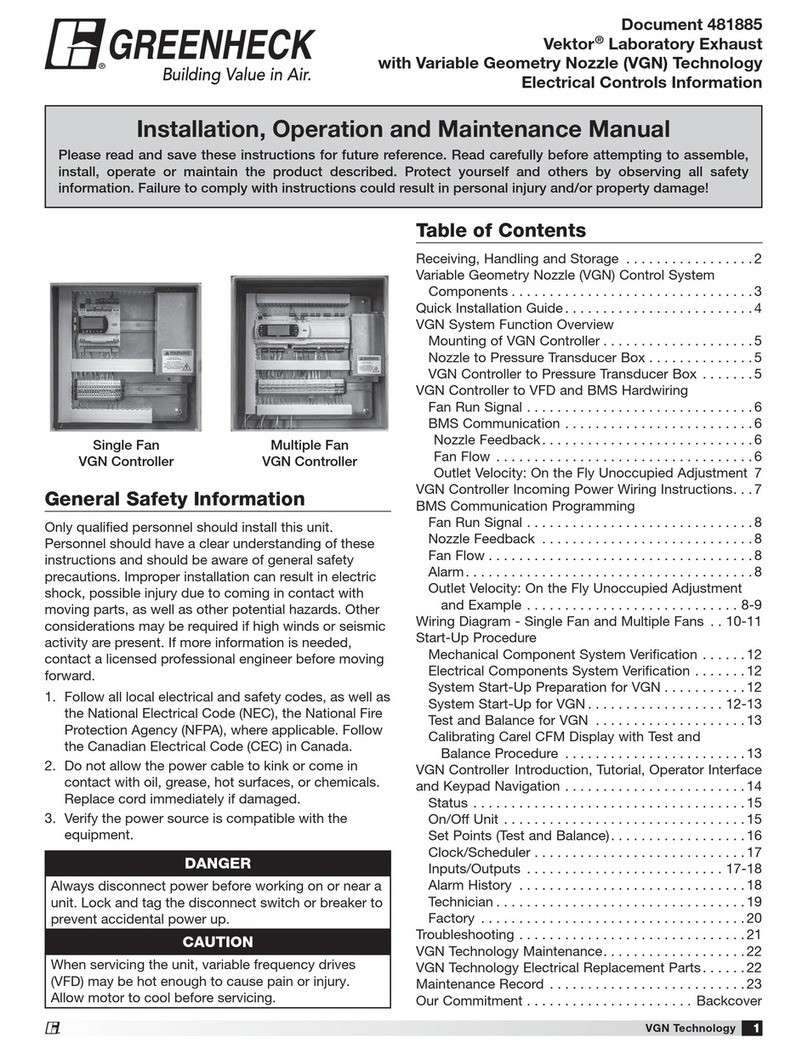
manuals.online logo
Brands
  1. Home
  2. •
  3. Brands
  4. •
  5. Greenheck
  6. •
  7. Ventilation Hood
  8. •
  9. Greenheck FGI User manual

Greenheck FGI User manual

®
Fabra Hood • Form B 1
®
Document 471321
Model FGI/FGR Fabra Hood
Form B - Single Section with Birdscreen
Throat length less than or equal to 72 inches
Assembly Instructions
Please read and save these instructions for future reference. Read carefully before attempting to assemble, install,
operate or maintain the product described. Protect yourself and others by observing all safety information. Failure
to comply with these instructions will result in voiding of the product warranty and may result in personal injury
and/or property damage.
Standard Assembly
HOOD END ASSEMBLY
(FEMALE RIB)
HOOD RAIL ASSEMBLY
SIDE BIRDSCREEN ASSEMBLY
HOOD SUPPORT ANGLE
BASE ASSEMBLY
END BIRDSCREEN
ASSEMBLY
SIDE BIRDSCREEN
ASSEMBLY
HOOD END ASSEMBLY
(MALE RIB)
HOOD PANEL
Step 1 – Open crates and separate parts
Open the shipping crates and separate the parts according to the size of the unit, refer to Figure 1.
Step 2 – Place BASE ENDS and BASE SIDES
Place the two base ends and the two base sides in their approximate relationship to each other, see Figure 2.
Fasten together using three 1/4-20 fasteners per corner for 5 inch high base and four 1/4-20 fasteners per corner
for 12 inch high base.
NOTE: Fasteners should be hand tightened only until Step 4.
On some units where the difference between the hood width and throat width is greater than 32 inches, a
reinforcing plate is required in the corners of the base, refer to Figure 2, Detail A.
Figure 1
BASE END
BASE SIDE
REINFORCING PLATE
DETAIL A
BASE END
BASE SIDE
Figure 2
IMPORTANT: For high wind rated hoods,
follow assembly instructions starting on page 5.
Fabra Hood • Form B2®
Step 3 – Attach HOOD BASE ENDS to HOOD BASE SIDES
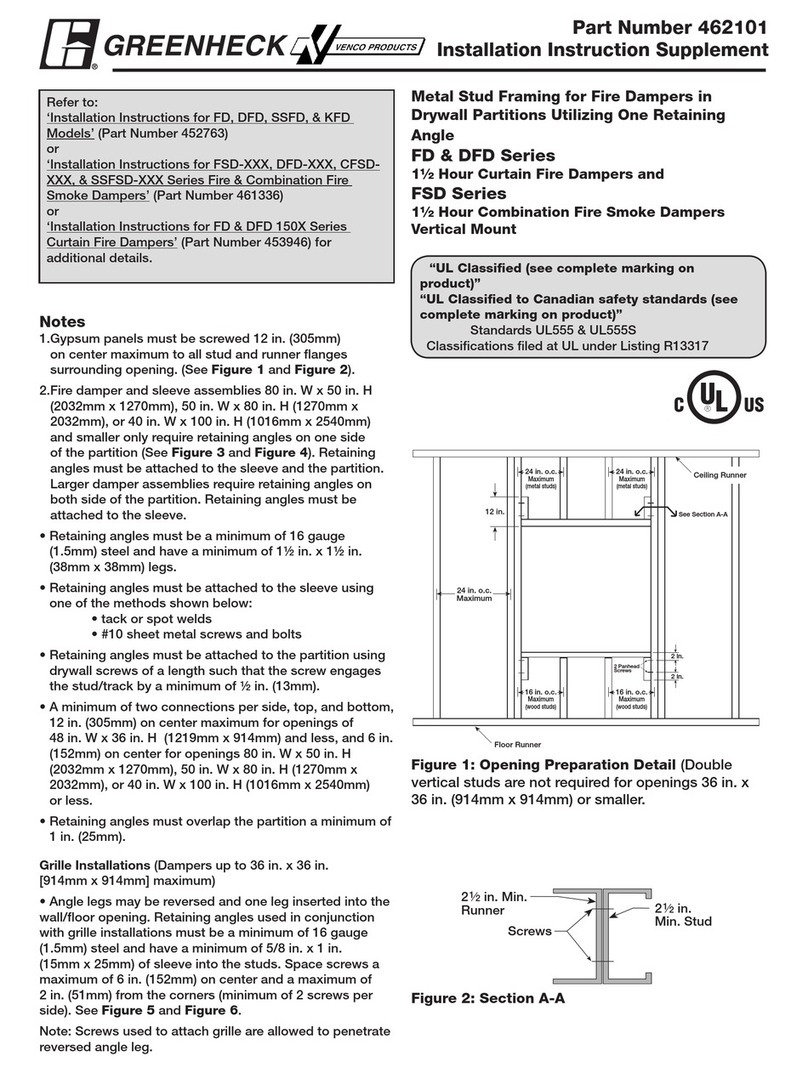
Attach the hood support angle to the base assembly, using four 1/4-20 fasteners per angle, see Figure 3, Detail B.
On some units, two diagonal braces come pre-attached to the hood support angle. Fasten the loose end of the
diagonal braces to the base assembly, using one 1/4-20 fastener per diagonal brace. See Figure 3, Detail C.
BASE
ASSEMBLY
HOOD SUPPORT
ANGLE
DETAIL B
BASE
ASSEMBLY
HOOD SUPPORT
ANGLE
DETAIL C
DIAGONAL
BRACE
Step 4 – Tighten fasteners and caulk all inside corners
Tighten all fasteners. Caulk all inside corners where the base sections come together. At this point, the base may be
lifted onto the roof curb before proceeding with further assembly.
Step 5 – Attach SIDE BIRDSCREEN ASSEMBLY to HOOD SUPPORT ANGLE
Attach the side bird screen assembly to the hood support angle and base assembly using four 1/4-20 x 1 inch
fasteners per screen assembly, see Figure 4.
SIDE BIRDSCREEN
ASSEMBLY
SIDE BIRDSCREEN
ASSEMBLY
BASE ASSEMBLY HOOD SUPPORT
ANGLE
Figure 4
Figure 3
Fabra Hood • Form B 3
®
END BIRDSCREEN
ASSEMBLY
END BIRDSCREEN
ASSEMBLY
SIDE BIRDSCREEN
FRAME EXTENSION
END BIRDSCREEN
ASSEMBLY
SIDE BIRDSCREEN
ASSEMBLY
BIRDSCREEN
CLIP
DETAIL D
VIEWED FROM UNDER SIDE
Figure 5
Step 6 – Install END BIRDSCREEN ASSEMBLY
Install the end birdscreen assembly, refer to Figure 5. Turn the birdscreen clips (which are pre-assembled to the end
birdscreen assembly) so that two are under the side birdscreen frame extension and the other two are under the
hood support angle. See Figure 5, Detail D.
NOTE: Loosen and tighten the birdscreen clip as necessary.
Step 7 – Attach HOOD RAIL ASSEMBLY to HOOD SUPPORT ANGLES
Attach the hood rail assembly to the hood support angles, using 3/8 x 3/4 inch bolt with 3/8 inch Nyloc nut at each
attachment point, see Figure 6.
NOTE: Fasteners should be hand tightened only until Step 9.
HOOD RAIL
ASSEMBLY
NYLOC NUT
HOOD SUPPORT
ANGLE
HOOD RAIL
ASSEMBLY
HOOD SUPPORT
ANGLE
Figure 6
Fabra Hood • Form B4®
Step 8 – Assemble HOOD PANELS to HOOD RAIL ASSEMBLY
Assemble hood panels to hood rail assembly. The hood end assembly with the “male rib” is to be installed first, see
Figure 7, Detail E. Place the remaining hood panels in place, interlocking panels as you go, see Detail E. Secure each
hood panel to the hood rail assembly as it is put in place, using four 12 x 3/8 inch sheet metal screws with sealing
washers per hood panel. The hood end assembly with the “female rib” is to be installed last.
NOTE: Hoods over 9 feet wide are supplied with special hood clips. See Detail F. hood panels have predrilled holes
for hood clip installation. Install clips as hood panels are being put in place, using one 12 x 5/8 inch sheet metal
screw with sealing washer per hood clip. To install clips in the last panel, leave the end birdscreen assembly out to
provide access to the underside of the hood. The end birdscreen assembly can be easily replaced after the hood is
completely assembled.
Step 9 – Tighten fasteners
Tighten all pivot bracket fasteners. NOTE: There may be extra fasteners.
HOOD RAIL
ASSEMBLY
HOOD PANEL
HOOD END ASSEMBLY
(MALE RIB)
HOOD RAIL
ASSEMBLY
MALE RIB
DETAIL E
FEMALE RIB
DETAIL F
HOOD PANEL
(MALE RIB)
NO. 12 x 5/8 SHEET METAL SCREW
WITH SEALING WASHER HOOD PANEL
(FEMALE RIB) MALE RIB FEMALE RIB
HOOD CLIP
Figure 7
Fabra Hood • Form B 5
®
High Wind Assembly
Step 1 – Open crates and separate parts
Open the shipping crates and separate the parts according to the size of the unit, refer back to Figure 1, page 1.
Step 2 – Place BASE ENDS and BASE SIDES
Place the two base ends and the two base sides in their approximate relationship to each other, see Figure 2. Fasten
together using three 1/4-20 fasteners per corner for 5 inch high base and four 1/4-20 fasteners per corner for 12 inch
high base.
NOTE: Fasteners should be hand tightened only until Step 4.
On some units where the difference between the hood width and throat width is greater than 32 inches, a reinforcing
plate is required in the corners of the base. Refer to Figure 2, Detail A.
BASE END
BASE SIDE
REINFORCING PLATE
DETAIL A
BASE END
BASE SIDE
Step 3 – Attach HOOD BASE ENDS to HOOD BASE SIDES
Attach the hood support angle to the base assembly, using four 1/4-20 fasteners per angle, see Figure 3, Detail B.
On some units, two diagonal braces come pre-attached to the hood support angle. Fasten the loose end of the
diagonal braces to the base assembly, using one 1/4-20 fastener per diagonal brace. See Figure 3, Detail C.
BASE
ASSEMBLY
HOOD SUPPORT
ANGLE
DETAIL B
BASE
ASSEMBLY
HOOD SUPPORT
ANGLE
DETAIL C
DIAGONAL
BRACE
Step 4 – Tighten fasteners and caulk all inside corners
Tighten all fasteners. Caulk all inside corners where the base sections come together.
NOTE: Depending on the size of the hood it may be easier to assemble unit on the ground and lift to the roof
assembled. This is due to the self tapping screws that need to be fastened down the center of the hood.
IMPORTANT: Do not climb on top of hood to fasten screws in the center of the hood.
Figure 2
Figure 3
Fabra Hood • Form B6®
Step 5 – Attach SIDE BIRDSCREEN ASSEMBLY TO HOOD SUPPORT ANGLE
Attach the side bird screen assembly to the hood support angle and base assembly using four 1/4-20 x 1 inch
fasteners per screen assembly, see Figure 4.
SIDE BIRDSCREEN
ASSEMBLY
SIDE BIRDSCREEN
ASSEMBLY
BASE ASSEMBLY HOOD SUPPORT
ANGLE
Step – 6 Install END BIRDSCREEN ASSEMBLY
Install the end birdscreen assembly, refer to Figure 5. Turn the birdscreen clips (which are pre-assembled to the end
birdscreen assembly) so that two are under the side birdscreen frame extension and the other two are under the
hood support angle. See Figure 5, Detail D.
NOTE: Loosen and tighten the birdscreen clip as necessary.
END BIRDSCREEN
ASSEMBLY
END BIRDSCREEN
ASSEMBLY
SIDE BIRDSCREEN
FRAME EXTENSION
END BIRDSCREEN
ASSEMBLY
SIDE BIRDSCREEN
ASSEMBLY
BIRDSCREEN
CLIP
DETAIL D
VIEWED FROM UNDER SIDE
Figure 4
Figure 5
Fabra Hood • Form B 7
®
Step – 7 HOOD RAIL ASSEMBLY
NOTE: For easier assembly and lifting elevate hood rail assembly on blocks.
Lay out hood rail assembly and hood end angles, see Figure 6. Install thread cutters (hardware kit # 415041 - 5/16-
18 x 1 in.) from underneath, first through hood end angles and second hood rail assembly.
NOTE: Use a builders square to ensure the corners of the frame are as close to 90º as possible.
5/16 -18 x 1 in.
THREAD CUTTER
5/16 -18 x 1 in.
THREAD CUTTER
5/16 -18 x 1 in.
THREAD CUTTER
5/16 -18 x 1 in.
THREAD CUTTER
USE PROVIDED
HARDWARE KIT # 415041 HOOD END ANGLE
HOOD RAIL ASSEMBLY
Step 8 – Install HAT CHANNEL
Place diagonal end panel supports with the formed angle running the length of the part facing out and slots next
to hat channel. Fasten diagonals with whiz nut (hardware kit # 415456). Leave wiz nuts snug and DO NOT tighten.
Lift hat channel into place. The diagonals will support the hat channel as it is being installed. Use thread cutters
(hardware kit # 415456) to attach the hat channel to the diagonal end panel supports. Tighten wiz nuts.
5/16 -18 in. WHIZ NUT
HAT CHANNEL
5/16 -18 x 1 in.
THREAD CUTTER (BOTH SIDES)
USE PROVIDED HARDWARE KIT
# 415041 AND 415456
5/16 -18 in. WHIZ NUT
5/16 -18 x 1 in.
THREAD CUTTER (BOTH SIDES)
5/16 -18 in. WHIZ NUT
DIAGONAL END PANEL SUPPORT
NOTE: Adjustment of the hat channel may be needed. Ensure there is no more than an 1/8 inch gap between the hat
channel and hood panel.
Figure 6
Figure 7
Fabra Hood • Form B8®
Step 9 – Install HOOD END PANEL (MALE RIB)
Lift the hood end panel (male rib) into place. Use the 1/4-20 x 1 thread rolling screws with washer (hardware kit #
417119) to attach hood end panel to the diagonal end panel supports at the holes in the hood end panel that line will
line up holes in the diagonal end panel supports.
Use four #12-14 x 1 inch self-tapping screws (hardware kit # 415450) to attach the hood panel to the hat channel.
Use four #12-11 x 5/8 sheet metal screws (hardware kit # 417467) to attach the hood panel to the hood rail
assembly.
HOOD PANEL/END PANEL
ASSEMBLY
NO. 12-14 x 1 in.
SELF TAPPING SCREW
NO. 12-11 5/8 in.
SHEET METAL SCREW
NO. 12-11 5/8 in.
SHEET METAL SCREW
1/4 -20 x 1 in.
THREAD ROLLING SCREW WITH WASHER
USE PROVIDED HARDWARE KIT
# 415180 AND 415450
Figure 8
Fabra Hood • Form B 9
®
Step 10 – Install HOOD PANELS to HOOD RAIL ASSEMBLY
Place the next hood panel by interlocking each panel as shown in Figure 7, Detail E. Secure each hood panel to
the hood rail assembly as it is put in place, using four #12-14 x 1 inch self-tapping screws (hardware kit # 415450)
to attach the hood panel to the hat channel. Use four #12-11 x 5/8 sheet metal screws (hardware kit # 417467) to
attach the hood panel to the hood rail assembly. Using quantity 10 sheet metal screws (hardware kit # 416900) with
sealing washers per hood panel. Place the remaining hood panels in place with the hood end assembly with the
female rib is to be installed last as shown in step 9.
IMPORTANT: Do not drive sheet metal screws all the way through both sides of the ribs as this could allow water to
leak through the hood. Screws are to fasten only the first 2 layers of the rib joint.
1/4 -20 x 1 in.
THREAD ROLLING SCREW WITH WASHER
NO. 12 -14 x 1 in.
SELF TAPPING SCREW (QTY OF 10 PER RIB)
USE PROVIDED HARDWARE KIT
# 415450 AND 417119
Step 11 – Lift HOOD ASSEMBLY onto HOOD BASE
Lift completed hood assembly onto the hood base and attach the hood assembly to the hood support angles, using
3/8 x 3/4 inch bolt with 3/8 inch Nyloc nut at each attachment point.
Step 12 – Tighten fasteners
Tighten all pivot bracket fasteners.
NOTE: There may be extra fasteners.
Figure 9
Fabra Hood • Form B10 ®
Fabra Hood • Form B 11
®
471321 • Fabra Hood Form B, Rev. 5, January 2020 Copyright 2020 © Greenheck Fan Corporation12
®
Phone: 715.359.6171 • Fax: 715.355.2399 • Parts: 800.355.5354 • E-mail: [email protected] • Website: www.greenheck.com

Other manuals for FGI

2

This manual suits for next models

1

Other Greenheck Ventilation Hood manuals
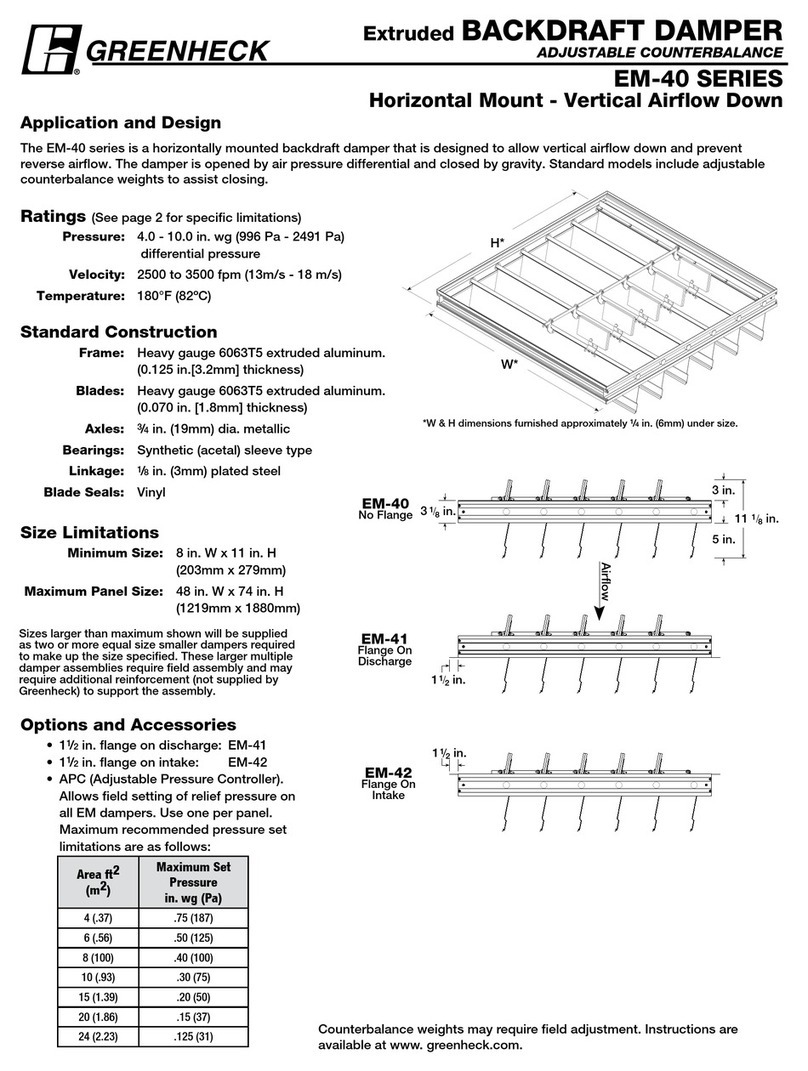
Greenheck Stainless Steel 3V Blade SSSMD-201 User manual

Greenheck

Greenheck Stainless Steel 3V Blade SSSMD-201 User manual

Greenheck FSD Series Owner's manual

Greenheck

Greenheck FSD Series Owner's manual

Greenheck Vektor Series User manual

Greenheck

Greenheck Vektor Series User manual

Greenheck OFSD-312 User manual

Greenheck

Greenheck OFSD-312 User manual
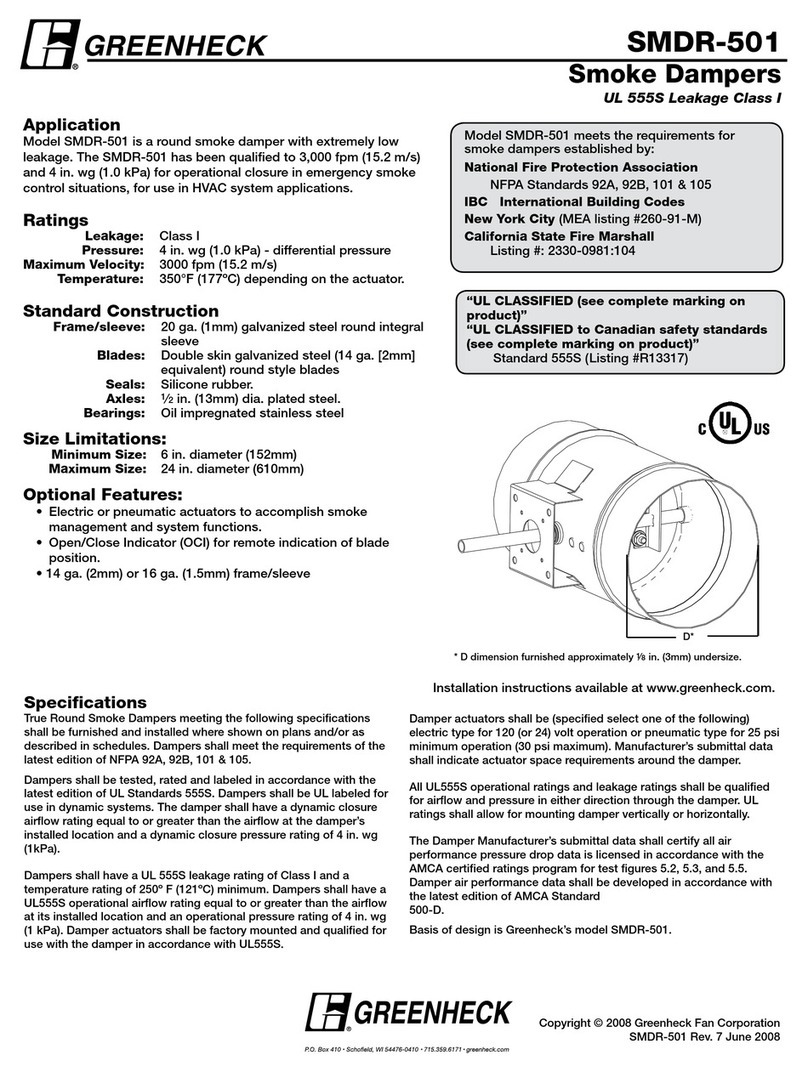
Greenheck 464603 Manual

Greenheck

Greenheck 464603 Manual

Greenheck CFSD Series User manual

Greenheck

Greenheck CFSD Series User manual

Greenheck QEI User manual

Greenheck

Greenheck QEI User manual

Greenheck SEFSD Series User manual

Greenheck

Greenheck SEFSD Series User manual

Greenheck Vektor-H User manual

Greenheck

Greenheck Vektor-H User manual

Greenheck Round Steel Blade FSDR-511 User manual

Greenheck

Greenheck Round Steel Blade FSDR-511 User manual

Greenheck Exhaust Fan SMD-302M User manual

Greenheck

Greenheck Exhaust Fan SMD-302M User manual

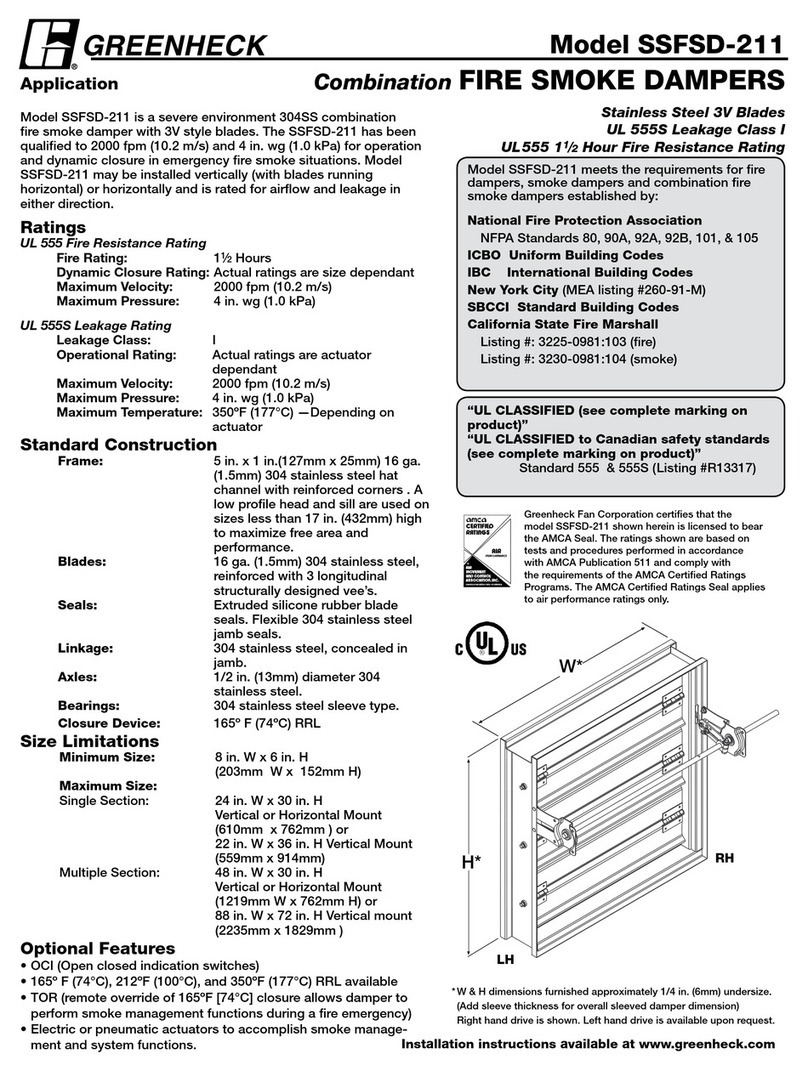
Greenheck Combination Fire Smoke Dampers SSFSD-211 User manual

Greenheck

Greenheck Combination Fire Smoke Dampers SSFSD-211 User manual

Greenheck Barometric Relief Damper SEBR-10 User manual

Greenheck

Greenheck Barometric Relief Damper SEBR-10 User manual

Greenheck KFD Series Owner's manual

Greenheck

Greenheck KFD Series Owner's manual

Greenheck SP User manual

Greenheck

Greenheck SP User manual

Greenheck Outdoor Air Ventilator Guide

Greenheck

Greenheck Outdoor Air Ventilator Guide

Greenheck Vektor Installation and operating instructions

Greenheck

Greenheck Vektor Installation and operating instructions

Greenheck 471555 User manual

Greenheck

Greenheck 471555 User manual

Greenheck UL555S Leakage Class I SMDR-501 User manual
Greenheck

Greenheck UL555S Leakage Class I SMDR-501 User manual

Greenheck Smoke Dampers SMD-301V User manual

Greenheck

Greenheck Smoke Dampers SMD-301V User manual

Greenheck Centrifugal Roof Exhaust Fans NYB User manual

Greenheck

Greenheck Centrifugal Roof Exhaust Fans NYB User manual

Greenheck Steel Airfoil Blades FSD-311V User manual

Greenheck

Greenheck Steel Airfoil Blades FSD-311V User manual

Greenheck Belt Drive Duct Fan BDF User manual

Greenheck

Greenheck Belt Drive Duct Fan BDF User manual

Greenheck WD-400 Series User manual

Greenheck

Greenheck WD-400 Series User manual

Popular Ventilation Hood manuals by other brands

Whirlpool UXT2030AD Installation Instructions and Use & Care Guide

Whirlpool

Whirlpool UXT2030AD Installation Instructions and Use & Care Guide

Faber CRIS36SS300 Installation instructions; use and care information

Faber

Faber CRIS36SS300 Installation instructions; use and care information

Jenn-Air 32inch (81.3 CM) WALL-MOUNTPERIMETRIC RANGE... Installation Instructions and Use & Care Guide

Jenn-Air

Jenn-Air 32inch (81.3 CM) WALL-MOUNTPERIMETRIC RANGE... Installation Instructions and Use & Care Guide

Berbel KNX-RF Assembly information

Berbel

Berbel KNX-RF Assembly information

NuTone BNDD1 Series Installation use and care manual

NuTone

NuTone BNDD1 Series Installation use and care manual

Hotpoint kitchen think HSD92 Instructions for installation and use

Hotpoint

Hotpoint kitchen think HSD92 Instructions for installation and use

Electrolux FHWC3060LSA Use & care guide

Electrolux

Electrolux FHWC3060LSA Use & care guide

Corsa 14172 installation instructions

Corsa

Corsa 14172 installation instructions

Midea MCHC70J72 user manual

Midea

Midea MCHC70J72 user manual

Thermador VTR630D installation instructions

Thermador

Thermador VTR630D installation instructions

Essentials Genova ZGE-E30AS Use, care and installation guide

Essentials

Essentials Genova ZGE-E30AS Use, care and installation guide

Zline ISLAND instruction manual

Zline

Zline ISLAND instruction manual

AEG PERFEKT GLIDE 36-REC quick start guide

AEG

AEG PERFEKT GLIDE 36-REC quick start guide

Zelmer 524.60 user manual

Zelmer

Zelmer 524.60 user manual

Mitsubishi VL-100U-E installation instructions

Mitsubishi

Mitsubishi VL-100U-E installation instructions

EURO Alfresco ERB 120SS Usage and care guide

EURO

EURO Alfresco ERB 120SS Usage and care guide

Dometic CK2000 Installation and operating manual

Dometic

Dometic CK2000 Installation and operating manual

ELICA PRF0071970A Instruction on mounting and use

ELICA

ELICA PRF0071970A Instruction on mounting and use

manuals.online logo
manuals.online logoBrands
  • About & Mission
  • Contact us
  • Privacy Policy
  • Terms and Conditions

Copyright 2025 Manuals.Online. All Rights Reserved.