Application Note
March 2011
Greenliant,theGreenliantlogo and NANDrivearetrademarksofGreenliant Systems © 2011 GreenliantSystems
Windows is a trademark of Microsoft Corporation in the United States and other countries 2 03/18/2011
These specifications are subject to change without notice. S74020
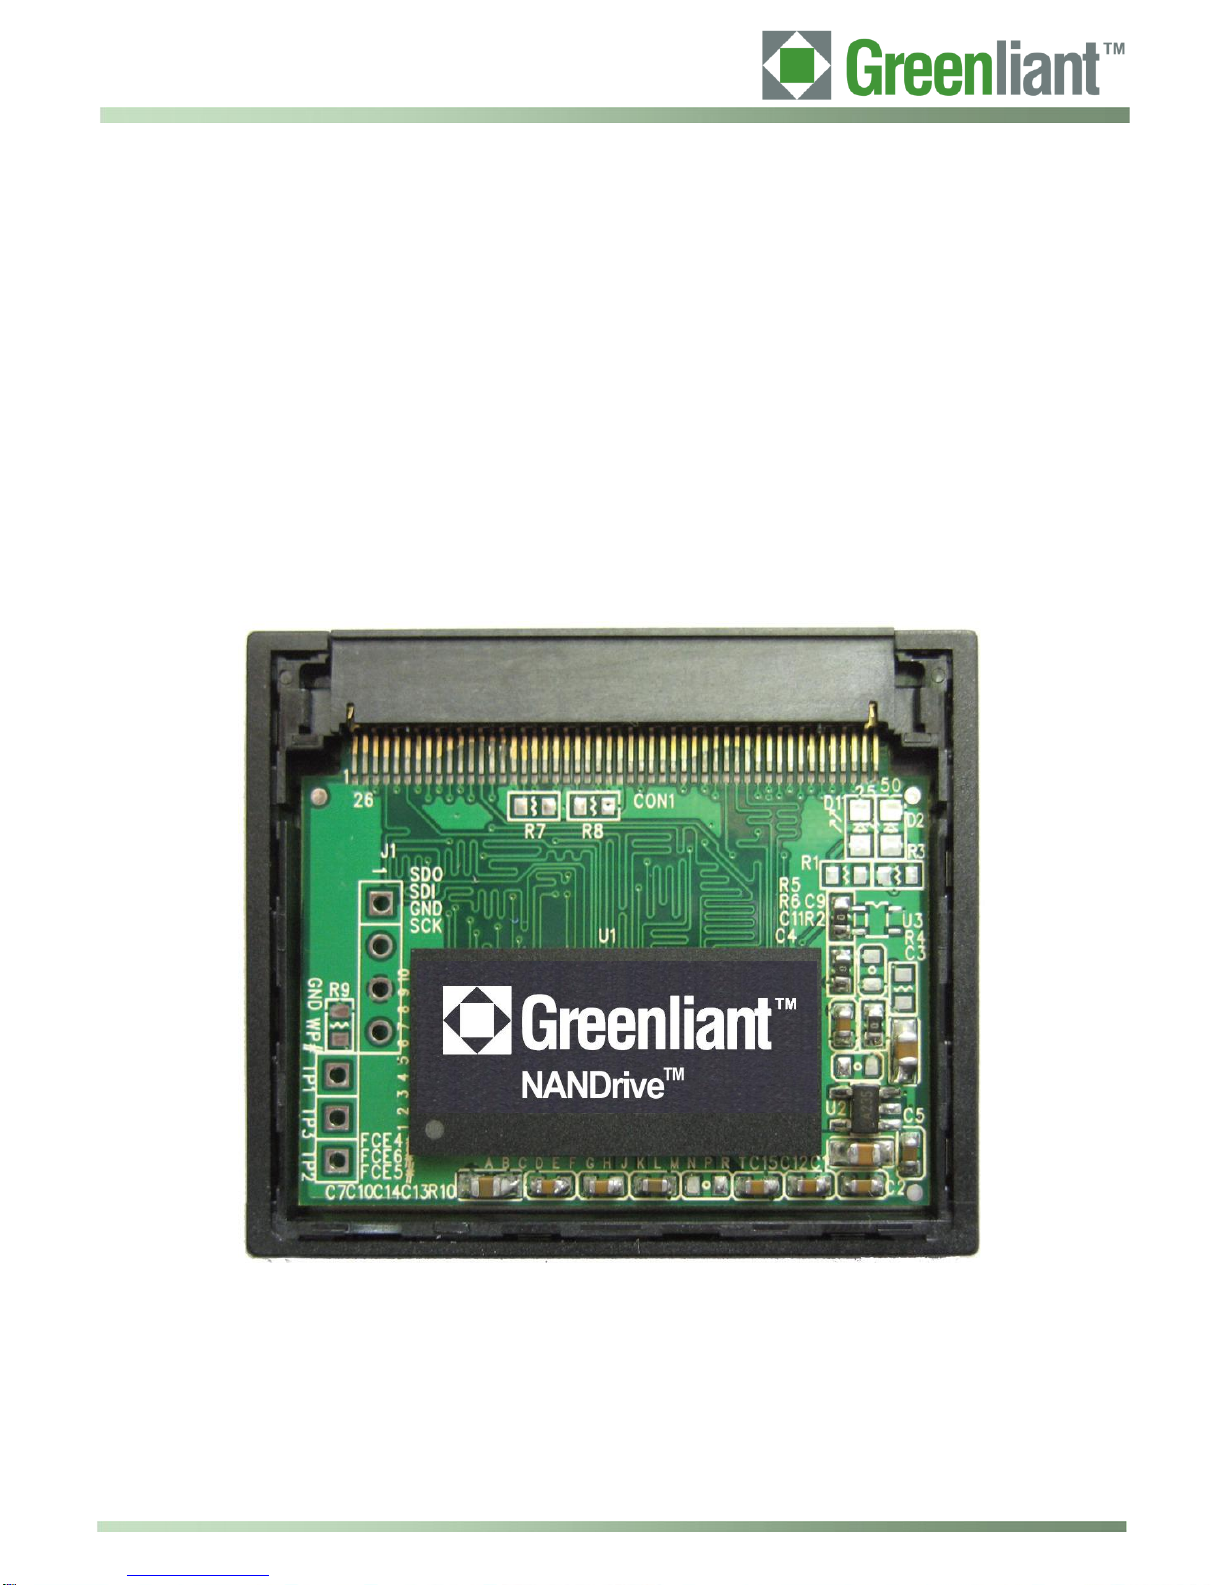
PATA NANDrive™ Evaluation Board with
Compact Flash Connector User Guide
Disclaimer
By downloading and using these files, you agree:
1. The information delivered hereunder (“Information”) is confidential to Greenliant Systems. You may use the
Information only to generate or produce a reference PCB (“Product”), or a Modified Product, as defined
below. The Information is delivered as is. Greenliant Systems makes no warranty express or implied, with
respect to the use, merchantability, or fitness for purpose of the Information, the Product or the Modified
Product. Further, Greenliant Systems disclaims any patent infringement liability arising out of, resulting from,
or in connection with the use of the Information, the Product, or the Modified Product, or the use of the
Information, the Product or the Modified Product, in combination with any other component, products or
process. In no event shall Greenliant Systems be liable for any incidental or consequential damages with
regard to the Information, the Product, or the Modified Product.
2. You will not sell or otherwise commercially exploit the Product. You will have the right to use the Information
to generate or produce a reference PCB in which at least all references to Greenliant Systems markings,
logos and part numbers are removed (“Modified Product”), and have the right to commercially exploit the
Modified Product.
3. The unauthorized use, disclosure or duplication of the Information or the Product will result in irreparable
harm to Greenliant Systems for which legal damages would be an inadequate remedy. Accordingly, in the
event of unauthorized use, disclosure or duplication, Greenliant Systems will be entitled to injunctive relief in
addition to any other rights or remedies it may have at law or equity.
4. All Intellectual Property rights residing or subsisting in the Information or the Product belongs to Greenliant
Systems.
Identification and Warnings of Safety Hazards
Greenliant uses the following system to identify the severity of the hazards associated with this product:
“DANGER” Imminently hazardous situation that, if not avoided, will result in death or serious injury.
“WARNING” Potentially hazardous situation that, if not avoided, could result in death or serious injury.
“CAUTION” Potentially hazardous situation that, if not avoided, may result in minor or moderate injury or property
damage.