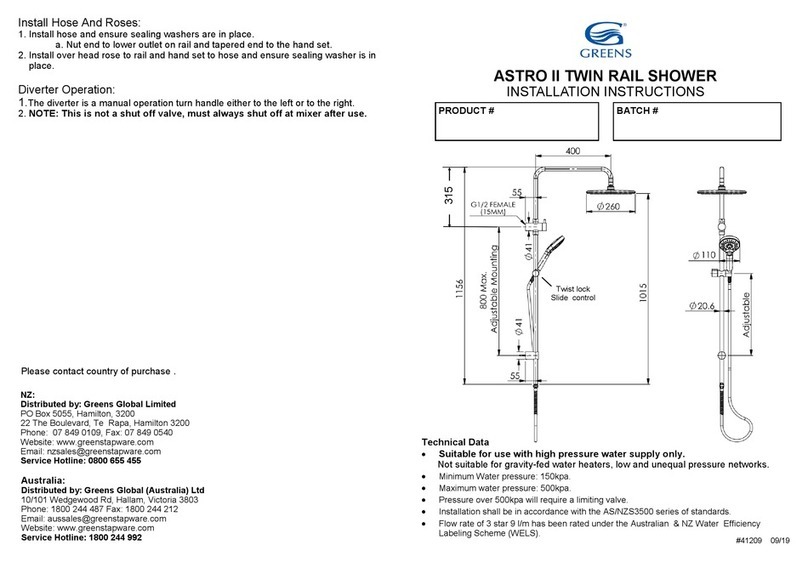
Note: Valve mounting 45-65mm behind finished wall.
Cut out holes in finished walls. Valve 40-43mm Spout 25mm.
Installing Mixer Valve Body:
1. Position the mixer against a mounting board within the maximum and
minimum depth of 45-65mm and fix.
a. Ensure the “Hot” (H) inlet, enters from the left, when the outlet to the
shower is at the top.
b. Mug guard has minimum and maximum for finished wall.
i. Leave mud guard on valve body until final fit out.
c. Note: Finished wall cut out must be up to the mud guard.
i. Note: Maximum cut out of 43mm.
2. Connect water supply to the mixer and from the mixer to the shower outlet.
a. Do not pressure test with valve in the open position when the outlet is closed.
Installing Bracket Elbow For Spout (not supplied):
1. Install a brass 15mm male wingback elbow for spout position and connect
water supply from mixer outlet to elbow.
a. Min 80mm from mixer to spout. Drawing 110mm (REF) is for guide only.
b. Check alignment of body and wall elbow.
2. Plug off elbow for water test.
3. Turn on water supply on and check for leaks.
Do not pressure test with valve in the open position when outlet is closed.
Install Face Plate & Handle:
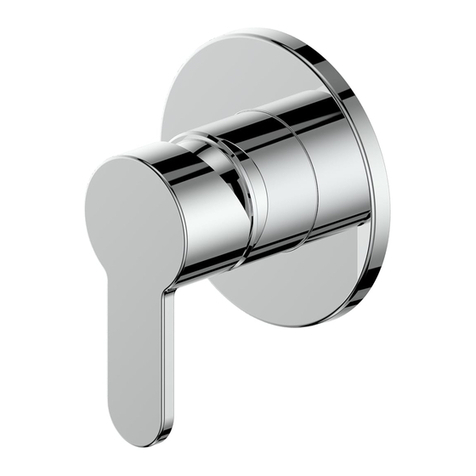
1. Remove the mud guard.
2. Remove the protective tape from the seal and slide the faceplate over
the mixer body and position against the wall lining.
a. Ensure the drain hole in plate at the bottom .
3. Sealant will be required behind faceplate on uneven surfaces for
water seal.
4. Install the handle onto the cartridge lever and tighten the screw under
the handle with the 2.5mm Allen key supplied and fit button.
Installing Spout & Mounting Adaptor:
1. Cut out mounting hole in finished wall for spout 25mm as per drawing.
2. Mounting adaptor requires 10mm thread from finished wall, cut to length.
3. Remove the DN15mm mounting adaptor unscrewing the grub screws under the
spout until nearly out.
a. This is to ensure the O-rings on the adaptor are not cut.
4. Install the female mounting adaptor.
a. Using a spanner or 1/4” Allen key.
5. Grease O-rings, install spout ensuring seal is in place and tighten grub screws.
6. To clean aerator at outlet, remove by turn anti-clockwise using tool supplied.
7. For bath installations remove the aerator and replace with the non WELS
Aerator using tool supplied.
INSTALLATION INSTRUCTIONS


