manuals.online logo
Brands
  1. Home
  2. •
  3. Brands
  4. •
  5. Greentrees Hydroponics
  6. •
  7. Lawn And Garden Equipment
  8. •
  9. Greentrees Hydroponics MULTI FLOW HYDROPONIC SYSTEM User manual

Greentrees Hydroponics MULTI FLOW HYDROPONIC SYSTEM User manual

MULTI FLOW HYDROPONIC SYSTEM
Thank you for purchasing the Multi Flow Hydroponic System. The Multi Flow is an “ebb and flow” or
“fill and drain” type hydroponic system. The operation is simple, the pots are filled from the bottom then
drained back out. This simple process e enly moistens all the roots in each pot. Ebb and flow is one of the
simplest and most reliable methods of hydroponic gardening.
Ebb and flow systems are usually limited to small plants placed close together in a large tray. The entire
tray is filled watering the plants. With plants o er 18 inches tall in a tray system, the plants must be spaced far
apart for proper growth. So the tray is mostly empty space that must be filled each time, using a lot of water.
The Multi Flow o ercomes this problem by using indi idual pots connected together at the base. Each of
the pots can be spaced as far apart as needed without using more water. The pots are actually two parts, the base
and the insert. The inserts can be remo ed without disconnecting the tubing. The ad antage of this is, if you
ha e plants in different stages of growth, some of the bases can be placed close together and some farther apart.
When the new plants grow to a point where they are crowding each other, just lift out the inserts and place them
in the bases that are farther apart.
Re ised September 16, 2020
Unpack and identify all parts carefully Use the list below as a guide.
Assembly
The reser oirs we supply with the
system are blue with a white remo able
lid. The lid has a four inch hole cut in
it. If you’re using a different reser oir,
you will need to cut a four inch hole in
the top and ha e a way to attach the
Fill/Drain Tube Mount.
Insert 10 of the ¾” Connectors into the grommets at the base of the
Controller.
NOTE: A small amount of lubricant like water, or dish soap and
water will make installing the connectors into the grommets much
easier.
Page 2
Items included with the 12 pot system
1 Controller Assembly
2 6 pot Add-On Kits
1 55 gallon reser oir
Items included with the 24 pot system
1 Controller Assembly
4 6 pot Add-On Kits
1 55 gallon reser oir
Items included with the 36 pot system
1 Controller Assembly
6 6 pot Add-On Kits
1 55 gallon reser oir
Items included with the 4 pot system
1 Controller Assembly
8 6 pot Add-On Kits
1 55 gallon reser oir
The Controller Assembly contains
1 Controller with timer.
2 Pumps, one Fill Pump and one Drain Pump
1 15 foot Roll of ½” Tubing
1 3 foot Roll of 5/8” Tube Wrap
1 Fill/Drain Tube Mount
1 Lid for Controller
5 ¾” Elbows
2 ½” Elbows
15 ¾” Connectors
10 ¾” Barbed Fitting End Caps
1 1-5/8” Screw
1 Instruction manual
Each 6 add on contains
6 Lower Pots with grommet installed
6 Upper Pots with drain holes
6 Tee fittings
1 Elbow fitting
1 Roll of ¾” tubing, approximately 20 feet
Insert the Connectors just far enough so the first ridge is exposed
on the inside. Pushing the Connectors in to far may cause a reduction in
water flow.
Cut a ten inch section of the ½” tubing and connect it to the
Fill/Drain Tube Mount fitting marked DRAIN on the side marked
RESERVOIR HOLE. Cut three sections of the ½” tubing four feet long
and connect them to the other three fittings on the Fill/Drain Tube Mount.
Cut three sections of the 5/8” Tube Wrap one foot long and slide
them o er the three longer tubes on Fill/Drain Tube Mount up to the
Mount. Connect one of the pumps to the long tube on the Fill/Drain Tube
Set marked FILL on the side marked RESERVOIR HOLE.
Put the Fill Pump with the Fill/Drain Tube Set connected to it, into
the hole in the top of the reser oir. Hang the power cord o er the side, it
will be plugged into the Controller later.
The Fill/Drain Tube Mount has two small holes on the bottom side.
These are siphon breaks and must not be obstructed! A small
amount of water may come out of the hole so position them o er the
large opening in the reser oir.
Page 3
Use the screw to hold the Fill/Drain Tube Mount to the top of the
reser oir. There is a small hole for the screw next to the large hole.
Make sure the tube mount hangs o er the reser oir hole so the siphon
breaks are clear and unobstructed.
Insert the two ½” Elbows into the grommets at the top near the
FILL marking.
Connect the the Fill/Drain Tube Set to the elbows. Looking at it
from the outside, the Fill tube goes on the left and the Drain on the right.
Cut a ten inch section of the ½” tubing and connect it to the other
pump. Connect the other end to the drain elbow inside the controller.
Tie a knot in the Drain Pump power cord so the cord stays out of
the Water Le el Switches.
The two upper Water Le el Switches are on an adjustable mount so
the Controller can be used with different size pots. It should be 11-1/2”
from the base of the controller to the top of the Water Le el Switch
Mount if you’re using the Multi Flow Pots. Test your fill depth
carefully. It should fill the lower pot ½” from the top. Remo e the upper
pot to test. Do not o er-tighten the thumbscrew.
Page 4
Layout the pots in rows in your grow room and connect them
together with the tubing and tee fittings. You can use the elbows for the
end. Lubing the grommets with a small amount of water will make it
easier to insert the fittings.
Connect the first pot on each row to one of the connectors at the
base of the Controller.
Use the Barbed Fitting End Caps to plug any unused outlets in the
base of the Controller.
The tubes connecting the pots should lay as flat as possible and
should not be kinked. Any kinks or high spots will reduce the flow of
nutrient.
We recommend expanded clay media for the system, Hydrocorn,
Hydroton or similar brands.
You should wash the media to keep any fine debris from clogging
the system. The easiest way to do this is by remo ing the upper pots, fill
them with media and run water o er them.
Page 5
If you ha e cuttings ready to plant, fill the pots half way, place the cutting in the pot and fill the rest of the
way with the media.
Plug in the Drain pump, (the pump in the Controller) to the outlet labeled “Drain Pump”.
Plug in the Fill Pump, (the pump in the reser oir) to the outlet labeled “Fill Pump”. If the Le el Controller
is not near the reser oir, you may need an extension cord (not supplied).
Fill the reser oir with water to about two inches from the top. We recommend adjusting the pH of the
water to 6.3 before and after adding nutrient. Add nutrient according to the instructions on the label.
Hydroponic nutrient is most soluble at 6.3 pH. Adjusting the water before adding nutrient will make the nutrient
dissol e better than not adjusting first. You should also adjust after because the nutrient itself will make the pH
change.
Prime the pumps. When a pump is started for the first time or if it has been allowed to run dry, the impeller
chamber is full of air. It might not pump water until the air has been pumped out of the impeller chamber. You
can apply power to the pump when it’s submerged and simply jiggle the pump or the tube to get the air out.
Always keep the pump inlet submerged so it does not pull in air.
Plug in the power cord and set the timer to the time of day. Only
turn the dial in the direction of the arrows! Push the pins out to set
the watering times. One pin will turn on the system for 15 minutes and
fill the pots. It will drain automatically after the 15 minutes is up. 30
minutes may be needed for the 48 pot system fill completely. If so, push
out two adjacent pins. If you want the system to water three times a day,
just push out the pins at the desired time in the dial.
Common Setup Errors
If the drain pump is turning on and off e ery few seconds, this could be an indication that the water is
siphoning into the controller from the reser oir after the drain pump turns off. This is usually caused by a
missing fill/drain tube mount, a tube mount that’s not mounted correctly causing the siphon break to fail, or a
siphon break hole that’s obstructed. The fill/drain tube mount must be mounted with a screw to keep it from
becoming submerged when the reser oir is full.
Page 6
Incorrect
Correct
A fill/drain tube
mount not secured
could become
submerged causing
water to siphon
into the controller.
Fill/drain tube
mount secured
with a screw
above the water
level.
If the system has been modified to operate as a top feed drip that causes the drain pump to operate many
more times than it was designed for, this will reduce the life of the electrical components. Also, if the drain
pump has been changed to a larger pump that requires more current, this will also reduce the life of the
electrical components. Modifications of this type would oid the warranty.
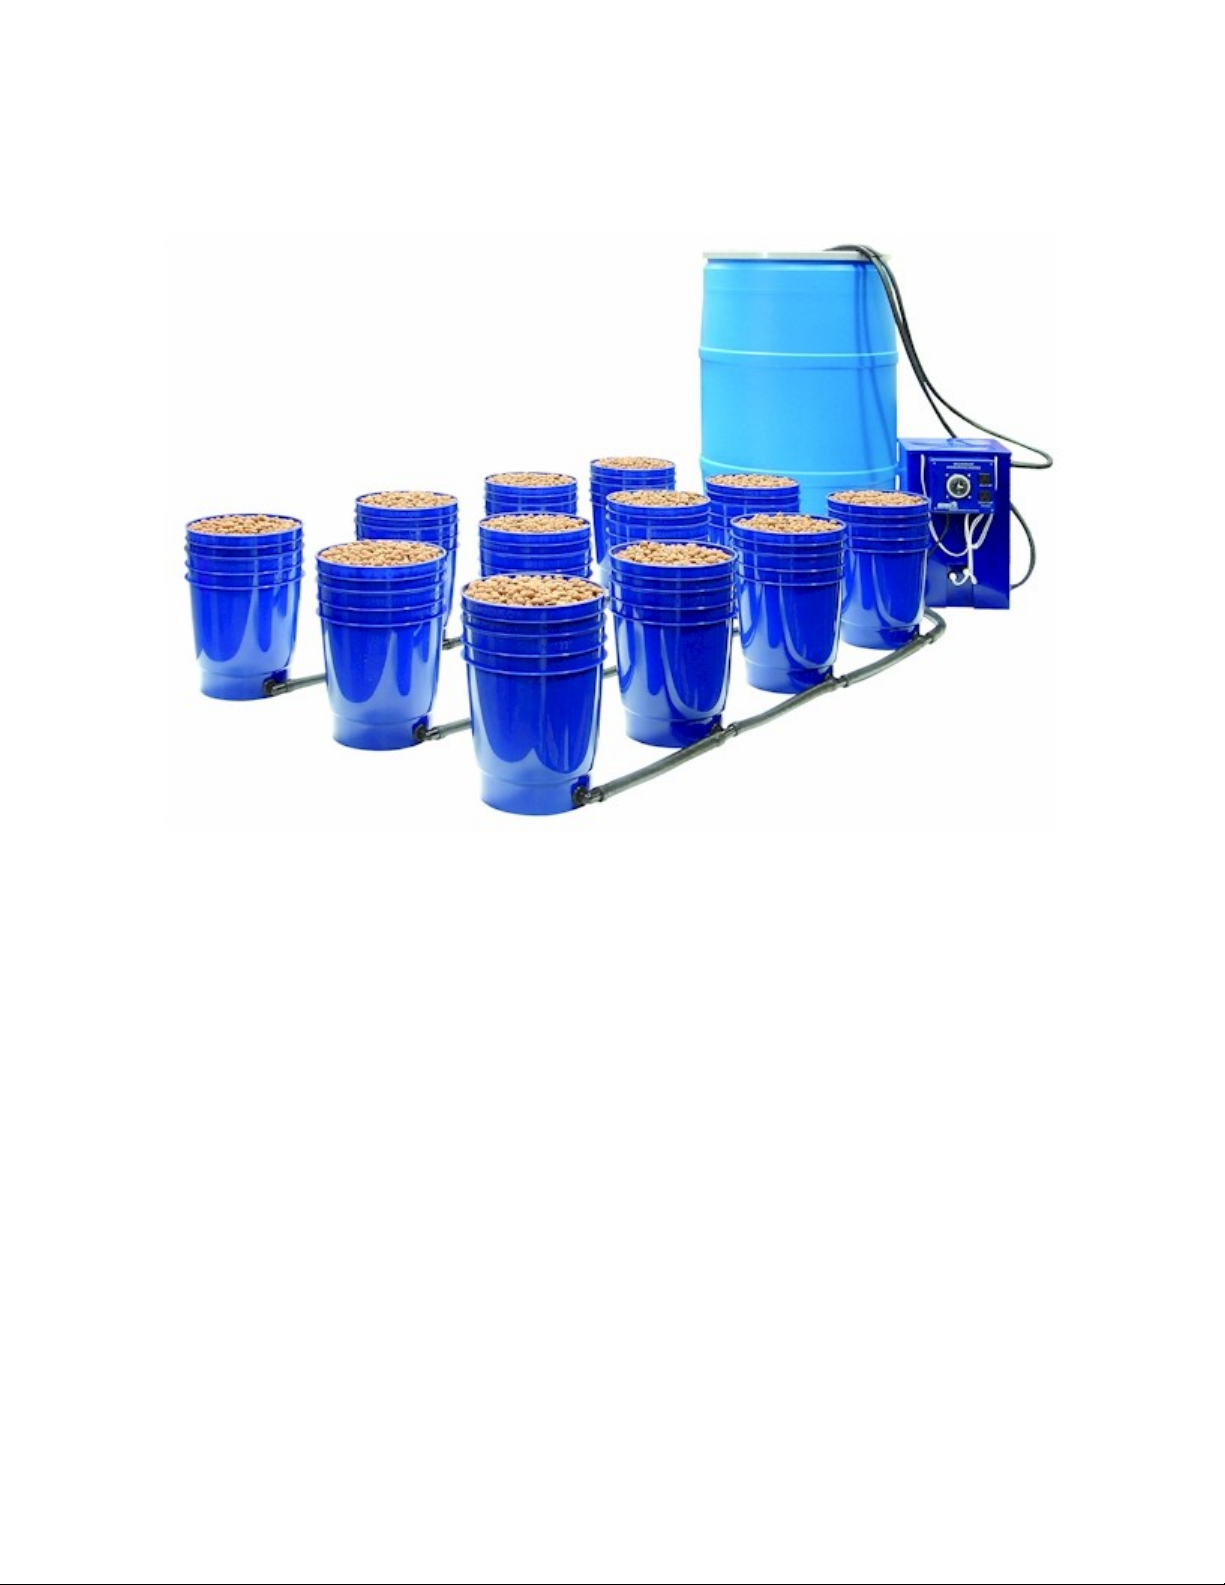
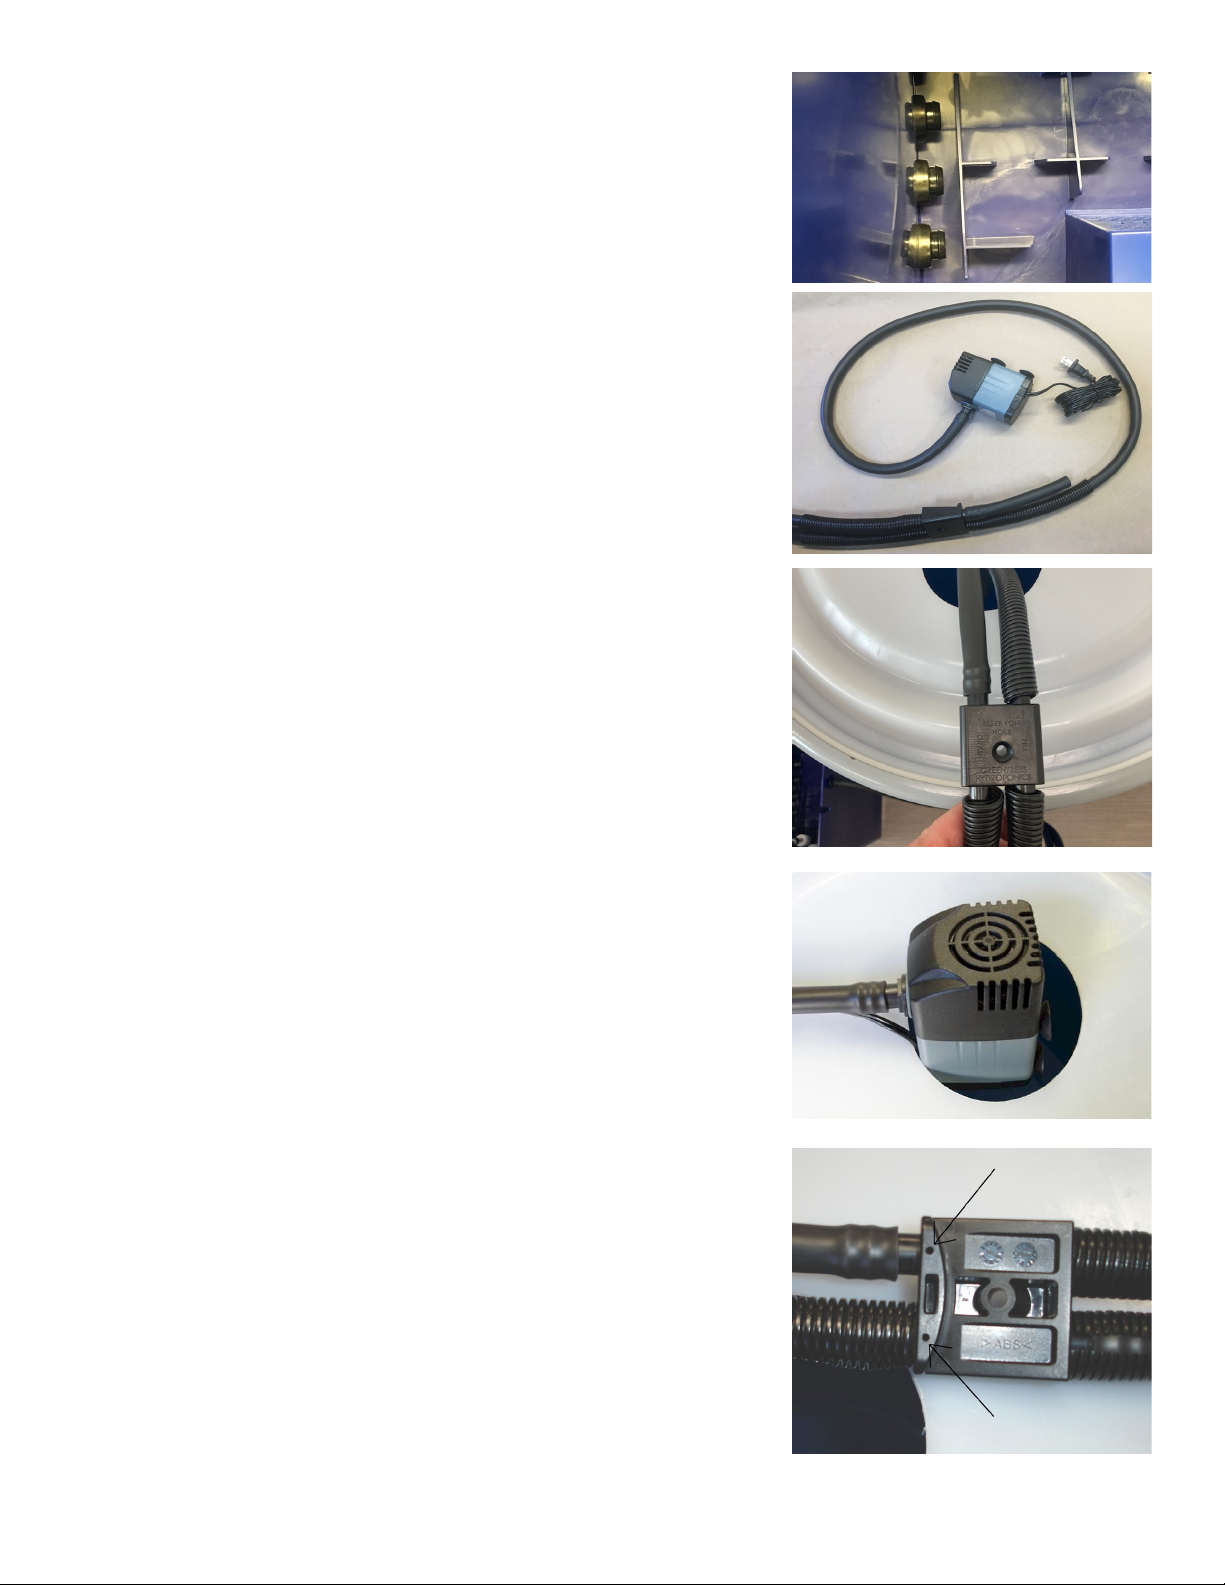
The barriers in the bottom of the Controller keep the Drain Pump
away from the Water Le el Switches. The Drain Pump creates a
magnetic field when running that can cause the Water Le el Switches to
acti ate. Continued use with the Drain Pump too close to the Water
Le el Switches can damage the Controller. Remo al of the barriers
oids the warranty.
Frequently asked questions
Q: How often should I water the plants?
A: The number of fill cycles depends on the growth rate of your plants and the e aporation rate. Fast growing
adult plants may need anywhere from three to six fill cycles per day. New cuttings may only need one fill per
day. Just like soil gardening, if you can stick your whole finger into the soil (or rock in this case) and it’s dry,
it’s time to water.
Q: How long should the system stay filled?
A: Just long enough to fill the pots. Usually 15 minutes.
Q: When should I fill the reser oir?
A: The reser oir should be topped off as often as possible. If the water le el gets below 2/3 full the nutrient may
become too concentrated. Only fill the reser oir after the system has had at least 30 minutes to drain. If you add
water to the reser oir when it’s filling the pots, it may o erflow when the water drains back.
Q: Should I drain the system and flush it out once in a while?
A: Yes, it’s a good idea to drain the system and replace the nutrient solution e ery 2 weeks. Fill the reser oir
about half full with water and let it fill the pots. Let the system drain back out and discard the water in the
reser oir. Scrubbing the reser oir and pots is usually not needed.
Q: When should I add nutrient?
A: You should add nutrient e ery time you fill the reser oir. If you’re topping off the reser oir between regular
nutrient changes, use half strength nutrient. When the water e aporates it lea es the nutrient behind, increasing
the concentration.
Q: When should I check and adjust the pH?
A: The pH should stay close to 6.3. A system that uses a lot of water will probably need to be checked e ery
day. For low water usage plants like orchids, once a week should be fine.
Q: Do I need to replace the Hydroton?
A: No, Hydroton can be reused many times. We do recommend cleaning it between crops. Remo e the large
root material and let it soak in a 0.5% hydrogen peroxide solution o ernight. Rinse it well and reuse.
Page 7
Q: Do I need a bigger Le el Controller if I want to add more pots?
A: No, the same Le el Controller can be used for up to 48 pots but it does make maintaining the nutrient much
easier if you ha e fewer pots on a controller. 48 large plants might need to ha e the reser oir topped off twice a
week.
Q: Can I add more than 48 pots?
A: You can, but it’s not a good idea. All the water goes into the system through a 3/4 inch hose. A system with
100 pots could take an hour to fill and drain. The longer the plants are submerged, the less oxygen the roots get,
slowing the growth. If you need that many pots, you should run two Le el Controllers.
Q: What size plants can I grow in the Multi Flow?
A: Anything up to about 5 feet tall without some other means of support. If the plants are supported with a
trellis, the sky’s the limit.
Q: The bottom of the Controller has about two inches of water left in it after draining. Is this normal?
A: Yes, the pump will shut off when there is about 1-2 inches left in the Controller. If not, the pump runs dry
and it may need to be primed. The water le el should be just below the inner pot.
Q: Can the pots or reser oir be placed higher or lower than the Le el Controller?
A: No, the reser oir, Le el Controller and pots should all be on a flat le el surface.
Q: Can I grow different types of plants in the same system?
A: Yes. All the plants must be able to use the same nutrient mix and ha e similar watering needs.
Q: Some of my pots don’t fill up all the way, or drain down to the one inch le el, what’s up?
A: If after 15 minutes of filling you still ha e some pots that don’t fill all the way, there is probably an
obstruction. Some common causes of this are, a rock in the tube, a kink in the tube, a rubber stopper left in or
the roots ha e grown so large they clog the tube.
Greentrees Hydroponics
www.hydroponics.net
Page 8

This manual suits for next models

4

Popular Lawn And Garden Equipment manuals by other brands

Treco A64LT Assembly instructions

Treco

Treco A64LT Assembly instructions

Backyard Discovery SOMERVILLE 10x14 manual

Backyard Discovery

Backyard Discovery SOMERVILLE 10x14 manual

BIOLAN COMPOSTER FOR SUMMER COTTAGE USE user manual

BIOLAN

BIOLAN COMPOSTER FOR SUMMER COTTAGE USE user manual

Toro 29516 Operator's manual

Toro

Toro 29516 Operator's manual

Zenport INDUSTRIES LEP-858 user manual

Zenport INDUSTRIES

Zenport INDUSTRIES LEP-858 user manual

plastia urbalive WORM FARM user guide

plastia

plastia urbalive WORM FARM user guide

EINHELL GE-BC 43 AS Original operating instructions

EINHELL

EINHELL GE-BC 43 AS Original operating instructions

Toro 125-5180 installation instructions

Toro

Toro 125-5180 installation instructions

Stihl FSE 60 instruction manual

Stihl

Stihl FSE 60 instruction manual

Toro 22615 Operator's manual

Toro

Toro 22615 Operator's manual

Dolmar BUM168RFX instruction manual

Dolmar

Dolmar BUM168RFX instruction manual

Elem Garden Technic MTBE1054W Original instructions

Elem Garden Technic

Elem Garden Technic MTBE1054W Original instructions

Twister T4 user manual

Twister

Twister T4 user manual

Simplicity Snow Plow/Dozer Blade Operator's manual

Simplicity

Simplicity Snow Plow/Dozer Blade Operator's manual

hortiONE 368 manual

hortiONE

hortiONE 368 manual

DAB DAB E.SYBOX Important information

DAB

DAB DAB E.SYBOX Important information

Gude 95145 Translation of the original instructions

Gude

Gude 95145 Translation of the original instructions

HEISSNER Garden Power Box Z960-00 Instructions for use

HEISSNER

HEISSNER Garden Power Box Z960-00 Instructions for use

manuals.online logo
manuals.online logoBrands
  • About & Mission
  • Contact us
  • Privacy Policy
  • Terms and Conditions

Copyright 2025 Manuals.Online. All Rights Reserved.