manuals.online logo
Brands
  1. Home
  2. •
  3. Brands
  4. •
  5. GTCO CalComp
  6. •
  7. Measuring Instrument
  8. •
  9. GTCO CalComp Roll-Up III User manual

GTCO CalComp Roll-Up III User manual

Other manuals for Roll-Up III

2

Other GTCO CalComp Measuring Instrument manuals
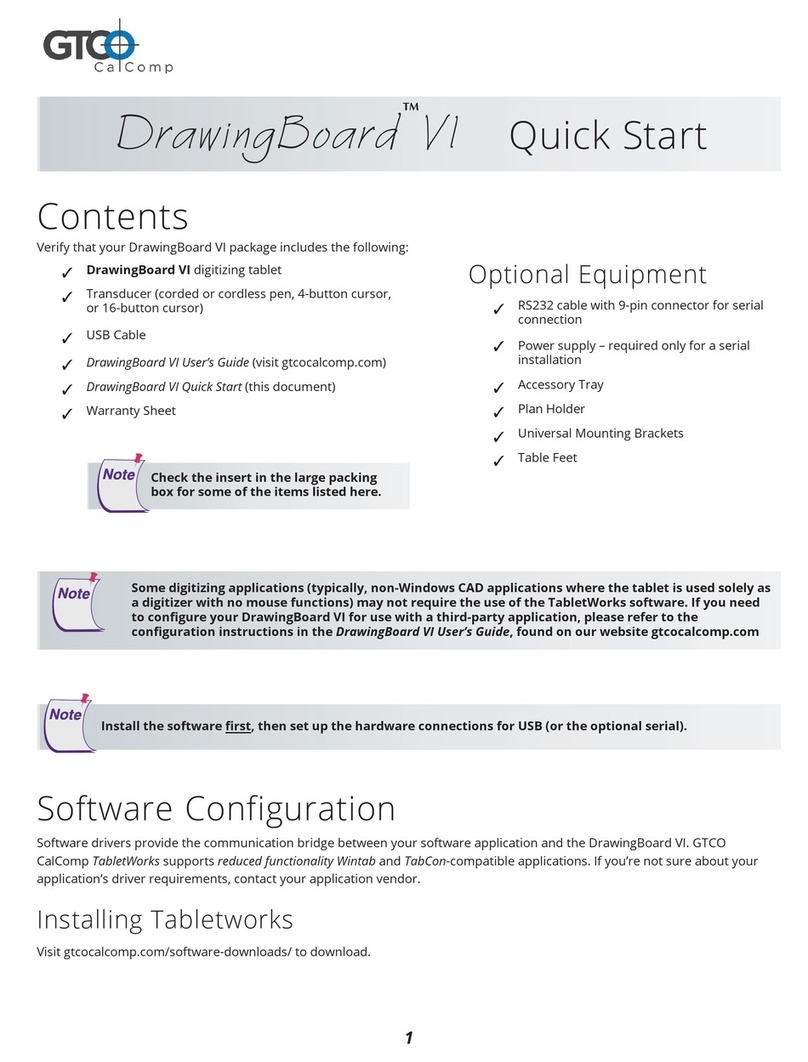
GTCO CalComp DrawingBoard VI User manual
GTCO CalComp

GTCO CalComp DrawingBoard VI User manual

GTCO CalComp DrawingBoard VI User manual

GTCO CalComp

GTCO CalComp DrawingBoard VI User manual

GTCO CalComp QUIKRULER User manual

GTCO CalComp

GTCO CalComp QUIKRULER User manual

GTCO CalComp QuikRuler III User manual

GTCO CalComp

GTCO CalComp QuikRuler III User manual

GTCO CalComp Roll-Up III User manual

GTCO CalComp

GTCO CalComp Roll-Up III User manual

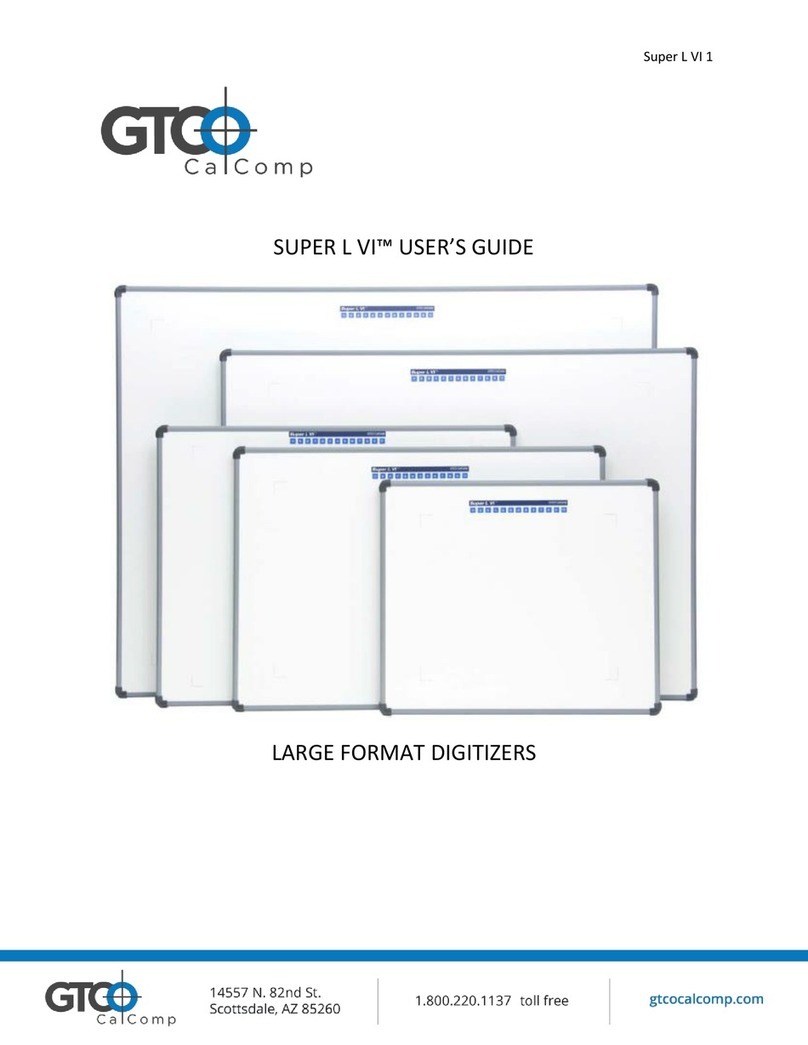
GTCO CalComp Super L VI Series User manual

GTCO CalComp

GTCO CalComp Super L VI Series User manual

GTCO CalComp QuikRuler III User manual

GTCO CalComp

GTCO CalComp QuikRuler III User manual

GTCO CalComp Roll-Up III User manual

GTCO CalComp

GTCO CalComp Roll-Up III User manual

Popular Measuring Instrument manuals by other brands

Powerfix Profi 278296 Operation and safety notes

Powerfix Profi

Powerfix Profi 278296 Operation and safety notes

Test Equipment Depot GVT-427B user manual

Test Equipment Depot

Test Equipment Depot GVT-427B user manual

Fieldpiece ACH Operator's manual

Fieldpiece

Fieldpiece ACH Operator's manual

FLYSURFER VIRON3 user manual

FLYSURFER

FLYSURFER VIRON3 user manual

GMW TG uni 1 operating manual

GMW

GMW TG uni 1 operating manual

Downeaster Wind & Weather Medallion Series instruction manual

Downeaster

Downeaster Wind & Weather Medallion Series instruction manual

Hanna Instruments HI96725C instruction manual

Hanna Instruments

Hanna Instruments HI96725C instruction manual

Nokeval KMR260 quick guide

Nokeval

Nokeval KMR260 quick guide

HOKUYO AUTOMATIC UBG-05LN instruction manual

HOKUYO AUTOMATIC

HOKUYO AUTOMATIC UBG-05LN instruction manual

Fluke 96000 Series Operator's manual

Fluke

Fluke 96000 Series Operator's manual

Test Products International SP565 user manual

Test Products International

Test Products International SP565 user manual

General Sleep Zmachine Insight+ DT-200 Service manual

General Sleep

General Sleep Zmachine Insight+ DT-200 Service manual

Sensa Core Lacto Spark user manual

Sensa Core

Sensa Core Lacto Spark user manual

VOLTCRAFT UTS-1980 operating instructions

VOLTCRAFT

VOLTCRAFT UTS-1980 operating instructions

EBCHQ 94915 Operation manual

EBCHQ

EBCHQ 94915 Operation manual

Balluff BIP LD2-T017-01-EP-S4 Series user guide

Balluff

Balluff BIP LD2-T017-01-EP-S4 Series user guide

Pulsar IMP Lite Series instruction manual

Pulsar

Pulsar IMP Lite Series instruction manual

ETCR 6800 user manual

ETCR

ETCR 6800 user manual

manuals.online logo
manuals.online logoBrands
  • About & Mission
  • Contact us
  • Privacy Policy
  • Terms and Conditions

Copyright 2025 Manuals.Online. All Rights Reserved.

1
Installing Your Roll-Up III
The following instructions describe how to set up your Roll-Up III. Select a large, flat, non-metal surface on which to place the
Roll-Up III. Clear all items from the surface.
Setup the hardware connections for USB or serial FIRST, following the instructions below, then install
the software.
Conductive materials, inks, or electronic
devices on, under, or near the Roll-Up III
can cause improper operation.
ConnectorsConnectors
Connectors
PP
PP
Poo
oo
oww
ww
werer
erer
er
(DC IN)(DC IN)
(DC IN)(DC IN)
(DC IN)
SerialSerial
SerialSerial
Serial
(RS-232)(RS-232)
(RS-232)(RS-232)
(RS-232) TT
TT
Transducerransducer
ransducerransducer
ransducer
(POINTER)(POINTER)
(POINTER)(POINTER)
(POINTER)
USBUSB
USBUSB
USB
(USB)(USB)
(USB)(USB)
(USB)
Hardware Configuration
Quick Start
TM
Roll-Up III
Computer interface cable with 9-pin connector
for RS-232 serial connection
Power supply – required only for serial installations
Deluxe Travel Bag
Optional items, purchased separately:
Package Contents
Verify that your Roll-Up III package includes the following:
Roll-Up III digitizing tablet
Transducer (stylus or 16-button cursor)
USB Cable
 Cardboard tube, insert and end caps – Do Not Discard
2
36-00887/37-00763-01 Rev. F
Sales and Support: 800.220.1137 www.gtcocalcomp.com
Software drivers provide the communication bridge between your software application and the Roll-Up III. The driver does not
need to be installed if you are using the Roll-Up III with the GTCO CalComp QuikRuler.
Installing TabletWorks
Visit gtcocalcomp.com/software-downloads/ to download.
Software Configuration
If you need to configure your Roll-Up III for use with a third-party application, please refer to the
installation instructions in the Roll-Up III User’s Guide found on our website gtcocalcomp.com.
Connect only USB or Serial—not both.
4Follow the prompts to finish the Found New Hardware process.
Windows displays the Found New Hardware prompt.
Power is supplied through the USB port. No additional power source is needed for this installation.
USB Connection
1 Connect the transducer – cursor or stylus – to the appropriate jack on the digitizer’s Connector Panel. The connector
is keyed and will fit only the correct jack. Do not force it.
2 Connect the USB interface cable to the USB jack on the Roll-Up III Connector Panel. The connector is keyed and will
fit only the correct jack. Do not force it.
3 Connect the other end of the USB cable to any one of the USB ports on your computer or USB hub. The digitizer
will beep four short tones, indicating it is powered On.
1Connect the transducer – cursor or stylus – to the appropriate jack on the digitizer’s Connector Panel. The connector is
keyed and will fit only the correct jack. Do not force it.
2Plug the power supply into an AC outlet. Connect the power supply to the appropriate jack on the Connector Panel. The
digitizer will beep four short tones, indicating it is powered On
3Connect the RS232 serial cable to the serial jack on the connector panel. The connector is keyed and will fit only
the correct jack. Do not force it. Connect the 9-pin connector of the serial cable to the serial port on your com-
puter.
4 on the SuperSetTo prepare the tablet for driver support, use the transducer to click on the SuperSet Code
Menu.
5Move the cursor or stylus aside, making sure it is not in the active area of the Roll-Up III.
-OR-
Serial Connection