MOUNTING OPTIONS
TECHNICAL SPECS
REPLACEMENT PARTS
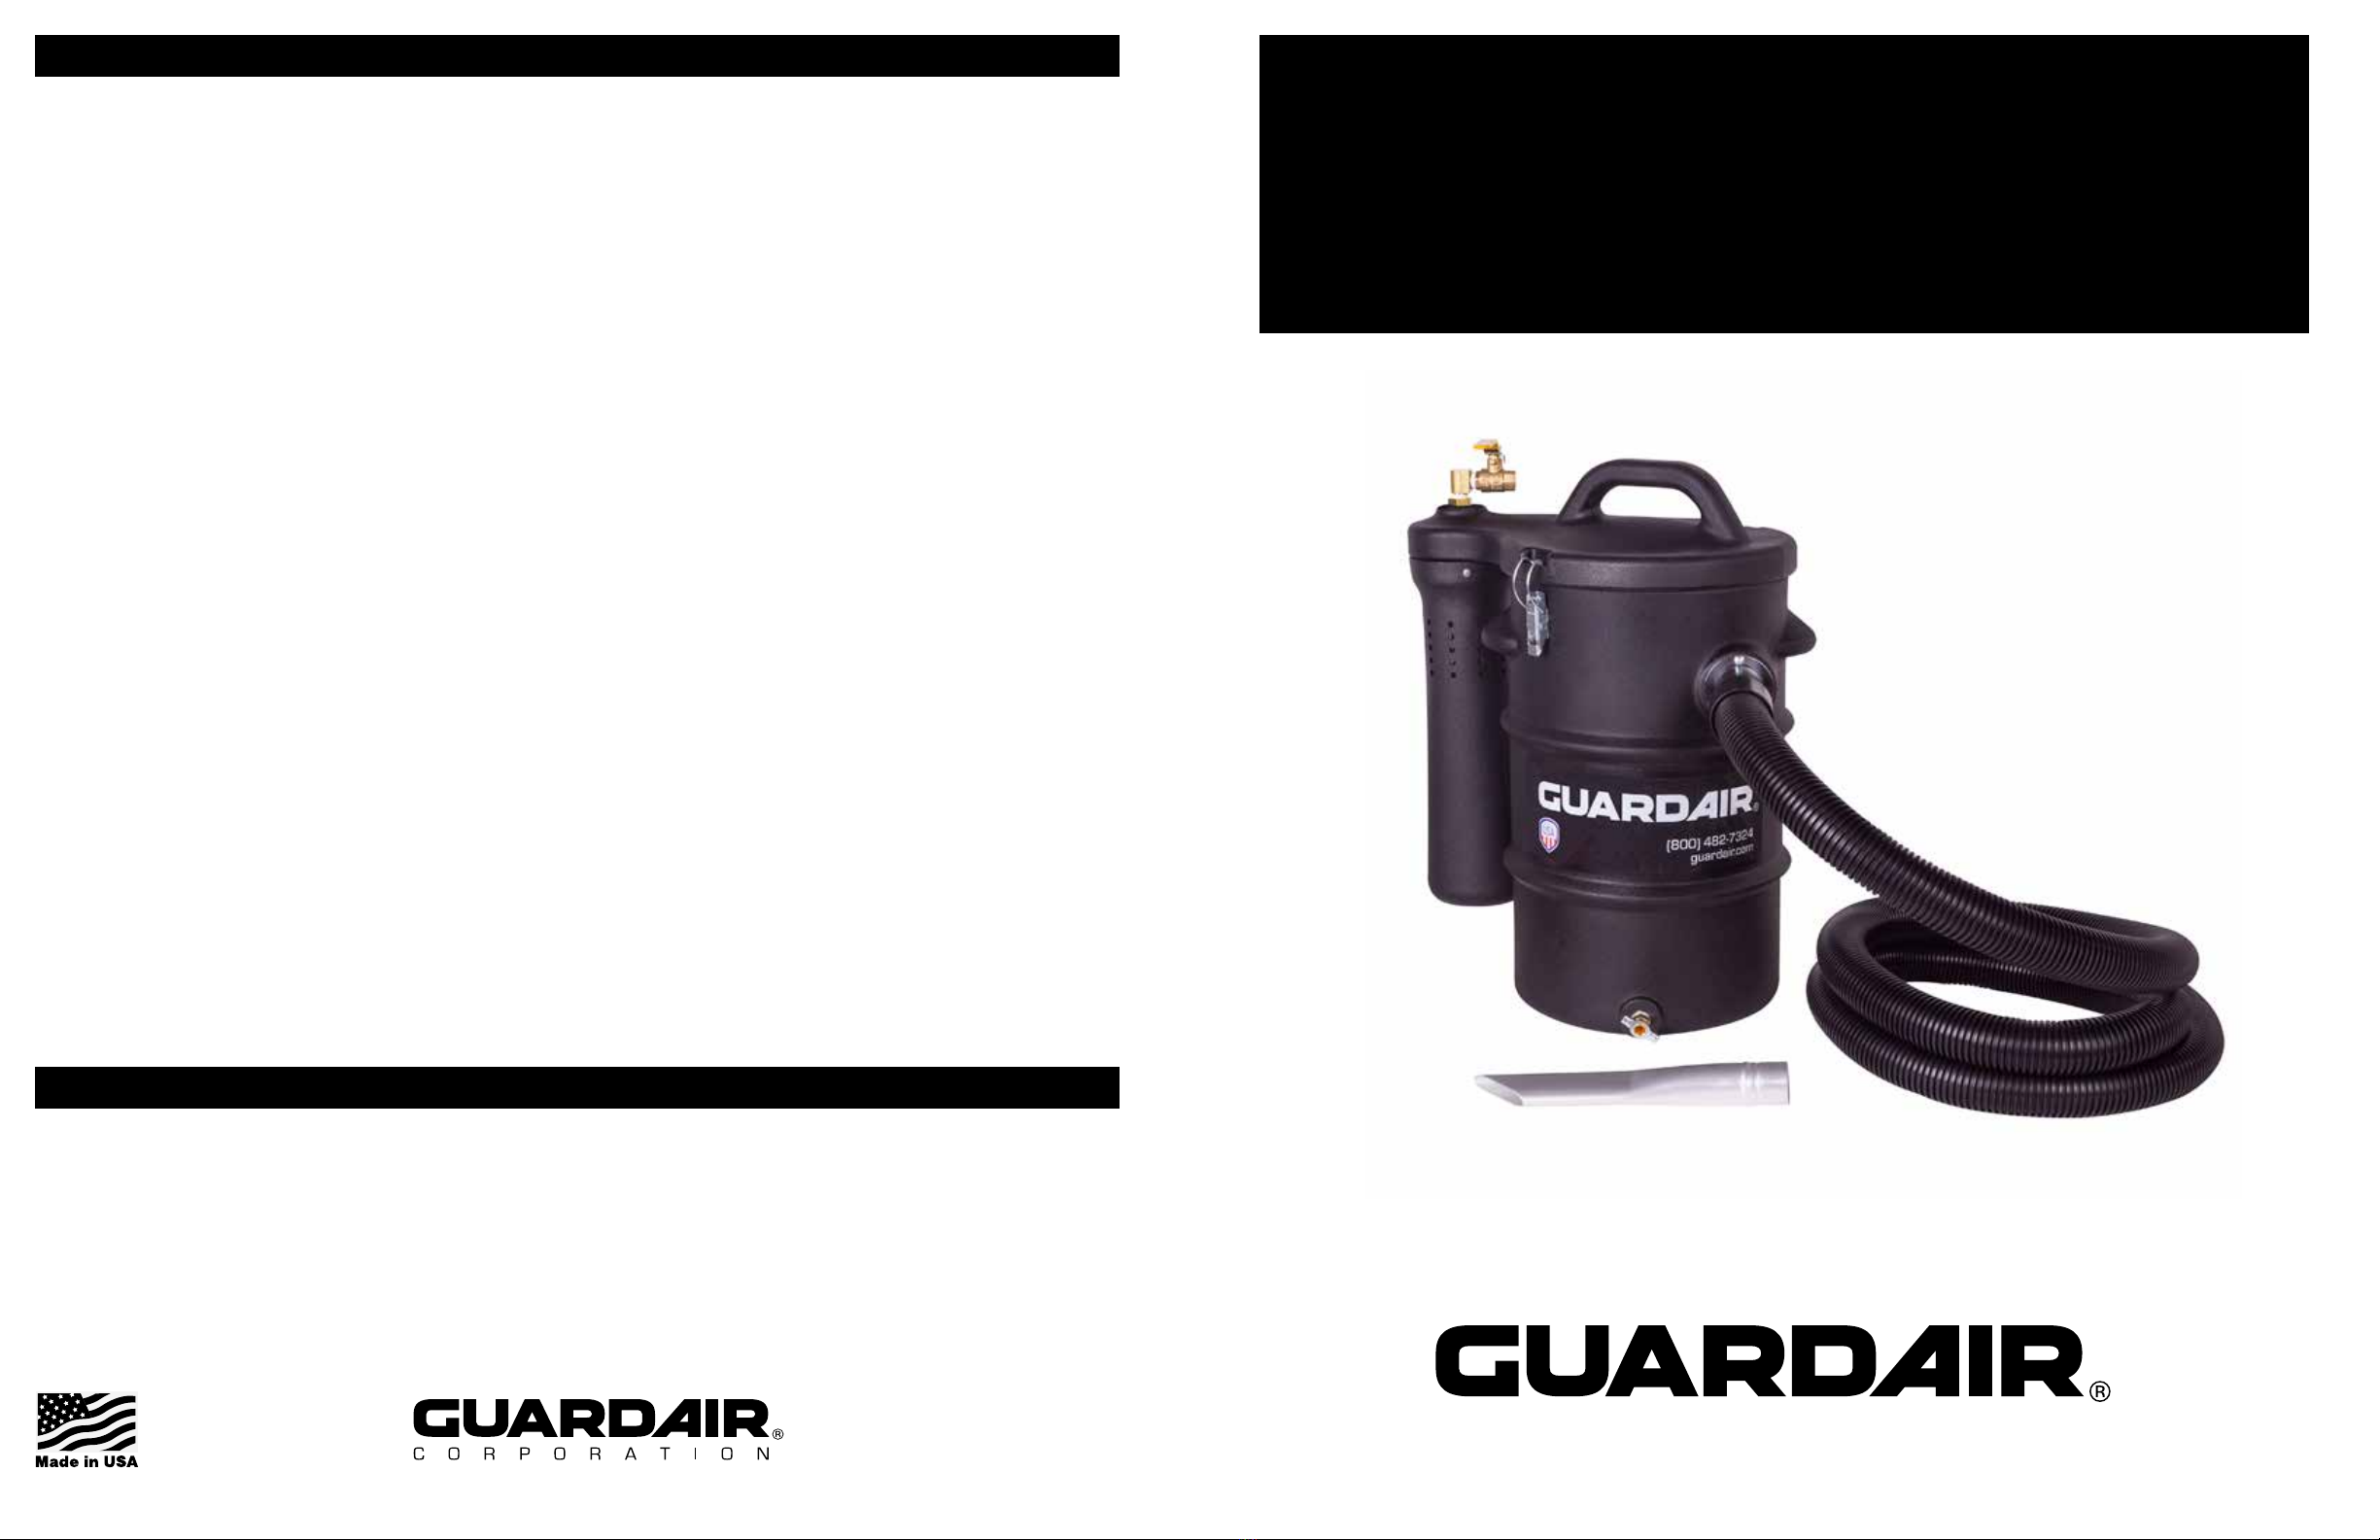
Congratulations, you have purchased a Guardair Machine Vac NED
(MV NED)! This lightweight, rugged 5.5 gallon pneumatic vacuum runs
on standard shop compressed air and mounts on any vertical surface,
thus saving floor space. Machine Vac NED has no electrical motor to
burn out, generates no sparks, and has no power cords to trip over.
Maintenance is low and it’s engineered for wet/dry applications with a
liquid shut-off and canister drain. Emptying the polyethylene canister is
quick and easy and the cartridge filter is simple to replace.
For Your Safety
Make sure all compressed air connections to the compressed air supply
are secure and the air line is turned off at the nearest valve. Disconnect
compressed air connections only after the compressed air supply has
been turned off and the air line had been vented by opening the valve
on the vacuum head. NEVER disconnect a pressurized compressed air
line. Always wear eye and ear protection when operating air tools and
related equipment.
Air Supply
Adequate compressed air supply is essential to the proper performance
of the Machine Vac NED. Compressed air requirements include a 3⁄8”
ID air line equipped with a 3⁄8” FNPT compatible connector capable of
supplying a minimum of 21 cfm.
NOTE: These requirements are for compressed air volume, not
pressure. The recommended operating pressure for Machine
Vac NED is 80-120 psi, although the unit will operate at lower
pressures with a corresponding reduction in performance.
Set-Up and Operation
Mount the mounting plate as close as practical to the work area and
hang the vac unit on the plate. Make sure the vacuum head is securely
on the collection canister with both clamps locked. Trim the vacuum hose
as necessary. To do so, unscrew (turn clockwise) a hose cuff and cut the
hose with a knife or saw blade. Reattach the hose cuff.
NOTE: Keep the vacuum hose length to a minimum required for
the job to maximize vacuum performance.
For dry pickup, install the cartridge filter. For wet pickup the filter must
be removed and can be done so by loosening the wing nut which
holds it in place. Ground the vacuum using one of the methods in
“GROUNDING YOUR VACUUM” section below. Check proper ground
connection periodically. Inspect for clean, metal to metal mating surfaces
and verify bond with a multimeter. Attach the vacuum hose to the vacuum
inlet and the other end to the crevice tool. Once the compressed air
connections are made, operate by, turning on the compressed air supply
and opening the shut--off valve on the vacuum head.
Grounding Your Vacuum
The MV NED is built entirely of static conductive components. When the
unit is properly grounded, any static charge generation will dissipate to
ground.
The MV NED comes standard with 2 options for grounding. First, the
supplied compressed air hose can be used to ground through your
[grounded] compressed air system. In addition, a grounding lug is
supplied on the mounting plate where a grounding cable can be
attached, with the other end of the cable attached to an approved
grounding location such as a metallic water pipe system, earthing
electrode, or structural steel (if grounded). Always verify approved
grounding locations. Always verify electrical bonds with a multimeter.
Guardair sells high performance grounding cables, see
REPLACEMENT PARTS for more information.
Emptying Collection Canister
To empty waste from the canister, turn the shut-off valve to off position,
disconnect air line, remove unit from the mounting plate, and set on a
flat surface. Unfasten latches, lift the vacuum head off the canister, and
empty the debris. For liquids, loosen the drain valve, and drain into
another container.
WARNING: Do not loosen latches and remove canister while unit
is mounted on mounting plate.
Maintenance
Machine Vac NED is rugged and practically maintenance free, however
the Cartridge Filter (MV2000F1) will need cleaning or replacement
when dirty. Periodically check the Gasket (MV2000G) and replace
if worn or damaged. The Exhaust Bag (MV2000EB) provides added
filter protection and serves as a muffler. Clean and replace if ripped or
damaged. These parts can be purchased directly from Guardair or from
your Machine Vac NED distributor. See REPLACEMENT PARTS for a
complete list. Check proper ground connection periodically. Inspect for
clean, metal to metal mating surfaces and verify bond with a multimeter.
Always wear eye and ear protection when operating air tools and related equipment.
2
3
1
4
A
B
C
SET-UP AND OPERATION
1613⁄16”
21 1⁄8”
12 1⁄4”
15”
10”
13 15⁄16”
211⁄2”
CAPACITY
NOMINAL: 5.5 GALLONS
DRY: 3.5 GALLONS
WET: 4 GALLONS
TOTAL WEIGHT
16 LBS
MATERIAL
VACUUM UNIT: STATIC CONDUCTIVE
POLYETHYLENE
MOUNTING PLATE: STEEL
AIR REQUIREMENTS
AIR CONSUMPTION: 21 CFM
AIR PRESSURE: 80-100 PSI
INLET: 3⁄8” FNPT
VACUUM PERFORMANCE
VACUUM FLOW: 73 CFM
VACUUM HEAD: 77 IN H20
NOISE LEVEL: 85 DBA
FILTRATION
CARTRIDGE FILTER
77% EFFICIENT @ 0.8 MICRONS
VACUUM HOSE
SIZE: 11⁄2” ID
LENGTH: 10’
AIR SUPPLY HOSE
SIZE: 3⁄8” ID
LENGTH: 20’
ITEM PART# DESCRIPTION
1 MV2000MP Mounting Plate
2 MV2000G Gasket
3 MV2000F1 Cartridge Filter — Includes Washer (A) and Wingnut (B)
— MV2000F2 HEPA Filter — Includes Washer (A) and Wingnut (B)
4 MV2000EB Exhaust Bag — Includes Hose Clamp (C)
- 2100A01NED 3⁄8" x 20' Static Conductive Air Supply Hose
- 2100A02NED 1 1⁄2" x 10' Static Conductive Vacuum Hose
- N6931 Aluminum Crevice Tool
- 14VA120 10' Grounding Clamp Assembly
- 14VA240 20' Grounding Clamp Assembly
Machine Vac NED hangs on the mounting plate by two steel knobs (fig 1). Rubber bumpers (includ-
ed) space the plate away from the mounting surface so that the steel knobs can reach thru and slide
into the two slots (fig 2).
The rubber bumpers can be screwed onto the mounting plate to any desired location (fig 3). As seen
in (fig 4), holes are usually in pairs, allowing fasteners to be placed close to a bumper. Though not
necessary, this practice will keep the mounting plate flat.
The thickness of the mounting plate plus the bumper is 5⁄8”. Recommended fastners include:
(fig 1) (fig 2)
(fig 4)(fig 3)
Wood Lag Bolts
Lashing Strap – Max 2” width. Strap
mounting plate to support columns or
other structure without drilling.
Concrete Anchors Carriage Bolts