H2O Innovation smartrek User manual


2
Table of content
...................................................................................................................................................................... 1
1. Typical Deployment (MESH Network)............................................................................................. 3
2. Preparing the System........................................................................................................................ 4
2.1 Unboxing ............................................................................................................................................ 6
2.2 Enabling the Gateway...................................................................................................................... 7
2.3 Hop Counts (Gateway)..................................................................................................................... 9
2.4 Radio channel.................................................................................................................................10
2.4.1 How to Change the Gateway’s Radio Channel ....................................................................10
2.4.2 How to Change a Node’s Radio Channel ............................................................................. 11
3. Installing Nodes in the Field...........................................................................................................12
3.1 Checking the Node Communication with the Network............................................................. 13
3.2 Adding a New Node to the Network............................................................................................ 14
3.3 Vacuum Node Installation.............................................................................................................16
3.4 Calibration of the Tank-level Node ............................................................................................. 17
3.5 Sugarheld App: Downloading the Map........................................................................................20
3.6 Remote Access by Webapp 3.0....................................................................................................20
3.7 Access the Smartrek YouTube Channel .....................................................................................21

3
1. Typical Deployment (MESH Network)
Cloud

4
2. Preparing the System
Each Smartrek monitoring system includes a starter kit along with the sensors.
In the starter kit, you will find:
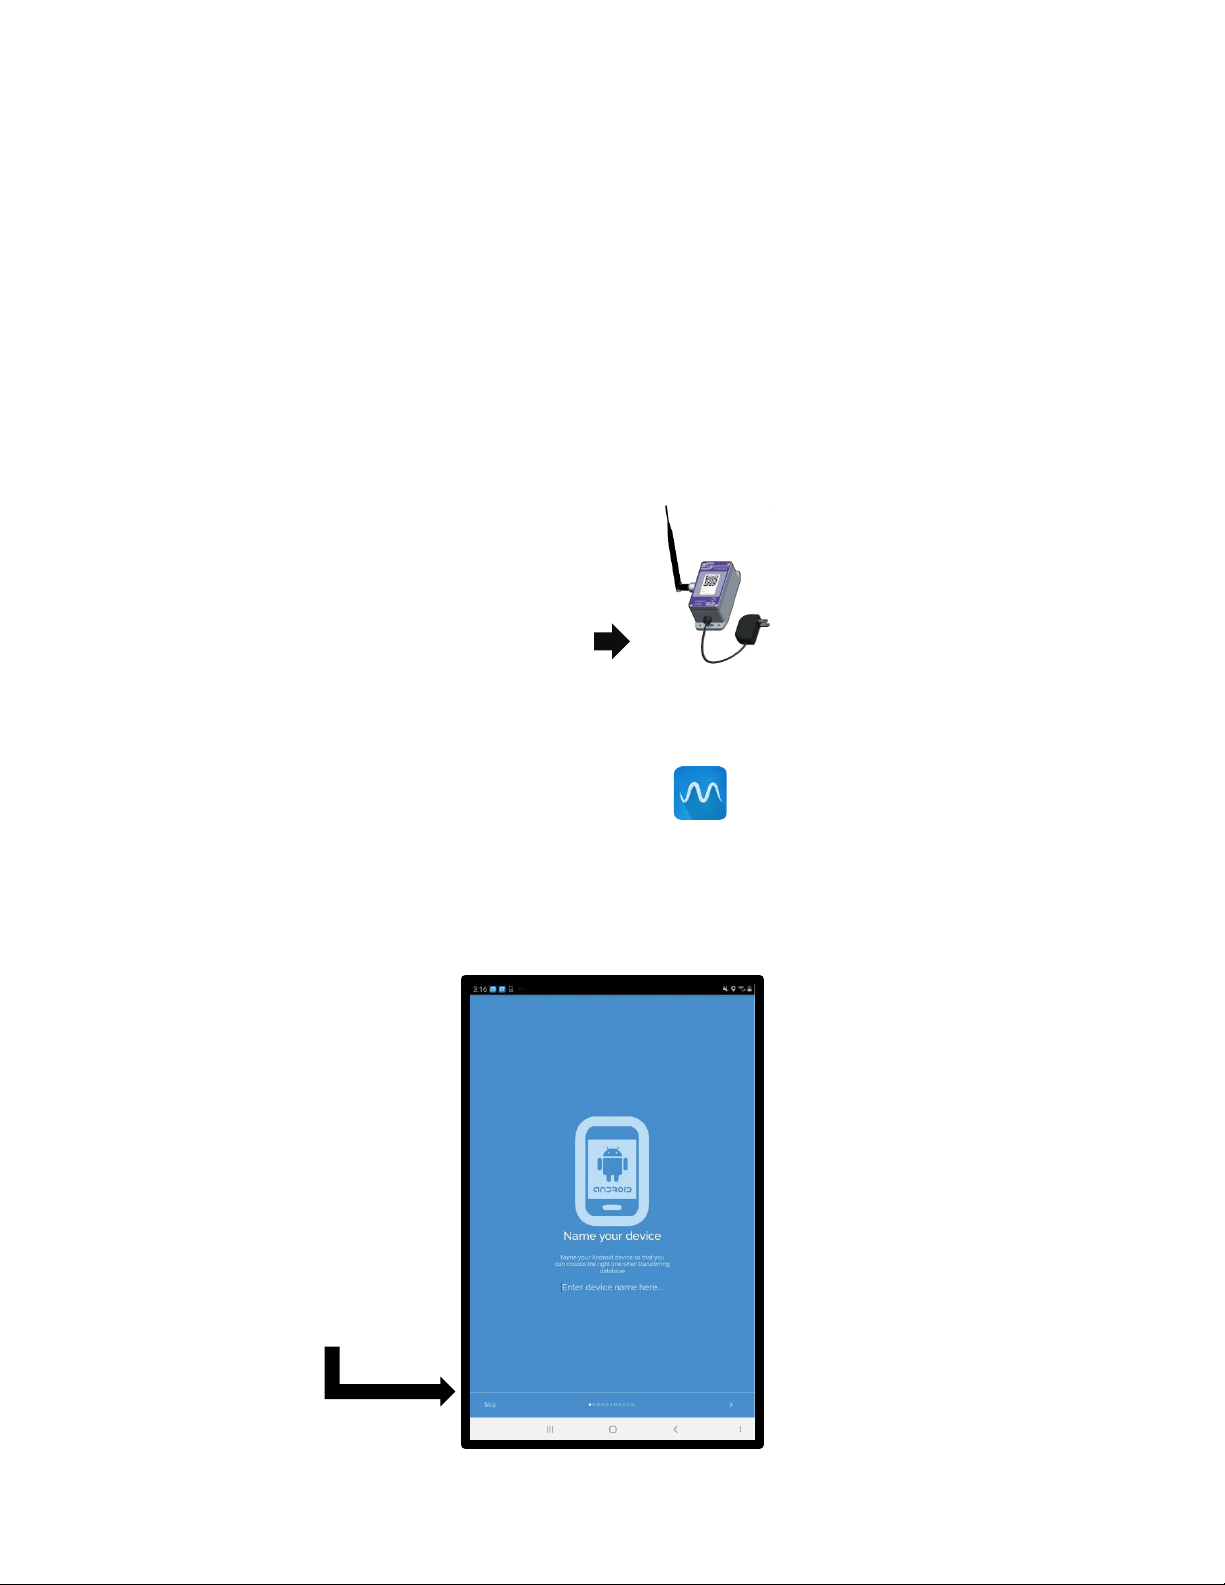
1. A long-range gateway;
2. An Android tablet with the Sugarheld app already installed and programmed.
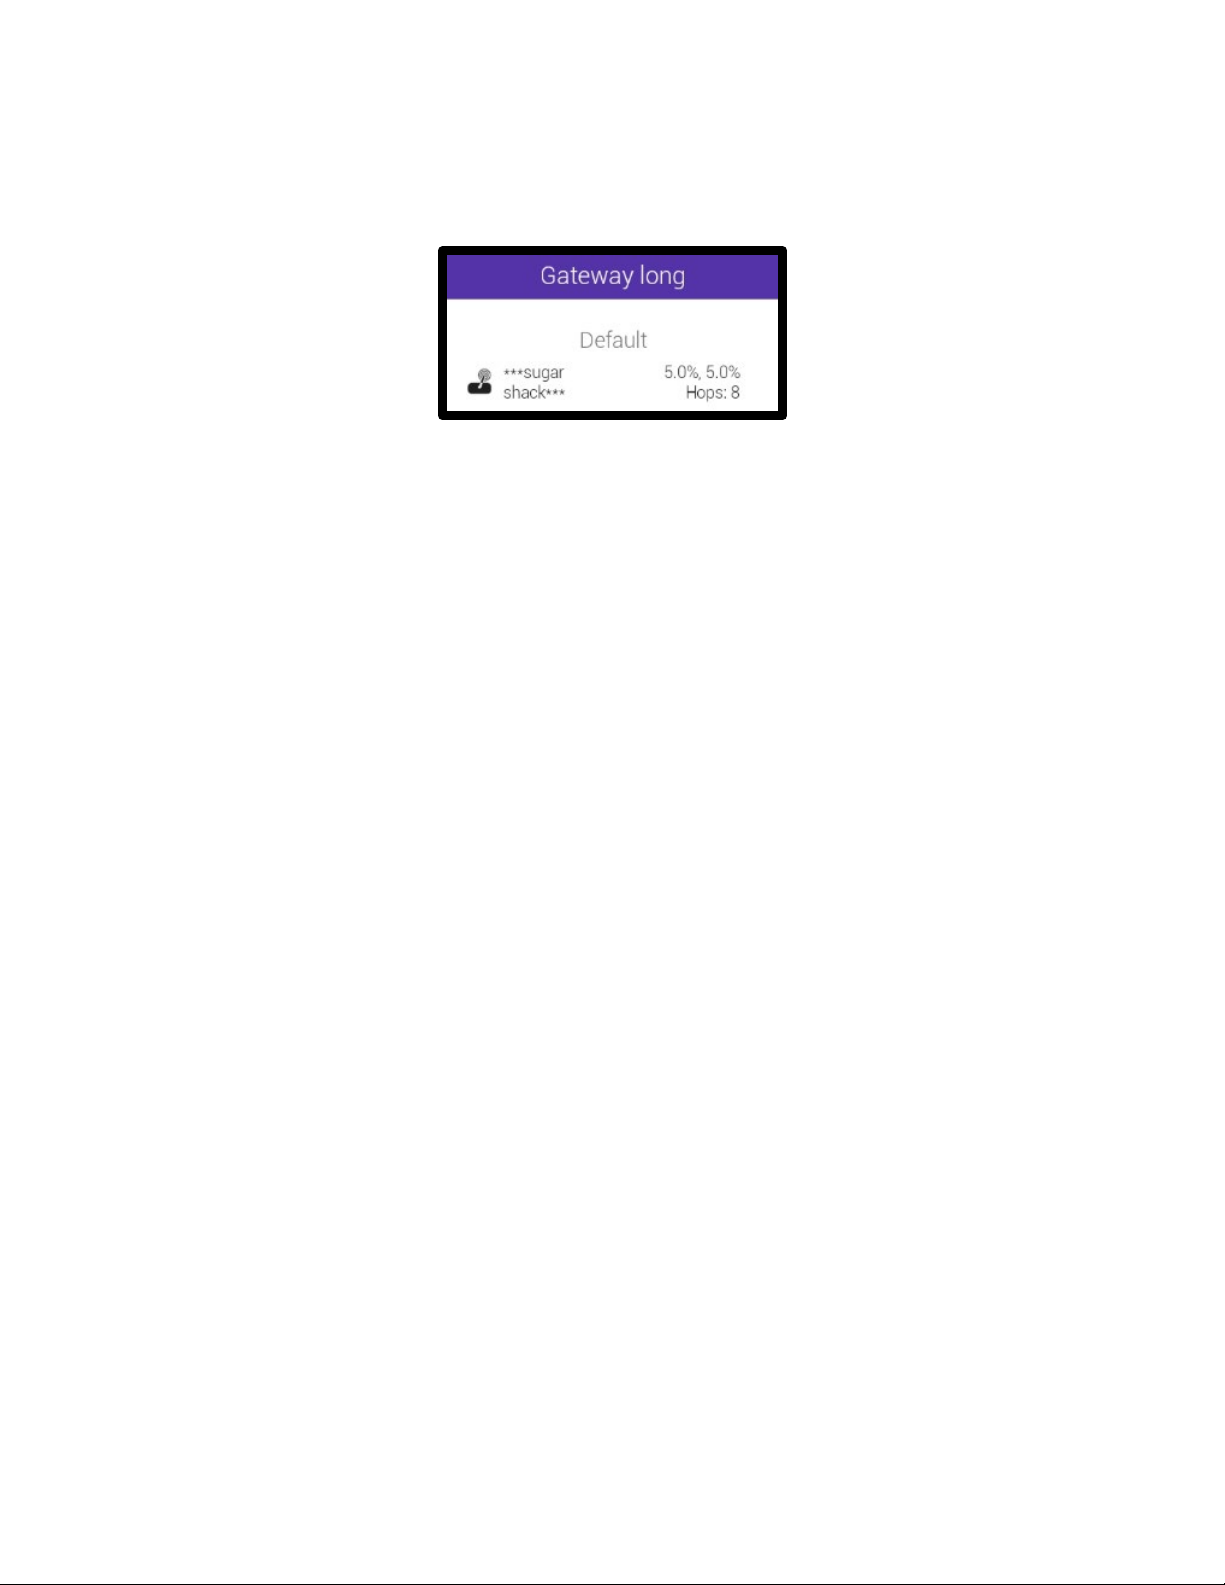
The long-range gateway is the basis of your system. It is creating the communication for the
entire network. When it is not operational, the other devices in the network go into ‘’search’’
mode and attempt to connect to the gateway. It is important that the gateway is installed in a
reliable location and that it is turning on during the entire season. If it happens to be unplugged
or if you have a power failure, all the devices will go into search mode. When the gateway
reboots, all devices will reconnect on their own, without you taking any action.
** A device in search mode consumes more batteries than when it is synchronized to a
gateway. It is very important to never unplug the gateway during the sugaring season. **
The distance and direction of your first vacuum sensor in your sugarbush can help you
determine the ideal location to install your gateway. Since it is often installed inside a building,
the range of its communication will be slightly less than the range between two vacuum
sensors installed outside in the woods (the radio signal will have to pass through walls, sheet
metal and obstacles). If necessary, you can purchase an antenna extension (#ERAPRMAP-FIL-
ANT) to allow you to install the antenna outside, while keeping the main module inside the
building.
Tips on installing the long-range gateway:
-The gateway is transmitting its data to the tablet by Bluetooth connection (30 feet
max, depending on the obstructions and walls to be crossed)
Long-range Gateway
Electronic tablet

5
-If possible, install the gateway on the closest wall to your first sensor in the woods
(white circle), and not on the opposite direction (red circle).
-It is better to install the gateway on the edge of a window, the radio signal travels more
easily through a window than a wall. If it is not possible to install it near a window, it is
possible to test the communication to determine if the position of the gateway is good
(see section 3.1)
-Set the antenna straight (90 degrees from the floor)
Figure 1: Installation of the long-range gateway
Figure 2 :
Antenna incorrectly positioned
Figure 3 :
90 degree antenna, well positioned

6
Gateway
Skip
-At any time, it is possible to check if the communication signal is good by looking at the
blinking of the sensors (see section 3.1). Tests can help you determine the ideal location
to install your gateway.
2.1 Unboxing
Step 1
Find the ideal location for the long-range gateway (see section 2). Connect the gateway to
a power outlet and turn it on by pressing on the ON/OFF button. Look at the LED flashing.
The gateway is ready once it starts blinking at a regular pace. The Smartrek system is
sending/receiving data when the LED blinks.
Step 3
After the main splash screen, you will enter the app with an installation wizard. It can help
you configure your preferences. However, it requires an Internet connection. You can go
through this wizard or skip it for a quicker start.
Figure 4 : Installation wizard

7
2.2 Enabling the Gateway
Here are the steps to follow if you skip the installation wizard. You are now in the
Sugarheld app. You are ready to add the gateway to your network. To add a new device,
here are the steps to follow:
1. You must open the options by pressing the 3 dots at the top of the screen on the right.
The menu will appear at the bottom of the screen
2. Tap on ‘’New node’’;
3. You must now scan the device by pressing the QR code symbol. The camera on your
tablet will open automatically. You must scan the node by pointing the camera at the
bar code. The tablet will scan and recognize the node automatically. If your sound is on,
listen for the shutter sound when it takes the picture
4. Name the node;
Figure 5 : Add new node
Figure 6 : Add new node
#1
#2
#3
#4
#5

8
Your gateway is now registered in your system. The last step before installing the other
nodes is to activate the gateway.
1. Hold your finger for 3 seconds on the name of the gateway to open the options
2. Tap ‘’Activate node’’. The Sugarheld app will automatically reboot to save the changes
Now, it is suggested to put your system on the fastest mode to install your sensors. This
speed will allow you to have a faster connection and it will be easier to determine the
communication quality in the woods.
3. Tap the device name to reach the configuration page
4. Press the ‘’Economy’’ mode to access the other modes. Use the faster mode (at the
bottom) to install your nodes.
This way, you can change the speed of your system at any time by changing the mode.
During the sugaring season, it is advisable to use ‘’Economy’’ mode to maximize your
battery lifetime.
Figure 7 : Activate the gateway
Figure 8 : Speed adjustment
#1
Hold
3 seconds
#2
#3
Tap
#4

9
To make sure the gateway is activated, you should have *** on each side of your gateway
name.
*** Name of the gateway ***
Your gateway is now activated, and you are now ready to install your nodes in the
sugarbush.
2.3 Hop Counts (Gateway)
Another important setting of the gateway is the number of hops. Data travels by hops from the
gateway to the end of the network. To reach the most distant node, the gateway transmits to its
immediate neighbors to get there (transmits to all nodes that are within communication
range). These nodes will then repeat the signals to their own neighbors, and so on, until the
entire network is filled with information. The number of repetitions required to get to the end of
the network is called “hop counts”.
The easiest way to determine the “correct” number of hops is to go by trial and error. It is
therefore suggested to increase the number of hops to 20 before starting the installation. This
way, regardless of the size of your network, you will probably have more “hops” than you
officially need. When the installation is complete, you can decrease the number of hops to
check the stability of the system. The higher number of hops, the lower is the refresh rate. The
ideal setting is to have as few hops as possible while maintaining a stable network (all nodes
stay connected and don’t go “dead node” intermittently). A stable network will also allow you to
have a low rate of battery consumption.
**A high hop count slows data refreshment, so consumes slightly less battery. **
Figure 9 : Gateway enabled

10
2.4 Radio channel
Before installing your nodes in the sugarbush, it is very important to check the radio channel.
All H2O-Smartrek nodes are factory-made on the radio channel #1. Be careful when choosing
the radio channel because two nodes on the same channel can communicate with each other
up to 4 miles (in direct line of sight). Check with your H2O Innovation representative to know
which radio channels are available in your area. To communicate with each other, the nodes
must be on the same radio channel as the long-range gateway.
2.4.1 How to Change the Gateway’s Radio Channel
1. In the Sugarheld app, tap CFG at the top right (configuration)
2. Go to the “Device configuration” section to choose “RF channel”
3. Press “1” to display the channel choice list
4. Press the chosen channel and click on “OK” to accept.
**The gateway must be in communication with the tablet to change the channel (online in
the tablet). You will see the gateway go through a restart sequence (see the blinking on the
ON/OFF of the gateway) **
Figure 10 : Gateway radio channel
Figure 10.1 : Gateway radio channel

11
2.4.2 How to Change a Node’s Radio Channel
YouTube Tutorial
If you do not have Internet access to view the YouTube tutorial, please follow these steps:
1. Hold down the “PROGRAM” button (bottom one)
2. While still holding down the bottom button, press “POWER” (top one)
3. When the bottom button LED is ON continuously (it has been held down from the start
of the process), release it, then press it the number of times corresponding to the
channel chosen (3 times = channel #3)
4. Then, when you have pressed the correct number of times (channel #), hold the
“PROGRAM” button (bottom one) again until the light for that button turns off by itself.
Release the button. The LED will confirm the channel number by blinking (5 blinks =
channel #5). The node is now on the correct channel.
5. Now you must turn off the node to save it. To do this, hold the “POWER” button (top one)
for 5 seconds to turn it off, you should no longer see any blinking

12
6. Finally, the next time you start the node, it should blink on the bottom button according
to the programmed channel #. To start the node, just press the “POWER” button (top
button).
** It is possible to know the node’s channel at any time. You simply need to turn on the node to
see it. It will blink the amount of time representing the channel’s number. Be careful, after a
couple seconds, if you get 3 quick blinks on the “PROGRAM” button (bottom one), this indicates
that the device is in search mode (attempts to synchronize). **
3. Installing Sensors in the Field
You are now ready to add nodes to your network. The installation of a node (regardless the
type of node) is the same as installing the gateway. There is, however, no Bluetooth activation
step to do, as with the gateway. To start, please turn on the node by pressing the “POWER”
button.
After a few seconds, the node
will blink at the same frequency
as the gateway. This means that
the node is in communication
with the system (gateway).
Figure 11 : Double port vacuum sensor
Figure 12 : Network communication
POWER
PROGRAM
(for changing radio
channel)
Port #1
Port #2

13
3.1 Checking the Node Communication with the Network
You need to create your radio signal network by installing your nodes, starting with the
closest one to the gateway. After that, always install the closest node from the last one to
make sure that the signal is created, and all the nodes are interconnected. When installing
in the sugarbush, it is important to verify that your node has a strong signal with your
network. To do so, check the blinking of the LED on the node. It must have a constant blinking
(remember that it blinks at the exact same time as the gateway). To confirm that you have a
good signal, you must be able to have 20 blinks in a row (without interruption). If you have
this sequence, your node is communicating well with the network. You can now continue the
installation with the next closest one.
Figure 13 : Network communication

14
3.2 Adding a New node to the Network
** To get the real GPS position of your device, add it with the tablet to its real position in the
sugarbush. **
1. You must open the options by pressing the 3 dots at the top of the screen on the right.
The menu will appear at the bottom of the screen
2. Tap on “New node”
3. You must now scan the node by pressing the QR code symbol. The camera on your
tablet will open automatically. You must scan it by pointing the camera at the QR code.
The camera will scan and recognize the node automatically
4. Name your node;
Figure 10 : Add new node
#3
#4
#5
Figure 11 : Add new node
#1
#2

15
Figure 12 : Navigation in the app
Figure 13 : Navigation in the app
Swipe right to left to navigate
the different columns.

16
3.3 Vacuum Node Installation
You need to use a new 5/16” lateral without any taps on it to connect the mainline to the vacuum node.
Make sure that the 5/16” tubing runs downhill into the mainline. The node must also be positioned
higher than the mainline. The node can be fixed with standard screws on a wooden stake using the
brackets integrated to the plastic box (figure 17).
It is also possible to secure the node on a tree using the Smartrek strap (SMART-ATTACH).
Equipped with a quick release buckle, the strap allows the device to be fixed to a tree without
having to screw into it.
Figure 16 : Vacuum node installation
Figure 17 : Integrated brackets
Figure 18 : SMART-ATTACH
Figure 19 : SMART-ATTACH

17
3.4 Calibration of the Tank-level Node
Before fixing the node to its final position, first turn on your node and add it to your network as
explained in section 3.2. Make sure that the signal with the other nodes is good by looking at
the blinking of the LED on the device (section 3.1).
Fix the node in the center of the tank. It is important to know that the ultrasonic reading is
done in a 7-degree conical shape (figure 20). Therefore, avoid installing the sensor too close to
the edge of the tank to avoid having an inaccurate reading (ultrasound hits the wall of the tank
instead of reaching the water level). This could give wrong data. You can install your tank-level
node with the H2O bracket (#SPH-SMART-LVL) specially developed to be fixed on standard
tank cross member.
Pour calibrer le capteur « niveau de bassin » ;
Figure 20: Installation of a tank-level sensor
Ultrasonic reading in a 7-
degree conical shape
Figure 21 : SPH-SMART-LVL

18
To calibrate the tank-level node:
1. Once the node is correctly positioned, over the tank and added to your Smartrek
network, go to your gateway with the tablet so that the network is active in the
application (Bluetooth connection). Go to the Sugarheld app and click on the tank-level
node you want to calibrate
2. In the node details, click on the 3 dots at the top right to open the menu
3. Click on “set zero”. A reading will be taken automatically to calculate the total distance
between the probe and the bottom of the tank
4. Press the padlock to unlock the “Error threshold” function. In this field, you must enter
the total height of your tank. If you don’t know the exact total height, you can measure
it.
5. It is possible to configure an alarm by unlocking the “warning threshold”. Simply unlock
the padlock as in step 4.
Figure 22 : Tank-level calibration
Figure 23 : Tank-level calibration
#1
#2
#3
#4
#5

19
In the example above, the “zero offset” at 28.3 inches means that the probe is installed at this
distance from the bottom of the tank. The “Error threshold” of 25.0 inches means the total
height of the tank. The “Warning threshold” level of 20.0 inches means the alarm will be
activated when the tank has a value of 20.0 inches or more.
When your Smartrek network is complete, you can reset the speed to “Economy” mode as
shown in figure 5 (section 2.2). This will allow you to have a longer battery life. You can adjust
the speed at any time to speed up or slow down the refreshing of your data according to your
needs.
Figure 24 : Tank-level calibration

20
3.5 Sugarheld App: Downloading the Map
To download the satellite map of your sugar bush on the Sugarheld app, you need an Internet
connection on the tablet. You can watch our seminar on YouTube to follow the procedure (at
24:55 min).
www.YouTube.com – h2o innovation Érablière Maple – playlist – Smartrek English – Smartrek
webinar at 24:55.
3.6 Remote Access by Webapp 3.0
To access your system remotely and to take advantage of the various functionality of the Web
3.0, you must have Internet access on your tablet. The tablet in communication with your
gateway will use the Wi-Fi network to share its data on the web page. You can consult our
“YouTube tutorials” to find out how to set up your tablet and connect it to the Web 3.0.
Your system is now ready to use. We invite you to visit our YouTube channel to learn more
about the H2O-Smartrek system. Please contact your H2O Innovation representative for
technical support.
For any questions, please contact us at [email protected].
Table of contents