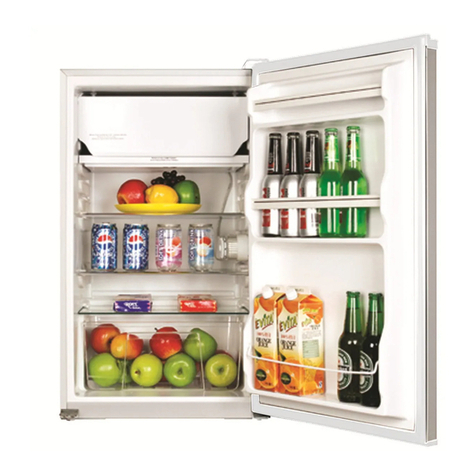
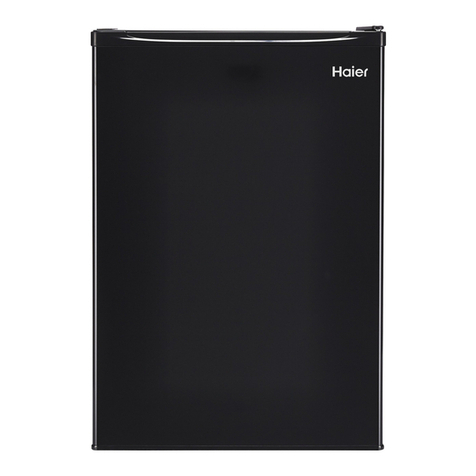
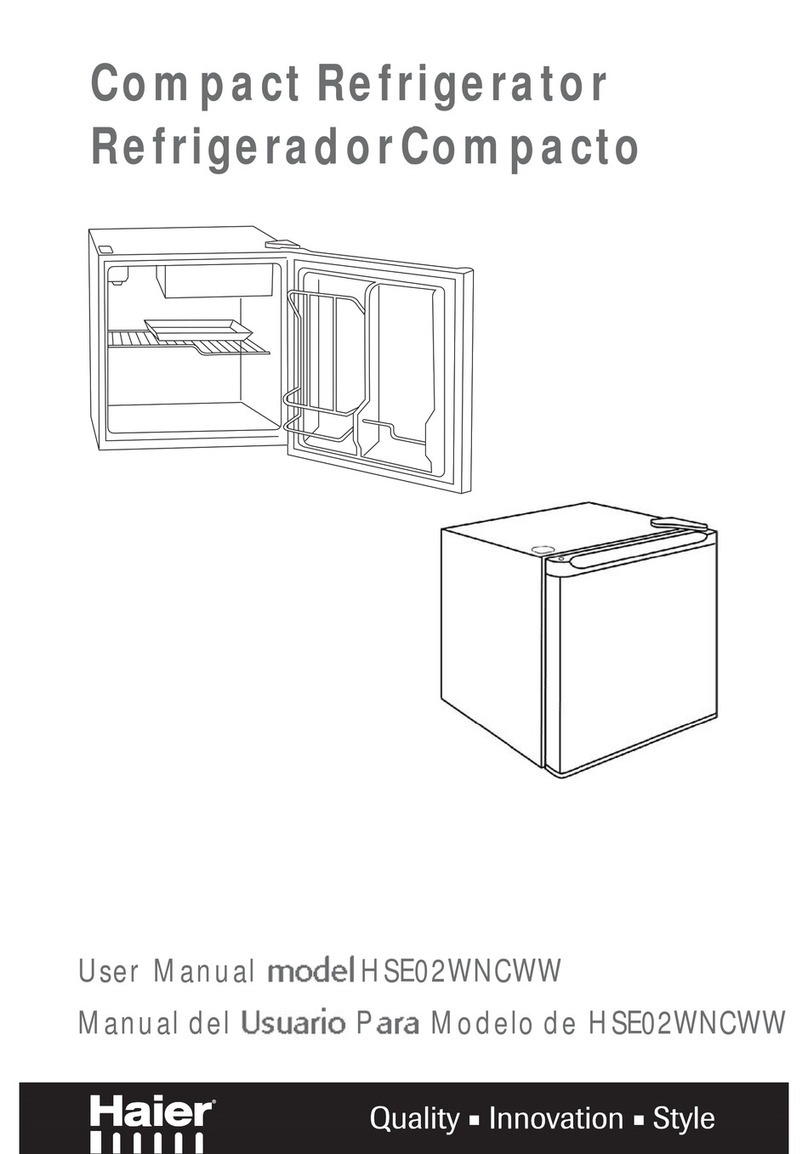
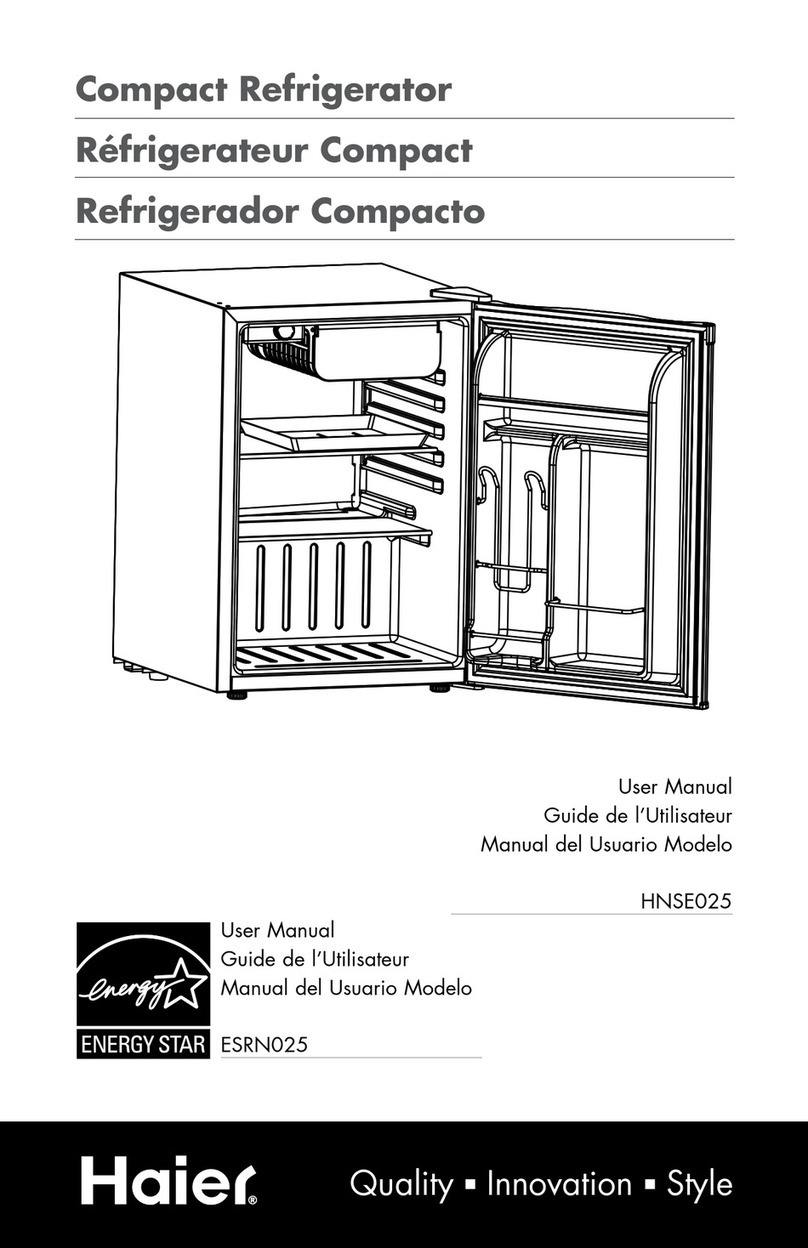
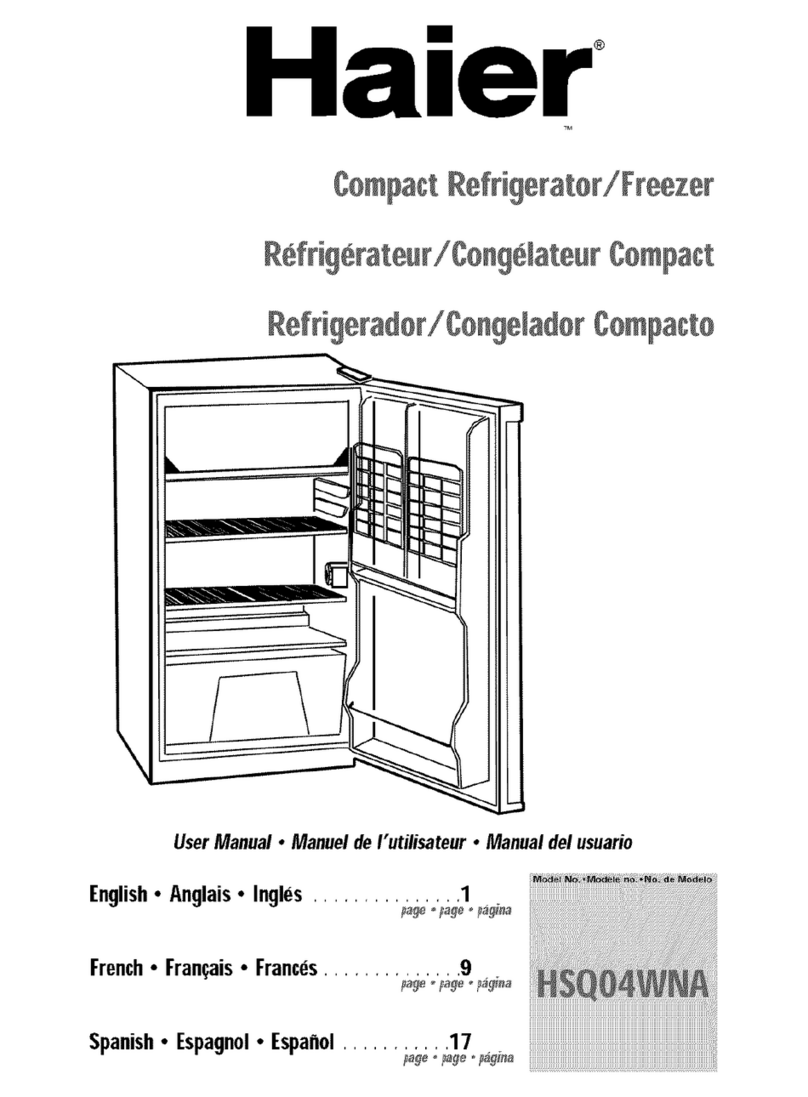
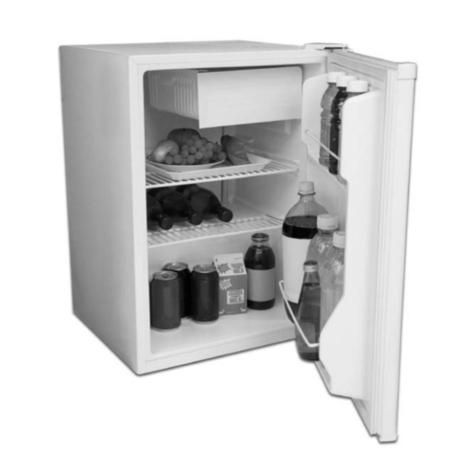
Haier 9397 - 3.9 cu. Ft. Compact Refrigerator User manual

Cempaet Ref_ige_a_e_
Ref_ige_a_eu_ ¢eHdeHse
Ref_ige_ade_ Cempaete
HSAO2WNC
HSAO4WNC
HSAO3WNC
Use_ Manual model

SAFETY P_'CAUTIO_S
Read aH of the instructions before using this appliance. When using this
appliance, a_ways e×etcise basic safety precautions, including the following:
1) Use this appliance only for its intended purpose as described in this use and care
guide.
2) This refrigerator must be properly installed in accordance with the
installation instructions before it is used. See grounding instructions in the
installation section.
3) Never unplug your refrigerator by pulling on the power cord. Always grasp the
plug firmly and pull straight out from the outlet.
4) Repair or replace immediately, all electric service cords that have become frayed
or otherwise damaged. Do not use a cord that shows cracks or abrasion damage
along its length, the plug or the connector end.
5) Unplug your refrigerator before cleaning or before making any repairs.
Note: If for any reason this product requires service, we strongly
recommend that a certified technician performs the service.
6) Do not use any electrical device or any sharp instrument in defrosting your
refrigerator.
7) If your old refrigerator is not being used, we recommend that you remove the
doors. This will reduce the possibility of danger to children.
8) ARer your refrigerator is in operation, do not touch the cold surfaces in the
freezer compartment, particularly when hands are damp or wet. Skin may
adhere to these extremely cold surfaces.
9) This refrigerator should not be recessed or built-in an enclosed cabinet. It is
designed for freestanding installation only.
10) Do not operate your refrigerator in the presence of explosive fumes.
SAVE THESE IHSTRUCTIOHS I°utu ÷ Use
Risk of _;hild e[_t_ap_'sento Before you tR'_ow away yo_ old _÷f[ige_ato_ o_
f_e÷ze_, ta_÷ off the doors° Lea_÷ the shelves i_ p_ac÷ so that ¢hHd_e_ _'_ay
not easily c_i_'_b i_sid÷o

Thank you forusing our Haler product,
Thiseasy-to-usemanual willguide you
in getting the best use of your
refrigerator.
Remember to record the model and
serial number. They are on a label in the
refrigerator.
Model number
Serial number
Date of purchase
Staple your receipt to your manual.
You will need it to obtain warranty service.

PAGE
Safety Precautions ............................................................................................ 1
Parts And Features ............................................................................................ 4
Unpacking Your Refrigerator .............................................................................. 5
Proper Air Circulation ...................................................................................... 5
Electrical Requirements ...................................................................................... 5
Use of Extension Cords ...................................................................................... 5
Install [imitations .............................................................................................. 5
Door Alignment ................................................................................................ 6
Refrigerator Features And Use ........................................................................ 6-8
Adjusting Temperature Control .......................................................................... 6
Defrosting Your Refrigerator .............................................................................. 7
Normal Operating Sounds You May Hear .......................................................... 7
Proper Refrigerator Care and Cleaning .............................................................. 8
Power Interruptions .......................................................................................... 8
Vacation and Moving Care ................................................................................ 8
Troubleshooting ................................................................................................ 9
Warranty Information ...................................................................................... 10

Ra_ts arid Features
iiiiiiiiiiiiiiiiiiiiiiiiiiiiiiiiiiiiiiiiiiiiiiiiiiiiiiii ; i !i !i !i !i !i !i !i !i !i !i !i !i !i !i !i !i !i !i !i !i !i !i !i !i !
HSA02
HSA03
HSA04
] 2 3 4 5 6
Freezer Ice Cube Dip Tray Full Width ]%mp, Door Storage
Compartment Tray Shelves Control Width Shelf
HSAO2WNC 1 1 1 1 Full& 1 half
HSAO3WNC _/ 1 1 2 _/ 2 full width
HSAO4WNC 1 1 3 _/ 3 Full width

IHsIalIiH I VOU Ief ige aIo[
LJnpaeking Your Refrigerator
1 Remove all packaging material. This includes the foam b_se and all
adhesive tape holding the refrigerator accessories inside and
outside.
2. Inspect and remove any remains of packing, tape or printed
materials before powering on the refrigerator.
Proper Air Circulation
To assure your refrigerator works at the maximum efficiency it was
designed for, you should instal it in a location where there is proper air
circulation, plumbing and electricai connections.
The following are recommended clearances around the refrigerator:
Bides ............... 3/4" (19ram)
Top .................... 2" (50mm)
Back .................. 2" (50mm)
l:lecttical Requitemertt
Make sure there is a suitable power outlet (115 volts, 15 amps outlet) with
proper grounding to power the refrigerator.
Avoid the use of three plug adapters or cutting off the third grounding in
order to accommodate a two plug outlet. This is a dangerous practice
since it provides no effective grounding for the refrigerator and may resuit
in shock hazard.
Use of Extension Cords
Avoid the use of an extension cord beck]use of potential s_fety h,_zards
under certain conditions. If it is necessary to use an extension cord, use
only a 3-wire extension cord that has a 3-btade grounding plug and a 3-
slot outlet that wiii accept the plug. The marked rating of the extension
cord must be equal to or greater than the electrical rating of the appliance.
install [imitations
Do not install your refrigerator in any location not properly insulated or
heated e.g. garage etc. '7our refrigerator was not designed to operate in
temperature settings below 55 ° Fahrenheit.
Belect a suitable location for the refrigerator on a hard even surface away
from direct sunlight or heat source e.g. radiators, baseboard heaters,
cooking appliances etc. Any floor unevenness shouId be corrected with the
leveling legs located at the bottom.

1.Removethetophingecover-usingaflatheadscrewdriver.Gentlyliftfrom
therearofthehingeandslideforward.
2.Loosenthetophingescrewsusingaphillipsheadscrewdriver,
3.A(_justthedoororputaspacerinbetweenandthentightenthescrews.
4.Replacethetophingecoverbyaligningtherearofthecoverwiththerear
ofthehinge,Pressfirmlyonthefrontofthecoveruntilitsnapsinplace.
fig. 1

Beffige ate Features and Uses
Gene_a_ _eat_es
Adjustable "_e_perat_e Control
'(our refrigerator will automatically maintain the temperature Ievel you select, The
temperature control diat has 7 settings plus off. 1 is the warmest. 7 is the coldest.
Turning the dial to "0" stops cooling in the refrigeration section. At first, set the dial
to 4 and allow 24 hours to pass before adjusting the temperature to your needs.
Note: It the refrigerator has been placed in a horizontal or tilted position _or any
period of time wait 24 hours betbre plugging the unit in.
Interior Shelves
To remove or re@ace a full-width slide-out shelf: (see fig #2)
1. Gently tilt the shelf up and slide
forward until the shelf has been completely removed.
2. To re@ace the shelf, gently slide the shelf back.
Reversinq Interior Shelf:
1 When storing a 2-Liter bottle in the door, the
shelf should be installed with the indent side
facing out and on the left
2 When not storing a 2diter bottle in the door, the
shelf should be installed with the indent side
facing in on the right side.
fig. 4
Befrosting Yo_ Refrigerator
• For maximum energy efficiency, defrost freezer section whenever frost
accumulates to a thickness of 1/4" or more on freezer walls. Note that frost
tends to accumulate more during the summer months.
• To defrost, remove the food and ice cube tray from the freezer section. Make
sure the drip tray is under the freezer section and turn off the thermostat.
Defrosting may take a Few hours.
• While defrosting, water will accumulate
in the
drip tray. The drip tray may atso need
to be emptied during the defrost
process. Do not leave unattended. (see
Fig. 5)
I
drip tray
7

°After defrosting, empty and wipe down
the drip tray, as well as the interior of
the refrigerator.
Normal Operating Sounds You May Hear
o Boiling water, gurgling sounds or slight vibrations that are the result of the
refrigerant circulating through the cooling coils.
• The thermostat control wilI dick when it cycles on and off.

R epe Ref i e ate Ca e
and ¢ eaHiHg
_arning:To avoid electric shock always unplug your refrigerator before cleaning,
Ignoring this warning may result in death or injury
Oa_tion:Before using cleaning products, always read and follow manufacturer's
instructions and warnings to avoid personal injury or product damage.
General: _ Prepare a cleaning solution of 3-4 tablespoons of baking soda mixed
with warm water. Use sponge or so[t cloth, dampened with the
cleaning solution, to wipe down your refrigerator.
Rinse with clean warm water and dry with a soft cloth.
Do not use harsh chemicals, abrasives, ammonia, chlorine bleach,
concentrated detergents, solvents or metal scouring pads. Some of these
chemicals may dissolve, damage and/or discolor your refrigerator.
Boor Gaskets:
Clean door gaskets every three months according to general instructions.
Gaskets must be kept dean and pliable to assure a proper seal.
Petroleum jelly applied lightly on the hinge side of gaskets will keep
the gasket pliable and assure a good seal.
Power |nterr_ptior|s
Occasionally there may be power interruptions due to thunderstorms or other
causes. Remove the power cord from AC outlet when a power outage occurs.
When power has been restored, replug power cord to AC outlet. I[ outage is
for a prolonged period, inspect and discard spoiled food in the refrigerator.
Clean inside the refrigerator before reusing.
Vaeatio_ a_d Moving Care
• For long vacations or absences, empty [ood from re[rigerator, move the
temperature DIAL to the OFF position and dean the refrigerator and door
gaskets according to "General cleaning" section. Prop doors open, so air
may circulate inside. When moving, always move the re[rigerator vertically.
Do not move with the unit lying down. Possible damage to the sealed system
could occur.

Ylo ble IhooIi I
_efrigerator _oes Not Operate
*Check if thermostat control is not in the "OFF" position.
o Check it refrigerator is plugged in.
, Check if there is power at the AC outlet, by checking the circuit breaker.
Food temperature appears too warm
, Frequent door openings.
• Allow time for recently added warm food to reach fresh food or
freezer temperature.
, Check gaskets for proper seal.
• Adjust temperature control to colder setting.
Food temperature is too cold
• If temperature control setting is too coId, ac!just to a warmer setting
and allow several hours for temperature to a_just.
Refrigerator ru_s too frequer|tly
• This may be normal to maintain constant temperature during high
temperature and humid days.
• Doors may have been opened frequently or for an extended period of time.
, Check gasket for proper seat.
, Check to see if doors are completely closed.
Moisture build up or| interior or exterior of the refrigerator:
• This is normal during high humidity periods.
• Prolonged or frequent door openings.
, Check door gaskets for proper seal.
Refrigerator has an odor:
, Interior needs cleaning.
• Foods improperly wrapped or sealed are giving off odors.
Refrigerator door does not shut properly:
•Level the refrigerator=
, Re-align refrigerator door.
, Check [or blockages e.g. food containers, crisper cover,
shelves, bins etc.
10

/,,,,,,,iimit÷d Wa aHty
What is covered and for how long?
This warranty covers all defects [n
workmanship or materials for a period of:
12 months labor
12 months parts
5 years sealed system
The warranty commences on the date the
item was purchased and the original
purchase receipt must he presented to the
authorized service center before warranty
repairs are rendered,
EXCEPTIONS: Commercial or Rental
Use waH'a nty
90 days labor (carry-in only)
90 days parts
No other waH'anty applies
What is covered.
1. The mechanical and electrical parts, which
serve as a functional, purpose of this
appliance for a period of 12 months. This
includes all parts except finish, and trim,
2, The components of the sealed system e,g.
hermetic compressor, condenser and
evaporator from manufacturing defects for a
period of 5 years from the date of purchase.
Any damages to such components caused by
mechanical abuse or improper handling or
shipping will not be covered,
What will be done?
1, We will repair or replace, at our discretion
any mechanical or electrical part which
proves to be defective in normal usage
during the warranty period so specified,
2, There will be no charge to the purchaser
for parts and labor on any covered items
during the initial 12 month period, Beyond
this period only parts are covered in the
remaining warranty. Labor is not provided
and must be paid by the customer,
3, Contact your nearest authorized service
center. For the name of the nearest service
center please call 1-877-337-3839
THIS WARRANTY COVERS APPLIANCES
WITHIN THE CONTINENTAL UNITED
STATES, PUERTO RICO AND CANADA=IT
DOES NOT COVER THE FOLLOWING:
Damages from improper installation,
Damages in shipping.
Defects other than manufacturing,
Damage from misuse, abuse, accident,
alteration, lack of proper care and
maintenance or incorrect current or voltage.
Damage from other than household use.
Damage from service by other than an
authorized dealer or service center,
Decorative trims or repiaceabb light bulbs,
Transportation and shipping.
Labor (after the initial 12 months).
THIS LIMITED WARRANTY IS GIVEN IN LIEU
OF ALL OTHER WARRANTIES, EXPRESSED
OR, INCLUDING THE WARRANTIES OF
MERCHANTABILITY AND FITNESS FOR A
PARTICULAR PURPOSE
The remedy provided in this warranty [s
exclusive and [s granted [n lieu of all other
remedies,
This warranty does not cover incidenta! or
consequential damages, so the above
Nmitations may not apply to you. Some States
do not aNow Nmitations on how k)ng an
impNed warranty lasts, so the above
Nmitations may not apply to you.
This warranty gives you specific legal rights,
and you may have other rights, which vary,
from state to state,
Haler America
New York, NY 10018
Printed in China
Feb 2004
11

PRECAUTIONS DE SURETE
Lisez routes les instructions avant d'utiHser cet appareiJ. E×ercez toujours Jes
precautions de surete fondamentales avant d°utiliser cet appareH, 31compris les
suivant$:
1. UtiIisez cet appareil uniquement pour son but prevu comme decrit dans ce
manuel d'utilisation et d'entretien.
2. Ce refrigerateur doit etre installe correctement et conformement aux instructions
d'installation avant d'etre utilise. Referez vous aux instructions de raise a terre
dam la section d'installation..
3. Ne debranchezjamais votre refrigerateur en tirant sur la corde d'alimentation.
Saisissez toujours Ia fiche et tirez Ia tout droit hors de Ia prise ecletrique.
4. Reparez ou remplacez immediatement, tous Ies cordons electriques de service
qui sont devenus flanges ou autrement endommages. N'utilisez pas une corde
presentant des craquelures ou des abrasions tout au long de la corde, de la fiche
ou de I'extremite du connecteur.
5. Debranchez votre refrigerateur avant de le nettoyer ou avant n'importe quelles
reparations.
6. N'utilisez aucun dJspositif eJectrique ou instrument pointu en degrivant votre
refrigerateur.
7. Si vous n'utilisez plus votre ancien refrigerateur, nous vous recommandons de
retirer les portes. CeJa reduira les risques d'accidents pour les enfants.
8. Apres avoir mis votre refrigerateur en marche, ne touchez pas aux surfaces
froides des compartements du congelateur specialement si vos mains sont
mouillees ou humides. La peau peut adherer aces surfaces extremement froides.
9. Ce refrigerateur ne doit pas etre encastre ou place a I'interieur d'une armoire
fermee. II est designe a etre place sans support.
10. N'operez pas votre refrigerateur dans la presence des vapeurs explosives.
CONSERVEZ CES INSTRUCTiOn, S POUR LE FUTUR
Risque d'entrapement des enfants. Avant de disposer de votre refrigerateur ou
congelateur, enlevez les portes. Laissez Ies etageres en place afin que Jesenfants ne
puissent pas grimper a J'interieur.
&2

Nousvousremercions d'avoir achete un
produit Haier. Ce manuel facile a consulter
vous guidera a obtenir la meilleure utilisation
de votre refrigerateur.
N'oubliez pas d'enregistrer Ies numeros du
model et de serie, lis sont affiches sur une
etiquette dans le refrigerateur.
Numero du model
Numero de serie
Date d'achat
Agra[ez votre recu d'achat a votre manuel.
Vous en aurez besoin pour obtenir le service de la garantie.
13

Table des Matie es
Page
Precautions de Surete ...................................................................................... 12
Parties et Caracteristiques ................................................................................ 15
Deballage du refrigerateur .............................................................................. 16
Circulation propre de Fair .............................................................................. 16
Conditions electriques .................................................................................... 16
Utilisations des rallonges ................................................................................ 16
Installation des limitations ................................................................................ 16
Alignement de la porte .................................................................................... 17
Caracteristiques et usage du refrigerateur .................................................... 17-18
Re@age de la temperature .............................................................................. 17
Decongelez votre refrigerateur ........................................................................ 18
Bruits d'operation normals dont vous entendrez .............................................. 18
Entretiens et nettoyage du re[rigerateur ...................................................... 19-20
Coupures de courant ...................................................................................... 19
Entretiens durant les vacances ou demenagement .............................................. 20
Depannage 21
Information pour la garantie 22
14

Pa ties et ¢a aete istiques
HSA02
HSA03
HSA04
HSAO2WNC
HSAO3WNC
HSAO4WNC
1
Comparfiments
du
decongelateur
,/
¢
,/
2
Plaleau des
cubes en glace
1
1
1
3
Plaleau d'egoul
1
1
1
4
Etageres a
@eine largeur
1
2
3
5
Conirol de
[empera[ure
,/
¢
,/
6
Porte avec une
etagere pour
emmagasinage
1 entier & 1 demi
2 largeur @eines
3 largeur pleines
15

staHatieH de Vet e ef ige ateu
Deballage de Votre Refrigerateur
1. Retirez tousles materiaux d'emballage. Ceci indus le socle en mousse et
tousles rubans adhesifs retenant les accessoires du refrigerateur a Finterieur
et exterieur.
2. Inspectez et retirez Ie reste de Femballage, Ie ruban adhesiF et la
documentation avant de mettre en marche votre refrigerateur.
Circulation Propre de ['air
o Afin de vous assurez que votre refrigerateur Fonctionne a maximum efficacite
vous devrez Finstaller dans un endroit ou Ia ventilation, Ie raccordement
electrique et Ia connection de pIomberie soient absoIument correctes.
o On vous recommande de laisser Ies espaces suivantes tout autour du
refrigerateur. Cotes ......................... 3/4" (19mm)
Au -dessus .................. 2" (50mm)
Derriere ...................... 2" (50mm)
Conditons Flectriques
o Assurez vous qu'il y a une prise electrique adequate ( 115volts, 15 amperes
prise) avec raise a terre correcte pour mettre Ie refrigerateur en marche
• Ne pas u@iser I'adaptateur a 3 broches ou ne pas couper la troisieme
broche pour obtenir un adaptateur a 2 broches .Ceci est une pratique
dangereuse car elle n'offre pas de raise a terre au refrigerateur et peut
res@ter d'un shoc electrique.
Utilisation des Rallonges
• Evitez I'usage des rallonges car dans certains cas cela peut entrainer des
risques pour la sante. S'i c'est necessaire d'utiIiser une cordon d'extension,
utilisez une rallonge a 3 conducteurs disposant d'une Fiche a 3 lames et une
sortie a 3 Fentes qui accepteront la prise. Le calibre defini des rallonges doit
etre egaI ou superieur a celui de Fequipement
[imitations d'installation
• N'insta!lez jamais votre refrigerateur dans un endroit insuffisamment isole ou
chauffe., par exempIe, le garage etc... Votre refrigerateur n'a pas ere concu
pour operer a une temperature inferieure a 55degres Fahrenheit.
• Choisissez un endroit approprie a votre refrigerateur sur une surface ferme et
plane, loin des rayons directs du soleil ou des sources de chaleur comme les
radiateurs, les radiateurs de plinthes, les appareils de cuisine,etc .....
N'importe que!Ie inegalite du sol doit etre corrigee en re@ant les pieds du
refrigerateuF, situes au bas.
16

Aligne_ent de la Porte
1. Enlevez le couvercle du gond superieur en utiiisant un tournevis plat.
Gentiment soulevez le du fond du gond et glissez levers le devant.
2. Desserez les vis du gond superieur en utiiisant un tournevis Phillips.
3. Ajustez Ia porte ou mettez unjoint d'espacement au milieu et serrez Ies vis.
4. Peplacez le couverde du gond superieur en alignant le fond du couvercle
au fond du gond .Pressez fermement sur le devant du couvercle jusqua ce
que ce dernier soit en place.
fig. 1
Ca acte istiques ÷t Uti isatioH du
L'utilisaton genetame
Reglage de la temperature
Votre refrigerateur maintiendra automatiquement le niveau de la temperatue que
vous choisissez. Le cadran de commande de temperature a 7 arrangements plus le
OFF. Le numero 1 est le plus chaud et le numero 7 est le pius refroidissant. En
tournant le cadre jusqu'au 0 ,le refroidissement du refrigerateur s'arretera. Au
debut, reglez le cadre au numero 4 et permettez 24 heures avant d'ajuster la
temperature desiree.
Note: Si Ie refrigerateur a ete darts une position horizontale ou a ete
incline pour une periode de temps, attendez 24
heures avant de le brancher.
[es Ftageres |nterieures
Pour retirer ou replacer une etagere de pleine
largeur : ( voir fig #2 )
1. Inclinez gentiment I'etagere vers Ie haut et glissez
la au dehorsjusqua ce que cette derniere est
fig. 4
17

completement retiree.
2. Pour replacer I'etagere, gIissez la doucement.
Renverser I'etagere interieure:
1. Quand vous emmagasiner une bouteille de 2 litres darts Ia porte, I'etagere
dolt etre installee avec le cote dentele vers le hors et a gauche.
2. Si vous n'emmagasinez pas une bouteille de litres darts Ia porte, I'etagere
doit etre installee avec le cote dentele vers le dedans et a droite.
Degrivage de Votre Refrigerateur
o Pour I'efficacite d'energie maximum,
degrivez la section du congelateur
quand la gelee s'accumule a une
epaisseur de 114" ou plus sur les tours
du congeiateur. Notez que cette gelee a
tendance a s'accumuler plus pendant
les mois d'ete.
• Pour degriver, enlevez la nourriture et
les plateaux de giacons de ia section
du congelateur= Assurez vous que le plateau d'egout est au dessous du
congelateur et arretez Ie thermostat.. Le degrivage peut prendre quelques
heures.
o Durant Ie degrivage, de I'eau s'accumulera darts le plateau de goutte. Ce
plateau doit etre vide pendant le process de degrivage. Ne le laissez pas
sans surveiIIance=(voir fig 5)
o Apres le degrivage, videz et nettoyez le plateau d'egout, et I'interieur du
refrigerateur.
Les _r_its Normaux clue vous t:ntendreTo
o Des bruits de gargouiIIement, de bouilIonement d'eau ou des vibrations
legeres qui sont le resuttat de la circulation refrigerente darts les serpentins de
refroidissement.
oLe thermostat cliquetera quand il se met en marche ( ON ) et s'eteint (OFF)
18

EHtretieH et Nettoyag÷ du
Avertis_ements:
Attention:
Nettoyage generale:
Afin d'eviter les risques des shocs electriques, debranchez
tOL_jOUrSvotre refrigerateur avant de le nettoyer. En ignorant
cet avertissement, des blessures graves ou meme un deces
peuvent occurer .
Avant d'utiliser des produits de nettoyage, veuillez lire et
respecter les instructions et avertissements du fabrican afin
d'eviter des dommages a I'appareil ou des blessures
personnelles,
*Preparez une solution de nettoyage composee de 3 a 4
cuilleres de bicoaobonate de soude melange a I'eau
chaude Utilisez une eponge ou un chiffon doux trempe
dans cette soIution pour nettoyer votre refrigerateur
*Rincez avec de I'eau tiede propre et sechez avec un
chiffon doux
*N'utiiisez pas de produits chimiques puissants, d'abrasifs,
d'ammoniaque ou de l'eau dejavel ,de detergents
concentres, des solvants ou tampons a recurer en fibres
metalliques. Certains de ces produits chimiques risquent
de dissoudre, d'endommager et ou de docolorer
votre refrigerateur.
Joints de la Porte:
• Nettoyez lesjoints de la porte chaque 3 mois conformement aux instructions
generales. [es joints doivent etre propres et souples pour assurer une
parfaite etancheite.
• [a getee de petrole appliquee bgerement sur les cotes des gonds des joints,
assurera une flexibilite et une parfaite etancheite.
¢oupure de Courant
• II s'y peut que des coupures de courant occurent due aux orages ou autres
causes. Debranchez Ie cordon d'atimentation de Ia prise du courant AC ace
moment. Une lois le courant est retabli, rebranchez le cordon d'aIimentation
a Ia prise de courant AC. Si les coupures sont pour une Iongue periode de
temps, instpectez et disposez de Ia nourriture endommagee du refrigerateur.
Nettoyez I'interieur de votre refrigerateur avant de I'utiliser de nouveau.
19
This manual suits for next models
3
Table of contents
Languages:
Other Haier Refrigerator manuals

Haier
Haier BC-110B User manual

Haier
Haier HFD462FS1 User manual

Haier
Haier HRF- 329AA User manual

Haier
Haier HR-138AR User manual

Haier
Haier AR91 User manual

Haier
Haier HB25FSSAAA User manual

Haier
Haier HRF10WNBLWW User manual

Haier
Haier HTF-540DGG7 User manual

Haier
Haier HSE03WNA User manual

Haier
Haier HSR3918FI Series User manual

Haier
Haier HRF-265F User manual

Haier
Haier HBCN02EBB User manual

Haier
Haier ESRB03 User manual

Haier
Haier HNSE05 User manual

Haier
Haier HRB-271 User manual

Haier
Haier HNSE025 Assembly instructions

Haier
Haier HSP03WNC User manual

Haier
Haier HR-727F User manual

Haier
Haier HVZ040ABH5SBJ User manual

Haier
Haier AFD630IX User manual