REMOVE PACKAGING
•Remove tape and glue residue from surfaces before
turning on the refrigerator. Rub a small amount of liquid
dish soap over the adhesive with your ngers. Wipe with
warm water and dry.
NOTE: Do not use sharp instruments, rubbing
alcohol, ammable uids, or abrasive cleaners to
remove tape or glue. These products can damage
the surface of your refrigerator. For more
information, see “Refrigerator Safety.”
•Dispose of/recycle all packaging materials.
When Moving Your Refrigerator:
Your refrigerator is heavy. When moving the refrigerator
for cleaning or service, be sure to cover the oor with
cardboard or hardboard to avoid oor damage. Always pull
the refrigerator straight out when moving it. Do not wiggle
or “walk” the refrigerator when trying to move it, as oor
damage could occur.
CLEAN BEFORE USING
After you remove all of the packaging materials, clean the
inside of the refrigerator before using it. See the cleaning
instructions in “Refrigerator Care.”
Important information to know about glass shelves,
covers and door panels (on some models):
•Do not clean glass shelves or covers with warm water
when they are cold. Shelves and covers may break if
exposed to sudden temperature changes or impact,
such as bumping. Glass shelves and covers are heavy.
Use special care when removing them to avoid impact
from dropping.
•Do not hit the glass door panels with pots, pans,
furniture, toys or other objects. Scratching, hitting,
jarring or stressing the glass may weaken its structure,
causing an increased likelihood of breakage at a later
date.
•For your protection, tempered glass is designed to
shatter into many small, pebble-size pieces. This is
normal.
STEP 2 - MAKE ELECTRICAL
CONNECTION
•Plug into a grounded 3 prong outlet.
NOTE: This refrigerator begins operating as soon as it is
connected to the power supply.
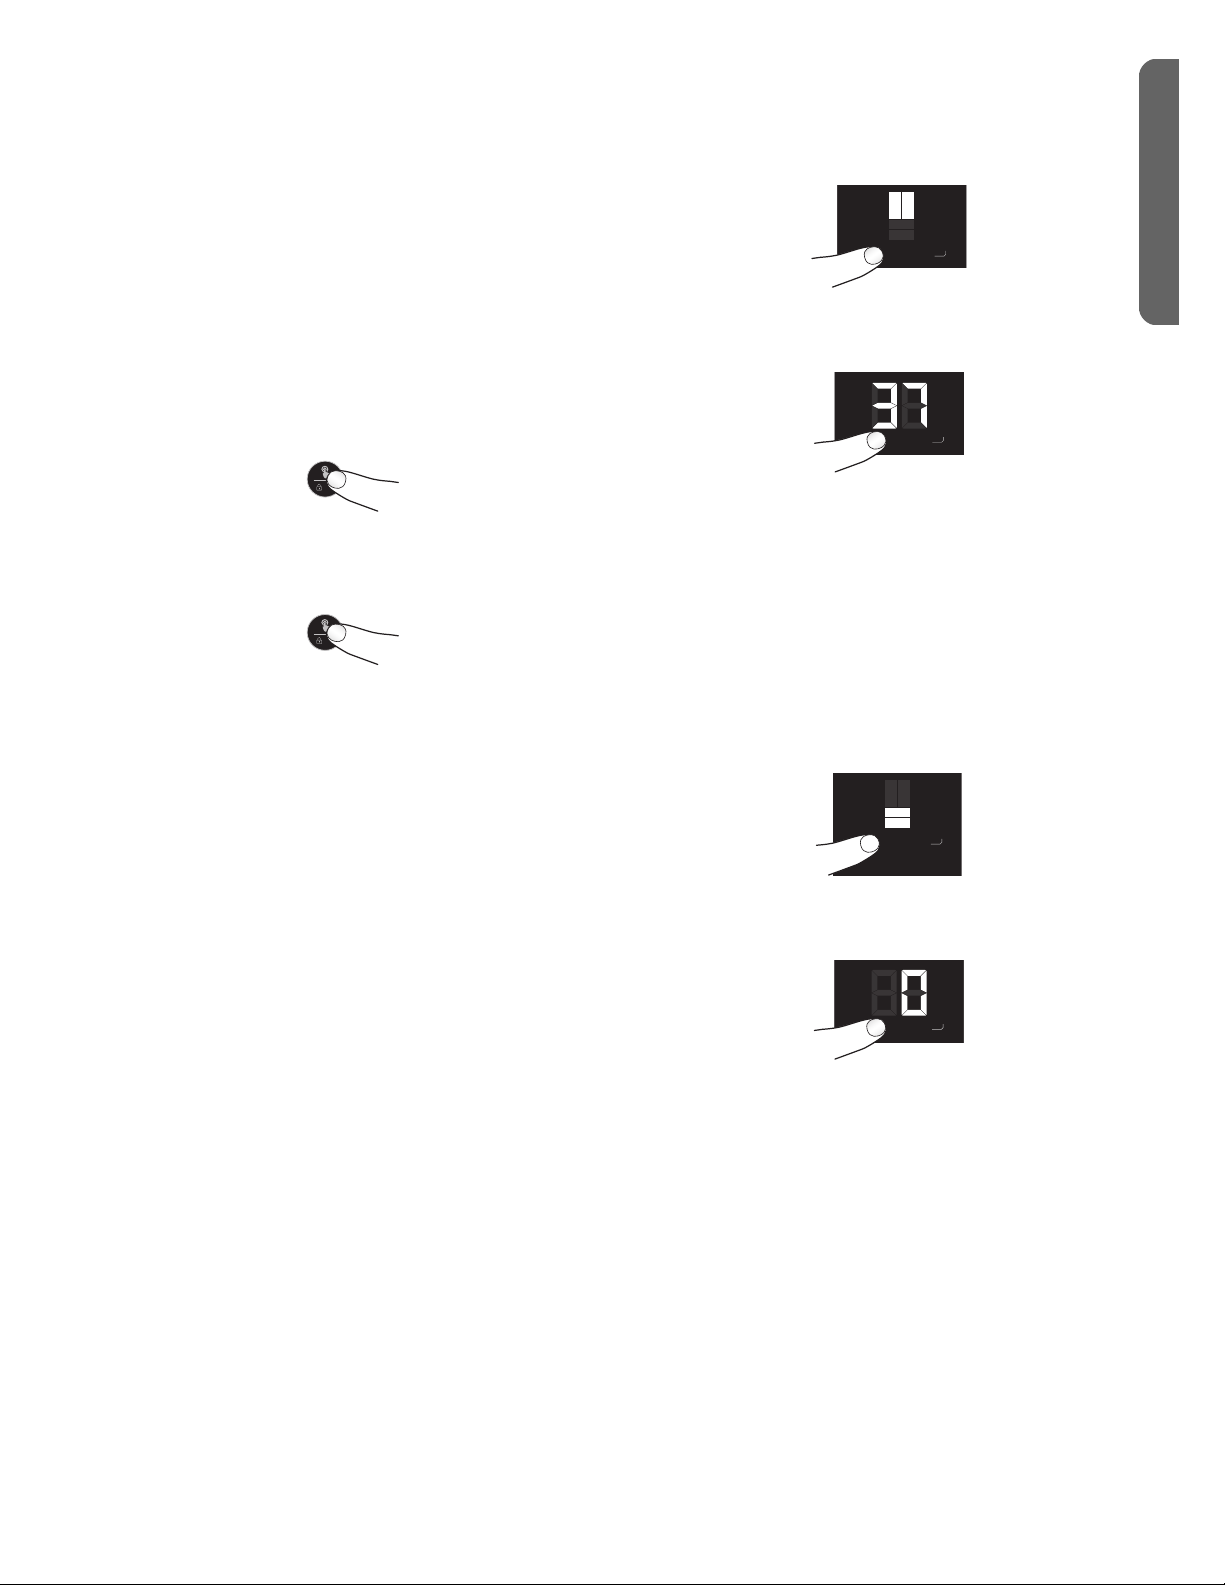
STEP 3 - LEVELING AND DOOR
ADJUSTMENT (IF NEEDED)
The refrigerator must be level to maintain optimal
performance and appearance.
STEP 3 - LEVELING
1. Move the refrigerator to its nal location.
2. Turn the leg on the bottom, front of the cabinet to raise
or lower that side of the refrigerator until the
refrigerator is level side-to-side.
3. Turn both front legs, by the same amount, to slightly
raise the front of the refrigerator. This will make it easier
for the doors to close.
NOTE: Having someone push against the top of the
refrigerator takes some weight o the leveling
screws. This makes it easier to turn the screws.
ALIGNING DOORS
If the edges of the refrigerator doors do not align with each
other, you can make adjustments:
Adjust the Leveling Legs:
•Turn the leveling leg to raise or lower that side of the
refrigerator.
•Clockwise - to raise
•Counterclockwise - to lower
5
ENGLISH