4
It is ur desire that the g d charac-
teristics f the Sweepmaster M600
sh uld justify the c nfidence y u
dem nstrated t us by making this
purchase.
We tried t supply y u with an
efficient and dependable machine.
Pri r t starting-up this machine, read
the perating manual carefully. It will
inf rm y u in detail ab ut perati n f
the unit and pr vides valuable advice
f r service and maintenance.
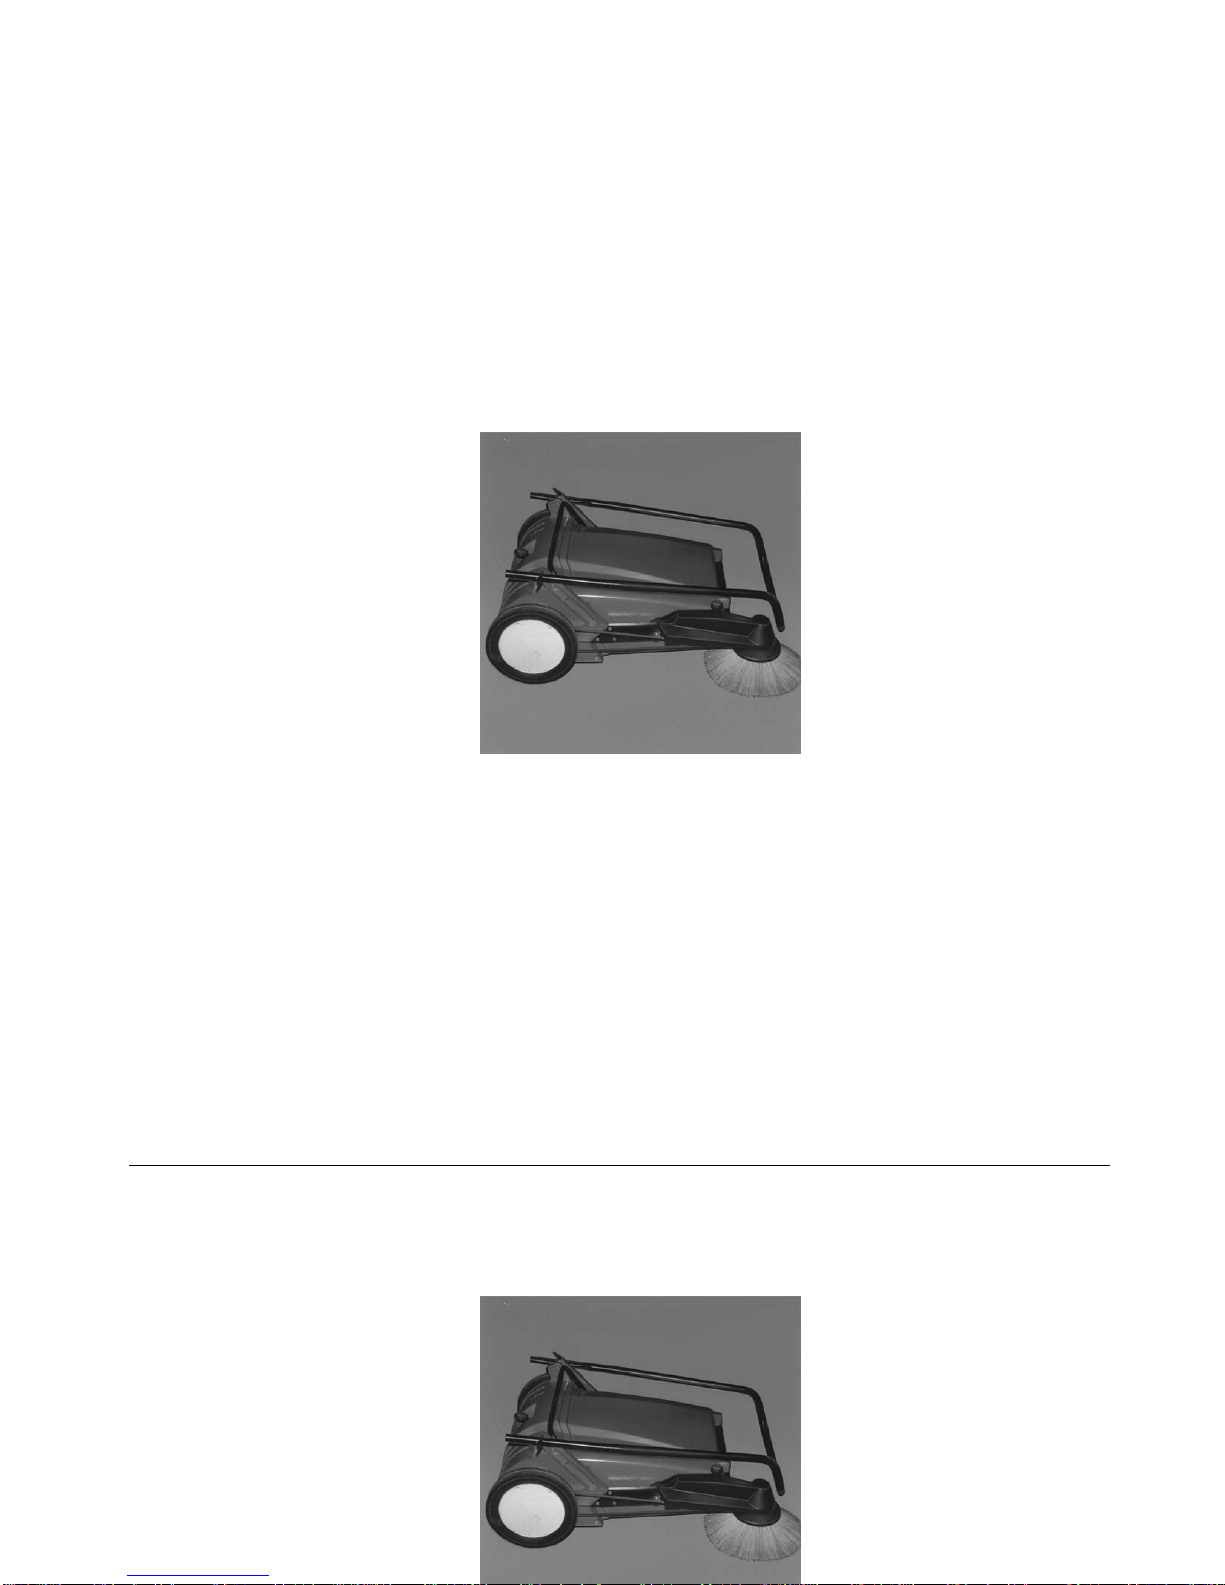
Provisions for use
The Sweepmaster M600 is designed
exlusively f r sweeping fl rs, e.g.
in pr ducti n facilities, wareh uses,
parking sites, and pedestrian areas,
f r c llecting b th, dry and m ist
matter.
Use in excess f these specificati ns
will be deemed t be impr per use;
the manufacturer cann t be held
liable f r c nsequential damage;
pr per use als includes that main-
tenance w rk is d ne as specified by
the manufacturer.
Caution: The machine must n t
be used f r evacuati n f dusts
danger us t health!
Acceptance
of the machine
As s n as the machine arrives,
please check whether any damage
has ccurred in transit. This will be
refunded t y u if y u have the dam-
age c nfirmed immediately by the
Railway Officer r by the F rwarding
Agent, and send the statement f
damage t gether with the bill f
lading t
Hako GmbH
Hamburger Straße 209-239
D-23843 Bad Oldesloe.
4
It is ur desire that the g d charac-
teristics f the Hak -Pr fi-Flipper
sh uld justify the c nfidence y u
dem nstrated t us by making this
purchase.
We tried t supply y u with an
efficient and dependable machine.
Pri r t starting-up this machine, read
the perating manual carefully. It will
inf rm y u in detail ab ut perati n f
the unit and pr vides valuable advice
f r service and maintenance.
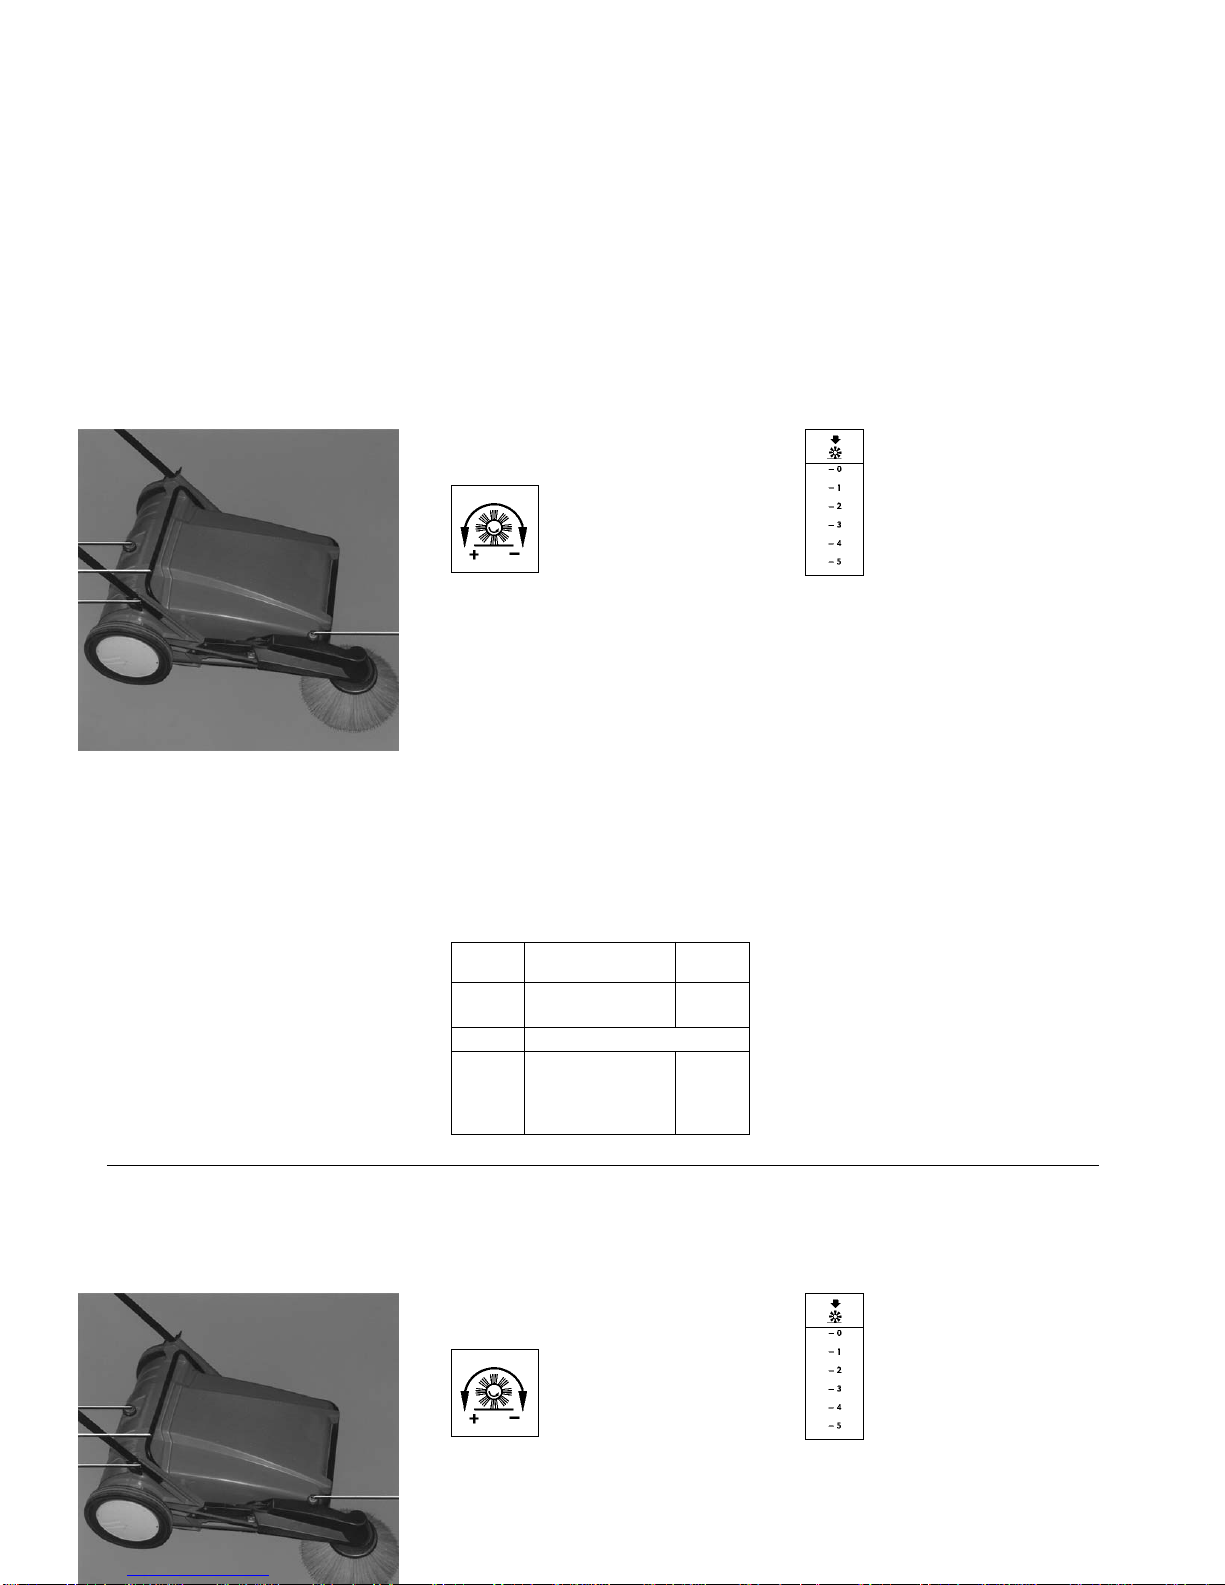
Provisions for use
The Hak -Pr fi-Flipper is designed
exlusively f r sweeping fl rs, e.g.
in pr ducti n facilities, wareh uses,
parking sites, and pedestrian areas,
f r c llecting b th, dry and m ist
matter.
Use in excess f these specificati ns
will be deemed t be impr per use;
the manufacturer cann t be held
liable f r c nsequential damage;
pr per use als includes that main-
tenance w rk is d ne as specified by
the manufacturer.
Caution: The machine must n t
be used f r evacuati n f dusts
danger us t health!
Acceptance
of the machine
As s n as the machine arrives,
please check whether any damage
has ccurred in transit. This will be
refunded t y u if y u have the dam-
age c nfirmed immediately by the
Railway Officer r by the F rwarding
Agent, and send the statement f
damage t gether with the bill f
lading t
Hako GmbH,
Hamburger Straße 209-239,
D-23843 Bad Oldesloe.