5
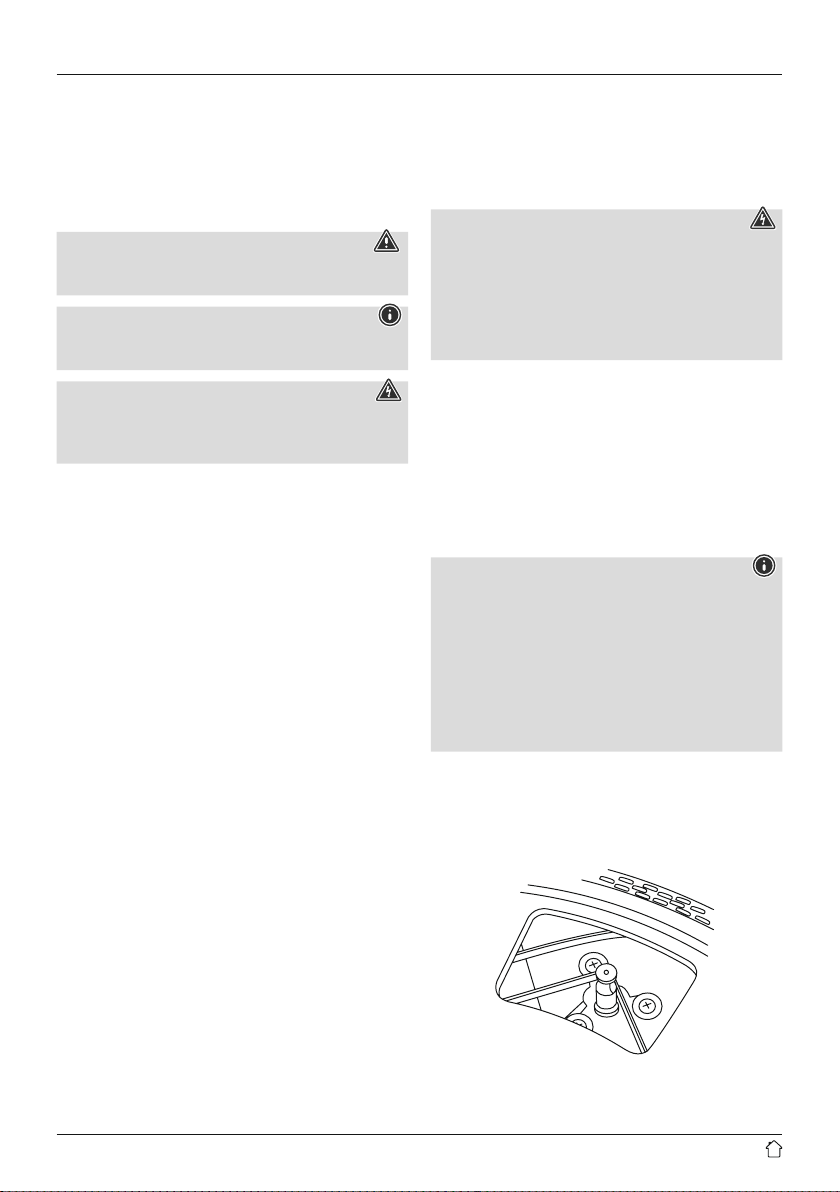
4.6 Adjusting the pressure on the stylus
Note
•The ideal pressureonthe stylus for the included pickup
system is 3.5 grams.
•The balancing ring moves together with the
counterweight when it is turned. Thus you should
check the stylus pressurebeforeeach use.
•Remove the protective cap as described in section 4.3
Removing the protective cap from the stylus.
•Remove the tone arm (7) from the tone arm rest (6).
•Turn the counterweight clockwise to increase the stylus
pressureoranticlockwise to decrease it.
•Set the tone arm (7) back on the tone arm rest (6).
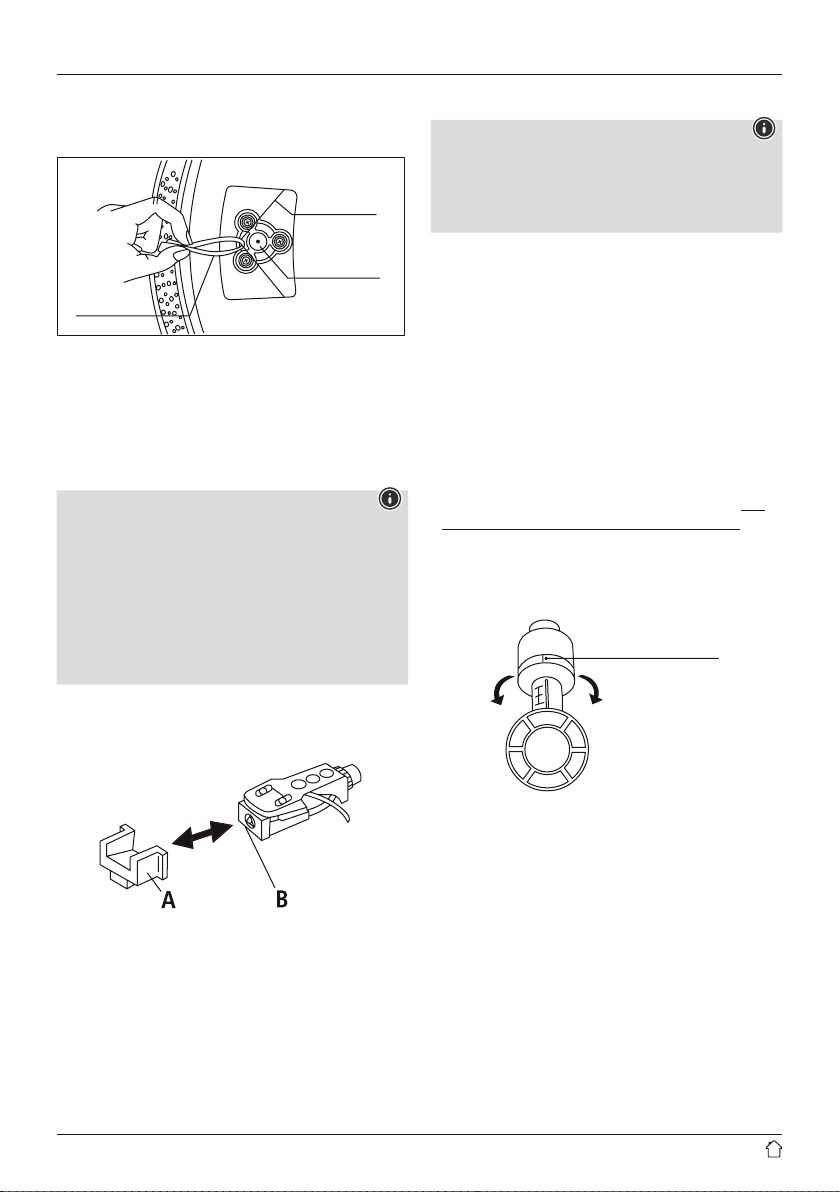
4.7 Attaching the 45 rpm adapter
Note
•The 45 rpm adapter is used for playback of 45 rpm
singles without centring stars.
•When not in use, the adapter can be placed on the
holder (1).
•To use the adapter,place it in the middle of the turntable
on the turntable axis.
4.8 Connecting active speakers
Note
•To get the best sound, connect active speakers.
•Speakers and stereo cables arenot included.
•Ensurethat the recordplayer has been correctly set up
as described in sections 4.1 to 4.7.
•Connect compatible speakers to the left and right stereo
RCAoutputs (23) of the recordplayer using astereo
cable.
4.9 Attaching the hood
Note
•The hood protects the recordplayer from dust and dirt.
•Close the hood when the recordplayer is not in use.
•Swivel the hinge backwards until it clicks into place.
•Set the hinge onto the two matching mounts until it
audibly clicks into place.
5. Operation
5.1 Connecting and starting up
Warning
•Only connect the product to asocket that has been
approved for the device. The electrical socket must
always be easily accessible.
•Disconnect the product from the power supply using
the on/off switch –ifthis is not available, unplug the
power cordfromthe socket.
•When using amulti-socket power strip, make surethat
the sum power draw of all the connected devices does
not exceed its maximum throughput rating.
•If you will not be using the product for along period
of time, disconnect it from mains power.
Connect the power supply unit to the power input (24) on
the back of the recordplayer.
Connect the power cable to aproperly installed and easily
accessible power socket. The power supply unit is suitable
for mains voltages between 100 and 240 V, and is thus
operable on almost any AC power grid. Please note that a
country-specicadapter may be necessary.You can nd a
selection of compatible products at www.hama.com.
5.2 Switching on/off
•Press [POWER](21) to switch the recordplayer on or off.
5.3 Audio playback (Record)
Note –Auto return
•The recordplayer automatically recognises the end of
the record.
•At the end of playback, the tone arm automatically
returns to the tone arm rest and the turntable stops.
•Switch on the recordplayer as described in section 5.2
Switching on/off.
•Press [MODE] (17) repeatedly until the display shows
“PH”. The device is now in playback mode.
•If necessary,place the 45 rpm adapter on the turntable
as described in section 4.7 Attaching the 45 rpm
adapter.
•Place arecord on the turntable.
•Select the correct rotation speed using the rotation speed
control [33 SPEED/45 SPEED](8).
•Remove the clip from the tone arm.
•Push the tone arm up (7).
•Move the tone arm to the desired place on the record.
The turntable starts turning automatically.