3
GOperating instruction
1. Read first
Thank you for choosing aHama product.
Take your time and read the following instructions and
information completely.Please keep these instructions in a
safe place for futurereference. If you sell the device, please
pass these operating instructions on to the new owner.
1.1 Explanation of Warning Symbols and Notes
Risk of electric shock
This symbol indicates product parts energized with a
dangerous voltage of sufficient magnitude to constitute a
risk of electric shock.
Warning
This symbol is used to indicate safety instructions or to
draw your attention to specific hazards and risks.
Note
This symbol is used to indicate additional information or
important notes.
1.2 Safety Notes
•This product is intended for private, non-commercial use
only.
•Use the product for its intended purpose only.
•Protect the product from dirt, moistureand overheating,
and only use it in adry environment.
•Do not drop the product and do not expose it to any
major shocks.
•Do not operate the product outside the power limits
given in the specifications.
•Do not use the product in the immediate vicinity of
heaters or other heat sources or in direct sunlight.
•Do not open the device or continue to operate it if it
becomes damaged.
•Do not attempt to service or repair the product yourself.
Leave any and all service work to qualified experts.
•Use the item only in moderate climatic conditions.
•Do not use the product in moist environments and avoid
splashes.
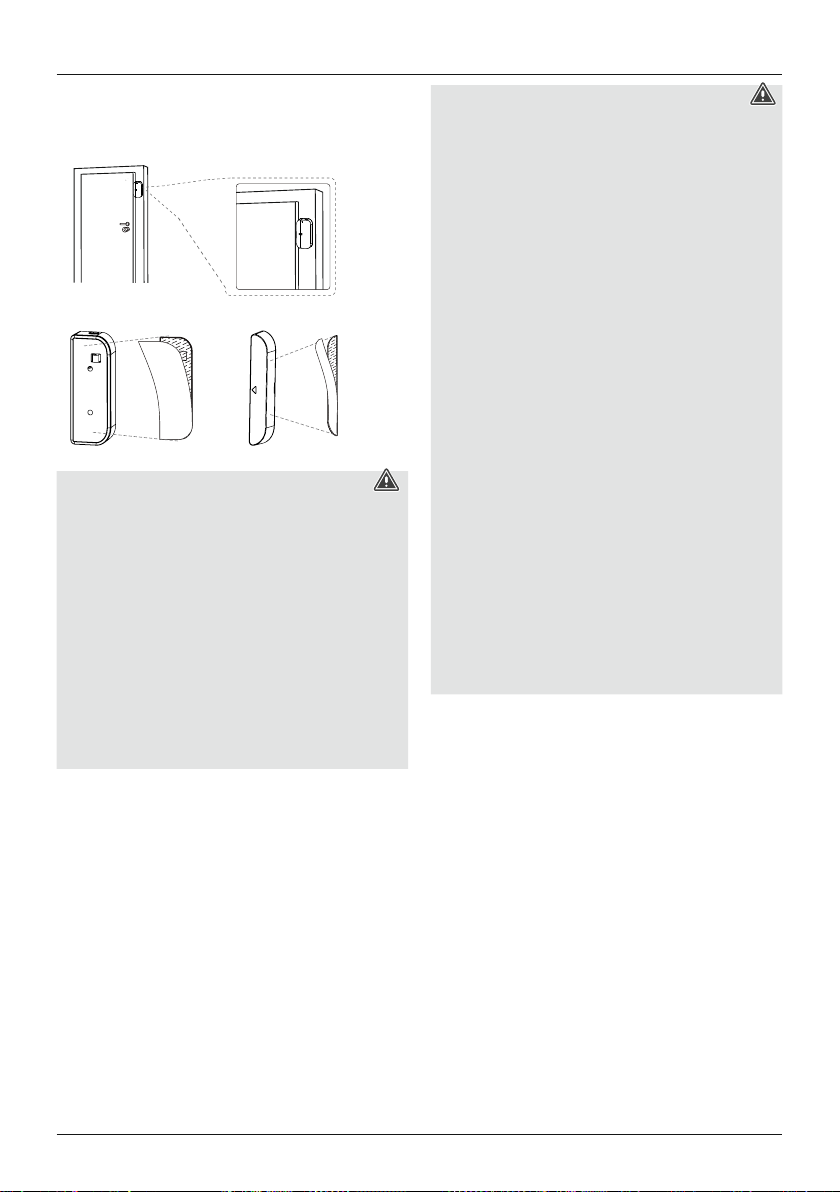
•Buy special or suitable installation material from a
specialised dealer for wall-mounting.
•After the product has been mounted, check that it
is sufficiently secure. Youshould repeat this check at
regular intervals.
•Beforemounting, check that the wall you have chosen
is suitable for the weight to be mounted. Also make
surethat thereare no electric, water,gas or other lines
running through the wall at the mounting site.
•Do not modify the product in any way.Doing so voids
the warranty.
•Children arenot permitted to play with the device.
Children may not clean the product or perform user
maintenance without supervision.
•Keep this product, as allelectrical products, out of the
reach of children!
•Dispose of packaging material immediately according to
locally applicable regulations.
•The product is intended for indoor use only.
•The product may only be operated with the type of power
supply network described on the name plate.
•Benutzen Sie das Produkt nicht in Bereichen, in denen
elektronische Produkte nicht erlaubt sind.
2. Introduction
Control your smart devices very easily using an app, a
switch or your voice. Our smart products can be easily
connected to your wireless home network via WiFi. No
additional gateway is required; they work with every
WLAN router.They can be controlled using amobile
device (mobile phone/tablet) and using the Amazon Alexa/
Echo and Google Home voice services (not 00176553).
In addition, it is possible to integrate them into an IFTTT
network, and through this, almost everything can be
automated and linked.
3. System Requirements
Note -Alexa*
To use the product with Amazon Alexa, you need ade-
vice that supports Amazon Alexa (for example, Amazon
Echo/Echo Dot, etc.). The device must be integrated in
your home network and connected to the Internet.
Note -Google*
To use the product with Google, the Google Assistant
must be integrated in your home network and connected
to the Internet.
Note -IFTTT
To use the product with IFTTT,you need the IFTTT
softwareand can use it to integrate your lamps.